How to Plan for Future Expansion
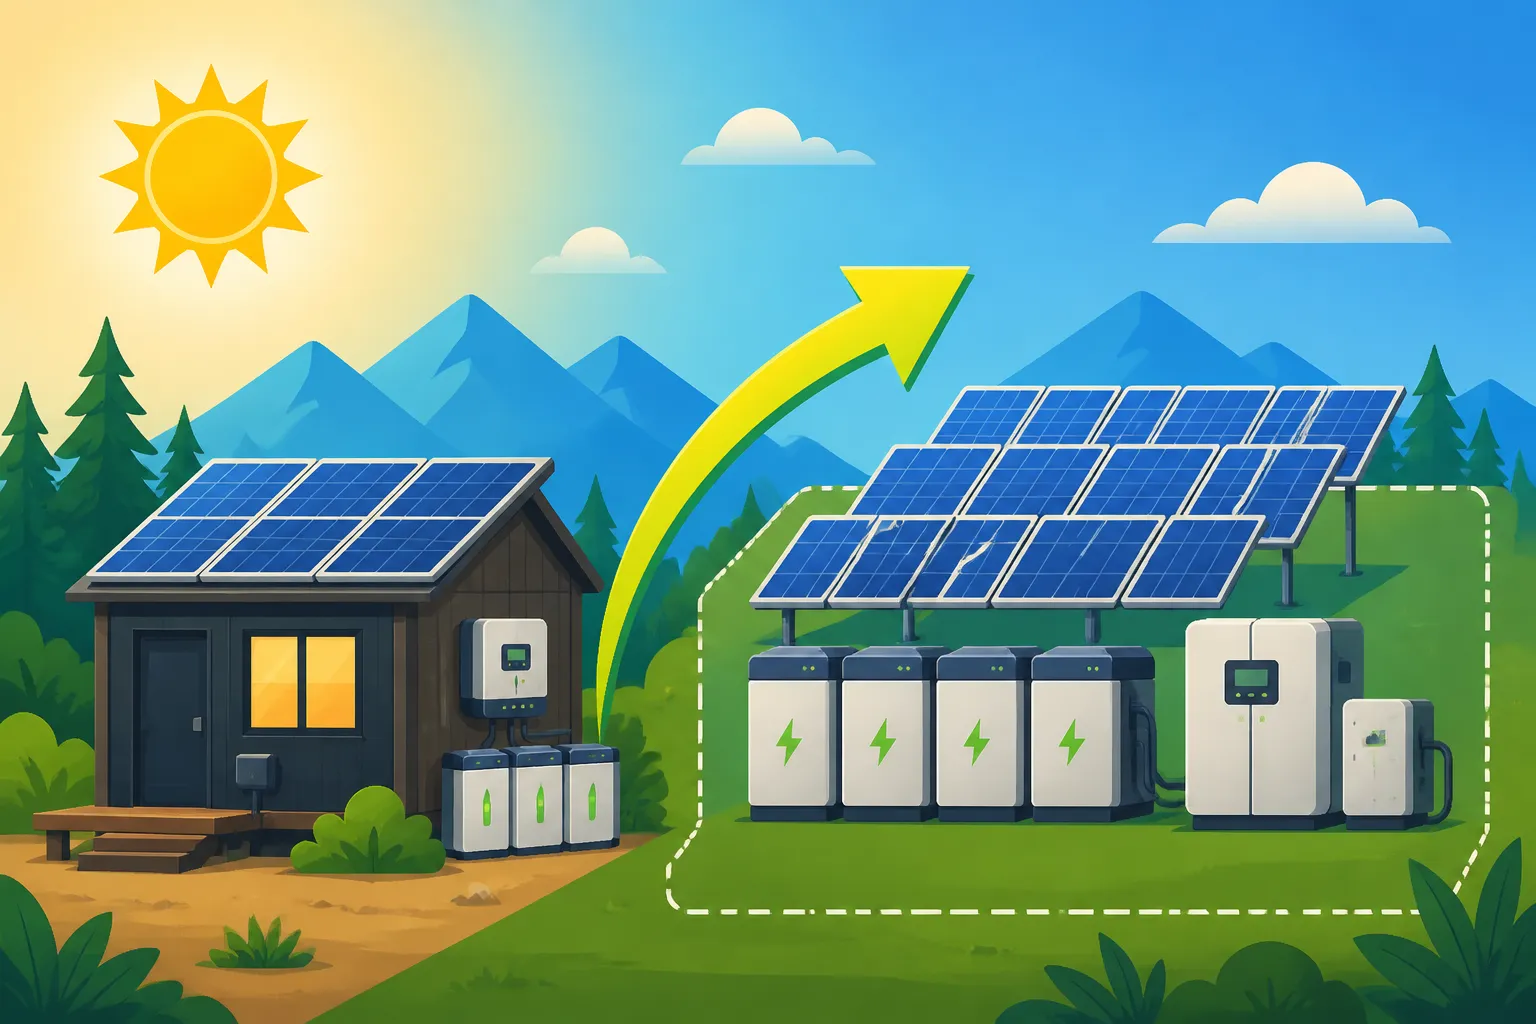
It's a familiar story for many off-grid enthusiasts: you start with a system that perfectly meets your needs, only to find yourself quickly outgrowing it as your power demands increase or you add new appliances. This often leads to frustrating and expensive overhauls that could have been avoided with a bit of foresight. This guide will walk you through the essential steps and considerations to plan for future expansion when designing your off-grid solar system, ensuring your investment grows with you, not against you.
Understanding Why Future Expansion Matters
When you’re first diving into the world of off-grid living, it’s easy to focus solely on meeting your current power needs. You calculate your loads, size your system, and get everything up and running. But life has a funny way of changing, doesn’t it? What starts as a weekend cabin might become a full-time residence, or that small RV setup might evolve to include an air conditioner. Without planning for future expansion, you can quickly hit a wall.
Avoiding Costly Overhauls
Imagine you’ve built a perfectly functional off-grid system for your tiny home. You’ve got enough power for your lights, fridge, and laptop. A year down the line, you decide to add a mini-split air conditioner or start a small workshop with power tools. Suddenly, your existing inverter can’t handle the surge, your charge controller is maxed out, and your battery bank drains in a few hours. The cost of ripping out and replacing undersized components, or adding completely new, incompatible ones, can far exceed what it would have cost to design for growth from the beginning. It’s not just the equipment cost; it’s the labor, the downtime, and the sheer headache of re-engineering your entire setup. Thinking ahead about how to expand an off-grid system can save you immense time and money in the long run.
Adapting to Changing Energy Needs
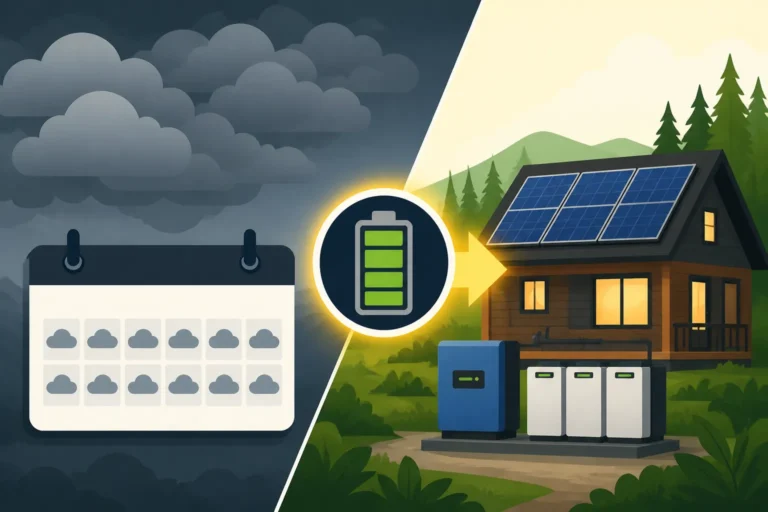
Our energy consumption habits are rarely static. Maybe you’ll add another person to your off-grid home, or perhaps new energy-efficient appliances will tempt you. Seasonal changes can also drastically alter your power requirements; a system perfectly adequate for summer might struggle to keep up during cloudy winter days, especially if you haven’t accounted for reduced sunlight. Planning for expansion means your system can gracefully adapt. It means you won’t be constantly making compromises on your lifestyle or feeling limited by your power supply. It provides peace of mind, knowing that if you want to power a well pump or another significant load down the line, your existing infrastructure can likely handle it, or at least be easily upgraded.
Key Components to Oversize or Future-Proof
Designing for expansion often means investing a little more upfront in certain critical components. While it might seem counterintuitive to spend more than you immediately need, this strategic investment pays dividends by making future upgrades simpler and less expensive. It’s about building a robust backbone for your system.
Inverters: The Heart of the System
The inverter is arguably one of the most crucial components to size with future growth in mind. It converts the DC power from your batteries into the AC power that most of your household appliances use. If your inverter is too small, you won’t be able to run high-wattage items, especially those with high surge demands like microwaves, power tools, or well pumps. When learning how to size an off-grid inverter, consider your potential maximum surge load, not just your continuous running load.
Many modern inverters, especially from brands like Victron Energy or Sol-Ark, offer parallel stacking capabilities. This means you can buy one inverter now and add a second, identical unit later to double your AC output capacity without replacing the original. Even if you don't plan to stack, buying an inverter with a higher continuous wattage rating than your current needs allows headroom for additional appliances. For instance, if your current peak load is 2000 watts, opting for a 3000-watt or even 5000-watt inverter might be a wise investment. It's often cheaper to buy a slightly larger inverter initially than to replace an undersized one completely down the road.
Charge Controllers: The Gatekeepers of Power
The charge controller manages the power flow from your solar panels to your battery bank, ensuring safe and efficient charging. Just like inverters, these can become a bottleneck if you plan to add more solar panels. If you’re designing an off-grid solar system step by step, choosing an MPPT (Maximum Power Point Tracking) charge controller is almost always the superior choice for expandability over a PWM (Pulse Width Modulation) controller. MPPT controllers are more efficient, especially in varying light conditions, and they allow for greater flexibility in panel configurations, which is critical when adding panels of different wattages or voltages later.
When sizing a charge controller, calculate the maximum possible output from your future solar array, not just your current one. If you envision doubling your panel count, ensure your charge controller can handle that increased amperage and voltage. For larger systems, sometimes multiple charge controllers are used, each handling a string or two of panels. Planning for this multi-controller setup from the start can make adding panels a breeze, allowing you to simply install another unit and connect new panels. You can find excellent options on platforms like Amazon or from specialized retailers like Renogy that offer a range of charge controllers suitable for various expansion needs.
Wiring and Breakers: The Unsung Heroes
It might not be as exciting as choosing a high-tech inverter or shiny new solar panels, but your wiring and circuit breakers are fundamental to an expandable system. Undersized wiring can lead to dangerous overheating, voltage drop, and significant power loss, making it a critical aspect of how to wire an off-grid solar system correctly. Replacing main feeder wires between your components (panels to charge controller, charge controller to battery, battery to inverter) is one of the most disruptive and expensive parts of an upgrade.
Always err on the side of caution and run slightly oversized wire for your anticipated future maximum current. For DC runs, this means considering the maximum amperage your panels and charge controllers could put out, and for AC runs, considering your inverter's maximum output. Similarly, invest in a main DC breaker panel and AC breaker panel with spare slots. This allows you to add new circuits for future loads or additional charge controllers without needing to replace the entire panel. Running extra conduit or larger conduit than immediately necessary, even if it's empty, is another smart, inexpensive trick that simplifies future cable runs.
Designing Your Battery Bank for Growth
The battery bank is the energy reservoir of your off-grid system, and its capacity directly dictates how long you can power your loads without sun. Planning for battery expansion is crucial for ensuring sufficient “days of autonomy” and keeping up with increased consumption.
Choosing the Right Battery Chemistry
When considering how many batteries for an off-grid system, the type of battery chemistry you choose significantly impacts expandability. Lead-acid batteries (flooded, AGM, Gel) are generally less forgiving when it comes to adding new batteries to an existing bank. New lead-acid batteries added to an older bank can be damaged by the older, weaker batteries, leading to reduced lifespan for the entire bank. It’s often recommended to replace the entire lead-acid bank when expanding, which can be a significant expense.
Lithium iron phosphate (LiFePO4) batteries, on the other hand, are much more flexible. Many LiFePO4 batteries are designed as modular units, often with an internal Battery Management System (BMS), allowing you to add more batteries to your bank over time, provided they are of the same voltage, capacity, and ideally, from the same manufacturer or series. This modularity means you can start with a smaller bank and easily scale up as your needs or budget allow. While the upfront cost of LiFePO4 batteries is higher, their longer lifespan, deeper discharge cycles, and ease of expansion often make them a more cost-effective choice in the long run.
Planning for Modular Additions
Beyond chemistry, consider the physical layout and connections for your battery bank. If you anticipate adding more batteries, ensure you have sufficient physical space in your battery enclosure or designated area. Also, plan your wiring to accommodate additional batteries easily. Using busbars with extra terminals, or a flexible series-parallel wiring scheme, can simplify the process. For larger systems, opting for a higher system voltage (e.g., 48V instead of 12V or 24V) is often advisable from the outset. Higher voltages mean lower current for the same power, which allows for smaller, less expensive wiring and better efficiency, especially over longer distances. It’s easier to scale a 48V system than to try and convert a 12V system to 48V later on. Consider how battery choice affects off-grid cost and future flexibility.
| Component | Initial Investment for Expansion | Why It Matters | Expansion Flexibility |
|---|---|---|---|
| Inverter | Buy slightly oversized or parallel-stackable | Handles increased loads/surges | High (with parallel models), Medium (oversizing) |
| Charge Controller | Buy sized for future array, MPPT type | Accommodates more solar panels efficiently | High (MPPT allows varied panel configs, multiple controllers) |
| Wiring | Use slightly heavier gauge | Prevents voltage drop, overheating | High (if oversized, less replacement needed) |
| Breaker Panel | Install with spare slots | Adds new circuits for loads/components | High (easy to add breakers) |
| Batteries | Choose LiFePO4, higher voltage | Modular additions, longer lifespan | High (LiFePO4), Low (Lead-acid) |
| Mounting | Leave physical space, flexible racks | Adds more solar panels easily | High (ground mounts, adjustable racks) |
Strategizing Your Solar Array for Scalability
Your solar array is your power source, and as your energy needs grow, you’ll likely want to add more panels. Thinking about this from day one can save you from complex reconfigurations.
Leaving Space for More Panels
This might sound obvious, but it’s often overlooked: leave physical space! If you’re mounting panels on a roof, survey the available area and consider where additional panels could go. Are there shading issues that might arise with new panel locations? If you’re opting for a ground mount, choose a location that has ample clear space for future expansion without encroaching on garden beds or other structures.
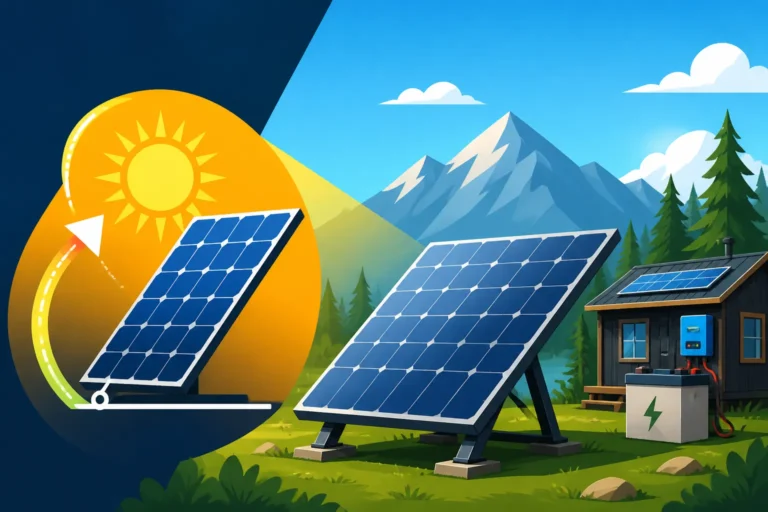
Sometimes, it's not just about having the literal space. It's also about the mounting system. While a simple fixed mount might work for your initial setup, consider if you can easily add rails or another racking system to expand it. Adjustable tilt mounts, though a bit more expensive, can sometimes offer more flexibility in squeezing in extra panels or optimizing for seasonal solar angles as your array grows. Don't forget to think about how to install off-grid solar panels effectively, ensuring easy access for cleaning and maintenance, even after expansion.
Considering Flexible Mounting Options
Ground mounts offer the most flexibility for expansion, as you typically have more open space to work with compared to a roof. You can add more rows or extend existing ones relatively easily. For roof mounts, planning for a symmetrical layout, even if you only fill half the space initially, can make adding panels much cleaner and more aesthetically pleasing later.
Another consideration is ensuring that any new panels you add are compatible with your existing setup. Ideally, you want to match the voltage and wattage of your current panels as closely as possible to maintain efficiency. If you can't find identical panels, your MPPT charge controller will be your best friend, as it's better at handling strings with slightly different panel characteristics. Planning for future panel additions is a key part of how to size an off-grid solar system effectively over time.
Practical Tips for an Expandable System
Beyond individual components, there are overarching strategies that can make your off-grid solar journey smoother when growth is on the horizon. These tips focus on documentation, a measured approach, and knowing when to ask for help.
Documenting Your System
This is a game-changer that many DIYers overlook. From day one, keep meticulous records of your system:
* **Component Specifications:** Manufacturer, model number, serial number, wattage, voltage, amperage for every major component (panels, batteries, inverter, charge controller).
* **Wiring Diagrams:** Draw out exactly how everything is connected, noting wire gauges, fuse/breaker ratings, and conduit runs.
* **Settings and Programming:** Record all the settings on your charge controller, inverter, and battery management system (if applicable).
* **Purchase Dates and Warranties:** Keep track of when you bought everything and when warranties expire.
This documentation will be invaluable when you expand. It helps you quickly identify compatible components, troubleshoot issues, and remember how you initially set things up. Imagine trying to add more panels years later and forgetting the exact specifications of your existing array – good documentation makes it simple. This also ties into knowing the Cost of Expanding an Off-Grid System, as you'll have a clear record of your initial investment.
Phased Expansion Approach
You don’t have to build your dream system all at once. A phased approach allows you to spread out the cost and learn as you go. Start with a core system that meets your immediate essential needs, but *design* it with expansion in mind.
1. **Phase 1 (Essentials):** Install an inverter, charge controller, and wiring that are slightly oversized for your initial battery bank and solar array. This foundational investment creates the backbone.
2. **Phase 2 (Increased Capacity):** As your budget allows or needs arise, add more batteries or solar panels, leveraging the oversized components you installed earlier.
3. **Phase 3 (New Loads):** Introduce new appliances, knowing your inverter and wiring can handle the additional demand.
This approach prevents financial strain and allows you to gain confidence with each step. It's a pragmatic way to manage the financial investment required, especially when looking at how to budget for an off-grid solar system.
Consulting with Experts
While a DIY approach is empowering, don’t hesitate to consult with experienced off-grid solar professionals, even if it’s just for a consultation on your design. A professional can spot potential bottlenecks, recommend specific components that are known for their expandability (like certain Victron or EG4 equipment), and ensure your system meets safety standards. They might have insights into local codes or best practices that you wouldn’t encounter on your own. Sometimes, a small investment in expert advice upfront can save you from much larger mistakes and expenses down the line, especially when considering complex aspects like How to Design an Expandable System or how to size wires and cables for future loads. Even a quick question about a specific Renogy charge controller or an MPPT vs PWM comparison can be invaluable.
Disclaimer
The information provided in this guide is for educational and informational purposes only and should not be construed as professional electrical or engineering advice. Off-grid solar system installation and design can be complex and potentially dangerous. Always consult with qualified professionals and ensure compliance with all local codes and regulations before undertaking any electrical work.