Best 100W Off-Grid Solar Kit
It’s incredibly frustrating when you’re out in the wild, whether camping, working on a remote project, or just enjoying your backyard shed, and your phone dies, or your lights flicker out. You crave just a little reliable power for those essential devices, without the noise and fumes of a generator. This guide will walk you through everything you need to know about finding and utilizing the best 100W off-grid solar kit to keep your small but mighty electronics running smoothly.
Understanding What a 100W Off-Grid Solar Kit Can Power
When you hear "100W solar kit," it's easy to imagine powering a whole cabin, but for true off-grid living, a 100-watt system is definitely on the smaller side. It's designed to handle very specific, low-power needs, making it perfect for niche applications where full-scale power isn't necessary or practical. Understanding its limitations and capabilities from the start will save you a lot of headaches and unrealistic expectations.
Realistic Expectations for Small Systems
A 100-watt solar panel, under ideal peak sun conditions, can produce about 100 watt-hours (Wh) of energy per hour. If you get, say, 5 "peak sun hours" in a day (which is a good average for much of the US), that's roughly 500 Wh of energy produced daily. This isn't a huge amount when you consider what many modern appliances consume. For instance, a small energy-efficient refrigerator can easily use 200-400 Wh per day, meaning a 100W panel alone won't reliably keep it running without a significant battery bank and exceptional solar irradiance.
Instead, think of a 100W system as your reliable charging station and power source for smaller electronics and lighting. It's fantastic for keeping smartphones, tablets, and laptops topped up. It can run a couple of LED lights for several hours, power a small portable fan, or charge AA/AAA batteries. Many folks use them to power basic communication radios, GPS devices, or even a small electric cooler for short periods. This scale of system shines when you need to maintain connectivity or provide basic comforts in an isolated setting, not replace your home's electrical grid. If you're looking to power larger items, you'll want to explore options like a Cost of a 1000W Off-Grid Solar System or even larger systems.
Calculating Your Minimal Power Needs
Before you even start looking at kits, you need to figure out exactly what you want to power and for how long. This is called a "load analysis," and it's much simpler for a 100W system than for a whole house. Grab a pen and paper, or even a spreadsheet, and list every single device you intend to run.
For each device, you need two pieces of information: its wattage (how much power it consumes at any given moment) and how many hours per day you plan to use it. You can usually find the wattage printed on the device itself, in its manual, or with a quick online search. Don't forget that many devices have a "surge" wattage when they first turn on, which can be significantly higher than their "running" wattage, though for truly small devices, this isn't usually a major concern with a 100W system. Once you have the wattage and hours of use, multiply them together to get the daily watt-hours (Wh) consumption for that device. Add all these daily Wh totals together, and you'll have your total daily energy need.
Here’s a quick example to illustrate:
| Device | Wattage (W) | Hours Used/Day | Daily Watt-Hours (Wh) |
|---|---|---|---|
| Smartphone Charger | 10 | 2 | 20 |
| LED Lantern | 5 | 4 | 20 |
| Tablet Charger | 18 | 1 | 18 |
| Small Fan | 15 | 3 | 45 |
| Total | 103 Wh/day |
Knowing your total daily Wh helps you understand if a 100W panel (which might provide 300-500 Wh/day, depending on sun hours) and its accompanying battery can keep up. If your total is much higher, you might need to consider a larger solar array or reduce your usage. For more detailed calculations, you can explore resources like How to Calculate Daily Energy Usage.
Key Components of a 100W Off-Grid Solar Kit
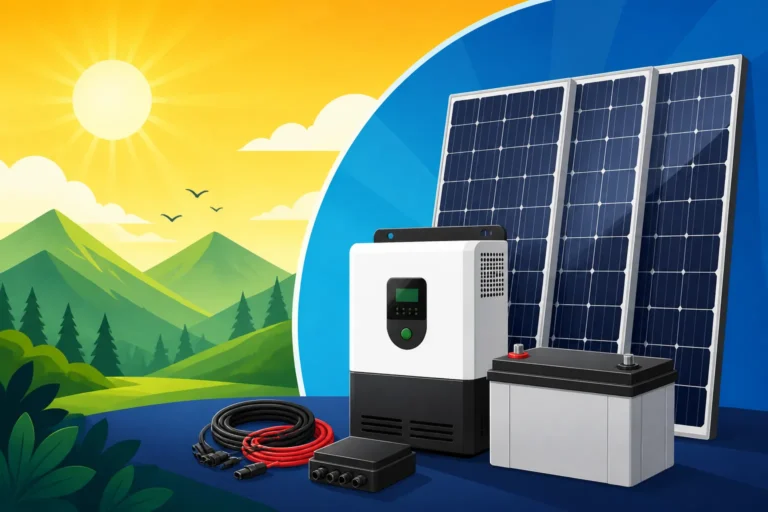
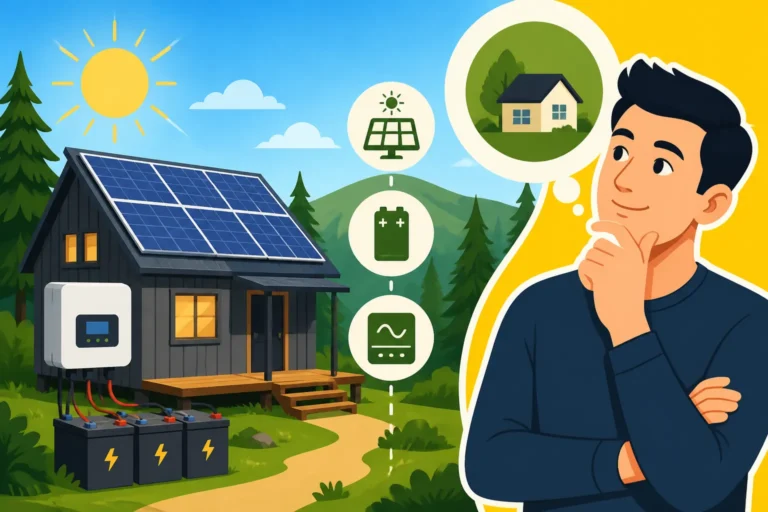
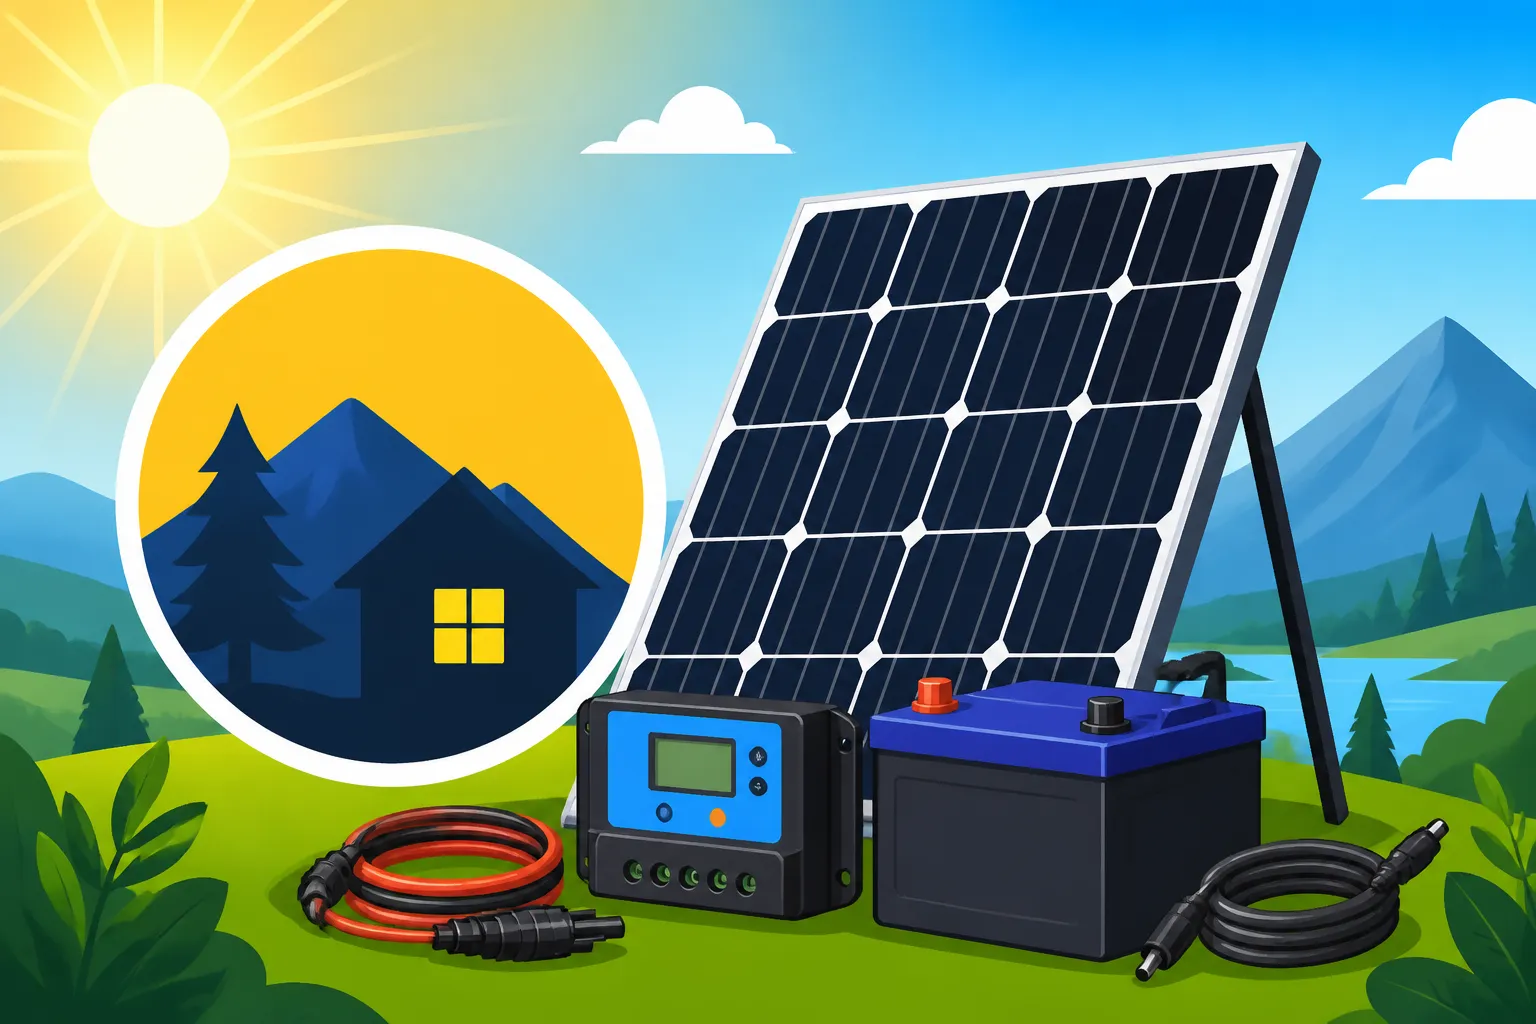
Even at the 100W scale, an off-grid solar kit isn't just a panel; it's a miniature ecosystem of interconnected components working together to harvest, store, and deliver power. Understanding each piece helps you choose a kit that truly fits your needs, and possibly even allows you to consider building your own tailored system.
Solar Panels: The Power Collectors
The solar panel itself is the heart of the system, responsible for converting sunlight into electricity. For a 100W kit, you'll typically find a single panel, but its design can vary significantly.
- Monocrystalline vs. Polycrystalline: Most 100W panels today are monocrystalline, recognizable by their uniform dark color. These are generally more efficient, meaning they can produce more power in a smaller footprint, which is a big advantage for portable or space-constrained setups. Polycrystalline panels are slightly less efficient but often more budget-friendly, identifiable by their speckled blue appearance. For a 100W system, the efficiency difference might not be a deal-breaker, but monocrystalline often provides better performance in less-than-ideal light conditions.
- Rigid vs. Flexible: Rigid panels, usually framed in aluminum and covered with tempered glass, are durable and perform well. They're common for semi-permanent installations on RV roofs, cabins, or sheds. Flexible solar panels, on the other hand, are lightweight, can bend slightly, and are ideal for curved surfaces or situations where weight is a major concern, like tents, boat decks, or certain vehicle applications. Brands like Renogy and Rich Solar offer a range of both rigid and flexible 100W panels. Your choice here depends heavily on where and how you plan to deploy your system. If you need something that can be quickly set up and taken down, a foldable rigid panel or a portable flexible panel might be best. If it's for a fixed structure, a standard rigid panel is more economical and robust. You can check out options for Best Portable Solar Panels if portability is your top priority.
Charge Controller: Protecting Your Battery
The charge controller is the unsung hero of your solar system. Its primary job is to regulate the voltage and current coming from your solar panels before it reaches your battery bank. This prevents overcharging, which can severely damage and shorten the lifespan of your batteries, and also prevents the battery from discharging back through the panels at night.
For a 100W system, you'll typically encounter two types:
- PWM (Pulse Width Modulation) Controllers: These are simpler, more affordable, and less efficient. They work by connecting the solar panel directly to the battery, allowing the panel voltage to "pull down" to match the battery voltage during charging. While perfectly adequate for very small, budget-conscious systems, they don't optimize energy harvest.
- MPPT (Maximum Power Point Tracking) Controllers: These are more advanced, more expensive, and significantly more efficient. MPPT controllers actively track the panel's maximum power point, converting excess voltage into additional current, which means more power gets into your battery, especially in cooler weather or partial shading. For a 100W system, a high-quality MPPT controller might seem like overkill initially, but it can make a noticeable difference in how quickly and effectively your battery charges, especially if you have fewer peak sun hours or want to maximize every drop of power. For most 100W kits, a basic PWM controller might be included to keep costs down, but if you're building a custom kit or upgrading, an MPPT is almost always a better choice for efficiency. Learning How to Choose an Off-Grid Charge Controller can help you make the right decision.
Battery Bank: Storing Your Energy
The battery bank is where all that beautiful solar energy gets stored until you need it, especially crucial after the sun goes down or on cloudy days. For a 100W system, your battery needs won't be enormous, but the right choice impacts performance and longevity.
- LiFePO4 (Lithium Iron Phosphate) Batteries: These are the darlings of modern off-grid setups. They are lightweight, have a much longer cycle life (how many times they can be charged and discharged), can be discharged deeper without damage, and maintain a more consistent voltage throughout their discharge cycle. While they have a higher upfront cost, their longevity often makes them more economical in the long run. Many portable power stations (which we'll discuss later) come with integrated LiFePO4 batteries.
- AGM (Absorbent Glass Mat) Lead-Acid Batteries: These are a more traditional and often more budget-friendly option. They are sealed, maintenance-free, and perform better than flooded lead-acid batteries, especially for portable applications where spills are a concern. However, they are heavier, have a shorter cycle life, and generally shouldn't be discharged below 50% capacity, effectively halving their usable capacity compared to their rated capacity. For a very basic, intermittent 100W setup where cost is paramount, an AGM battery can work.
The capacity of your battery bank is typically measured in Amp-hours (Ah) or Watt-hours (Wh). For a 12V system (common for small setups), a 50Ah battery would store 600 Wh (50 Ah * 12V). If your daily needs are 100 Wh, a 50Ah LiFePO4 battery would give you around 6 days of autonomy, while an AGM battery would give you about 3 days. Most 100W kits are paired with batteries in the 20-100Ah range, depending on the intended use and desired days of backup. For comprehensive insights, check out Best Lithium Batteries for Off-Grid.
Inverter: Converting for AC Devices (Optional but Useful)
If you only plan to charge USB devices or run 12V DC lights, you might not even need an inverter. However, most modern electronics, like laptops, and small appliances run on 120V AC power, which requires an inverter to convert the DC power from your battery.
- Pure Sine Wave Inverters: These produce a clean, smooth waveform identical to what you get from the utility grid. They are essential for sensitive electronics (like laptops, medical equipment, or power tools with variable speed controls) and are generally more expensive.
- Modified Sine Wave Inverters: These are more affordable but produce a "choppier" waveform. While fine for basic loads like incandescent lights, certain chargers, or simple motors, they can cause issues, reduce efficiency, or even damage sensitive electronics over time.
For a 100W kit, you'd typically look for a small inverter, perhaps 150W to 500W, depending on the surge requirements of your AC devices. Many portable power stations integrate a pure sine wave inverter directly into their unit, simplifying the setup. Deciding whether you need an inverter and what kind depends entirely on the appliances you're hoping to power. If you only have DC loads, skipping the inverter saves money and increases overall system efficiency.
Choosing the Best 100W Off-Grid Solar Kit
Navigating the options for a 100W off-grid solar kit can feel a bit like sifting through a treasure chest – there are many gems, but you need to know what you're looking for! The "best" kit isn't a one-size-fits-all solution; it truly depends on your specific use case, portability needs, and budget.
Factors to Consider for Your Specific Use
Before you click "add to cart," take a moment to reflect on these critical factors:
-
Portability vs. Fixed Installation:
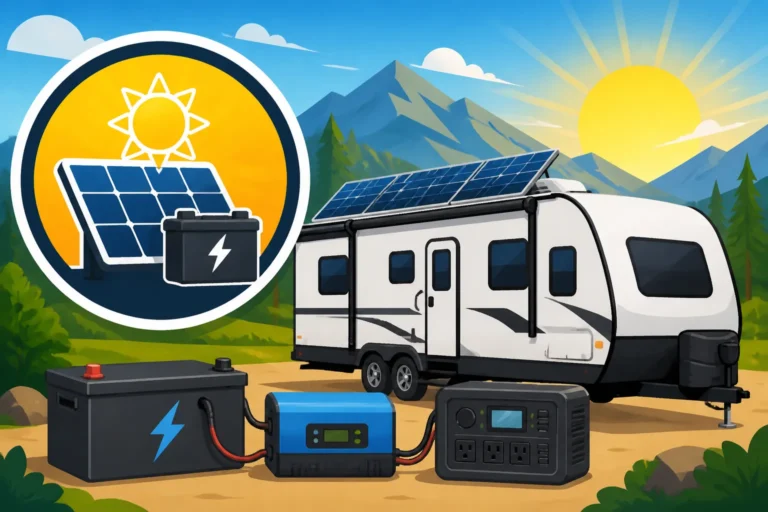
- For portable use: Are you car camping, going on short hikes, or need emergency backup power that you can move easily? Look for kits with foldable solar panels and an integrated portable power station. These are often all-in-one units, meaning the battery, charge controller, and inverter are housed in a single, compact device. Brands like Jackery are incredibly popular in this space, offering solar generators (essentially a portable battery with an inverter and charge controller) that can be paired with their 100W foldable solar panels. These are fantastic for grab-and-go power.
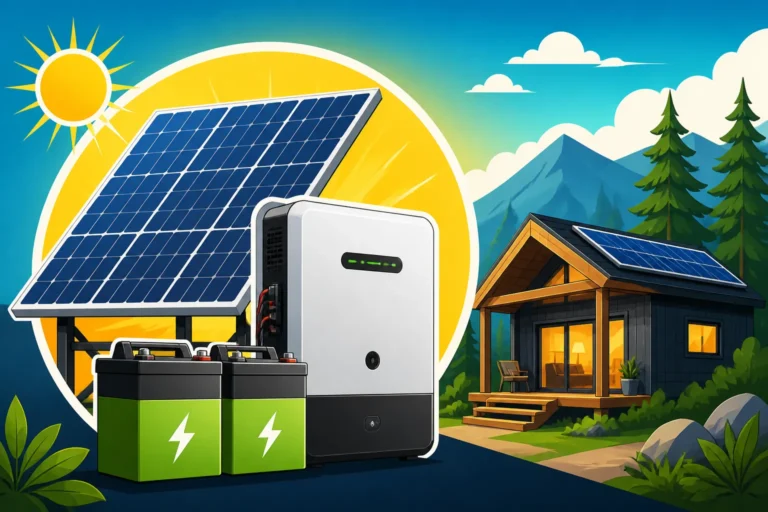
- For semi-permanent or fixed installation: If you’re powering a small shed, a remote cabin for occasional use, or mounting panels on an RV roof, you might prefer a rigid panel and separate components. This often allows for more customization, potential for expansion, and typically a lower cost per watt than all-in-one portable power stations. You can get more specific insights by reading How to Size an Off-Grid System for a Cabin or How to Size an Off-Grid System for a Shed.
-
Expandability: Do you foresee needing more power down the road? Some kits, especially modular ones, allow you to add more panels or expand your battery bank relatively easily. Others, particularly many all-in-one portable solar generators, have fixed capacities. Thinking about future needs now can save you from having to buy a whole new system later, or you could simply choose to learn Cost of Expanding an Off-Grid System.
-
Climate Considerations: If you're in a region with long, cold winters or frequent cloudy days, an MPPT charge controller will be more beneficial, maximizing the energy harvested from your 100W panel. Cold weather actually improves panel efficiency, but shorter daylight hours reduce overall energy production. Conversely, in hot climates, panel efficiency can slightly decrease. Consider panels designed to perform well across a range of temperatures.
-
Battery Type Preference: As discussed, LiFePO4 batteries offer superior lifespan and performance, making them ideal for frequent use or critical applications. If you're using the kit only occasionally and on a tight budget, an AGM-based kit might be acceptable, but be aware of its limitations.
Top Kit Recommendations and What Makes Them Stand Out
When it comes to 100W off-grid solar kits, the market offers a diverse range. Here’s a breakdown of common types and what makes them appealing:
-
All-in-One Portable Solar Generators: These are the easiest entry point for many. They combine a LiFePO4 or similar battery, a charge controller, and an inverter into one compact unit, often with multiple output ports (AC, USB, 12V DC). You simply plug in a 100W solar panel (usually sold separately or as a bundle), and you're good to go.
- Why they stand out: Unbeatable convenience, user-friendly, minimal wiring, often include pure sine wave inverters. Perfect for camping, tailgating, emergency backup, or van life.
- Examples: The Jackery Explorer 300 or Jackery Explorer 500 paired with a Jackery SolarSaga 100W panel. Other notable brands include Bluetti, EcoFlow, and Anker. The Jackery SolarSaga 100W panel is a robust, foldable monocrystalline panel designed to integrate seamlessly with their power stations, making it a highly popular and reliable choice. This kind of setup represents the pinnacle of user-friendly off-grid power for light loads.
-
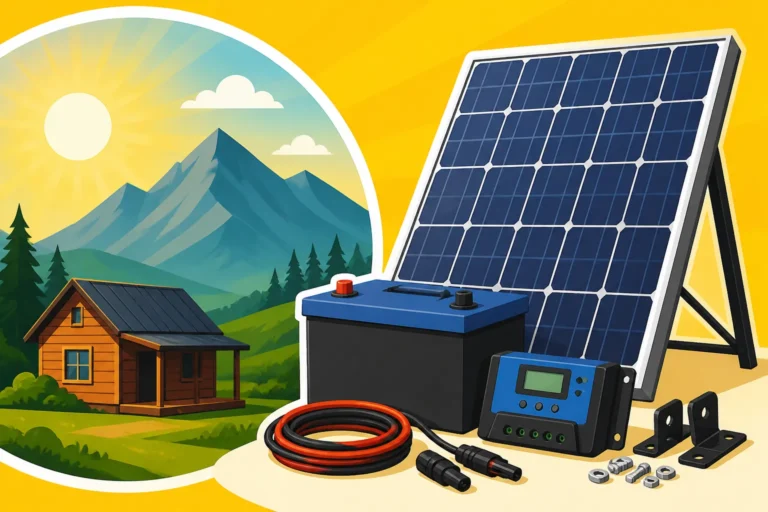
DIY-Friendly Component Kits: These kits typically include a rigid 100W solar panel, a charge controller (often PWM for budget options, or a small MPPT for better performance), and basic wiring. You would then need to add your own battery.
- Why they stand out: More flexibility to choose your battery (e.g., a specific LiFePO4 for longevity), often more budget-friendly initially, and can be mounted permanently. Great for sheds, small cabins, or RVs where the setup will be fixed.
- Examples: Renogy and Rich Solar offer excellent 100W monocrystalline panels and corresponding charge controllers that allow you to build out your system with your preferred battery. This approach lets you optimize individual components, such as choosing the Best MPPT Charge Controllers if efficiency is key.
-
Basic Starter Kits (Panel + Controller + Basic Battery): These are entry-level bundles that aim for simplicity and affordability. They usually include a 100W rigid panel, a PWM charge controller, and a small AGM battery.
- Why they stand out: Very low initial cost, straightforward setup. Good for very occasional use, learning the ropes, or non-critical applications like powering a few lights in a garage where the battery can be easily swapped if needed.
- Considerations: Limited battery capacity, shorter battery lifespan (if AGM), and less efficient charging compared to MPPT systems.
When making your final decision, visualize your typical usage. If you need ultimate portability and plug-and-play simplicity, a power station like a Jackery is likely your winner. If you're installing it on a structure and want to tinker or have specific battery requirements, a component-based kit will serve you better. Remember that even a 100W system is a significant investment for a remote power solution, so choose wisely based on your actual needs. For more general advice on picking an entire system, you can refer to How to Choose an Off-Grid Solar System.
Installation and Maintenance for Your 100W Kit
One of the great things about a 100W off-grid solar kit is that it's generally much simpler to install and maintain than larger, more complex systems. This makes it a fantastic entry point for anyone interested in solar power, whether you're a seasoned DIYer or just starting out. Still, understanding the basics ensures your system runs efficiently and safely for years to come.
Simple Setup for Small Systems
Most 100W kits are designed with simplicity in mind, often catering to users who want a quick, functional setup without extensive electrical knowledge.
- All-in-One Portable Systems: If you've opted for a portable power station, like a Jackery unit, the setup is incredibly straightforward. You'll typically unfold your 100W solar panel (like the Jackery SolarSaga 100W), position it towards the sun, and plug its output cable directly into the designated solar input port on your power station. That's it! The internal charge controller and inverter handle everything else. This ease of use is a major selling point for those who value convenience above all.
- Component-Based Systems (Panel, Charge Controller, Battery): For these kits, the basic wiring sequence is fundamental:
- Connect the Charge Controller to the Battery FIRST: This is a crucial safety step. Your charge controller needs to sense the battery voltage before it receives power from the panels. Connect the positive (+) and negative (-) terminals from your battery to the corresponding battery terminals on your charge controller. Use appropriately sized wires.
- Connect the Solar Panel to the Charge Controller: Once the battery is connected, you can then connect your solar panel(s) to the solar input terminals on the charge controller. Ensure correct polarity (positive to positive, negative to negative).
- Connect Inverter (if applicable): If you're using a separate inverter, connect it directly to your battery bank's terminals, typically with robust cables. Make sure to use appropriate fusing between the battery and the inverter, as inverters can draw significant current.
- Add Fuses and Breakers: While smaller systems might seem less risky, always include appropriate fuses or breakers on the positive lines between components (panel to controller, controller to battery, battery to inverter). This protects your equipment from short circuits and overcurrents.
Always consult the specific wiring diagrams and instructions provided with your kit's components. If you're unsure about any wiring, especially involving 120V AC, it's always best to consult with a qualified electrician. For those interested in a more hands-on approach, diving into a guide like DIY Off-Grid Solar Installation Step by Step can be incredibly helpful.
Keeping Your 100W System Running Smoothly
Even simple systems benefit from a little TLC to ensure longevity and optimal performance. Regular, simple checks can prevent small issues from becoming big problems.
- Panel Cleaning: Solar panels work best when they're clean. Dust, pollen, bird droppings, or accumulated grime can significantly reduce their output. Periodically (monthly or quarterly, depending on your environment), gently clean your panels with water and a soft brush or cloth. Avoid harsh chemicals or abrasive materials. Do this in the morning or evening when the panels are cool to the touch.
- Battery Health Checks:
- LiFePO4 Batteries: These are largely maintenance-free due to their integrated Battery Management Systems (BMS). Just ensure they are not consistently over-discharged. If your kit uses a portable power station, its display will typically show battery status clearly.
- AGM Batteries: If you have an AGM battery, ensure it's kept charged and not frequently discharged below 50%. While sealed, consistently low states of charge will shorten its lifespan. Keep the battery terminals clean and free of corrosion. For deeper understanding, consider consulting Off-Grid Solar Maintenance Guide.
- Charge Controller Monitoring: Most charge controllers have indicator lights or a small display that shows charging status, battery voltage, and sometimes solar input current. Periodically check these to ensure everything is operating as expected. If you notice error codes or unexpected behavior, refer to your controller's manual for troubleshooting steps. Ensure all wire connections remain tight and secure, as vibrations or temperature changes can sometimes loosen them.
By following these simple guidelines, your 100W off-grid solar kit will be a reliable source of power for your small electronics and devices, giving you that precious independence wherever you roam.
Disclaimer
Please note that the information provided in this guide is for general informational purposes only and does not constitute professional electrical or solar engineering advice. Off-grid solar systems involve electricity, and improper installation or handling can be dangerous. Always consult with qualified professionals and adhere to all local electrical codes and regulations when designing, installing, or maintaining an off-grid solar system. The author and publisher are not responsible for any loss, damage, or injury that may result from the use of this information.