Off-Grid Mppt Controller Installation Mistakes to Avoid
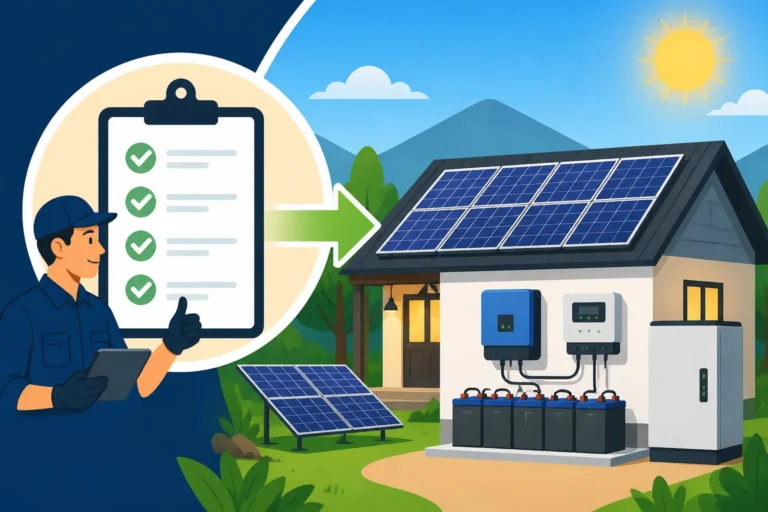
So, you're diving into the world of off-grid solar, maybe setting up a remote cabin, a dedicated workshop, or even expanding your RV's electrical independence. That's fantastic! But let's be real, while the idea of harnessing the sun is liberating, the actual installation can feel like a maze, especially when it comes to crucial components like the MPPT charge controller. Many folks, myself included when I first started, find themselves scratching their heads, wondering if they're doing everything right. This guide is all about tackling those common pitfalls and helping you avoid the head-smacking "d'oh!" moments when installing your off-grid MPPT controller.
Understanding the Heart of Your Solar System: The MPPT Controller
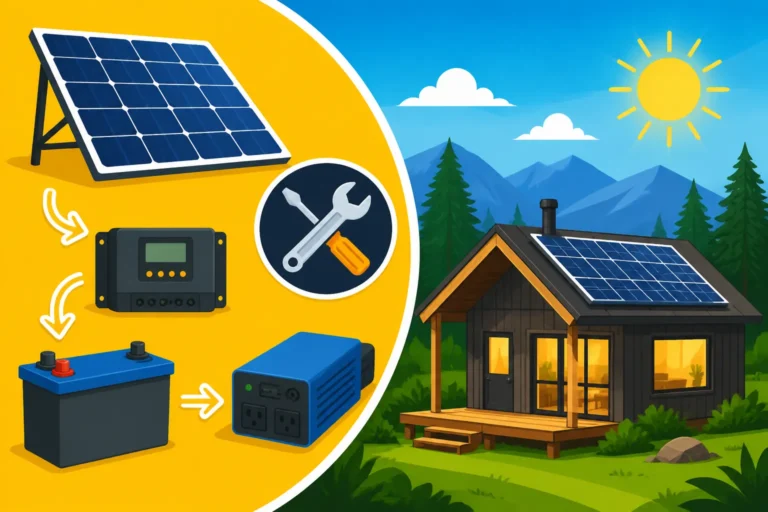
Before we dive into the "don'ts," let's quickly touch on why the MPPT (Maximum Power Point Tracking) charge controller is such a big deal. It's not just another box in your setup; it's arguably one of the most critical links between your solar panels and your battery bank. Its job is to ensure that your batteries get charged efficiently and safely, extracting every last usable watt from your solar array.
Maximizing Solar Harvest and Efficiency
Think of your solar panels as a garden hose and your batteries as a bucket. A simple, older-style PWM (Pulse Width Modulation) controller is like turning the spigot to a fixed position, regardless of the water pressure. An MPPT controller, however, is a smart gardener. It constantly adjusts the spigot, finding the perfect flow rate to fill that bucket as quickly and efficiently as possible, even if the sun is playing peek-a-boo with clouds or the temperature is changing. It does this by constantly sweeping the voltage and current output of your solar panels to find the sweet spot, the "maximum power point," where they produce the most power. This means you're literally getting more usable energy out of the same number of solar panels, which can be a game-changer, especially in less-than-ideal weather conditions or when you're trying to achieve year-round off-grid power.
Protecting Your Batteries and Extending Their Lifespan
Your battery bank is the most expensive single component in many off-grid solar setups, so protecting it is paramount. An MPPT controller doesn't just manage incoming power; it intelligently charges your batteries through various stages (bulk, absorption, float, equalization, etc.). This multi-stage charging is crucial for maintaining battery health, preventing overcharging, and extending their overall lifespan. Without a proper charge controller, you risk damaging your batteries by either overcharging them (which can lead to overheating and premature failure) or undercharging them (which causes sulfation and reduced capacity, especially for lead-acid types). A good MPPT controller is your battery's best friend, ensuring they're always topped up correctly and ready to deliver power when you need it most. If you're wondering How Much Battery Capacity You Need, knowing your controller will manage it well is a big relief.
Common Installation Mistakes with MPPT Controllers and How to Dodge Them
Alright, let's get down to brass tacks. Setting up an MPPT controller isn't rocket science, but there are definite traps that new and even experienced DIYers fall into. Avoiding these can save you headaches, hardware, and potentially a lot of money.
Incorrect Wiring Sequences
This is probably the most common and easily avoidable mistake, yet it causes so much grief! Many people assume all wires can be connected in any order, but with an MPPT controller, sequence is critical.
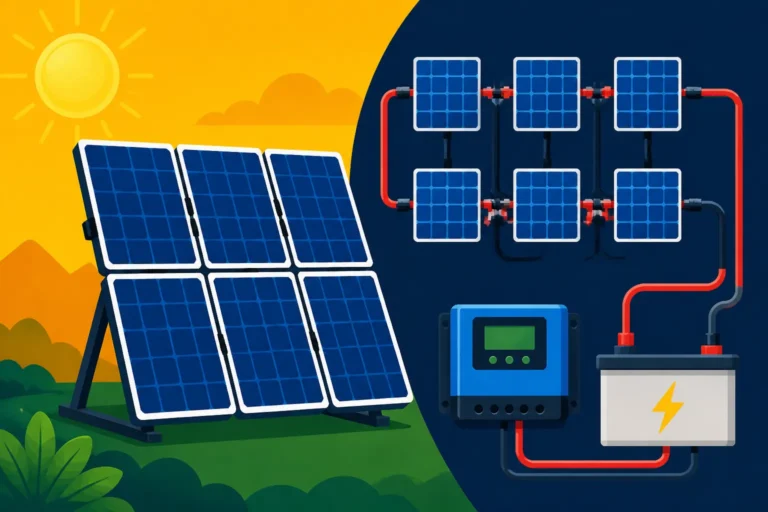
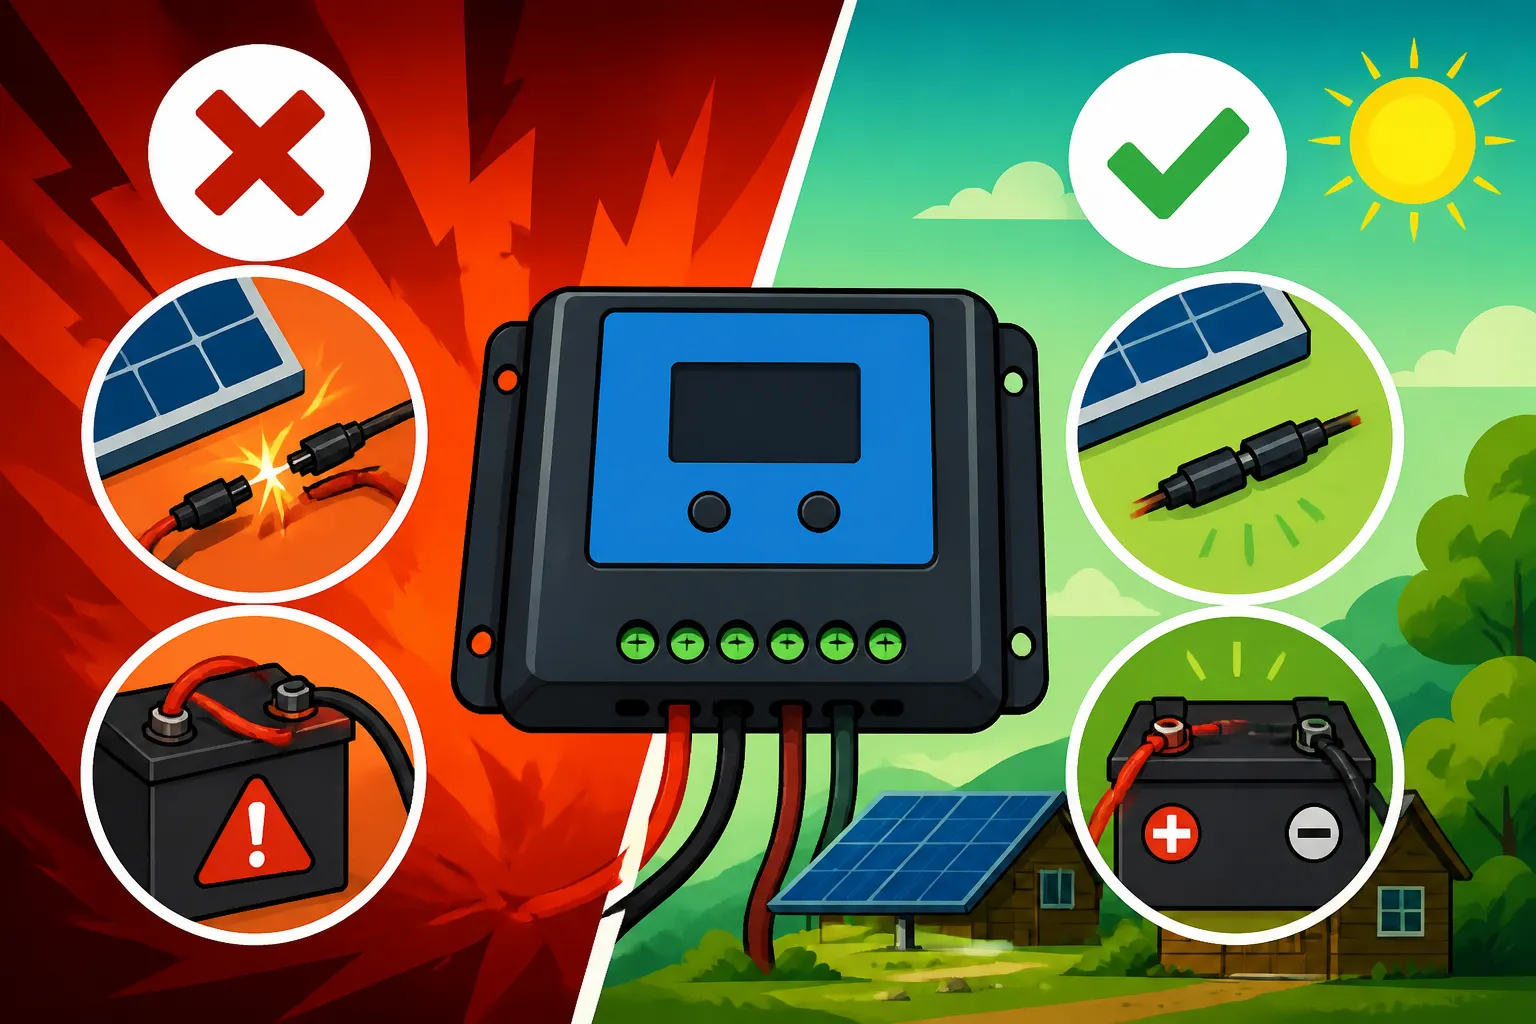
When you're wiring an off-grid solar system, especially the charge controller, there's a specific order you must follow. Typically, you connect the battery bank to the charge controller first. Why? Because the controller needs to sense the battery voltage to properly initialize and configure itself before it sees any input from the solar panels. Connecting the panels first, or even in reverse order, can cause a voltage spike or improper initialization, potentially frying the charge controller's internal electronics.
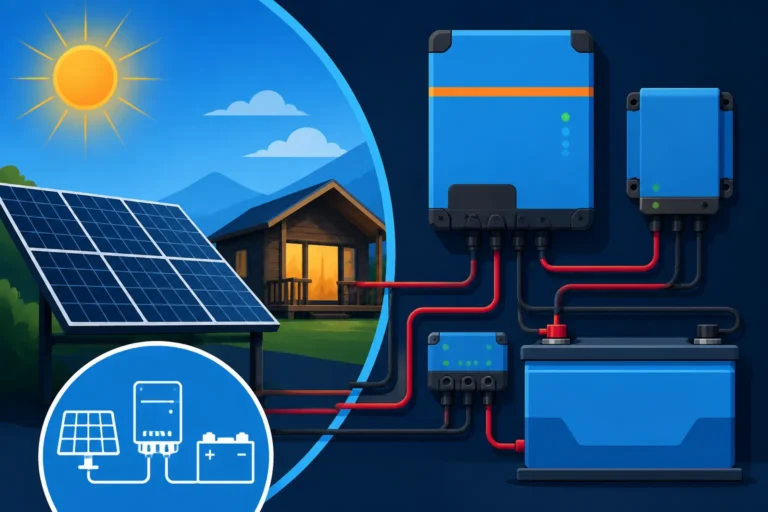
Imagine connecting a high-pressure water source to an empty pipe before you've even connected it to the receiving tank and opened the valve. You're going to have problems! The same principle applies here. Always connect the battery cables to the controller's battery terminals first, ensuring polarity is correct (positive to positive, negative to negative). Only after the battery is securely connected and the controller powers on should you connect the solar panel wiring to the controller's PV input terminals. When disconnecting, reverse the order: panels off first, then batteries. For a visual guide, looking up a reliable Off-Grid Solar Wiring Diagram Explained can be incredibly helpful.
Oversizing or Undersizing the Controller
Just like Goldilocks, you want your charge controller to be "just right." An MPPT controller has maximum voltage and current ratings for both the solar input (PV array) and the battery output.
- Oversizing: While less common to cause damage, buying a controller significantly larger than your current array needs is a waste of money. You might not fully utilize its capabilities, and that extra cash could have gone towards more solar panels or a bigger battery bank.
- Undersizing – PV Voltage: This is a critical one. If your solar array's open-circuit voltage (Voc) exceeds the maximum PV input voltage rating of your MPPT controller, you risk permanent damage. Panels wired in series add their voltages together. In cold weather, solar panels can produce a higher voltage than their nominal rating, so always factor in cold weather voltage corrections when designing your array. A 600W Renogy MPPT controller, for instance, might have a max PV input of 100V. If your array in series goes over that, you're in trouble.
- Undersizing – PV Current: If the total short-circuit current (Isc) of your solar array exceeds the maximum input current rating of your controller, the controller won't be able to handle all the power, leading to inefficiency and potential damage over time. Similarly, the controller has a maximum charge current output to the battery. If your array can produce more current than the controller can safely pass to the battery, you're losing potential charging power and stressing the unit. Learning How to Size a Charge Controller correctly is paramount for system longevity and performance.
Ignoring Proper Grounding and Fusing
Safety isn't just a suggestion; it's a non-negotiable requirement in any electrical system, especially an off-grid one. Two major components of safety are proper grounding and appropriate fusing.
- Grounding: All major components of your off-grid system – solar panels, charge controller, inverter, and battery bank – should be properly grounded. This provides a safe path for electrical current to dissipate in case of a fault (like a short circuit or lightning strike), preventing electric shock and equipment damage. Without proper grounding, your system becomes a potential hazard. This often involves connecting equipment frames to a common ground bus, which then connects to an earth ground rod. Don't skip this step, and if you're unsure, consulting resources on How to Ground an Off-Grid Solar System is a smart move.
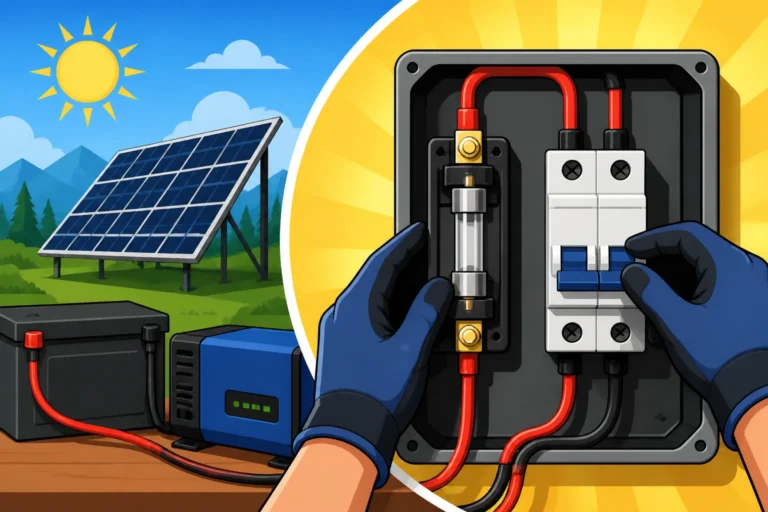
- Fusing/Breakers: Fuses and circuit breakers are your system's sacrificial lambs. They're designed to break the circuit if current exceeds a safe limit, protecting your components from overcurrent situations that can lead to overheating and fires. You need appropriate fuses or circuit breakers on the battery side of your charge controller, between the charge controller and the battery bank, and often on the PV input side as well. The sizing of these fuses depends on the wire gauge used and the maximum current that will flow through that circuit. Skimping on or incorrectly sizing fuses is a recipe for disaster. This is a vital part of How to Wire an Off-Grid Solar System safely.
Neglecting Environmental Considerations
An MPPT controller is a sensitive piece of electronics, and where you put it matters more than you might think.
- Temperature: MPPT controllers generate heat during operation. If placed in a confined space with poor ventilation or in direct sunlight, they can overheat, leading to reduced efficiency, throttling back their output, or even permanent damage. Most controllers have an operating temperature range. For instance, Victron Energy's SmartSolar MPPT controllers are designed to operate efficiently, but they still need airflow. Ensure your controller is in a cool, dry, well-ventilated area, away from direct sunlight, and with adequate clearance around it for airflow. Consider the ambient temperature of your location. If you're in a hot climate, active cooling might even be necessary for larger systems.
- Moisture and Dust: Water and electronics don't mix. Dust can accumulate over time, leading to overheating or even short circuits. While some controllers are rated for outdoor use (e.g., IP65), most are designed for indoor or protected environments. Ensure your controller is protected from rain, condensation, and excessive dust accumulation. A sturdy, ventilated enclosure can provide this protection for controllers in harsher environments.
Improper Programming and Settings
Even if you've wired everything perfectly, an MPPT controller won't perform optimally if it's not programmed correctly for your specific battery type.
Different battery chemistries (like lead-acid, AGM, Gel, and LiFePO4 lithium) require different charging voltages and stages. A lead-acid battery needs a specific absorption voltage and float voltage, and possibly equalization. A LiFePO4 battery, like those from Battle Born or EG4, has very different requirements, often demanding higher absorption voltages and a distinct float stage that's usually lower or even unnecessary.
If your controller's settings don't match your battery's specifications, you risk severely shortening your battery's life or even causing dangerous conditions. For example, overcharging a LiFePO4 battery can damage it, while undercharging lead-acid batteries will lead to sulfation and capacity loss. Many modern controllers, including those by Renogy and Victron, come with default settings, but these are often generic and might not be ideal for your specific battery brand and model. Always consult your battery manufacturer's specifications and the controller's manual to meticulously set the correct voltage parameters. Taking the time to learn How to Program a Charge Controller and How to Set Charge Controller Parameters is an investment in your battery bank's longevity.
Inadequate Wire Sizing
The wires connecting your solar panels to your charge controller, and then the controller to your battery bank, are not just conduits; they're integral parts of your electrical system. Using wires that are too thin (undersized) for the current they carry or the distance they cover can lead to significant problems.
- Voltage Drop: Thin wires have higher resistance. As current flows through them, some of your precious solar energy is lost as heat, resulting in a voltage drop. This means the voltage reaching your charge controller from the panels, or your batteries from the controller, is lower than it should be. A significant voltage drop reduces charging efficiency, meaning you're not getting all the power your panels are producing, and it takes longer to charge your batteries. Over long distances, this effect is even more pronounced. For instance, running a 1000W array with undersized wires over 50 feet could easily cost you 10-15% of your power.
- Overheating and Fire Risk: Beyond inefficiency, undersized wires carrying too much current will overheat. This is a serious fire hazard. The National Electrical Code (NEC) provides guidelines for wire sizing based on current, conductor material, and insulation type. Always refer to these guidelines or an online calculator to determine the appropriate wire gauge. When planning your system, consider not just peak current but also the length of your wire runs. This is where topics like How to Size Wire and Cables become incredibly important. You can find robust wiring and connectors on platforms like Amazon that are specifically designed for solar applications.
Best Practices for a Flawless MPPT Installation
Now that we've covered what not to do, let's focus on the smart strategies for ensuring a smooth, safe, and efficient MPPT charge controller installation.
Follow the Manufacturer’s Instructions Diligently
This might seem obvious, but it's often overlooked in the eagerness to get things powered up. Every MPPT charge controller, whether it's a robust unit from Outback Power or a compact model from Renogy, comes with a detailed manual. This isn't just light reading; it's your blueprint.
The manufacturer's manual contains specific instructions for wiring, installation location, safety precautions, and programming unique to that model. Ignoring it can lead to frustrating issues, equipment damage, or even voiding your warranty. For example, some controllers might have a built-in fuse that needs to be checked, or specific diagnostic lights that indicate problems. The manual will also clearly state the maximum PV input voltage and current, as well as the supported battery chemistries and their recommended charging parameters. Don't skim through it; read it carefully, especially sections on How to Wire an MPPT Charge Controller and initial setup.
Plan Your System Voltage Carefully
Before you even buy your panels or controller, you need to decide on your system voltage (12V, 24V, 48V). This decision heavily influences the efficiency, cost, and complexity of your system.
- Higher Voltage, Lower Current, Thinner Wires: Generally, larger off-grid systems benefit greatly from higher system voltages (e.g., 48V). This is because for the same amount of power, a higher voltage means lower current. Lower current allows you to use thinner, less expensive wires, reducing voltage drop and making your wiring runs more efficient. For instance, running 5000W at 12V requires roughly 416 amps, necessitating extremely thick, costly cables. At 48V, that's only 104 amps, allowing for much smaller wires and significantly less voltage drop over distance.
- Component Compatibility: Ensure all your main components—panels, charge controller, inverter, and battery bank—are compatible with your chosen system voltage. Your MPPT controller needs to be able to handle the voltage of your solar array and charge your chosen battery bank voltage. This careful planning upfront can save you from costly mistakes down the road. If you're building a larger system, understanding How to Choose System Voltage is one of the first and most important design decisions you'll make.
Invest in Quality Components and Tools
When you're building an off-grid system, reliability is key. This isn't the place to cut corners on critical components or the tools you use for installation.
- Quality MPPT Controller: A well-made MPPT controller will have robust components, accurate tracking algorithms, and reliable charge profiles. Brands like Victron Energy, Outback Power, and MidNite Solar are known for their high-quality, durable, and feature-rich MPPT controllers, though there are many other reputable brands available. While they might have a higher upfront cost, their efficiency, longevity, and advanced features can provide significant long-term savings and peace of mind. For those looking for more budget-friendly yet dependable options, companies like Renogy offer a range of MPPT controllers that are popular among DIYers, often found readily on platforms like Amazon.
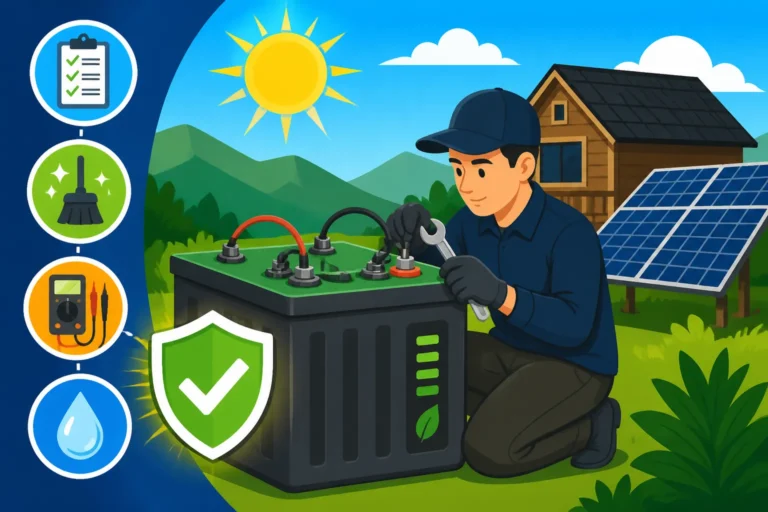
- Proper Tools: Using the right tools ensures safe and secure connections. This includes a multimeter for checking voltages and continuity, wire strippers, crimpers for lugs, torque wrenches for tightening terminals to specified settings, and safety gear like insulated gloves and eye protection. Attempting to use improper tools can lead to loose connections, damaged wires, or unsafe installations. For example, using pliers to crimp a heavy-gauge battery cable lug is not only ineffective but also creates a weak point prone to overheating. A proper hydraulic crimper or heavy-duty manual crimper is essential for those crucial connections. You're building a system for independence; make sure it's built to last and built safely.
Table: Common MPPT Installation Mistakes and Solutions
Here's a quick reference to help you avoid those tricky situations:
| Mistake | Potential Consequence | Solution |
|---|---|---|
| Incorrect Wiring Order | Controller damage, voltage spikes | Always connect battery first, then solar panels. Disconnect in reverse. |
| Undersized Controller (PV Vmp) | Controller damage, reduced efficiency | Ensure array Voc (cold temps) is below controller max PV input voltage. |
| Undersized Controller (PV A) | Lost charging power, controller stress | Match array Isc with controller's max input current rating. |
| Missing/Incorrect Fusing | Fire hazard, component damage, no protection | Install properly sized fuses/breakers on battery and PV lines. |
| Lack of Grounding | Electric shock risk, equipment damage | Ground all major components to a common earth ground. |
| Poor Ventilation/Placement | Overheating, reduced efficiency, component failure | Install in a cool, dry, well-ventilated area, away from direct sun. |
| Incorrect Battery Settings | Battery damage, shortened lifespan, safety risks | Program controller exactly to battery manufacturer's specs (voltage, stages). |
| Undersized Wires | Voltage drop, lost power, overheating, fire | Use appropriate wire gauge based on current and distance (NEC standards). |
Going off-grid is a journey, and like any journey, there will be bumps in the road. But by being aware of these common MPPT controller installation mistakes and proactively implementing best practices, you'll be well on your way to a reliable, efficient, and safe solar power system. Taking the time to do it right the first time will save you countless hours of troubleshooting and frustration, allowing you to enjoy the true freedom that off-grid living provides.
Disclaimer
Please remember that working with electricity can be dangerous. If you are not comfortable with any part of the off-grid solar installation process, it is always recommended to consult with or hire a qualified electrician or solar professional. This guide is for informational purposes only and should not replace professional advice or local electrical codes and regulations.