How to Install Off-Grid Solar on a Van
Embarking on van life, or even just using your van for weekend adventures, often brings the dream of ultimate freedom. But let's be real, that dream can quickly turn into a nightmare if you're constantly hunting for an outlet or worried about draining your starter battery. The frustration of limited power can really put a damper on things, making you feel tethered when you want to be completely off-grid. This comprehensive guide is here to walk you through exactly how to install an off-grid solar system on your van, giving you the reliable power you need to truly live life on your own terms.
Understanding Your Van's Solar Needs
Before you even think about buying a single solar panel or battery, the most crucial step is to understand what kind of power you actually need. Skipping this part is like trying to build a house without a blueprint – you're just asking for trouble and a system that either falls short or is massively overkill.
Calculating Your Daily Energy Consumption
This is where the rubber meets the road. You need to identify every electrical appliance and device you plan to use in your van, from your mini-fridge to your phone charger, and then estimate how long each will run in a typical day. It might seem tedious, but trust me, it’s the foundation of a successful off-grid setup.
Start by making a list. Think about things like:
- Refrigerator: Is it a 12V DC compressor fridge, or a small AC dorm fridge? Compressor fridges are generally much more efficient for van life.
- Lights: Are they LED strips or brighter overhead fixtures?
- Fan: Will you run a MaxxAir fan or a smaller personal fan?
- Laptops & Phones: How many hours will you charge them?
- Water Pump: How often will you use it for washing dishes or showering?
- Smaller Appliances: Coffee maker, blender, electric toothbrush, camera batteries, hair dryer (be careful with high-wattage items!).
Once you have your list, find the wattage (W) or amperage (A) for each item. If it’s in amps, multiply by the voltage (usually 12V for DC appliances) to get watts. Then, multiply the wattage by the estimated hours of daily use to get Watt-hours (Wh). For AC appliances that run through an inverter, you'll want to factor in a bit of inverter inefficiency, typically around 10-15%. So, you might divide by 0.85 to be safe. For a deeper dive into this, check out our guide on How to Calculate Daily Energy Usage.
Here’s a simplified table to give you an idea:
| Appliance | Typical Wattage (W) | Est. Daily Use (Hrs) | Daily Watt-Hours (Wh) |
|---|---|---|---|
| 12V Compressor Fridge | 40-60W | 12-16 (intermittent) | 480-960 Wh |
| LED Lights (strip) | 5-10W | 3-4 | 15-40 Wh |
| MaxxAir Fan | 10-30W | 4-8 | 40-240 Wh |
| Laptop Charging | 45-90W | 2-3 | 90-270 Wh |
| Phone Charging | 5-15W | 1-2 | 5-30 Wh |
| Water Pump | 30-60W | 0.5 | 15-30 Wh |
| Blender (peak) | 300-600W | 0.1 (6 min) | 30-60 Wh |
Sum up all those daily watt-hours, and you’ll have your total daily energy consumption. This number is your golden ticket for everything else.
Determining Battery Bank Capacity
Once you know your daily energy needs, you can figure out how much battery storage you need. Batteries are the heart of your off-grid system, storing the energy generated by your solar panels for use day and night. For van life, lithium iron phosphate (LiFePO4) batteries are overwhelmingly the preferred choice, and for good reason. They are lighter, last significantly longer (more charge cycles), charge faster, and can be discharged much deeper without damage compared to traditional lead-acid batteries.
A good rule of thumb is to aim for at least 2-3 days of "autonomy," meaning your battery bank can power your van for that many days without any sun. This is especially crucial for vans that might be parked under trees, in urban areas, or during stretches of cloudy, rainy weather.
To calculate your battery bank size in Amp-hours (Ah) for a 12V system:
(Total Daily Watt-hours x Days of Autonomy) / (System Voltage x Max Depth of Discharge)
For LiFePO4 batteries, you can safely use a 90-100% depth of discharge. For lead-acid, you'd only want to use about 50%. So, if your daily usage is 1000 Wh and you want 2 days of autonomy:
(1000 Wh x 2 days) / (12V x 0.90) = 2000 Wh / 10.8V ≈ 185 Ah.
So, you'd be looking for a battery bank of at least 185 Amp-hours. You can find more detailed calculations in guides like How to Size an Off-Grid System for a Van.
Sizing Your Solar Array and Inverter
With your battery bank size determined, you can now figure out how many solar panels you need to recharge those batteries and what size inverter will handle your AC appliances.
Solar Array Sizing:
Your solar panels need to generate enough power to replace the energy you consume daily, plus a little extra to account for less-than-ideal conditions (shading, cloudy days, suboptimal panel angle). The amount of usable sun you get per day, known as "peak sun hours," varies significantly by location and time of year. For example, a sunny day in Arizona might give you 5-6 peak sun hours, while a cloudy winter day in Seattle might only provide 1-2.
To get a rough estimate of the solar wattage you need:
(Total Daily Watt-hours) / (Average Peak Sun Hours x 0.75 for system losses) = Required Solar Panel Wattage
So, for our 1000 Wh daily example with 4 average peak sun hours:
1000 Wh / (4 hours x 0.75) = 1000 Wh / 3 = 333 Watts.
This means you'd ideally want at least 350-400 watts of solar panels. Remember, it's often better to slightly oversize your array if roof space allows, especially for van life where conditions are rarely perfect. Many van dwellers opt for 300-600 watts of panels. You can dive deeper into this topic with articles like How Many Solar Panels for Off-Grid Living.
Inverter Sizing:
The inverter converts your battery's DC power into AC power for standard household appliances. To size your inverter, you need to consider two main things:
- Continuous Wattage: The total wattage of all AC appliances you might run simultaneously. If you plan to run a blender (600W) and charge a laptop (90W) at the same time, you'd need at least 690W continuous.
- Surge Wattage: Many appliances, especially those with motors (like blenders, mini-fridges, or microwaves), draw a significantly higher amount of power for a brief moment when they start up. Your inverter needs to be able to handle this "surge" without tripping. A good inverter will have a surge rating that's 2-3 times its continuous rating.
For most van setups, a 1000W to 2000W pure sine wave inverter is usually sufficient. A pure sine wave inverter is crucial for sensitive electronics and motors to run efficiently and without damage. Learn more about choosing the right size with our guide on How to Size an Off-Grid Inverter.
Gathering Your Off-Grid Solar Components
Alright, you’ve done the homework and you know what you need. Now comes the exciting part: rounding up all the pieces of your mobile power puzzle. Getting the right components is key to a reliable and safe system.
Essential System Components
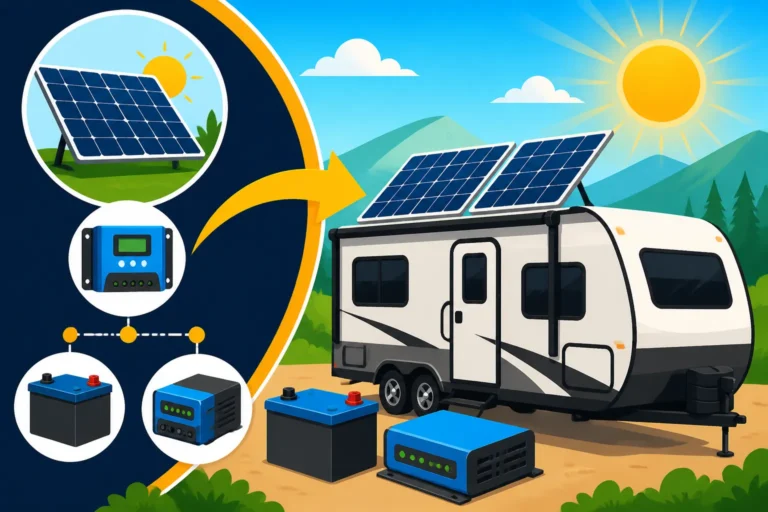
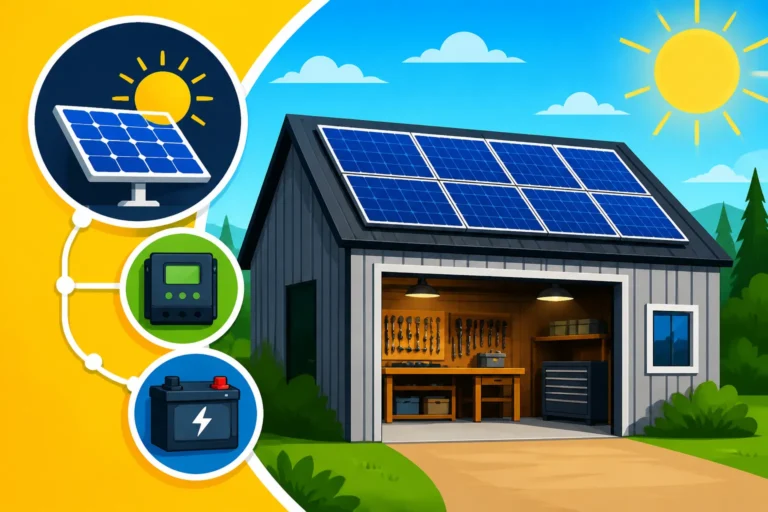
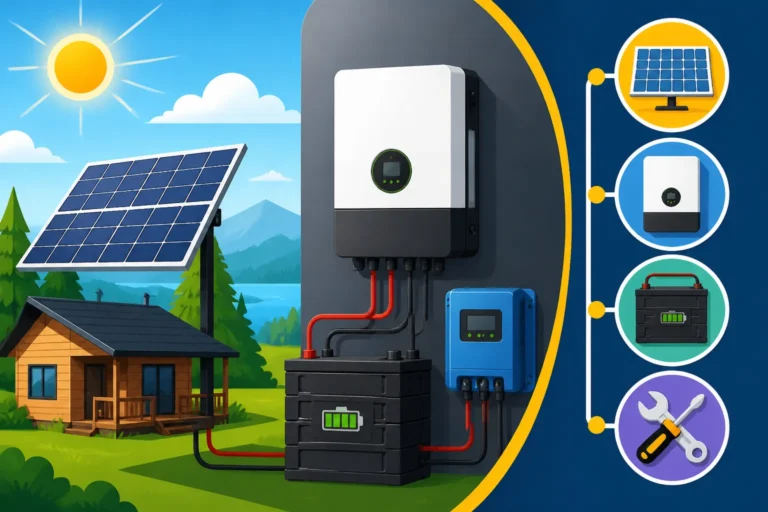
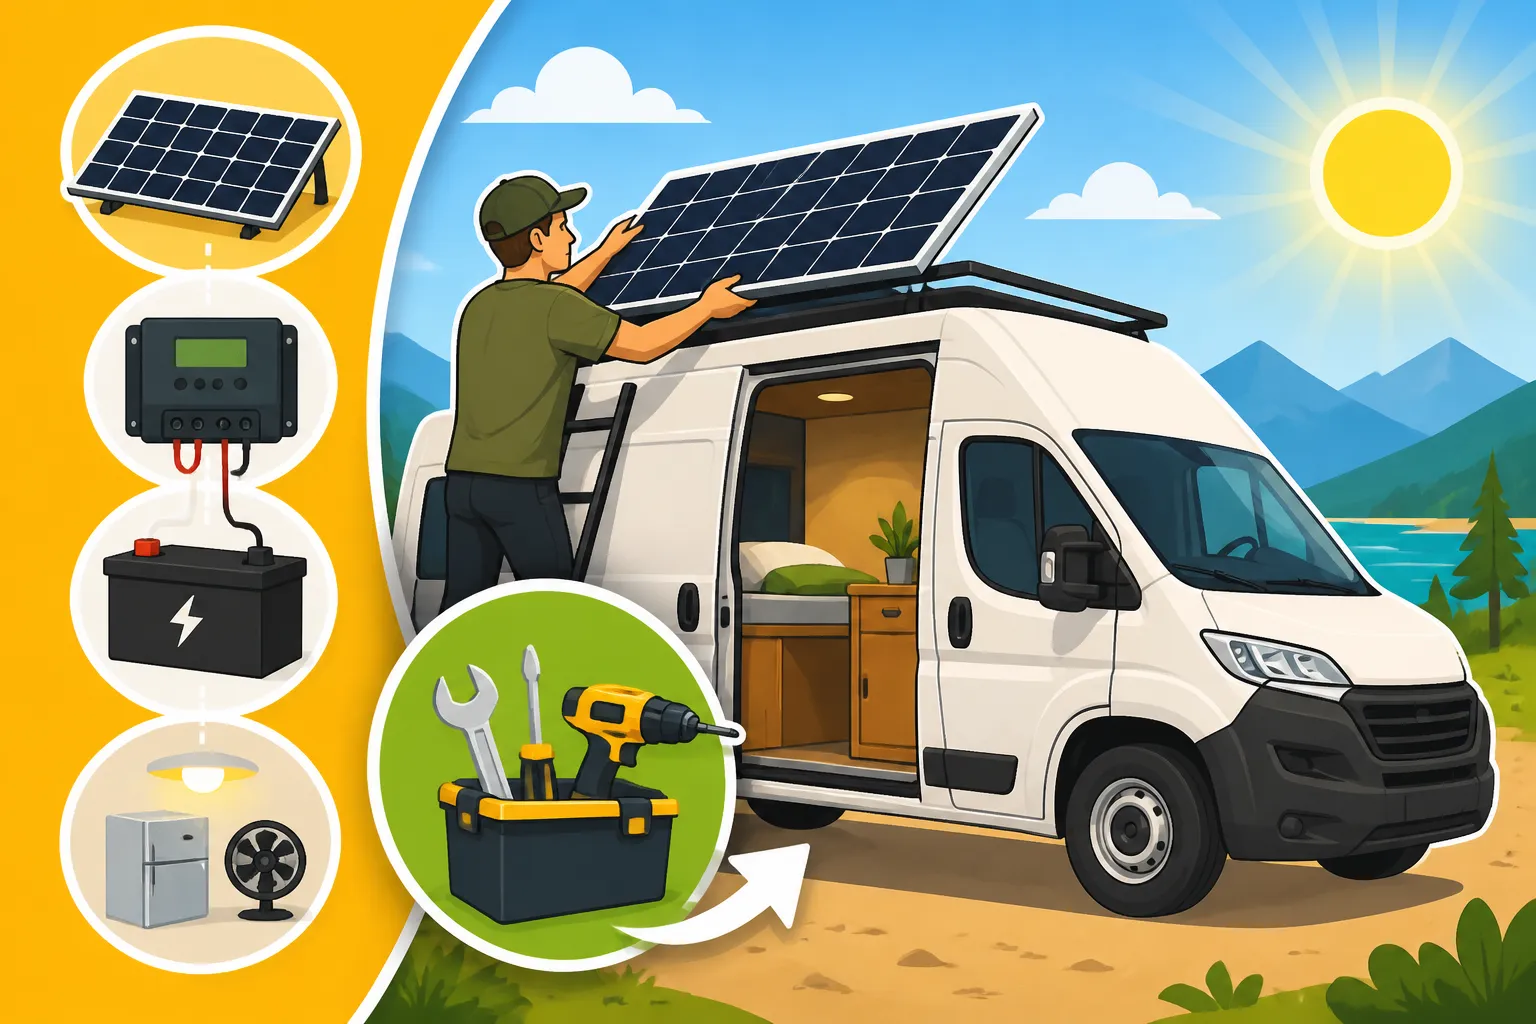
A complete off-grid solar system for a van consists of several core elements, each playing a vital role:
- Solar Panels: These are the workhorses that convert sunlight into electricity. For vans, you'll typically find rigid monocrystalline panels, which are highly efficient and durable, or flexible panels for curved roofs or weight-sensitive applications. However, flexible panels tend to be less efficient and have shorter lifespans. We often recommend rigid panels where possible for their longevity and performance. Explore your options with our guide to Best Off-Grid Solar Panels.
- Charge Controller: This smart device sits between your solar panels and your battery bank. Its job is to regulate the voltage and current coming from the panels to safely and efficiently charge your batteries, preventing overcharging. MPPT (Maximum Power Point Tracking) controllers are highly recommended for vans as they are significantly more efficient than PWM (Pulse Width Modulation) controllers, especially in varying light conditions, which you'll definitely encounter on the road.
- Battery Bank: As we discussed, this stores the energy. LiFePO4 batteries are the gold standard for van builds due to their performance characteristics. Popular brands include Battle Born, Renogy, and EG4. For more details on choosing, check out Best Lithium Batteries for Off-Grid.
- Inverter: This converts the DC power from your batteries into the AC power that your standard household appliances use. For van life, a pure sine wave inverter is crucial.
- Wiring and Cables: You'll need appropriate gauge wiring for each part of your system (panels to charge controller, charge controller to batteries, batteries to inverter). Undersized wires can lead to voltage drop and even fire hazards.
- Fuses and Breakers: These are non-negotiable safety devices. Fuses and circuit breakers protect your system components and, more importantly, you and your van, from short circuits and overcurrents. You'll need them at various points, including between panels and the charge controller, and between the battery bank and the inverter.
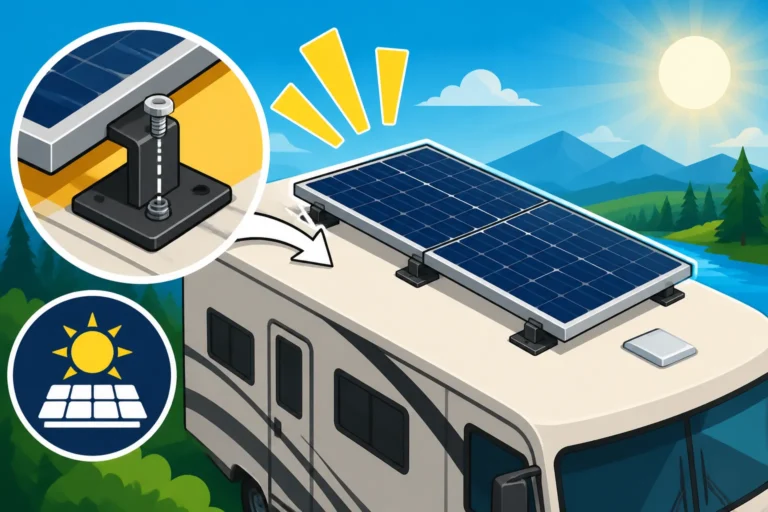
- Mounting Hardware: Sturdy brackets or mounting feet to secure your solar panels to the van roof. These need to withstand road vibrations and wind.
- Disconnect Switches: Manual switches to safely isolate components, especially the battery bank and solar array, during installation, maintenance, or emergencies.
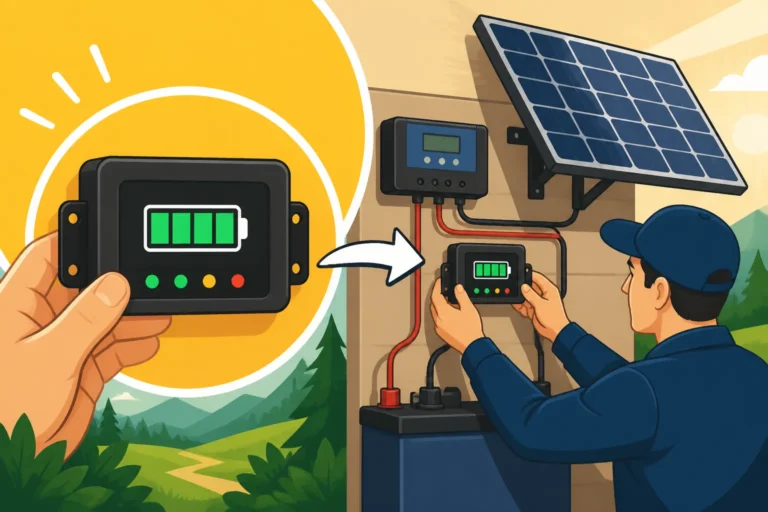
- Battery Monitor (Optional but Highly Recommended): Devices like a Victron SmartShunt or Renogy's own battery monitor provide real-time information on your battery's state of charge, voltage, current in/out, and remaining capacity. This is invaluable for managing your power.
Tools and Supplies You'll Need
Having the right tools will make the installation process much smoother and safer. Don't skimp here; quality tools last and prevent frustration.
Here's a list of what you'll likely need:
- Basic Hand Tools: Wrenches, sockets, screwdrivers, pliers.
- Drill: For mounting panels and running wires.
- Wire Strippers and Crimpers: Essential for making secure electrical connections. Ensure your crimpers are rated for the gauge of wire you're using, especially for battery cables which are often very thick. You can find specialized MC4 crimpers for solar panel connectors on platforms like Amazon.
- Multimeter: Absolutely critical for testing voltage, current, and continuity at various stages of the installation. Don't turn anything on without testing first!
- Sealant: UV-resistant, waterproof sealant (like Sikaflex 221 or Dicor lap sealant) for sealing roof penetrations.
- Conduit/Cable Glands: To protect wires where they enter the van and ensure a waterproof seal.
- Heat Shrink Tubing: For insulating crimped connections.
- Zip Ties and Cable Clamps: For neatly routing and securing wires.
- Safety Gear: Safety glasses, gloves, and appropriate footwear.
Choosing Quality Brands and Materials
When it comes to off-grid solar, especially for a mobile application like a van, quality truly matters. The vibrations of the road, exposure to varying weather, and the desire for long-term reliability mean you shouldn't just grab the cheapest components.
Look for brands with a good reputation in the off-grid or RV solar community. Companies like Renogy offer a wide range of reliable components, from panels and charge controllers to batteries and inverters, and often have great customer support and documentation tailored for DIY installers. Victron Energy is another highly respected brand, especially for charge controllers and inverters, known for its robust and feature-rich products.
When selecting wires, always opt for marine-grade or automotive-grade wiring, as it's designed to withstand vibrations and environmental stressors better than standard household electrical wire. Use tinned copper wire for corrosion resistance. And for fuses and breakers, stick to reputable manufacturers like Blue Sea Systems for DC distribution. Investing a bit more upfront in quality components will save you headaches, troubleshooting time, and potential replacement costs down the road.
Step-by-Step Installation Process
With your components and tools ready, it's time to get your hands dirty! Remember, safety first. Always disconnect batteries and cover solar panels to prevent unexpected power generation before working on connections.
Mounting Your Solar Panels
The first physical step is getting those panels securely onto your van's roof. This isn't just about putting them up; it's about strategic placement for optimal sun exposure and ensuring they stay put through all your adventures.
- Panel Placement: Before drilling, do a dry run. Place your panels on the roof to figure out the best arrangement. Consider:
- Shading: Avoid areas that will be frequently shaded by roof vents, AC units, or awnings. The smallest amount of shade on one part of a panel can significantly reduce the output of the entire array.
- Airflow: Leave a gap (at least an inch or two) between the panels and the roof to allow for airflow. This helps keep the panels cooler, which improves their efficiency.
- Future Additions: If you plan to expand your system later, consider leaving room for additional panels.
- Cable Entry: Plan where your solar cables will enter the van to minimize drilling and ensure a clean, waterproof seal.
- Mounting Options:
- Flush Mounts: These secure panels close to the roof using Z-brackets or similar hardware. They are aerodynamic but can limit airflow.
- Tilt Mounts: Some brackets allow you to tilt panels for better sun angle, especially useful for stationary vans in winter. However, they add height and are less aerodynamic.
- Flexible Panels: If you have a curved roof or extreme weight concerns, flexible panels can be glued directly to the roof, but again, be mindful of their limitations.
- Securing Panels and Sealing Penetrations:
- Mark your drill points carefully based on your chosen mounting hardware.
- Drill pilot holes, then enlarge them to the appropriate size.
- Thoroughly clean the area around the holes.
- Apply a generous amount of UV-resistant, waterproof sealant (like Sikaflex 221) into and around the holes before securing your mounting feet with stainless steel hardware.
- Once the mounts are secure, attach your panels.
- For the main cable entry point into the van, use a waterproof cable gland. Drill a single, appropriately sized hole, feed your cables through, and then seal the gland to the roof and around the cables with sealant. This is one of the most critical steps to prevent leaks, so take your time! For more detailed guidance, see How to Mount Panels on an RV and How to Waterproof Roof Penetrations.
Wiring the Solar Panels and Charge Controller
Once your panels are firmly in place, it's time to connect them electrically to your charge controller.
- Panel Wiring (Series vs. Parallel):
- Series Wiring: Connects the positive (+) of one panel to the negative (-) of the next. This increases the overall voltage but keeps the current the same. Useful for longer cable runs or when your charge controller needs higher voltage.
- Parallel Wiring: Connects all positives together and all negatives together. This increases the current but keeps the voltage the same as a single panel. Useful for shorter runs and when partial shading is a concern (as shading one panel in series can affect the whole string).
- For most van setups with 2-4 panels and an MPPT charge controller, a combination of series and parallel wiring (series-parallel) or just parallel wiring is common, aiming for a voltage high enough for the MPPT controller but not excessively high. Always use MC4 connectors for weather-tight, secure connections between panels.
- Connecting to the Charge Controller:
- Route your main solar array cables (one positive, one negative) from the roof entry point to the location of your charge controller, usually in an interior cabinet near your battery bank.
- Install an inline fuse or DC circuit breaker on the positive solar wire before it reaches the charge controller. This protects the charge controller from overcurrent from the panels.
- With your panels covered (or it being dark), connect the solar panel positive and negative wires to the "PV input" terminals on your charge controller. Ensure polarity is correct!
- Refer to your specific charge controller's manual for proper wiring sequence and terminal identification. Most charge controllers from brands like Renogy or Victron will have clear diagrams. For more detailed steps, check out How to Connect a Charge Controller.
Installing the Battery Bank and Inverter
This is where the stored power comes from and where it gets converted to usable AC electricity.
- Battery Placement:
- Safety First: Batteries, especially large banks, should be placed in a well-ventilated area, securely mounted to prevent movement, and protected from extreme temperatures. While LiFePO4 batteries are less temperamental than lead-acid, keeping them away from direct heat or extreme cold is still best for longevity. Many van dwellers build custom battery boxes under beds, benches, or inside cabinets.
- Accessibility: Ensure you can easily access them for inspection and maintenance.
- Wiring the Battery Bank:
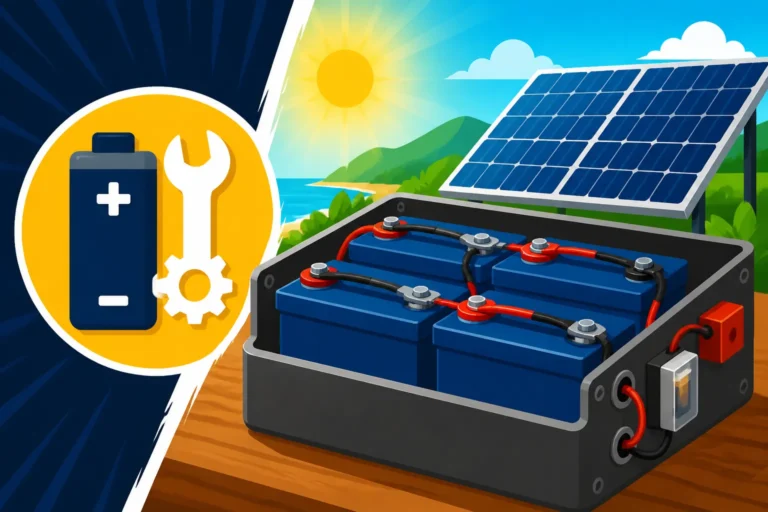
- Series or Parallel: Similar to panels, batteries can be wired in series (to increase voltage) or parallel (to increase capacity). Most van setups use a 12V system, so batteries are typically wired in parallel to increase the Amp-hour capacity. Connect all positive terminals together and all negative terminals together.
- Battery Disconnect: Install a heavy-duty DC disconnect switch and an appropriate fuse (or circuit breaker) on the positive cable directly off your battery bank. This is your main safety cutoff.
- Connecting Charge Controller to Battery: Connect the "Battery output" terminals of your charge controller to your battery bank's positive and negative terminals. Ensure the charge controller's fuse/breaker is installed on the positive line. This connection should be made after the main battery disconnect and fuse.
- Connecting Inverter to Battery: Connect the inverter's positive and negative terminals directly to your battery bank's main terminals, after the main battery disconnect and fuse. Use extremely thick, short cables for this connection to minimize voltage drop, as inverters draw very high current. The inverter will also need its own fuse, which should be placed on its positive line as close to the battery as possible. Learn more about battery wiring with How to Wire a Battery Bank.
Connecting to Your Van's Electrical System
Now that you have power, you need to get it to your devices.
- DC Loads: Many van appliances (lights, fans, water pump, USB chargers) run directly on 12V DC. You'll want to wire these through a dedicated DC fuse block. Run a main positive and negative wire from your battery bank (after the main disconnect/fuse) to this fuse block. From the fuse block, individual fused circuits will run to each DC appliance.
- AC Loads: For anything that plugs into a standard wall outlet, you'll connect them to your inverter.
- If you have just one or two AC outlets, you can often wire them directly from the inverter's AC output, ensuring the wiring is properly rated and protected by an AC breaker.
- For more complex setups, you might install a small AC breaker panel. The inverter's AC output would feed into this panel, and then individual circuits would run to your AC outlets. This requires a solid understanding of AC wiring and safety.
- Integration Considerations:
- Shore Power: If you plan to occasionally plug into shore power, you might consider an inverter/charger combo with an automatic transfer switch. This allows your battery bank to be charged from shore power and seamlessly switches your AC loads to the shore power source when available, protecting your inverter.
- Grounding: Properly ground your entire electrical system to your van's chassis. This typically involves connecting a grounding wire from your main DC busbar (or battery negative post) to a clean, unpainted metal part of the van's frame. This is a critical safety step to prevent electrical shocks.
- Wire Management: Throughout the process, use zip ties, cable clamps, and conduit to neatly route and secure all your wiring. This not only looks professional but also prevents chafing, damage, and potential fire hazards from loose cables bouncing around during travel. For a deeper understanding of the entire circuit, refer to an Off-Grid Solar Wiring Diagram Explained.
Testing, Safety, and Maintenance
You’re almost there! Once everything is installed, don't just flip the switch and hope for the best. A thorough testing phase is crucial, followed by ongoing safety checks and maintenance.
Initial System Testing and Commissioning
This is the moment of truth. Patience and methodical testing will ensure everything works as it should and prevent any costly or dangerous errors.
- Verify All Connections: Before applying any power, double-check every single wire connection. Are all positives connected to positives and negatives to negatives? Are all crimps solid? Are all fuses and breakers in place?
- Battery Connection (First): Ensure your solar panels are covered or it's nighttime. Connect your battery bank to your charge controller. Then, turn on your main battery disconnect switch. Your charge controller should power up, displaying battery voltage.
- Solar Connection (Second): Uncover your solar panels. The charge controller should now detect the solar input and begin charging your batteries if they're not full. Check the charge controller's display or app for indications of solar power generation and charging status. Use a multimeter to verify the voltage from your panels before and after the charge controller.
- Inverter Connection (Third): With the batteries and solar working, turn on your inverter. It should power up, indicating its status (often with an LED). Plug in a small, non-critical AC appliance (like a phone charger or a small light) to an outlet connected to the inverter to confirm it's producing AC power.
- DC Load Testing: Turn on individual DC loads (lights, fans, etc.) to ensure they are working correctly and drawing power as expected.
- Monitor Performance: Over the next few days, closely monitor your system's performance. Watch the battery monitor to see how much power you're consuming versus how much solar is coming in. Are your batteries charging fully? Are they depleting too quickly? Adjust your habits or consider system tweaks if necessary. For a more detailed walkthrough on this, read How to Test an Off-Grid Solar System.
Ensuring Safety and Compliance
Safety isn't just a step in the installation; it's an ongoing commitment. Electrical systems, especially high-power ones, demand respect.
- Proper Grounding: We mentioned it during installation, but it bears repeating: ensure your entire system is properly grounded to the van's chassis. This means running a dedicated grounding wire from your main busbar or battery negative post to a clean, bare metal part of the van frame. This creates a path for fault currents to safely dissipate, protecting you from shock.
- Fuses and Breakers: All major components (solar array, battery bank, inverter, DC loads, AC loads) must have properly sized fuses or circuit breakers. These are your system's first line of defense against overcurrent and short circuits. Never bypass them!
- Disconnects: Have readily accessible disconnect switches for your solar array and battery bank. In an emergency, or during maintenance, you want to be able to completely cut power.
- Wire Management and Protection: All wires should be securely fastened, protected from sharp edges, and routed through conduit where exposed to potential damage. This prevents chafing and shorts caused by vibration or external impact.
- Van-Specific Considerations: While vans aren't typically subject to residential building codes, adhering to National Electrical Code (NEC) guidelines for RVs and mobile applications is a smart move for safety. This means using appropriate wire types, proper overcurrent protection, and secure connections. Understanding Off-Grid Solar Safety and Grounding is paramount.
Ongoing Maintenance and Troubleshooting
An off-grid solar system is a fantastic asset, but it's not entirely "set it and forget it." A little regular care goes a long way in ensuring its longevity and reliability.
- Regular Cleaning: Periodically clean your solar panels. Dirt, dust, pollen, bird droppings, and even leaves can significantly reduce their efficiency. A soft brush and water are usually all you need.
- Connection Checks: Every few months, visually inspect all your electrical connections. Look for any signs of corrosion, loose wires, or heat discoloration. Tighten anything that seems loose.
- Battery Health: If you're using LiFePO4 batteries with a good battery management system (BMS), they require minimal hands-on maintenance. However, regularly check your battery monitor to ensure cells are balanced and performing as expected. Avoid consistently discharging them too deeply or leaving them fully discharged for extended periods.
- Troubleshooting Common Issues:
- No Power: First, check your disconnects, fuses, and breakers. A tripped breaker or blown fuse is a common culprit.
- Low Charging: If your batteries aren't charging, check panel cleanliness, shading, and the connections between your panels and charge controller. Your charge controller's display often shows error codes that can point to the problem.
- Inverter Not Working: Check the battery voltage – most inverters will shut off if the battery voltage drops too low to protect the batteries. Check the inverter's input fuses or breakers, and ensure no individual appliance is drawing more power than the inverter's capacity.
Being proactive with your Off-Grid Solar Maintenance Guide and knowing How to Troubleshoot Off-Grid Solar will keep your van powered and your adventures uninterrupted.
Disclaimer
The information provided in this guide is for general informational and educational purposes only and is not a substitute for professional advice. Off-grid solar system installation involves working with electricity, which can be dangerous. Incorrect installation can lead to property damage, injury, or even death. Always consult with a qualified electrician or solar professional before undertaking any electrical work. Adhere to all local codes and regulations.