How to Size an Off-Grid System for a Remote Cabin
Dreaming of that cozy, secluded cabin, far from the hustle and bustle, but then the cold splash of reality hits: how on earth do you power it? The thought of running power lines for miles, or relying on a noisy, gas-guzzling generator, can quickly dim the allure of off-grid living. This guide is designed to cut through that confusion, giving you a clear, step-by-step approach to properly size an off-grid solar system for your remote cabin, ensuring you have reliable power without the headaches.
Unpacking Your Cabin's Energy Appetite
Before you even think about panels or batteries, the absolute first step in sizing an off-grid solar system for your remote cabin is understanding exactly how much power you'll actually use. This isn't just a guessing game; it's a critical calculation that will dictate every other component of your system. Many folks get this wrong and end up with an undersized system that leaves them in the dark, or an oversized one that wastes money. We want to avoid both of those frustrations!
Calculating Your Daily Watt-Hour Needs
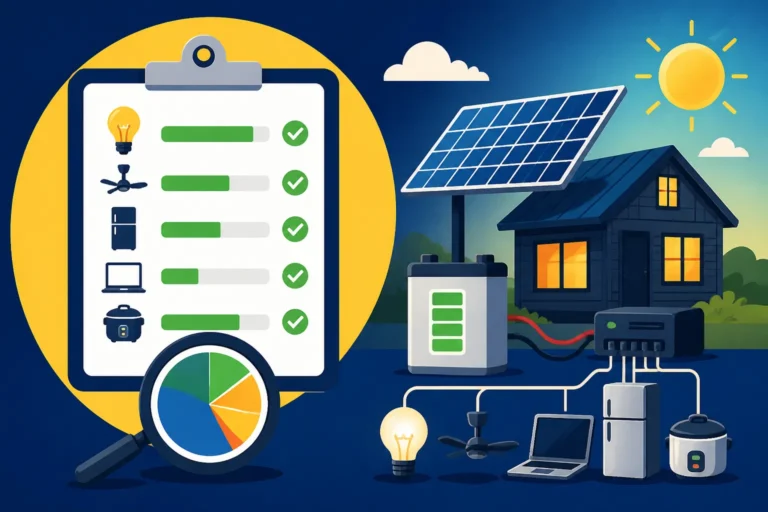
This is where the rubber meets the road. You need to identify every single electrical device you plan to use in your cabin, how many watts it draws, and for how long each day. It's often helpful to walk through a typical day in your cabin, from morning coffee to evening reading, and list everything.
For instance, consider your kitchen. Do you plan to run a full-sized refrigerator? Many modern refrigerators can be surprisingly efficient, using around 300-800 Wh per day, but older models might consume significantly more. Will you have a microwave for quick meals, which, while only running for a few minutes, can draw a huge amount of power (1000-1500 watts) during that short burst? What about lights? LED lights are a game-changer for off-grid living, consuming far less power than old incandescent bulbs. A typical LED bulb might only draw 7-10 watts, and if it's on for 4 hours a day, that's 28-40 Wh.
Don't forget the essentials for many remote cabins: a well pump. If you rely on groundwater, your well pump can be a major power consumer. A 1/2 HP well pump might draw 750-1000 watts for 30 minutes a day, amounting to a substantial chunk of your daily usage. Even smaller items add up – phone chargers, a laptop for work or entertainment, a radio, or a fan. It's often an eye-opener when you actually tally it all up. For a deeper dive into specific appliance needs, check out our guide on How Much Solar to Run A Refrigerator.
To get a precise measurement, especially for things like refrigerators or freezers that cycle on and off, you can use a kill-a-watt meter. Plug your appliance into it, and it will track actual energy consumption over a period (24 hours is ideal). This takes the guesswork out and gives you solid numbers. This process of thoroughly listing and quantifying your usage is often referred to as a "load analysis" and is paramount. Understanding How to Calculate Daily Energy Usage is a foundational skill for any off-grid homesteader.
Identifying Peak Power Demands
Beyond the daily total, you also need to consider your peak power demand, which is the maximum amount of power you might need at any single moment. This is crucial for sizing your inverter. Think about it: if you turn on the microwave (1200W), your well pump kicks in (1000W), and a few lights are on (50W total) all at the same time, you're suddenly demanding 2250W.
Many appliances, especially those with motors like refrigerators, well pumps, or power tools, have a "surge" or "starting" wattage that is significantly higher than their continuous "running" wattage. A well pump, for example, might run at 1000 watts but require 2000-3000 watts for a split second to start. Your inverter must be able to handle this momentary surge without shutting down. If you plan on using power tools in a workshop at your remote cabin, factor in their high starting loads. This often overlooked detail can lead to frustrating system trips if not accounted for during the design phase.
Here's a simplified table to help you estimate common cabin appliance loads:
| Appliance | Average Running Watts | Surge Watts (Approx.) | Daily Use (Hours) | Daily Watt-Hours (Estimated) |
|---|---|---|---|---|
| LED Light Bulb (1) | 10 | 0 | 4 | 40 |
| Mini Fridge (Energy Star) | 60 | 150 | 8 (cycling) | 480 |
| Full-Size Fridge (Energy Star) | 100 | 500 | 10 (cycling) | 1000 |
| Laptop Charger | 50 | 0 | 3 | 150 |
| Phone Charger | 10 | 0 | 2 | 20 |
| Water Pump (1/2 HP) | 800 | 2400 | 0.5 | 400 |
| Microwave | 1000 | 1500 | 0.1 (6 mins) | 100 |
| Coffee Maker | 800 | 0 | 0.25 (15 mins) | 200 |
| TV (LED 32-inch) | 40 | 0 | 3 | 120 |
| Ceiling Fan | 70 | 100 | 6 | 420 |
| Total Example Daily Watt-Hours: | ~4700 Wh | |||
| Total Example Peak Surge (if pump, microwave, fridge, lights on): | ~4100W |
Note: These are estimates. Always check appliance labels or use a watt meter for precise measurements.
Once you have a good handle on your daily watt-hour total and your peak wattage, you're well-equipped to move on to sizing the actual solar components. This methodical approach will save you countless headaches down the line. To learn more about this crucial first step, refer to our article on How to Do an Off-Grid Load Analysis.
Building Your Energy Generation and Storage Powerhouse
With your energy needs mapped out, it's time to translate those numbers into tangible solar equipment: panels to generate electricity and batteries to store it. This is where many DIYers feel overwhelmed, but breaking it down makes it much more manageable.
Determining Solar Panel Requirements
Sizing your solar array isn't just about matching the daily watt-hours; it's about matching them to the amount of sunlight your remote cabin actually receives, especially considering seasonal variations. "Peak Sun Hours" is a critical concept here. This refers to the equivalent number of hours per day when the sun's intensity averages 1,000 watts per square meter. A location might get 8 hours of daylight, but only 4-5 "peak sun hours" due to angles, haze, or time of day.
You'll need to research the average peak sun hours for your cabin's specific location, paying close attention to the least sunny month (usually December or January in the Northern Hemisphere). Why the least sunny month? Because if your system can keep up during the darkest days of winter, it will certainly excel during the brighter months. For example, if your cabin is in the mountains of Colorado, you might get 5-6 peak sun hours in July but only 2-3 in December. You must size for December if you want year-round reliability.
Let's say your cabin needs 4700 Wh per day, and your location gets an average of 3 peak sun hours in the winter.
Your panels need to generate: 4700 Wh / 3 peak sun hours = 1567 Watts.
Since solar panels rarely operate at 100% efficiency in real-world conditions (due to temperature, dust, angle, etc.), it's wise to add a buffer, often 1.25x or 1.3x.
So, 1567 Watts * 1.3 = approximately 2037 Watts of solar panels.
If you're using 400-watt solar panels, you'd need about 2037 / 400 = 5.09, so 6 panels.
Beyond the raw wattage, consider the physical space for panels. Will they go on a roof, or will you use a ground mount? The orientation and tilt angle of your panels are also vital. For year-round use, especially where winter sun is low, you might want to adjust your panels seasonally or opt for a steeper fixed tilt angle that favors winter production. A well-designed array takes into account potential shading from trees or nearby structures, as even partial shading on one panel can significantly reduce the output of an entire string. This is particularly important for remote cabins often nestled among trees. For more guidance on this, consider resources on How Winter Affects Off-Grid Sizing.
Building Your Battery Bank for Autonomy
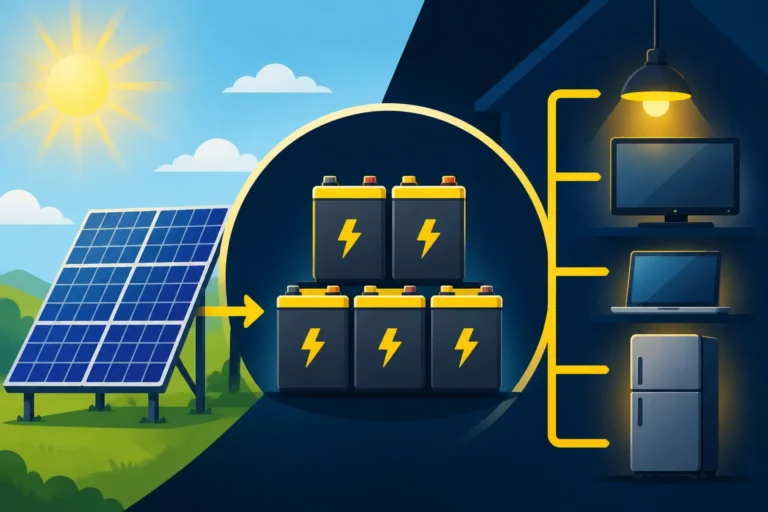
Your battery bank is the heart of your off-grid system, storing the sun's energy for use when the panels aren't producing (nights, cloudy days). Sizing it correctly is paramount, and it often represents a significant portion of your overall Off-Grid Solar Cost: Complete Breakdown. The key concept here is "days of autonomy" – how many days your battery bank can power your cabin without any input from your solar panels. For a remote cabin, especially if you experience frequent cloudy weather or long winters, aiming for 2-5 days of autonomy is common and highly recommended for peace of mind.
Let's stick with our 4700 Wh/day cabin example. If you want 3 days of autonomy, your battery bank needs to store:
4700 Wh/day * 3 days = 14,100 Wh (or 14.1 kWh).
Now, battery chemistry matters. The two most common types for off-grid are Lead-Acid (like AGM or Gel) and Lithium Iron Phosphate (LiFePO4).
- Lead-Acid Batteries: These are generally cheaper upfront but have a lower usable depth of discharge (DoD), typically 50%. This means if you have a 100 Ah (amp-hour) lead-acid battery, you can only safely use 50 Ah before recharging to prolong its lifespan. They also have a shorter lifespan (3-7 years) and require more maintenance.
- LiFePO4 Batteries: These are more expensive initially but offer a much higher usable DoD (80-100%), a longer lifespan (10-15+ years or thousands of cycles), and are virtually maintenance-free. They also perform better in a wider range of temperatures and are significantly lighter. For a remote cabin where reliability and minimal maintenance are key, LiFePO4 batteries are often the superior choice despite the higher initial investment. For a detailed comparison, check out LiFePO4 vs Lead-Acid Battery Cost.
Let's convert our 14,100 Wh requirement into amp-hours (Ah), which is how batteries are typically rated. You also need to choose a system voltage – 12V, 24V, or 48V. For a cabin-sized system like ours (over 2000W), 24V or 48V is usually more efficient and cost-effective as it reduces wire gauge requirements and voltage drop. Let's assume a 48V system for efficiency.
For LiFePO4 (80% DoD):
14,100 Wh / 48V = 293.75 Ah.
Since you can use 80% of a LiFePO4 battery's capacity, you need a battery bank with a nominal capacity of: 293.75 Ah / 0.8 = ~367 Ah.
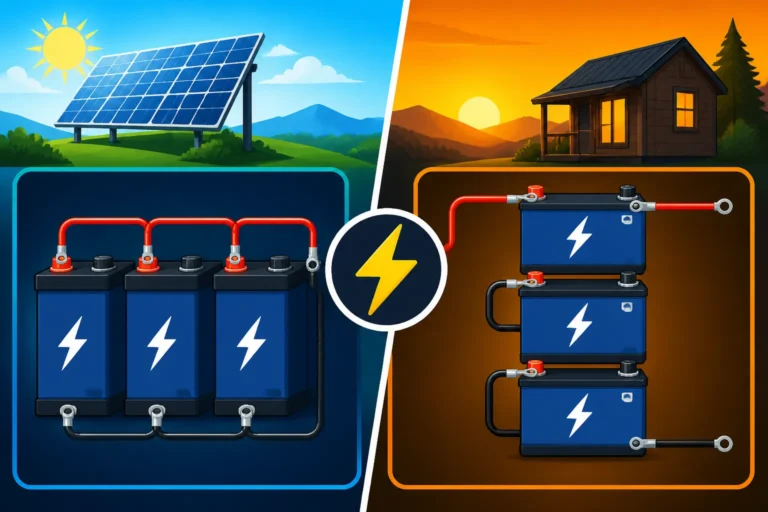
So, you'd look for LiFePO4 batteries that sum up to around 370 Ah at 48V. For example, two 200Ah 48V batteries in parallel (if available, or four 100Ah 48V batteries in parallel, or even eight 100Ah 24V batteries wired in series-parallel to achieve 48V).
For Lead-Acid (50% DoD):
14,100 Wh / 48V = 293.75 Ah.
Since you can only use 50% of its capacity, you'd need: 293.75 Ah / 0.5 = ~588 Ah.
This demonstrates why you need a much larger (and heavier, and more expensive) lead-acid bank to achieve the same usable capacity as a LiFePO4 bank.
When sourcing batteries, many reputable brands like Battle Born or EG4 offer excellent LiFePO4 options. You can find robust battery solutions from a variety of manufacturers, sometimes even on platforms like Amazon for smaller setups or individual components. Learning How Many Batteries for an Off-Grid System is crucial. For further calculations, our guide on How to Calculate Battery Amp-Hours Needed can be incredibly helpful.
The Brains of Your Off-Grid Cabin System: Inverter and Charge Controller
Once you know how much power you need and how you're going to generate and store it, the next step is to choose the components that manage and convert that power for your everyday use. These are your charge controller and inverter – often called the "brains" of your system.
Choosing the Right Inverter Size and Type
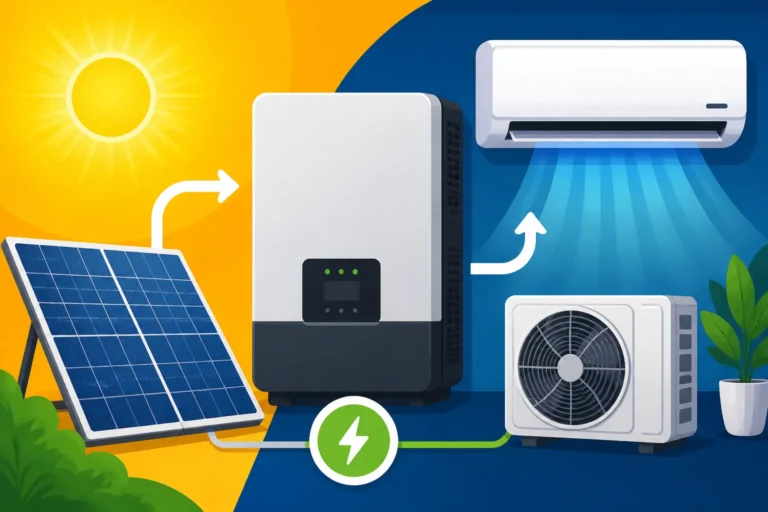
Your inverter is the magical box that transforms the direct current (DC) power from your batteries into alternating current (AC) power, which is what most of your standard cabin appliances use. Selecting the correct inverter involves two main considerations: size (wattage) and type (waveform).
Inverter Size:
This directly relates to your peak power demand we discussed earlier. If our example cabin's peak surge demand was 4100 watts, you'd need an inverter capable of handling at least that much, and ideally a bit more for a safety margin. So, a 5000-watt inverter would be a good fit. It's always better to slightly oversize your inverter than to undersize it and have it constantly tripping or struggling with surge loads. A common mistake is only looking at continuous power and forgetting about those momentary surges from motors. Many off-grid specific inverters, like those from Victron Energy or Sol-Ark, are designed with robust surge capabilities. These brands are often favored by experienced off-gridders for their reliability. Learn more about this in our guide on How to Size an Off-Grid Inverter.
Inverter Type (Waveform):
There are primarily two types of inverters when it comes to waveform:
- Modified Sine Wave Inverters: These are cheaper but produce a "choppy" approximation of true AC power. They are generally okay for simple resistive loads like incandescent lights or heating elements, but they can damage sensitive electronics (laptops, TVs, medical equipment), make motor-driven appliances run inefficiently or noisily, and may not work with certain devices at all. For a modern cabin with everyday appliances, these are generally not recommended.
- Pure Sine Wave Inverters: These produce a clean, smooth waveform that perfectly mimics the power from the utility grid. They are essential for all sensitive electronics and motor-driven appliances to operate correctly and without damage. While more expensive, they are a non-negotiable for reliable off-grid living in a cabin. Invest in a good pure sine wave inverter; it's worth every penny for peace of mind and appliance longevity.
Also, consider if you want an inverter-charger. These units combine an inverter with a battery charger, allowing you to charge your battery bank from an AC source like a generator if your solar production falls short during extended cloudy periods or high demand. This is a highly recommended feature for remote cabins, adding a layer of backup and flexibility.
Matching a Charge Controller to Your System
The charge controller is the guardian of your battery bank. Its job is to regulate the voltage and current coming from your solar panels, ensuring your batteries are charged efficiently and, more importantly, safely. Overcharging batteries can severely damage them and even pose a fire risk, especially with certain battery chemistries.
There are two main types of charge controllers:
- PWM (Pulse Width Modulation) Charge Controllers: These are simpler, less expensive, and essentially "throttle" the voltage from the panels to match the battery voltage. They are less efficient, especially when the panel voltage is significantly higher than the battery voltage (e.g., a 24V panel charging a 12V battery). They are typically best for smaller, less complex systems where the panel voltage closely matches the battery bank voltage.
- MPPT (Maximum Power Point Tracking) Charge Controllers: These are more advanced and significantly more efficient. MPPT controllers actively track the maximum power point of your solar array, converting excess voltage into additional amperage. This means they can take a high-voltage input from your panels and efficiently charge a lower-voltage battery bank, extracting up to 10-30% more power from your panels compared to a PWM controller. For a remote cabin system, where maximizing every watt from your panels is crucial, an MPPT controller is almost always the best choice despite its higher cost.
Sizing Your Charge Controller:
To size your MPPT charge controller, you need to consider the total wattage of your solar array and your battery bank's voltage.
Using our example of 2037 Watts of solar panels and a 48V battery bank:
First, calculate the maximum amperage your panels could produce in ideal conditions (which is typically the "short-circuit current" or Isc listed on your panel's spec sheet, multiplied by the number of series strings).
A simpler method for MPPT is to take your total panel wattage and divide it by your battery bank voltage.
2037 Watts / 48V = 42.4 Amps.
You'll want a charge controller rated for at least 25% more than this calculated current for safety and future expansion.
42.4 Amps * 1.25 = 53 Amps.
So, you'd look for a 48V MPPT charge controller rated for at least 60 Amps. Brands like Renogy and Victron offer a range of MPPT charge controllers suitable for cabin systems, often with built-in monitoring features that are incredibly useful for keeping an eye on your system's performance. For a more detailed look into this component, read our article on How to Size a Charge Controller.
Important Practical Considerations for Your Remote Cabin
Sizing the core components is a fantastic start, but there are several real-world factors unique to remote cabin living that you absolutely cannot ignore if you want a truly reliable and functional off-grid solar system. Ignoring these can lead to frustration, premature equipment failure, or even safety hazards.
Accounting for Weather and Seasonality
A remote cabin isn't typically just a fair-weather getaway; many people rely on them year-round, or at least across multiple seasons. This means your solar system needs to perform reliably even when conditions are less than ideal.
- Cloudy Days: We've already touched on this with "days of autonomy," but it bears repeating. Extended periods of cloudy or stormy weather are a fact of life in many regions. Your system must be able to weather these metaphorical storms. This often means oversizing your solar array slightly and definitely oversizing your battery bank beyond your absolute minimum daily needs. For example, if you're in the Pacific Northwest, where it can be overcast for weeks, you might aim for 5 or even 7 days of battery autonomy, compared to 2-3 days in a sunnier locale like Arizona.
- Winter Sun Angles and Short Days: As mentioned in the panel sizing section, the sun is much lower in the sky during winter. This dramatically reduces the effective power production of your panels unless they are optimally tilted. If your cabin is in a forested area, winter can also bring more shading as the sun dips below tree lines that it clears easily in summer. Consider adjustable tilt mounts for your panels, or choose a fixed tilt that balances summer and winter production if year-round use is your goal.
- Temperature Extremes: Both very hot and very cold temperatures affect solar panel and battery performance.
- Cold Weather: Solar panels actually become more efficient in cold temperatures (though batteries lose capacity). However, wiring needs to be rated for cold, and if you have lead-acid batteries, they absolutely must be protected from freezing, which can permanently damage them. LiFePO4 batteries are much more tolerant of cold, but most still have a low-temperature charging cutoff (typically 0°C or 32°F) to prevent damage. You might need to consider insulated battery enclosures, or even a small heating pad for your LiFePO4 batteries if your cabin gets truly frigid.
- Hot Weather: Solar panels lose efficiency as temperatures rise, typically losing about 0.3-0.5% of their output for every degree Celsius above 25°C (77°F). This means in a scorching summer, your 400W panel might only produce 350W. Ensure good ventilation around your panels and inverter to dissipate heat.
- Snow Accumulation: If your cabin is in a snowy region, snow on your panels can completely halt power production. Consider higher tilt angles to encourage snow shedding, or design your mounting system so you can safely clear snow from your panels after heavy falls.
Ignoring these environmental factors is a common pitfall for remote cabin owners. It's often the difference between a system that serves you faithfully and one that leaves you bundled in blankets, wondering why your lights aren't working. Our article on How to Design Off-Grid Solar for Winter offers even more specific advice.
Expanding Your System and Future Needs
One of the beautiful things about off-grid solar is its modularity. You don't have to build your dream system all at once, especially if you're working with a budget. Many cabin owners start with a smaller setup for basic lighting and charging, and then expand as their needs or finances allow.
When you're initially sizing, try to think a few years down the line. Do you anticipate adding more appliances? Perhaps a small workshop with power tools, or a more robust water heating system?
- Oversize Your Charge Controller and Inverter: These components are often the most expensive to upgrade. If you think you might double your solar array in a few years, it might be cost-effective to buy a charge controller that can handle the larger array now. Similarly, if you envision adding a larger appliance like a mini-split air conditioner, getting an inverter with a higher capacity upfront can save you from replacing it entirely later.
- Modular Battery Bank: LiFePO4 batteries are particularly good for this, as you can often add more batteries to an existing bank without significant compatibility issues, provided they are of the same voltage and ideally the same brand and age. With lead-acid, mixing old and new batteries is generally not recommended.
- Room for More Panels: When designing your panel mounting system, leave space. If you're using a ground mount, ensure you have enough clear, unshaded area to add another row or two of panels. If you're roof-mounting, plan for the physical space for additional panels.
Thinking about future expansion helps you save money and hassle in the long run. It's much easier (and cheaper) to add components than to completely rip out and replace undersized core equipment. Building an expandable system is a smart investment in your off-grid independence.
Final Thoughts
Sizing an off-grid solar system for a remote cabin can feel like a daunting task, but by breaking it down into manageable steps – understanding your energy needs, then sizing your generation and storage, and finally selecting your power management components – it becomes a clear path to energy independence. Remember to factor in your specific cabin's location, climate, and how you plan to use it throughout the year. Don't be afraid to take your time with the calculations, and always build in a little buffer for those unexpected demands or cloudy days. With careful planning and the right components, your remote cabin will be bathed in the silent, reliable glow of solar power for years to come.
Disclaimer
The information provided in this guide is for general informational purposes only and does not constitute professional electrical engineering or installation advice. Off-grid solar systems involve high voltages and currents, which can be dangerous. Always consult with a qualified solar professional or licensed electrician for system design, installation, and compliance with local codes and regulations. Proceed with caution and at your own risk.