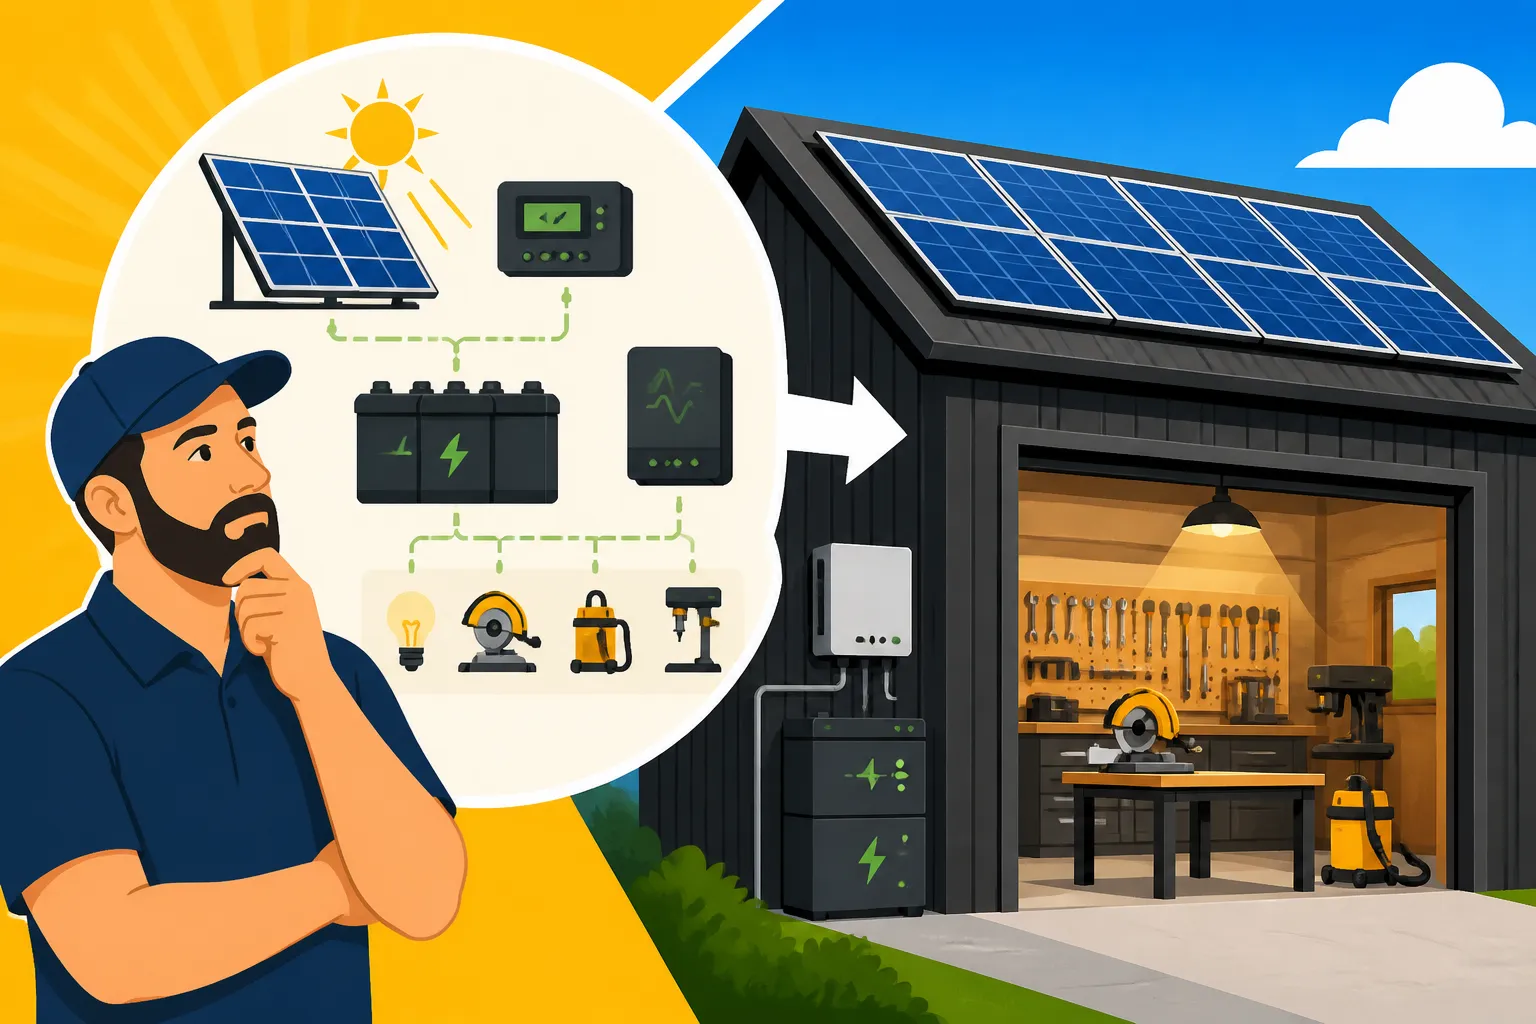
How to Size an Off-Grid System for a Workshop
Dreaming of a workshop that hums with power, free from the constraints of tangled extension cords or the exorbitant cost of running utility lines out to that remote shed? You’re not alone. Many of us grapple with the frustration of wanting to power our passion projects or essential tools without breaking the bank or being tethered to the grid. This comprehensive guide is here to walk you through the essential steps of sizing an off-grid solar system specifically tailored for your workshop, ensuring you have reliable power for all your tools and tinkering.
Understanding Your Workshop's Energy Needs
Before you even think about panels or batteries, the absolute first step is to figure out exactly how much power your workshop truly needs. This isn't just about what you want to run, but what you will run, how often, and for how long. It's easy to overestimate or underestimate, and either way can lead to an inefficient or insufficient system. This foundational step is often called a "load analysis," and it's the bedrock of your entire off-grid design.
Inventorying Your Appliances and Tools
Start by making a detailed list of every single electrical item you plan to use in your workshop. Think about lights, power tools (saws, drills, sanders, air compressors), battery chargers, a small refrigerator for drinks, a radio, a laptop, or even a small fan or heater. Don't leave anything out, even if you think it's tiny. Every watt counts when you're off-grid.
For each item, you'll need to find its wattage. This is usually printed on a label on the appliance itself, in the owner's manual, or easily found with a quick online search for the specific model. Power tools, especially, can have a "starting wattage" (or surge wattage) that is much higher than their "running wattage." For instance, a circular saw might run at 1500 watts but surge to 3000 watts for a split second when you first pull the trigger. This distinction is incredibly important for sizing your inverter, which we'll discuss later. If you can't find a precise wattage, a Kill-A-Watt meter, often available for purchase on Amazon or at local hardware stores, is an invaluable tool for measuring actual power consumption. You can learn more about how to accurately assess your power needs in our guide on how to calculate daily energy usage.
Estimating Daily Usage and Calculating Watt-Hours
Once you have your list and wattage for each item, the next crucial step is to estimate how many hours per day you'll realistically use each appliance. Be honest with yourself! If you only use your table saw for 15 minutes a day, don't list an hour. If your lights are on for 4 hours, write 4 hours.
With these two pieces of information (wattage and daily hours of use), you can calculate the daily watt-hours (Wh) for each item. This is simply:
- Wattage (W) x Hours per day (h) = Daily Watt-Hours (Wh)
Add up all the daily watt-hours for every item, and you'll have your total average daily energy consumption for your workshop in Watt-hours. This number is perhaps the most critical input for sizing the rest of your system. It tells you how much energy your solar panels need to generate and how much your battery bank needs to store. This detailed process of figuring out your specific requirements is key to avoiding an undersized or oversized system, both of which can lead to headaches and wasted money. Our article on how to do an off-grid load analysis provides a deeper dive into this calculation.
Let's look at a hypothetical workshop load analysis:
| Appliance | Wattage (W) | Avg. Hours Used/Day | Daily Watt-Hours (Wh) | Surge Wattage (W) (if applicable) |
|---|---|---|---|---|
| LED Shop Lights (x4) | 60 | 4 | 240 | N/A |
| Drill Press | 800 | 0.5 | 400 | 1600 |
| Miter Saw | 1600 | 0.25 | 400 | 3200 |
| Battery Charger (tool) | 100 | 2 | 200 | N/A |
| Small Mini Fridge | 50 (running) | 8 (compressor cycle) | 400 | 400 |
| Radio/Bluetooth Speaker | 20 | 3 | 60 | N/A |
| Laptop Charging | 60 | 1 | 60 | N/A |
| Total Daily Watt-Hours | N/A | N/A | 1760 Wh | Max Single Surge: 3200 W |
In this example, our workshop needs about 1760 Wh per day. The highest single surge is 3200W from the miter saw. This information is gold!
Calculating Your Solar Panel Array Size
With your total daily Watt-hours in hand, you can now start figuring out how many solar panels you'll need to generate that energy. This step requires considering a few environmental factors that influence how much power your panels actually produce.
Understanding Peak Sun Hours
Solar panels are rated in "watts" (e.g., 100W, 200W, 400W), but that rating is under ideal laboratory conditions. In the real world, the amount of sunlight hitting your panels varies dramatically throughout the day and year. To account for this, we use a concept called "peak sun hours." This isn't the total number of hours the sun is up, but rather the equivalent number of hours per day when sunlight intensity averages 1000 watts per square meter. This is generally the equivalent of full, direct sunshine.
The number of peak sun hours varies significantly by your geographic location and the time of year. For example, a sunny region like Arizona might get 5-7 peak sun hours per day on average, while a cloudier region in the Pacific Northwest might only get 2-3 peak sun hours in winter. You can find average peak sun hours for your specific location online through resources like the National Renewable Energy Laboratory (NREL) or by consulting local solar installers. For a workshop, it's often wise to size for your worst-case scenario, usually the shortest, cloudiest days of winter, unless you plan to supplement with a generator during those times.
Determining Required Panel Wattage
Now we can calculate the total wattage your solar panel array needs to be. Here’s the formula:
- Total Daily Watt-Hours (Wh) / Peak Sun Hours (h) = Required Panel Wattage (W)
Let's use our workshop example of 1760 Wh per day. If your location gets an average of 4 peak sun hours per day (a reasonable estimate for many regions during winter months):
- 1760 Wh / 4 h = 440 W
This means you need an array capable of producing at least 440 watts. However, it's crucial to factor in efficiency losses. Solar panels aren't 100% efficient, wiring has losses, and dust or snow can reduce output. A good rule of thumb is to add a 20-30% buffer to your calculated wattage.
- 440 W x 1.25 (for 25% buffer) = 550 W
So, you'd ideally want at least 550 watts of solar panels. If you're looking at 100-watt panels, you'd need six of them. If you prefer larger 400-watt panels, you might opt for two panels, giving you 800 watts, which provides an even healthier buffer. When shopping for panels, consider brands like Renogy, which offers a wide range of monocrystalline and polycrystalline panels suitable for various applications. Our guide on how many watts of solar you need provides more general information.
Remember that panel placement and angle also significantly affect output. Panels should ideally face true south (in the Northern Hemisphere) and be tilted at an angle equal to your latitude for year-round production, or adjusted seasonally for optimal winter or summer performance.
Sizing Your Battery Bank for Storage
Your battery bank is the heart of your off-grid system, storing the solar energy collected during the day so you can use it at night or on cloudy days. Sizing it correctly is paramount to avoiding frustrating power outages.
Calculating Days of Autonomy
"Days of autonomy" refers to how many days your battery bank can power your workshop without any sunlight input. For a workshop, you might not need as many days as a full-time residence, but planning for 2-3 days of autonomy is a good starting point to handle typical cloudy spells. If you live in a particularly rainy or overcast region, or simply want more peace of mind, you might aim for 3-5 days.
Using our example of 1760 Wh per day, and aiming for 2 days of autonomy:
- 1760 Wh/day x 2 days = 3520 Wh total storage needed.
Factoring in Depth of Discharge (DoD)
Not all battery types allow you to use 100% of their stored energy without damaging them. This is known as the "depth of discharge" (DoD).
- Lead-acid batteries (like flooded or AGM) usually recommend a maximum DoD of 50%. Discharging them below this regularly can significantly shorten their lifespan.
- Lithium Iron Phosphate (LiFePO4) batteries, on the other hand, can often be safely discharged to 80-100% DoD, making them much more efficient in terms of usable capacity.
This means you need more gross capacity from lead-acid batteries to get the same usable capacity as LiFePO4 batteries.
Let's continue with our 3520 Wh requirement:
- For LiFePO4 batteries (80% DoD): 3520 Wh / 0.80 = 4400 Wh gross capacity.
- For Lead-Acid batteries (50% DoD): 3520 Wh / 0.50 = 7040 Wh gross capacity.
As you can see, LiFePO4 batteries offer a significant advantage in usable capacity for their size and weight, though they typically have a higher upfront cost. However, their longer lifespan and higher efficiency often make them more cost-effective in the long run. Many reputable brands offer excellent LiFePO4 batteries, often available through retailers like Amazon, making them accessible for DIY builders.
Determining Amp-Hour Capacity at System Voltage
Finally, you need to translate your watt-hour requirement into amp-hours (Ah) at your chosen system voltage (12V, 24V, or 48V). For a workshop, 24V or 48V systems are often more efficient for larger loads and longer wire runs, as higher voltage means lower current, reducing voltage drop and requiring thinner, less expensive wires. For simpler, smaller setups, 12V might be sufficient. Our guide on how many batteries for an off-grid system delves into these considerations.
Let's say we choose a 24V system and are opting for LiFePO4 batteries requiring 4400 Wh gross capacity:
- Required Ah = Gross Watt-Hours / System Voltage (V)
- 4400 Wh / 24V = 183.33 Ah
So, you would need a 24V battery bank with at least 184 Ah capacity (e.g., two 100Ah 12V LiFePO4 batteries wired in series to create a 24V 100Ah bank, then two such banks wired in parallel for 200Ah total). If you're building a substantial workshop with power-hungry tools, investing in quality batteries like those offered by EG4 or Battle Born can make a real difference in system longevity and performance.
Choosing the Right Inverter and Charge Controller
These two components are the brains and brawn that manage the power flow between your solar panels, battery bank, and workshop loads. Getting them right is critical for a safe and functional system.
Sizing Your Inverter
The inverter's job is to convert the DC (direct current) power from your batteries into AC (alternating current) power that most standard workshop tools and appliances use. There are two main ratings to consider:
- Continuous Power Rating: This is the amount of power the inverter can supply constantly. It needs to be equal to or greater than the sum of all the running wattages of the appliances you anticipate using simultaneously.
- Surge Power Rating: This is the maximum power the inverter can supply for a very short period (usually a few milliseconds to a few seconds) to handle the high starting loads of motors (like those in saws, air compressors, or even a small refrigerator). The surge rating needs to be higher than the single largest surge wattage from any tool in your load analysis.
Going back to our workshop example:
- Highest Continuous Load: Let's assume you're running lights (60W), battery charger (100W), mini fridge (50W), and listening to the radio (20W) while periodically using the drill press (800W). That's 60+100+50+20+800 = 1030W continuous.
- Highest Single Surge: Our miter saw had a 3200W surge.
So, you'd want an inverter with a continuous rating of at least 1200-1500 watts to give some headroom, and a surge rating of at least 3500 watts. A 2000W continuous inverter with a 4000W surge would be a great fit for this workshop.
Always choose a pure sine wave inverter for your workshop. Modified sine wave inverters are cheaper but can damage sensitive electronics and cause motors in tools to run less efficiently or even overheat. For robust off-grid systems, brands like Victron Energy and Sol-Ark offer excellent inverter options known for their reliability and advanced features. You can explore how to size an off-grid inverter in more detail if you have very specific, high-draw tools in mind.
Choosing Your Charge Controller
The charge controller is the guardian of your battery bank. It regulates the voltage and current coming from your solar panels, ensuring your batteries are charged efficiently and not overcharged or over-discharged. There are two main types:
- PWM (Pulse Width Modulation) Charge Controllers: These are simpler, less expensive, and generally suitable for smaller systems where the voltage of your solar panels closely matches your battery bank voltage (e.g., 12V panels charging a 12V battery). They are less efficient, especially in colder weather.
- MPPT (Maximum Power Point Tracking) Charge Controllers: These are more sophisticated and efficient, especially for larger systems and when panel voltage is significantly higher than battery bank voltage (e.g., 24V or 48V panels charging a 24V battery). MPPT controllers can "step down" higher voltage from panels to match the battery, converting excess voltage into usable current, which means more power harvested from your panels, particularly during varying light conditions.
For a workshop system of any meaningful size (like our example), an MPPT charge controller is almost always the superior choice due to its higher efficiency and flexibility in panel wiring configurations.
Sizing an MPPT charge controller involves considering the maximum open-circuit voltage (Voc) and short-circuit current (Isc) of your solar array, as well as your system's total wattage. The charge controller must be able to handle the highest voltage your array can produce (especially in cold weather, as panel voltage increases when cold) and the maximum current it can output. Manufacturers like Renogy offer a range of MPPT charge controllers suitable for various system sizes, making it easier to match components. For more precise calculations, consult our article on how to size a charge controller.
When you're building out your system, it’s not just about the big components. Don’t forget about the smaller, yet critical, items like fuses, breakers, and appropriate wiring gauges. These ensure safety and prevent damage to your equipment. You can find many of these necessary accessories on platforms like Amazon, often at reasonable prices, to complete your build.
Disclaimer
The information provided in this guide is for educational purposes only and should not be taken as professional electrical advice. Working with electricity, especially in off-grid systems, can be dangerous. Always consult with a qualified electrician or solar professional to ensure your system is safely designed and installed according to all local codes and regulations.