How to Choose an Off-Grid Pwm Controller
Choosing the right charge controller for your off-grid solar setup can feel like navigating a maze of technical jargon, leaving you wondering if you're making the right decision for your hard-earned investment. It's frustrating to sort through all the options, especially when you're just trying to keep your lights on or your battery charged without unnecessary complexity or cost. This comprehensive guide is here to demystify the process of selecting a Pulse Width Modulation (PWM) charge controller, ensuring you understand exactly what you need to power your off-grid dreams reliably and efficiently.
Understanding PWM Charge Controllers
When you first dive into off-grid solar, you quickly learn that a charge controller isn't just an optional extra; it's a vital piece of the puzzle, acting as the brain between your solar panels and your batteries. Among the various types, the PWM charge controller stands out as a straightforward, cost-effective, and surprisingly robust option for many systems. It's often misunderstood or overlooked in favor of its more advanced (and expensive) cousin, the MPPT, but for specific applications, a PWM controller is truly the unsung hero.
How PWM Technology Works
At its heart, PWM technology is all about smart battery charging. Think of it like a dimmer switch for your solar panels. Instead of continuously sending power, a PWM controller rapidly switches the current on and off, creating a series of pulses. The "width" of these pulses determines how much power is sent to the battery. When your battery is low, the pulses are wider, sending more current. As the battery approaches full charge, the pulses narrow, reducing the current to prevent overcharging. This isn't just about preventing damage; it's about optimizing the charging process to extend battery life.
The magic happens because the PWM controller essentially matches the voltage of the solar panel array to the battery voltage. For example, if you have a 12V battery bank, a PWM controller will take the voltage from your solar panels (which might be around 17-20V in optimal conditions for a "12V nominal" panel) and "clip" it down to roughly the battery's voltage to efficiently push current into the battery. This direct voltage matching is why PWM controllers are often seen as less efficient than MPPTs when panel voltage significantly exceeds battery voltage, but it’s also what makes them so simple and reliable.
Key Benefits of PWM for Off-Grid Setups
One of the biggest advantages of PWM controllers is their sheer simplicity and affordability. For smaller systems, or those on a tighter budget, the cost savings can be substantial, allowing you to allocate more funds to other critical components like your battery bank or additional solar panels. They are robust, generally requiring less complex wiring and setup compared to some high-end MPPT units. This makes them a fantastic choice for DIY enthusiasts or anyone who prefers a less intimidating installation process.
Beyond cost, PWM controllers offer excellent battery health management. Their multi-stage charging process – bulk, absorption, and float – mimics the best practices for battery care, preventing sulfation and extending the overall lifespan of your expensive batteries. They are also known for their reliability and durability, often operating effectively for many years with minimal fuss. For those looking to set up a basic, reliable system without needing to squeeze every last watt out of their panels, a PWM controller provides excellent bang for your buck.
When to Opt for a PWM Controller
So, when is a PWM the right choice for your off-grid system? Generally, if your solar array voltage closely matches your battery bank voltage (e.g., a 12V nominal panel charging a 12V battery), a PWM controller is incredibly efficient. They excel in smaller setups like those for a Cost to Power a Cabin with Solar or an Off-Grid Solar Cost for an RV, where the power demands aren't massive and the solar array isn't excessively large. If you have fewer than 200-300 watts of solar panels, or if your panels are older models with lower nominal voltages designed to work with 12V or 24V batteries, a PWM controller will often perform just as well as, if not better than, an MPPT controller, especially considering the cost difference.
They are also perfect for seasonal use applications, such as a garden shed, a remote gate opener, or a small lighting system where maximizing every single watt isn't the primary concern. For example, if you're primarily charging a battery to run a few lights and charge your phone, a PWM controller is usually more than adequate. Understanding the nuances between MPPT vs PWM Charge Controllers can really help clarify which one aligns best with your specific power needs and budget.
Crucial Factors in Choosing a PWM Controller
Selecting the right PWM charge controller isn't just about grabbing the cheapest one you find. There are several critical factors you absolutely must consider to ensure your system is safe, efficient, and meets your power demands. Overlooking these details can lead to underperformance, damaged equipment, or even safety hazards, and nobody wants that when they're trying to achieve energy independence.
System Voltage Compatibility
The very first thing you need to nail down is the system voltage. Is your off-grid setup running on 12 volts, 24 volts, or even 48 volts? Most smaller off-grid systems for RVs, vans, or tiny homes typically operate at 12V, while larger cabins or full-time residences might opt for 24V or 48V to reduce current and wire sizes. Your PWM controller must match the nominal voltage of your battery bank. If you have a 12V battery, you need a 12V PWM controller. Some modern PWM controllers are "auto-sensing," meaning they can detect and work with both 12V and 24V systems, which offers a nice bit of flexibility for future expansion or if you're upgrading components.
It's also crucial to ensure your solar panels are configured correctly for your chosen system voltage. For instance, if you're running a 12V system, your panels should ideally be "12V nominal" panels, or multiple panels wired in parallel to maintain a 12V nominal output (though their actual voltage will be higher, around 17-20V). If you have a 24V battery bank, you'd want "24V nominal" panels or two 12V nominal panels wired in series. This direct voltage relationship is a cornerstone of PWM efficiency, unlike MPPT controllers which can more effectively down-convert higher panel voltages. If you're pondering 12V vs 24V vs 48V: Which to Choose, remember that your charge controller is intrinsically tied to this decision.
Amperage Rating and Solar Array Sizing
After voltage, the next most important specification is the amperage rating of the PWM controller. This rating tells you the maximum current (amps) that the controller can safely handle from your solar panel array. To figure out what you need, you'll calculate the total amperage your solar panels can produce. A good rule of thumb is to take the total maximum power point current (Imp) of your entire solar array and add a 25% safety margin. For example, if your panels produce a total of 20 amps, you'd want a controller rated for at least 25 amps.
Always choose a charge controller that has a higher amperage rating than the maximum output of your solar array. It's much better to slightly oversize your charge controller than to undersize it, which can lead to overheating, component failure, and even fire hazards. You should consult a guide like How to Size a Charge Controller to get the precise calculations down. Remember, the goal is not just to charge your batteries, but to do so safely and without pushing your equipment to its limits every day, especially during peak sunlight hours.
Advanced Features and Protections
While PWM controllers are known for their simplicity, many modern units come packed with helpful features and crucial safety protections that make them even more reliable. Look for controllers that offer comprehensive electronic protection against overcharging, over-discharging (which can severely damage your batteries), reverse polarity (a common mistake during DIY wiring), short circuits, and reverse current flow at night (preventing your batteries from draining back through the panels). These protections are non-negotiable for the longevity and safety of your entire system.
Beyond safety, features like a clear LCD display for monitoring battery voltage, charge current, and even temperature can be incredibly useful. Some controllers even include USB charging ports for small electronics, or a load output terminal that allows you to power DC devices directly through the controller, often with programmable low-voltage disconnects to protect your battery. For those interested in optimizing their battery's lifespan, temperature compensation is a fantastic feature, automatically adjusting the charging voltage based on ambient temperature, which is especially beneficial in climates with wide temperature swings.
PWM Controller Specifications to Look For
Once you understand the basics, it's time to dig into the specific numbers and features that will dictate a PWM controller's performance and suitability for your off-grid lifestyle. Don't let the technical terms intimidate you; with a little guidance, you'll be able to decode the spec sheet like a pro.
Voltage and Current Ratings
As we touched on, the voltage and current ratings are paramount. When looking at a controller, you'll typically see something like "12V/24V Auto, 30A." This means it's an auto-sensing controller suitable for both 12-volt and 24-volt battery banks, and it can handle a maximum of 30 amps of current from your solar array. Always double-check that the maximum solar input voltage (often labeled as "Max PV Input Voltage") is higher than the open-circuit voltage (Voc) of your solar panels, especially in cold weather when panel voltage can spike.
For example, if you have a 100-watt, 12-volt nominal panel, its Voc might be around 21V, and its Imp might be around 5.5A. If you plan to use two of these panels in parallel on a 12V system, your total Imp would be 11A. With the 25% safety margin, you'd need a controller rated for at least 13.75 amps, so a 20A PWM controller would be a safe bet. You can learn more about how much power your panels will produce by checking out resources like How Many Watts of Solar You Need. Remember, these ratings are maximums, and it's always wise to leave a little headroom.
Temperature Compensation
Temperature compensation might sound like a minor detail, but it's actually a significant factor in prolonging the life of your batteries, especially lead-acid types. Batteries perform differently in hot versus cold environments. In cold weather, batteries can accept a higher charge voltage without damage, while in hot weather, they need a lower voltage to prevent overcharging and electrolyte boil-off. A PWM controller with temperature compensation includes a sensor (often external) that measures the battery temperature and automatically adjusts the charging voltage accordingly.
Without temperature compensation, your batteries could be consistently undercharged in cold conditions or overcharged in hot conditions, leading to reduced capacity and a shorter lifespan. Given the Cost of an Off-Grid Solar Battery Bank, ensuring they last as long as possible is a smart investment. Many quality PWM controllers, even budget-friendly ones, now include this essential feature, making it a critical specification to look for, particularly if your system will experience significant temperature fluctuations throughout the year.
Display and Monitoring Options
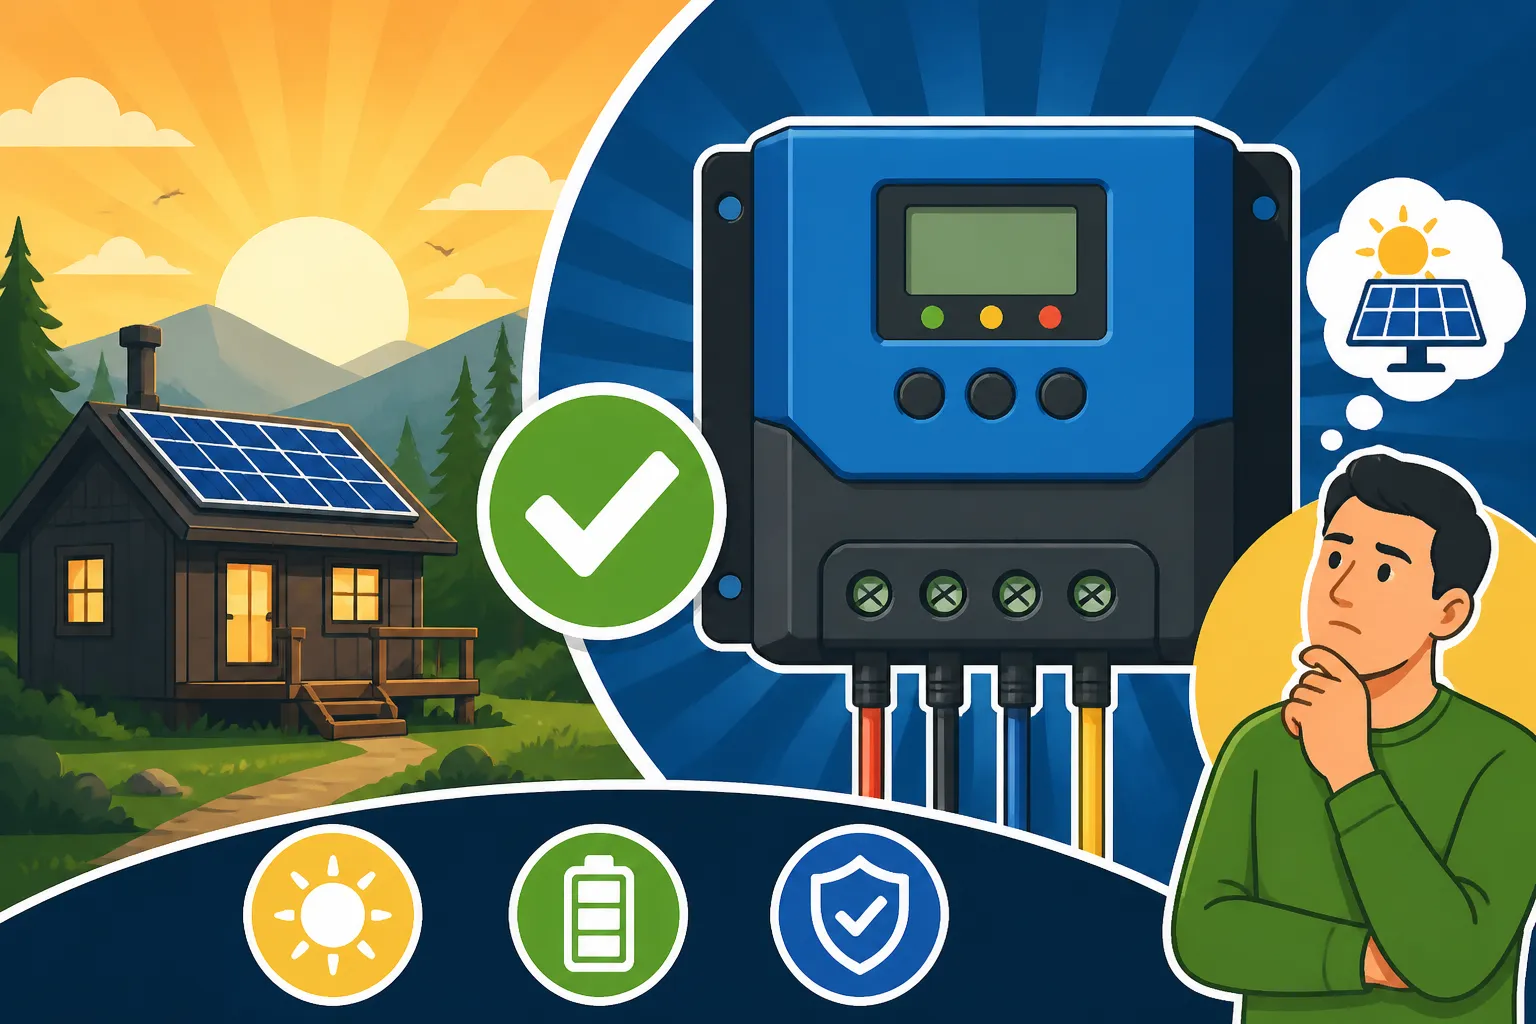
While not strictly performance-related, a good display and monitoring capabilities can make managing your off-grid system a much more pleasant experience. Basic PWM controllers might only have a few LED lights to indicate charging status. More advanced models, however, feature a clear LCD screen that provides real-time data, such as:
- Battery Voltage: Essential for understanding your battery's state of charge.
- Charge Current: How many amps are currently flowing from your panels to the battery.
- Load Current: If your controller has a load output, this shows how much current your DC appliances are drawing.
- System Status: Indicators for charging, float, low battery, and fault codes.
- Temperature: If equipped with temperature compensation, it will display the battery temperature.
Some controllers even offer historical data logs or can connect to an app on your smartphone via Bluetooth for more detailed monitoring and remote control, which can be incredibly convenient. While these features add a bit to the cost, the peace of mind and ease of management they provide can be well worth it, allowing you to quickly diagnose issues or simply keep an eye on your system's performance.
Installation and Maintenance Considerations
Once you've picked out the perfect PWM charge controller, the next step is getting it installed correctly and keeping it running smoothly. A well-chosen controller is only as good as its installation and the care it receives. Rushing through the setup or neglecting basic maintenance can negate all your careful planning and investment.
Wiring Best Practices
Proper wiring is non-negotiable for any off-grid solar system. For a PWM charge controller, the wiring sequence is critical. Always connect the battery to the charge controller first, then the solar panels, and finally any DC loads if your controller has a load output. This ensures the controller can properly sense the battery voltage and configure itself. When disconnecting, reverse the order: loads off, panels off, then battery off. Use appropriately sized wires and cables to prevent voltage drop and overheating, especially between your solar panels, controller, and battery bank. You can find detailed instructions and diagrams in any good Off-Grid Solar Installation Guide.
Ensure all connections are tight and secure, and use fuses or circuit breakers on both the solar panel input and the battery output to protect your system from short circuits and overcurrents. Fuses are your system's first line of defense against catastrophic failure. It’s also crucial to maintain proper polarity – positive to positive, negative to negative – as reverse polarity can instantly damage your charge controller or other components. Many controllers have built-in reverse polarity protection, but it's always best to be meticulous with your wiring. For a clear visual breakdown, consult guides on How to Wire an Off-Grid Solar System.
Environmental Factors and Durability
Your charge controller needs a safe and suitable home. It should be installed in a dry, well-ventilated area, away from direct sunlight, moisture, and flammable materials. While some controllers are designed for outdoor use, most standard PWM units are intended for indoor or protected environments. Extreme temperatures can affect performance and longevity, so consider the climate where your system will operate. If you're building a system for a remote cabin in a harsh environment, selecting a controller known for its robust construction and wide operating temperature range is a wise move.
Brands like Renogy, for instance, often design their equipment with durability in mind for the demanding conditions of RVs and cabins, offering solid units that can withstand a bit of vibration or temperature fluctuation. Ensuring proper airflow around the controller is also important, as these devices generate a small amount of heat during operation, and adequate ventilation prevents overheating, which can shorten their lifespan.
Longevity and Troubleshooting
PWM controllers are generally long-lasting components, often rated for 5-10 years or more of continuous service. To maximize their longevity, regular inspection is key. Periodically check all wiring connections for tightness and corrosion. Clean any dust or debris from the controller's vents to ensure good airflow. If your controller has an external temperature sensor, make sure it's securely attached to the battery.
Should you encounter issues, most modern PWM controllers have diagnostic codes or flashing lights that can help you troubleshoot. Common problems often stem from loose connections, undersized wiring, or misconfigured settings. If your battery isn't charging, start by checking the solar panel connections, then the controller's input, and finally the battery connections. Verify that your panels are receiving adequate sunlight. If you're running into persistent issues, resources like How to Install an Off-Grid Charge Controller often include troubleshooting sections that can help pinpoint the problem. Remember, a little proactive maintenance goes a long way in ensuring your off-grid power stays reliable.
Popular PWM Controller Brands and Models
When you're ready to make a purchase, you'll find a wide array of PWM charge controllers available, ranging from basic, budget-friendly units to more feature-rich options. Knowing which brands are reputable and which models are well-regarded can save you a lot of guesswork and potential headaches.
Entry-Level Options for Smaller Systems
For those just starting out or needing power for a small, simple system, there are plenty of excellent entry-level PWM controllers that offer fantastic value without sacrificing essential functionality. These are often perfect for situations like charging a single 12V battery for a Off-Grid Solar Cost for a Shed or providing basic power to an emergency kit. You can often find these affordable options on platforms like Amazon, where numerous brands compete.
Many DIYers turn to brands like Renogy for their reliable and cost-effective PWM controllers. Models like the Renogy Wanderer or Adventurer are incredibly popular for RV and small cabin setups due to their ease of use, basic display, and robust protection features. They are typically available in 10A, 20A, or 30A versions, making them suitable for solar arrays up to around 400-500 watts (for a 12V system). Other brands like HQST and Newpowa also offer similar budget-friendly and reliable options that provide solid performance for minimal investment. These controllers often prioritize core functionality and safety over advanced monitoring, making them straightforward to operate.
Mid-Range and Feature-Rich Choices
If you're looking for a bit more sophistication, perhaps for a slightly larger system or one where more detailed monitoring is important, mid-range PWM controllers offer enhanced features. These controllers typically come with more advanced LCD displays, better battery charging algorithms, and often include those valuable USB ports or load terminals we discussed earlier. They are a great choice for a slightly more demanding off-grid cabin or a full-time RV setup where you want a bit more control and insight into your system's performance.
Brands like Go Power! and Victron Energy (though Victron leans heavily into MPPT, they do have some simpler charge controllers or multi-function devices that can include PWM-like capabilities) offer more robust PWM options. For instance, some Go Power! models integrate larger, more informative displays and better thermal management, which can be crucial for longevity in demanding applications. These controllers might come with slightly higher price tags, but the added features, improved build quality, and often more precise battery charging capabilities can justify the investment for those who need a bit more from their charge controller. When evaluating these, consider how their added features align with your specific energy needs and how much you value detailed information about your system’s health and performance.
| Feature | Basic PWM Controller | Mid-Range PWM Controller |
|---|---|---|
| Price Point | Low ($20-$60) | Medium ($60-$150) |
| Voltage Support | Fixed 12V or 12V/24V Auto | 12V/24V Auto, sometimes 36V/48V options available |
| Amperage Range | Typically 10A – 30A | Typically 20A – 60A (for larger systems) |
| Display Type | LED indicators, sometimes small segment LCD | Larger LCD screen, often backlit |
| Monitoring | Basic charge status (charging, float, error) | Voltage, current, temperature, cumulative Wh/Ah |
| Battery Types | Gel, Sealed, Flooded (manual selection) | Gel, Sealed, Flooded, LiFePO4 (preset/user-programmable) |
| Protections | Overcharge, over-discharge, reverse polarity, short | Comprehensive, plus reverse current, over-temp, etc. |
| Temperature Comp. | Often included (internal or external sensor) | Almost always included (external sensor common) |
| Additional Ports | Rare, maybe a basic load output | USB charging ports, dedicated load output |
| Best For | Small setups, occasional use, tight budgets | Mid-sized systems, RVs, cabins, more frequent use |
Wrapping Up Your PWM Charge Controller Choice
Choosing the right PWM charge controller doesn't have to be a bewildering experience. By understanding your system's voltage, calculating your solar array's amperage, and considering the valuable features like temperature compensation and comprehensive protections, you're well on your way to making an informed decision. Don't feel pressured to always go for the most expensive option; for many off-grid applications, a reliable PWM controller provides all the efficiency and functionality you need to keep your batteries happy and your power flowing. With the right controller in place, you can enjoy the peace of mind that comes with a stable, self-sufficient off-grid power system.
Disclaimer
The information provided in this guide is for general informational purposes only. While we strive to offer accurate and up-to-date advice, off-grid solar system design and installation can be complex and may involve electrical hazards. Always consult with a qualified electrician or solar professional before installing or modifying any electrical system. Adherence to local codes, regulations, and manufacturer instructions is essential for safety and optimal performance.