How Many 200W Panels for an RV
Trying to figure out how many 200W solar panels you need for your RV can feel like staring at a complex math problem written in a foreign language, especially when all you want to do is hit the road and enjoy some off-grid freedom. It's not just about slapping some panels on the roof; you need to understand your power consumption, what the panels can realistically produce, and how it all fits together. This guide will walk you through the entire process, breaking down the calculations and considerations so you can confidently size your off-grid RV solar system.
Understanding Your RV's Energy Appetite
Before you can even begin to think about solar panels, you absolutely must understand how much electricity your RV actually uses. This isn't a step to skip or guesstimate, because getting it wrong here means you'll either have too little power and constantly be running out, or too much, which wastes money and roof space. Your RV's "energy appetite" is the foundation of your entire off-grid solar system design.
Calculating Your Daily Watt-Hour Consumption
The first and most critical step is performing a thorough load analysis. This sounds intimidating, but it's really just a detailed inventory of every electrical appliance and device you plan to use in your RV, how much power each one draws, and for how long you use it daily. We're looking for your total daily watt-hour (Wh) consumption, which is the amount of energy you need to replenish with your solar panels.
Start by listing every single item: your refrigerator, lights, water pump, fan, laptop, phone chargers, TV, microwave (if you plan to use it off-grid), and even small things like an electric toothbrush charger. For each item, find its wattage. This information is often on a label on the appliance itself, in the owner's manual, or easily found with a quick online search for the specific model. If you can only find amps (A) and voltage (V), you can calculate wattage using the formula: Watts = Amps x Volts. Remember that most RV appliances operate on 12V DC, but some, like microwaves or coffee makers, use 120V AC power, which means your inverter will be working harder.
Once you have the wattage for each item, estimate how many hours per day you'll actually use it. Be realistic! If your fridge runs 24/7, factor that in. If you use your laptop for 4 hours, write that down. Then, multiply the wattage by the hours of use to get the daily watt-hours for that specific appliance. For example, a 60-watt TV used for 3 hours a day consumes 180 Wh (60W x 3h = 180 Wh). Sum up all these individual watt-hour totals, and you'll have your grand total daily watt-hour consumption. This number is your golden ticket, the target your solar array needs to meet. For a deeper dive into this calculation, check out our guide on How to Calculate Daily Energy Usage or even more specifically, How to Do an Off-Grid Load Analysis.
It's common for RVers to underestimate their power needs. Imagine you're out camping in Zion National Park, enjoying the quiet, and suddenly your lights dim or your fridge stops cooling. That's a direct result of an insufficient load analysis. You might think your phone charger barely uses any power, but if you charge multiple devices daily, those little draws add up. This meticulous calculation helps prevent those frustrating moments and ensures you design a system that truly supports your lifestyle on the road.
Don't forget to consider seasonal variations in your usage. In the summer, you might run fans or even a small air conditioner more often, while in winter, heating pads or more indoor lighting could become primary draws. Your base load analysis should reflect your average or highest expected daily usage to avoid being caught short. Many seasoned RVers keep a logbook or use a battery monitor with a shunt to track their actual consumption over a few days or weeks to get a truly accurate picture.
Accounting for Surge Loads and Peak Usage
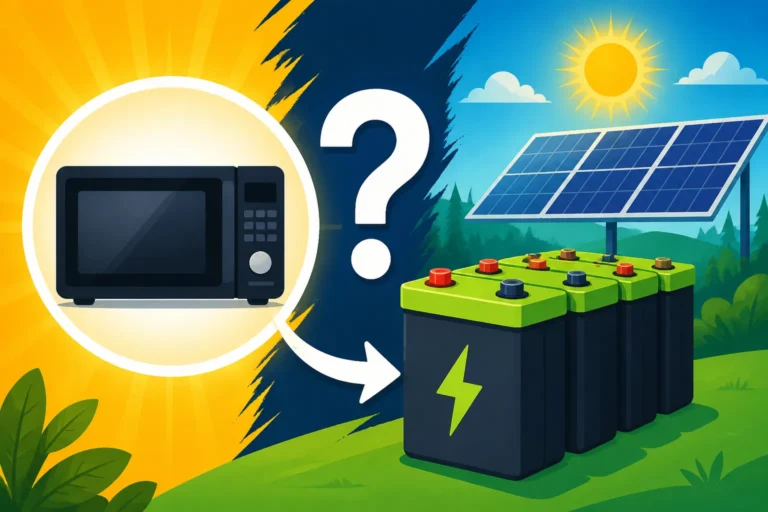
While your daily watt-hour consumption is key for sizing your overall solar array and battery bank, it’s also important to briefly consider surge loads. These are the quick, intense bursts of power that certain appliances demand when they first start up. Think about your microwave, a coffee maker, or an electric kettle – they might only run for a few minutes, but their momentary power draw can be several times higher than their running wattage.
For example, a microwave rated at 1000 running watts might demand 1500-2000 watts for a few seconds to kick on. These surge loads primarily impact the sizing of your inverter, not necessarily the number of solar panels directly. Your panels are designed to continuously replenish the energy stored in your batteries, whereas the inverter needs to be robust enough to handle those immediate, high-power demands from the battery bank itself.
However, if you frequently use high-surge appliances, it subtly influences your panel count. Why? Because while the panels don't directly supply the surge, using these devices depletes your battery bank more quickly. A larger panel array (more panels) would then be beneficial to recharge those batteries faster, especially if you want to use the same high-draw appliances multiple times a day or want quicker recovery after heavy usage. If you're running a well pump on an off-grid cabin, you'd be very aware of its surge needs. For RVs, it's less about the panels directly handling the surge and more about the batteries providing it, and the panels then bringing the batteries back up.
Therefore, while your primary focus for panel count remains on continuous daily watt-hours, knowing your peak usage scenarios helps ensure your entire system is balanced. You don't want a perfectly sized solar array that can't be utilized because your inverter can't handle your coffee maker. We won't go deep into inverter sizing here, but it's part of the bigger picture of designing a functional off-grid system. Understanding these power requirements is also crucial for estimating your total system costs, as you can explore in How Much Does an Off-Grid Solar System Cost.
Solar Panel Output and Real-World Performance
It’s tempting to think that a 200W solar panel will always produce 200 watts of power. Wouldn't that be nice and simple? Unfortunately, the real world, with its ever-changing weather and sun patterns, doesn't work that way. The "200W" rating is under ideal, controlled laboratory conditions known as Standard Test Conditions (STC), which almost never perfectly match what you experience on your RV roof.
Peak Sun Hours and Environmental Factors
The most significant factor influencing real-world solar panel output is the concept of "peak sun hours" (PSH). A peak sun hour is defined as an hour during which the intensity of sunlight averages 1,000 watts per square meter. This is not the same as simply counting the hours between sunrise and sunset. In reality, only a few hours in the middle of the day, when the sun is highest and strongest, will qualify as true peak sun hours. The rest of the day, the sun's intensity is lower.
The number of peak sun hours your RV experiences daily depends heavily on your geographical location, the time of year, and even the weather. For instance, if you're boondocking in the Arizona desert in July, you might get 6-7+ peak sun hours per day. Contrast that with camping in the Pacific Northwest in December, where you might be lucky to get 2-3 peak sun hours, especially with frequent cloud cover. This variability means your 200W panel in Arizona might produce significantly more energy than the same panel in Washington state during different seasons. If you want a more detailed explanation, check out our article Peak Sun Hours Explained.
Beyond geography and season, environmental factors play a huge role. Cloudy days, even if they're bright, drastically reduce panel output. Partial shading from trees, buildings, or even other components on your RV roof (like an AC unit or satellite dish) can severely impact the performance of your entire solar array. Dirt, dust, or snow accumulating on your panels also act as significant impediments to sunlight absorption. Keeping your panels clean, especially if you have high-quality Renogy panels, is an easy way to maximize their output.
Therefore, when you're calculating how many panels you need, you must use a realistic estimate of your average daily peak sun hours for the worst-case scenario (e.g., winter or typical cloudy days) that you anticipate encountering. Relying on summer peak sun hours all year will leave you with insufficient power when the days get shorter and the sun less intense. Accounting for these fluctuations is key to building a reliable system that meets your needs no matter the conditions, a crucial step in Designing an Off-Grid Solar System Step by Step.
Panel Efficiency and Degradation
While peak sun hours and environmental conditions are the big players, the actual efficiency of your solar panels and their natural degradation over time also contribute to their real-world output. Solar panel efficiency refers to how effectively a panel converts sunlight into electricity. Most modern monocrystalline panels, which are very popular for RV applications due to their space efficiency, typically range from 18% to 23% efficiency. A 200W panel with 20% efficiency will produce the rated power in STC, but its actual output will still be subject to all the environmental variables we just discussed.
It's also important to remember that solar panels don't maintain 100% of their original efficiency forever. They experience a gradual, predictable degradation over their lifespan, usually around 0.5% to 1% per year. This means a 200W panel purchased today might only perform at 90% of its original capacity after 10-20 years. While this isn't a dramatic drop year-to-year, it's a factor to consider in the very long term or if you're buying older, used panels. Most reputable manufacturers, like Renogy, offer performance warranties that guarantee a certain percentage of original output (e.g., 80% or 85%) after 25 years.
For your immediate RV sizing needs, the efficiency rating itself isn't a variable you directly "plug in" to calculate how many panels. The 200W rating already accounts for its efficiency under standard conditions. However, knowing that higher efficiency panels can produce more power in a smaller footprint is crucial for RVs where roof space is often at a premium. If you have limited space, investing in slightly more efficient panels can sometimes reduce the total number of panels you need, even if it means a higher upfront cost per panel.
Considering these factors means you should always add a little buffer to your calculations. Don't size your system to the bare minimum. A little extra capacity will go a long way in ensuring consistent power, even on days with less-than-perfect sun. This buffer is also an intelligent way to plan for when your panels naturally degrade over time, giving you peace of mind that your system will still perform adequately years down the line.
Sizing Your 200W Solar Panel Array for an RV
Now that you understand your RV's energy needs and the realities of solar panel output, we can get to the core question: how many 200W panels do you actually need? This isn't just a single number; it's a calculation that takes into account everything we've discussed so far, ensuring you have enough power to enjoy your off-grid adventures.
The Calculation Formula
Let's simplify this with a straightforward formula that will guide you to the right number of 200W panels. You'll need two key pieces of information we've already covered: your total daily watt-hour consumption and your estimated realistic peak sun hours (PSH).
Here’s the step-by-step calculation:
-
Calculate daily power needed from panels (in Watts):
Daily Watt-Hour Consumption (Wh) / Realistic Peak Sun Hours (PSH) = Required Panel Wattage (W)This first step tells you the total wattage your solar array needs to produce per hour of peak sun to meet your daily energy demands.
-
Calculate the number of 200W panels:
Required Panel Wattage (W) / 200 Watts (per panel) = Number of 200W Panels
Let’s walk through a hypothetical example. Let’s say, after your thorough load analysis, you determine your RV uses 2,000 Wh per day. You plan to primarily travel through regions with an average of 5 realistic peak sun hours daily (this might be an average for spring/fall in many parts of the US, or summer in less sunny climates).
-
Step 1: 2,000 Wh / 5 PSH = 400 W (This means your solar array needs to be capable of generating 400 watts during each peak sun hour to replenish your daily usage).
-
Step 2: 400 W / 200 W (per panel) = 2 panels
So, in this specific example, you would theoretically need two 200W solar panels to meet your daily 2,000 Wh demand under 5 peak sun hours. This calculation provides your baseline, the absolute minimum you'd need. However, as we discussed, solar isn't always perfect. This is a great starting point, but you'll want to add a buffer to ensure reliability.
Buffering for Imperfection and Future Needs
The calculation above gives you the theoretical minimum number of panels, but in the world of off-grid living, relying on the minimum is a recipe for frustration. It's always a good idea to "oversize" your solar array by 20-30% to account for real-world inefficiencies, unexpected cloudy days, less-than-perfect panel angles, and future power needs. This buffer is your insurance policy against running out of juice.
Let's go back to our example where we calculated a need for 2 panels. If we apply a 25% oversizing buffer:
- 2 panels * 1.25 (for 25% buffer) = 2.5 panels.
- Since you can't install half a panel, you would round up to 3 panels.
So, for an RV consuming 2,000 Wh per day with 5 peak sun hours, a more realistic and reliable setup would involve three 200W solar panels. This extra panel provides a cushion, ensuring your batteries get a good charge even if the day is partly cloudy, or if your panels aren't perfectly angled all the time, which is often the case on a moving RV.
Oversizing also offers flexibility. What if you decide to add a new appliance, like a small mini-fridge or a more powerful fan? Having that extra capacity means you might not need to immediately buy and install another panel. Moreover, it speeds up charging times for your battery bank, which is invaluable on days when you only have a few good hours of sun. The importance of a well-sized battery bank cannot be overstated; panels generate power, but batteries store it. You can learn more about this relationship in our guide on How Many Batteries for an Off-Grid System.
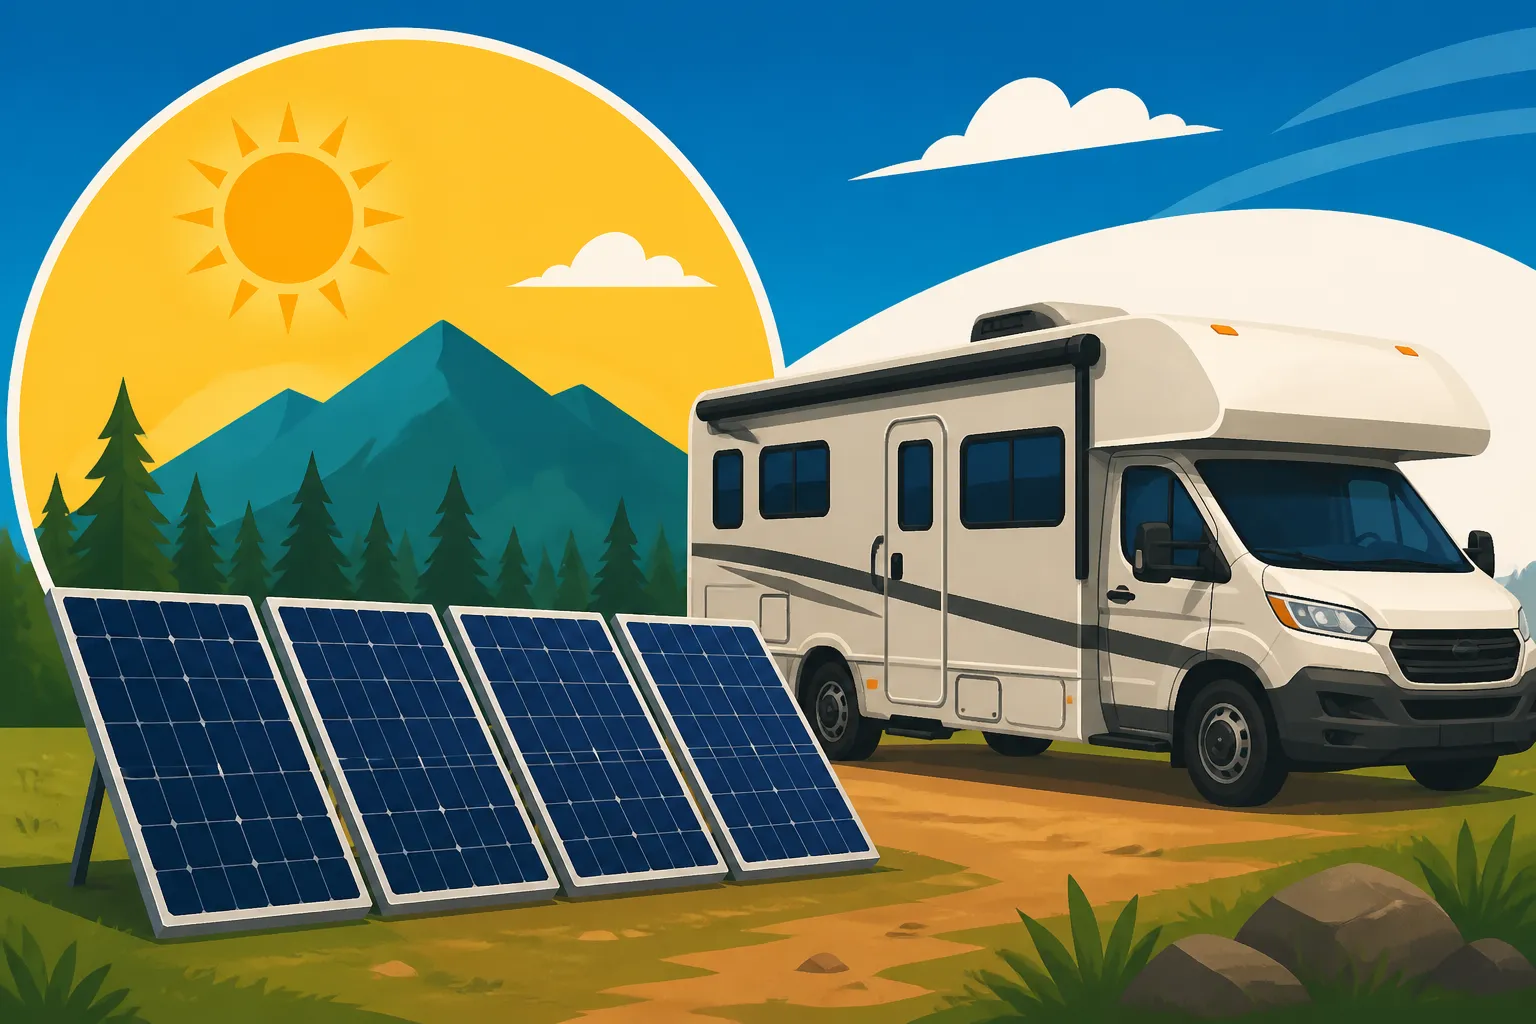
Remember that RV roof space is finite. While oversizing is good, there's a practical limit to how many panels you can mount. A typical Renogy 200W flexible solar panel, for instance, might be around 59 inches long by 26.5 inches wide. Three of these side-by-side might take up a significant portion of your roof. Always measure your available space carefully before committing to a panel count. It’s a delicate balance between desired power and physical constraints. For more on planning ahead, consider reading about How Much to Oversize Your Solar Array.
Practical Considerations for RV Solar Installation
Calculating the right number of 200W panels is a fantastic start, but the real-world application on an RV brings its own set of challenges and considerations. You're not just dealing with numbers; you're dealing with limited space, a mobile environment, and the need for a robust, safe system that can withstand the rigors of the road.
Roof Space and Mounting Options
RV roofs are precious real estate. Unlike a stationary home, you have a finite, often curved, and frequently obstructed surface. A standard 200W solar panel is typically around 59 inches long and 26.5 inches wide, though dimensions can vary slightly between manufacturers. Three of these panels would require approximately 177 inches (nearly 15 feet) in length if placed end-to-end, or roughly 7 feet by 2.5 feet if placed side-by-side in a 3×1 configuration, plus space for walkways, vents, AC units, and other rooftop equipment.
The type of panel you choose also matters for roof space. Rigid panels, often framed in aluminum, are very durable and efficient, but they require robust mounting hardware that elevates them slightly, which can be great for airflow and cleaning, but adds to overall height. Flexible solar panels, like those offered by Renogy, are designed to conform to curved surfaces and lay flat, offering a lower profile that's often preferred for aesthetic reasons and minimizing wind resistance on an RV. However, flexible panels can sometimes be less efficient in very hot weather if not properly vented, as heat buildup can reduce their output.
Regardless of panel type, secure mounting is paramount. RVs experience constant vibration, wind buffeting, and rapid temperature changes. Panels must be securely bolted or adhered to the roof. Many RVers use specialized Z-brackets or feet, often purchased from reputable suppliers on Amazon, that allow for a slight gap between the panel and the roof for cooling. Others opt for permanent adhesive solutions for flexible panels. Ensure your mounting method penetrates the roof as little as possible and that any penetrations are meticulously sealed to prevent leaks. You can find detailed instructions in our guide on How to Install Roof-Mounted Solar Panels.
Careful planning of panel layout is crucial to maximize sunlight exposure and minimize shading from other rooftop components. Try to orient panels to face south (in the Northern Hemisphere) for optimal sun exposure, especially if you can install adjustable tilt mounts for seasonal adjustments.
Battery Bank Sizing and System Voltage
Your solar panels are the generators, but your battery bank is the reservoir where all that precious electricity is stored. Without an adequately sized battery bank, even the most robust solar array won't do you much good, especially if you need power at night or on consecutive cloudy days. The total daily watt-hours you calculated earlier for your RV should be the primary driver for sizing your battery bank.
For most RV applications, a 12V system is common, as many factory-installed RV components operate on 12V DC. However, larger RVs or those with higher power demands might benefit from a 24V or even 48V system, as higher voltages allow for thinner wiring and reduce power loss over distance. If you're running a significant inverter for AC appliances, a higher voltage system can be more efficient for that part of your setup. You can explore the benefits and drawbacks in our article, 12V vs 24V vs 48V: Which to Choose.
Once you know your daily watt-hour consumption and target system voltage, you can calculate the necessary battery capacity, typically expressed in Amp-hours (Ah). For instance, if you need 2,000 Wh per day and have a 12V system, you'd need approximately 166 Ah (2000 Wh / 12V = 166.67 Ah). However, this is just for one day. You also need to factor in "days of autonomy" – how many days you want your batteries to power your RV without any solar input. For most RVers, 2-3 days of autonomy is a reasonable target.
Consider the type of battery chemistry as well. Lithium Iron Phosphate (LiFePO4) batteries, while more expensive upfront, are incredibly popular for RVs due to their light weight, long cycle life, high depth of discharge (you can use almost all their stored energy without damage), and lack of maintenance. Traditional lead-acid batteries (like AGM) are cheaper but heavier, have a shorter lifespan, and shouldn't be discharged below 50% capacity, meaning you need twice as much nominal capacity. For a comprehensive guide on calculating your battery needs, refer to How to Size an Off-Grid Battery Bank.
Charge Controllers and Inverters
Solar panels and batteries don't connect directly; they need critical intermediary components to function safely and efficiently: the charge controller and the inverter.
The Charge Controller: This device is the brain of your solar charging system. Its primary job is to regulate the voltage and current coming from your solar panels to your battery bank. Without a charge controller, your panels would overcharge your batteries, severely shortening their lifespan or even causing dangerous conditions. There are two main types:
- PWM (Pulse Width Modulation): These are simpler and generally less expensive. They effectively "clip" the voltage from the panels to match the battery voltage. While suitable for smaller, less critical systems or when panel voltage closely matches battery voltage, they are less efficient at converting all available power.
- MPPT (Maximum Power Point Tracking): These are more advanced and efficient. They actively track the maximum power point of the solar array, converting excess voltage into additional current. This means they can take higher voltage from your panels (e.g., a 200W panel might output around 18-20V nominal) and efficiently convert it down to the battery voltage (e.g., 12V), recovering more power, especially in cooler temperatures or when panels are less than optimally illuminated. For larger or more serious RV systems, MPPT controllers are almost always the preferred choice. Your charge controller must be appropriately sized for your total panel wattage and array voltage. A guide like How to Size a Charge Controller can provide more detail.
The Inverter: If you want to run any standard household appliances (like a microwave, TV, blender, or laptop charger) that require 120V AC power, you'll need an inverter. An inverter converts the DC (direct current) power from your batteries into AC (alternating current) power. You'll need a "pure sine wave" inverter for sensitive electronics, as "modified sine wave" inverters can cause damage or inefficient operation to many devices.
The inverter's capacity (rated in watts) needs to match your highest expected AC load. If your microwave is 1000W and you want to use it, you'll need an inverter of at least 1000W, often more to handle surge loads. Many RVers size their inverter with some headroom. For example, if your largest single AC load is 1500W, you might choose a 2000W or 3000W inverter to be safe. If you're building a system with multiple 200W panels and a substantial battery bank, you'll definitely want a robust inverter from a brand like Victron or Growatt to handle your power conversion needs. Understanding how to size this crucial component is covered in How to Size an Off-Grid Inverter.
All these components – panels, batteries, charge controller, and inverter – must work together harmoniously. A weak link in the chain can compromise your entire system. Investing in quality components and ensuring they are correctly sized and wired is key to a reliable off-grid RV experience.
Example RV Load Analysis Table
To help you get started with your own calculations, here's an example of common RV appliances and their estimated power draws. Remember, these are averages, and your specific appliances may vary. Always check the labels on your devices for the most accurate information!
| Appliance | Estimated Wattage (W) | Avg. Daily Use (Hours) | Daily Watt-Hours (Wh) | Notes |
|---|---|---|---|---|
| LED Lights (total) | 20 | 4 | 80 | Low draw, but adds up |
| Water Pump | 60 | 0.25 (15 min) | 15 | Intermittent, but high peak |
| RV Refrigerator (12V) | 50 | 12 | 600 | Runs intermittently, average over 24h |
| Laptop | 60 | 3 | 180 | Charging/use, varies with activity |
| Phone Charging (x2) | 10 | 2 | 20 | Small, but essential |
| Exhaust Fan | 30 | 5 | 150 | Great for ventilation, moderate draw |
| Microwave | 1000 | 0.1 (6 min) | 100 | High surge, short duration, AC powered |
| Coffee Maker | 800 | 0.1 (6 min) | 80 | High surge, short duration, AC powered |
| TV (24-inch) | 50 | 2 | 100 | LED TVs are quite efficient |
| Daily Total | (Varies) | (Varies) | 1335 | Your sum will be different! |
This table highlights how different appliances contribute to your overall daily energy budget. For instance, while the microwave and coffee maker have very high wattage, their short usage time means their daily watt-hour contribution might be less than your continuously running refrigerator. This is why daily watt-hours are so important for panel sizing!
Disclaimer
The information provided in this guide is for general informational purposes only and does not constitute professional electrical or solar engineering advice. Off-grid solar system design and installation can be complex and potentially dangerous if not performed correctly. Always consult with a qualified solar professional or licensed electrician for your specific needs, especially when dealing with high voltages and electrical wiring. Local regulations and permitting requirements for solar installations vary significantly and must be adhered to. We are not responsible for any outcomes or damages resulting from the use of this information.