Best Off-Grid Solar for Overlanding
There’s nothing quite like the freedom of overlanding – the open road, the untouched wilderness, the thrill of self-sufficiency. But let's be real, that sense of freedom can quickly turn into frustration when your essential gear runs out of juice miles from the nearest outlet. From keeping your fridge cold to charging navigation devices, reliable power is non-negotiable. This comprehensive guide will walk you through everything you need to know to choose the best off-grid solar setup for your overlanding adventures, ensuring you stay powered up wherever your journey takes you.
Understanding Overlanding Power Needs
Before you even start looking at shiny new solar panels, the most critical step is to truly understand your power requirements. Overlanding isn't a "one-size-fits-all" scenario when it comes to electricity, and what works for a weekend warrior might not cut it for a month-long expedition through remote territories. Over-specifying can lead to unnecessary cost and weight, while under-specifying leaves you constantly worried about dimming lights and warm beverages.
What Appliances You Will Be Running
Take a moment to list every single electrical item you plan to bring on your trips. Think about the big hitters and the small, often-forgotten gadgets. Are you running a 12V portable refrigerator, like a Dometic or an Engel, continuously? This is often the largest power draw in an overlanding setup and needs careful consideration. Do you rely on LED lights for camp illumination, or do you have brighter area lights? How about charging your phones, laptops, cameras, or even a drone? Many overlanders also use crucial navigation equipment, communication radios, or even Starlink for internet access, all of which require consistent power.
Consider small comforts too: a 12V fan for hot nights, a water pump for your shower or sink, or a coffee maker if you can't live without your morning brew. Each of these appliances, no matter how small, contributes to your overall energy footprint. It's not just about the wattage they pull when they're on, but how often and for how long they run. A hairdryer might draw a lot of watts, but if you only use it for five minutes, its total energy consumption might be less than a small fan running all night.
Calculating Your Daily Energy Consumption
Once you have your list of appliances, the next step is to calculate how much energy, in Watt-hours (Wh) or Amp-hours (Ah), you'll actually consume in a typical 24-hour period. This isn't as intimidating as it sounds! For each item, find its wattage (W) rating – it's usually on a sticker, in the manual, or easily found online. If you only see amps (A), multiply amps by volts (V) (usually 12V for most DC overlanding gear) to get watts. Then, estimate how many hours per day each item will be actively running.
Multiply the wattage by the hours of use to get daily Watt-hours. For example, a 60-watt fridge that runs for 8 hours (compressor cycling on and off) would consume 480 Wh per day. Do this for every item, then sum them up. This total daily Watt-hour figure is your golden number. It tells you exactly how much energy your solar system needs to generate and store. We have a detailed guide on How to Calculate Daily Energy Usage that can walk you through this process step-by-step, making sure you don't miss anything important. Remember to be realistic, and even add a buffer for unexpected usage or colder temperatures that make your fridge work harder.
Accounting for Days of Autonomy and Weather
Overlanding often takes you to places where sunny skies aren't guaranteed every day. You might encounter prolonged cloudy periods, rainy seasons, or even dense tree cover that limits your solar exposure. This is where the concept of "days of autonomy" comes in. It refers to how many days your battery bank can power your essential loads without any additional charge from the sun. For overlanding, where flexibility and preparedness are key, aiming for at least 2-3 days of autonomy is a smart move.
This means your battery bank needs to be significantly larger than your single-day consumption calculation. If your daily usage is 500 Wh, and you want 3 days of autonomy, you'll need at least 1500 Wh of usable battery capacity. This buffer is crucial for peace of mind, allowing you to venture deeper into remote areas without the constant worry of losing power. It's a critical part of knowing How Many Batteries for an Off-Grid System you'll need to truly be independent.
Key Components of an Overlanding Solar System
An off-grid solar system for overlanding, while smaller in scale than a home system, still relies on the same core components working in harmony. Understanding each part helps you make informed choices that perfectly suit the demands of life on the trail.
Solar Panels: Portable, Flexible, or Rigid
Your solar panels are the "collectors" of your energy, converting sunlight into electricity. For overlanding, the choice of panel type heavily depends on your vehicle, mounting options, and how you typically travel.
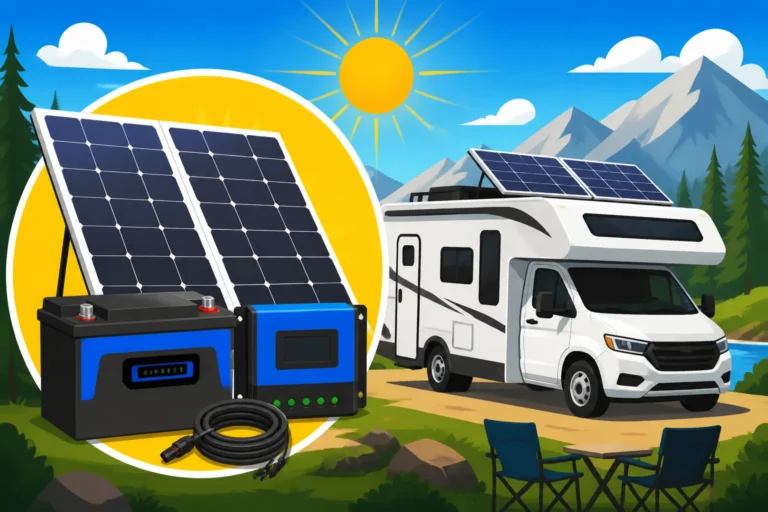
- Portable Solar Panels: These are the ultimate in flexibility. Think folding suitcase-style panels that you can set up quickly at camp, angle towards the sun, and then pack away when you move. They're great for situations where your vehicle might be parked in the shade, but you can deploy the panels in a sunny spot. They're also easy to expand your system by simply adding another portable unit. Brands like Renogy and Jackery offer excellent portable solar panel options that are rugged enough for the trail.
- Flexible Solar Panels: Designed to conform to curved surfaces, flexible panels are popular for vehicles with irregular rooflines, like pop-top campers or custom van builds. They are lightweight and low-profile, reducing wind resistance and visual impact. However, they can be less efficient in very hot weather as they lack airflow beneath them, and their durability can sometimes be a concern compared to rigid panels if constantly exposed to harsh impacts.
- Rigid Solar Panels: These are the workhorses. Typically mounted on roof racks, rigid panels offer the best efficiency and durability. They are built to withstand harsh weather, hail, and the vibrations of off-road travel. While they add some height and weight, their robust construction and superior performance, especially in varying temperatures, make them a popular choice for serious overlanders. When considering Best Off-Grid Solar Panels, rigid options often come out on top for permanent vehicle installations. The key is secure mounting to prevent damage from vibrations and rough terrain.
Batteries: The Heart of Your Mobile Power
The battery bank is where all that hard-earned solar energy gets stored, ready to be dispatched to your appliances. For overlanding, your battery choice is arguably the most crucial decision. While traditional lead-acid batteries (like AGM) have been a staple, LiFePO4 (Lithium Iron Phosphate) batteries have become the overwhelming favorite for overlanders, and for good reason.
LiFePO4 batteries offer a superior cycle life, meaning they can be discharged and recharged many more times than lead-acid batteries before their capacity degrades. They can also be discharged much deeper (often to 80-100% of their capacity) without significant damage, giving you more usable energy from a smaller, lighter package. This weight saving is a huge advantage in vehicles where payload capacity is always a concern. Plus, LiFePO4 batteries maintain a more consistent voltage throughout their discharge cycle, ensuring your appliances run optimally. While the upfront Cost of an Off-Grid Solar Battery Bank for LiFePO4 might be higher, their longevity and performance often make them more cost-effective in the long run. Our comparison on LiFePO4 vs Lead-Acid Battery Cost delves deeper into these considerations. When looking at Best Off-Grid Solar Batteries, LiFePO4 options like those from Battle Born or EG4 are frequently recommended.
Charge Controllers and Inverters: The Brains and Brawn
These two components are essential for managing and converting your solar power.
- Charge Controller: This is the brain of your charging system. Its job is to regulate the power flowing from your solar panels to your batteries, preventing overcharging and optimizing the charging process. For overlanding, an MPPT (Maximum Power Point Tracking) charge controller is almost always the superior choice. MPPT controllers are significantly more efficient than their PWM (Pulse Width Modulation) counterparts, especially in varying light conditions or when the panel voltage is much higher than the battery voltage. This means you'll capture more energy from your panels, which is vital when solar real estate is limited.
- Inverter: If you plan to run any standard household appliances (like a laptop charger or a blender) that require 120V AC power, you'll need an inverter. For sensitive electronics, a pure sine wave inverter is a must. It produces power that is identical to grid power, ensuring your devices operate smoothly and without risk of damage. Modified sine wave inverters are cheaper but can harm or run less efficiently with certain electronics. Many overlanders opt for an inverter charger, which combines a battery charger and an inverter into one unit, often integrating seamlessly with a generator or shore power when available.
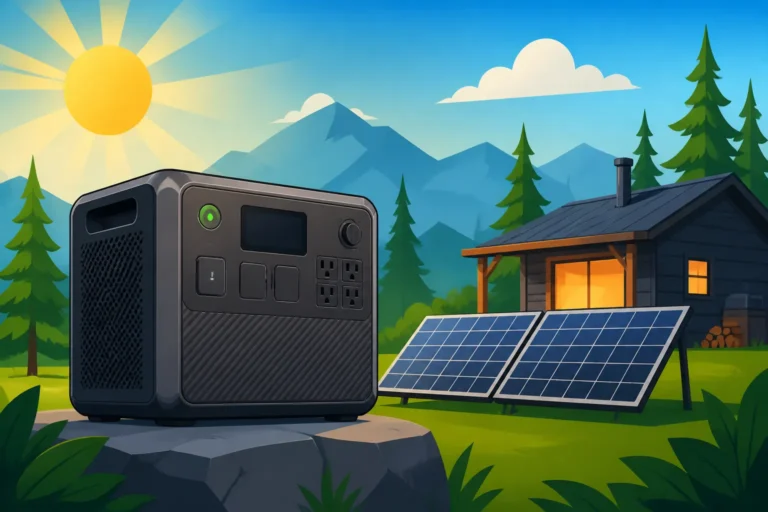
For those seeking simplicity and an all-in-one solution, portable power stations, sometimes called solar generators, integrate the battery, charge controller, and inverter into a single, user-friendly unit. A brand like Jackery, for instance, offers robust and relatively compact portable power stations with built-in pure sine wave inverters and MPPT charge controllers, making them an excellent choice for minimalists or as supplemental power.
Designing Your Overlanding Solar Setup for Success
Designing an effective overlanding solar setup is about more than just picking parts; it's about integrating them seamlessly into your vehicle and lifestyle. It's a delicate dance between power, space, weight, and ruggedness.
Prioritizing Portability and Durability
The very nature of overlanding means your gear will be subjected to conditions far harsher than a typical stationary off-grid system. Your solar panels, batteries, and electronics will endure constant vibrations, dust, dirt, moisture, extreme temperatures, and occasional impacts. Therefore, prioritizing durability is paramount. Look for components rated for outdoor or marine use, with robust casings and sealed connections.
If you choose rigid panels, ensure they are securely mounted to your roof rack with heavy-duty hardware that can withstand constant jarring on corrugated roads. Flexible panels should be adhered with high-quality, temperature-resistant adhesives and checked regularly for signs of lifting. Portable panels should come with protective cases and be stored safely when not in use. Batteries, especially LiFePO4, should be housed in secure, well-ventilated compartments, protected from direct exposure to the elements and potential physical damage. Even wiring needs to be routed carefully, secured with clamps, and protected with conduit to prevent chafing and wear.
Balancing Power with Space and Weight
This is often the biggest design challenge for overlanders. Every component you add takes up precious space and adds weight to your vehicle, directly impacting fuel economy, handling, and overall payload capacity.
- Space: Consider where panels will mount on your roof rack, how much space they'll occupy, and if they'll interfere with other gear like recovery boards or rooftop tents. Batteries need dedicated, secure space, often within the vehicle cabin or a dedicated battery box. Inverters and charge controllers also require mounting points, ideally in a cool, dry area with good ventilation. Many choose compact, all-in-one units or portable power stations like the Jackery Explorer series to consolidate components and save space.
- Weight: This is critical for vehicle dynamics and safety. Every pound matters. LiFePO4 batteries excel here, offering significantly more usable energy per pound compared to lead-acid. Opt for lighter mounting solutions when possible without sacrificing durability. A heavier vehicle requires more fuel, puts more strain on suspension and brakes, and can be less capable off-road. Always check your vehicle's Gross Vehicle Weight Rating (GVWR) and ensure your fully loaded setup, including water, fuel, gear, and passengers, remains within safe limits. A careful load analysis is just as important as your electrical load analysis.
Integrating with Vehicle Power and Auxiliary Charging
Relying solely on solar power can be risky, especially during extended cloudy periods or when your parked vehicle is in shade. A well-designed overlanding system almost always incorporates auxiliary charging options.
- DC-to-DC Chargers: These devices allow you to charge your house battery bank directly from your vehicle's alternator while driving. They are crucial because modern vehicle alternators often have smart regulators that don't effectively charge secondary deep-cycle batteries to full capacity. A good DC-to-DC charger ensures your batteries receive an optimal charge profile from the alternator. Some even incorporate MPPT solar charge controllers, providing an "all-in-one" charging solution.
- Shore Power/Generator: Having the option to plug into grid power (shore power) when available, or run a small portable generator, provides peace of mind. Many inverter-chargers allow seamless switching between solar, alternator, and shore/generator power. This hybrid approach ensures you can maintain fully charged batteries even when solar conditions are poor, or you have particularly high power demands. This is especially useful for How to Add a Generator to Your Design or when considering Off-Grid Solar vs Generator Fuel Cost.
By integrating these charging methods, you create a robust, resilient power system that can handle the unpredictability of overlanding, making sure your power needs are met regardless of the conditions.
Recommended Overlanding Solar Setups and Brands
Navigating the vast world of solar equipment can be daunting, but with your power needs in mind, we can look at some common configurations and reliable brands that overlanders trust. When it comes to setting up an off-grid solar system, you'll find there are reputable companies like Victron Energy, Renogy, and Battle Born that consistently deliver quality products suitable for the rigors of overlanding.
Compact Setups for Minimalists
For weekend warriors, solo travelers, or those with smaller vehicles like SUVs or light trucks, a minimalist setup prioritizing portability and ease of use is often ideal.
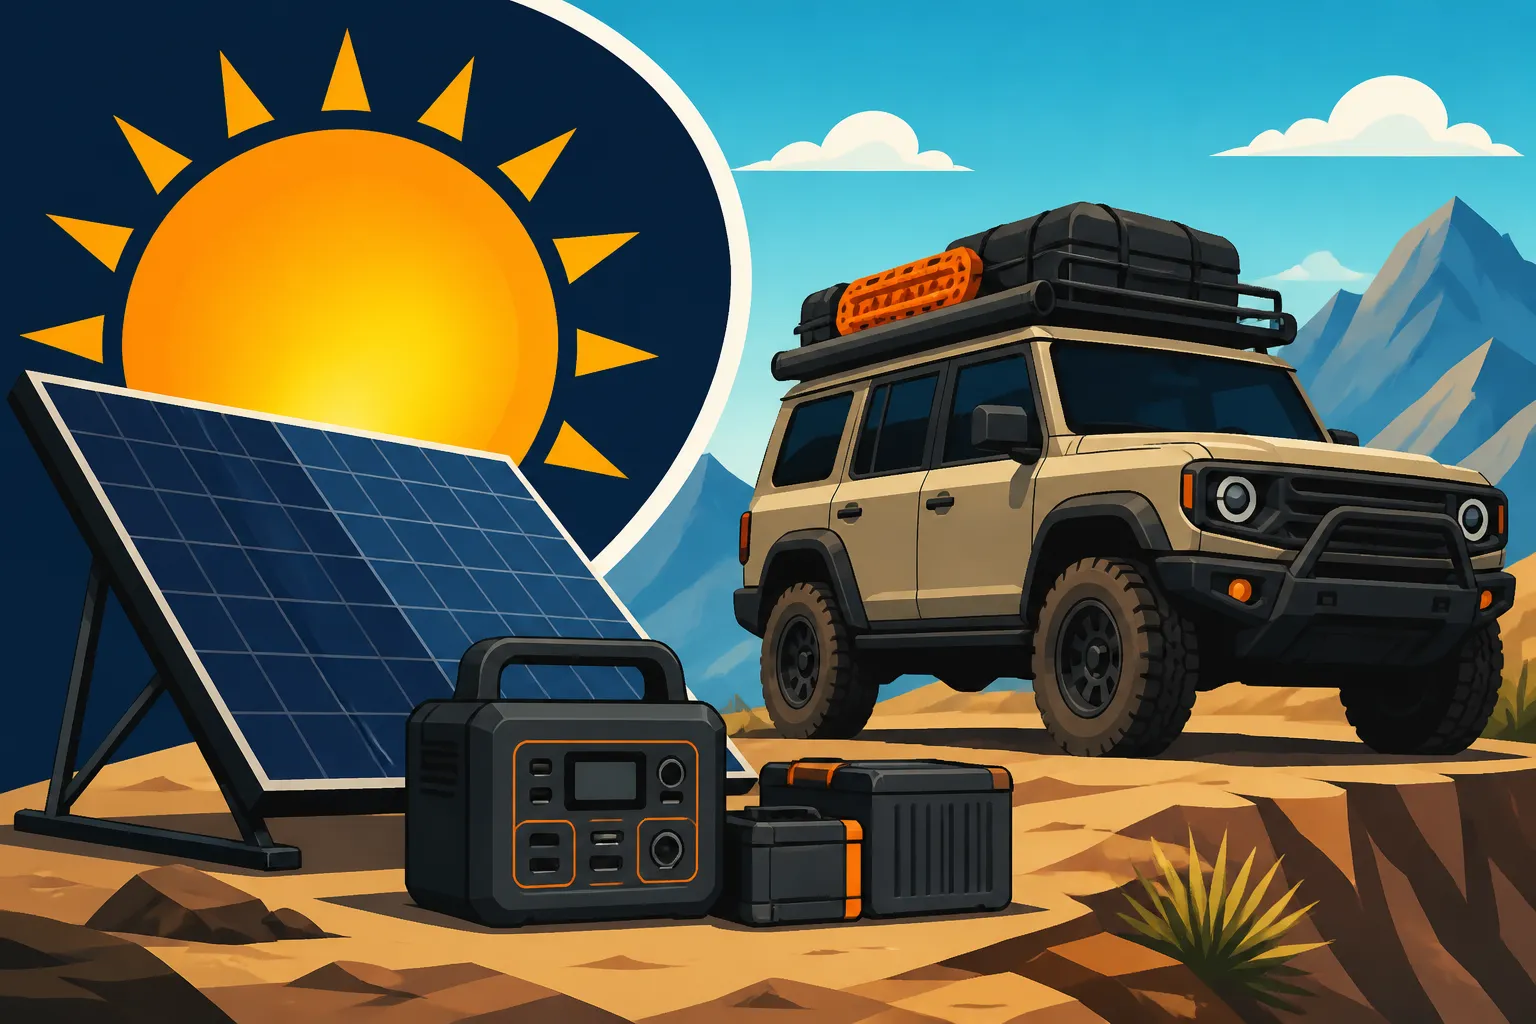
These setups typically revolve around a powerful portable power station, like a Jackery Explorer 1000 or an EcoFlow Delta, paired with a foldable solar panel. These all-in-one units are incredibly user-friendly; you simply plug your solar panel into the power station, and then plug your devices into its AC or DC outlets. They offer pure sine wave AC output, DC outputs, and USB ports, catering to most common charging needs. For instance, a Jackery 1000 with a 100W or 200W solar panel is fantastic for running a small 12V fridge, charging phones, and powering LED lights for a couple of days. The advantage here is the immediate plug-and-play functionality, no complex wiring, and easy transfer between vehicles or even setting up outside the vehicle at camp. This type of setup is often highlighted in discussions about the Best Portable Off-Grid Solar Kit.
Mid-Range Systems for Extended Trips
If your overlanding adventures typically last a week or more, or you have a medium-sized vehicle like a camper van or a larger SUV, you'll likely need a more integrated system with greater capacity.
This usually involves a more permanent installation, often with rigid solar panels mounted on a roof rack. A common setup might include 200-400 watts of rigid solar panels, a dedicated MPPT charge controller (perhaps a Victron SmartSolar or a Renogy Wanderer), and a 100-200Ah LiFePO4 battery. This system provides substantial power for a Dometic-style fridge, multiple device chargers, a water pump, and interior lighting. These setups also benefit greatly from a DC-to-DC charger to utilize the vehicle's alternator while driving. This ensures your batteries are topped off even on travel days. Brands like Renogy offer comprehensive kits that include panels, charge controllers, and batteries, making it easier to assemble a cohesive system. These systems often strike a great balance between cost and capability for many overlanders. If you're looking into Best Off-Grid Solar Kits for Beginners, a mid-range system with quality components from a reputable brand is a solid start.
High-Capacity Solutions for Full-Time Overlanders
For those living on the road full-time, or undertaking extensive, multi-month expeditions in larger vehicles like expedition trucks or heavily modified vans, a high-capacity, robust, and often expandable system is necessary.
These setups will feature a significant solar array, typically 600-1000+ watts of rigid panels, combined with a large LiFePO4 battery bank of 300-600Ah or more. You'll often see multiple batteries wired together to meet these demands. These systems usually include a powerful pure sine wave inverter (2000-3000W) to handle larger AC loads like a microwave, induction cooktop, or even an air conditioner for short bursts. High-end MPPT charge controllers (like those from Victron Energy) with advanced monitoring capabilities are standard. Integration is key here, often with an inverter-charger, a robust DC-to-DC charger, and sometimes even a small backup generator for absolute reliability. This level of system requires careful planning, often detailed in guides like Designing an Off-Grid Solar System Step by Step, to ensure all components are properly sized and safely installed.
| Panel Type | Pros | Cons | Best For |
|---|---|---|---|
| Portable | Easy to set up/store, adjustable angle, can move to sun, no vehicle mods | Can be stolen, requires daily setup, less durable than rigid, takes up storage space | Day trips, supplemental power, rentals, minimalist setups, when parking in shade |
| Flexible | Lightweight, low-profile, conforms to curved surfaces, less wind noise | Can overheat (reduced efficiency/lifespan), less durable to impacts, harder to clean, generally lower wattage/sq ft than rigid | Pop-top campers, curved van roofs, low-profile needs, weight-sensitive builds |
| Rigid | High efficiency, very durable, weather-resistant, long lifespan, secure | Adds height/weight, fixed angle (less efficient at angles), requires roof rack/mounting, permanent vehicle modification, can be shaded by other roof items (e.g., roof top tent) | Permanent installations, high power demands, harsh environments, long-term expeditions, larger vehicles |
Disclaimer
Please remember that installing off-grid solar systems involves working with electricity, which can be dangerous if not handled properly. Always consult with a qualified electrician or solar professional, especially for complex installations. Adhere to all local electrical codes and safety guidelines. The information provided in this guide is for educational purposes only and should not be taken as professional advice.