Best Cables and Connectors for Off-Grid
Stepping into the world of off-grid solar can feel like learning a whole new language, especially when you start looking at all the wires, cables, and connectors. It’s easy to feel overwhelmed by the sheer variety and the seemingly minor details that everyone says are "critical." But trust me, understanding these components is less about memorizing jargon and more about ensuring your system is safe, efficient, and reliable. This guide is here to demystify the cables and connectors, helping you choose and install the right ones for a rock-solid off-grid setup, so you can enjoy uninterrupted power with peace of mind.
The Foundation: Understanding Off-Grid Solar Cables
Think of your off-grid solar system's cables as the veins and arteries carrying vital energy. Just like different parts of your body need different kinds of vessels, different parts of your solar setup require specific types of cables designed for their unique tasks. Skimping or guessing here isn't just inefficient; it can be downright dangerous, leading to overheating, power loss, and even fire hazards.
Solar Panel Cables PV Wire
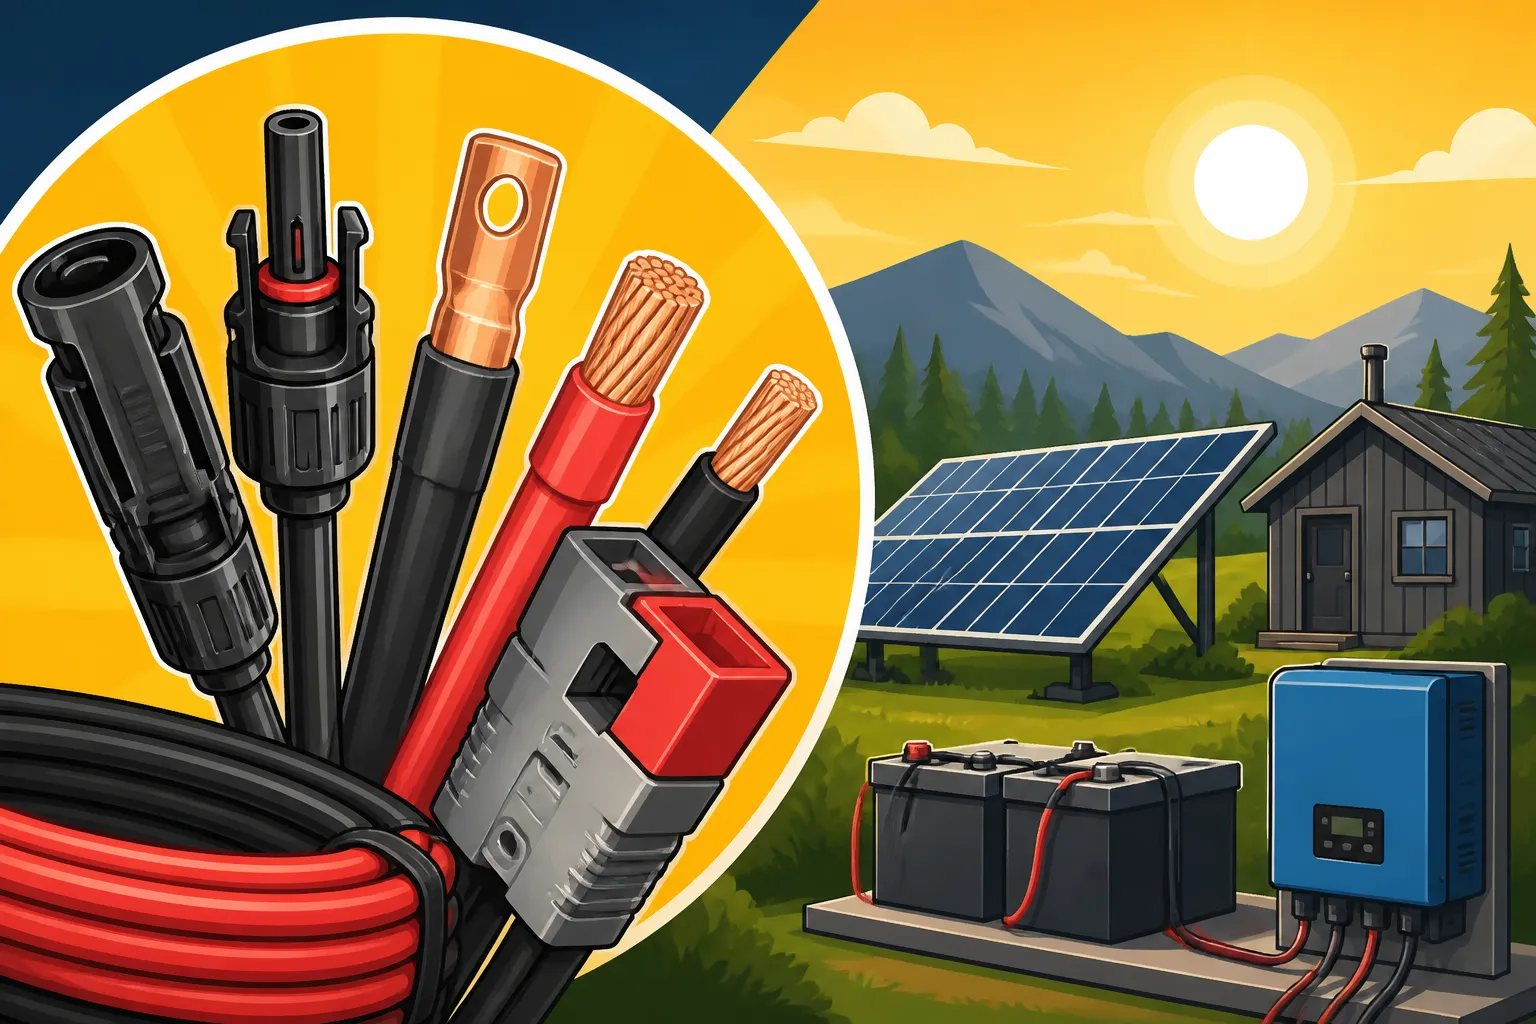
When you look at a solar panel, you'll often see two cables sprouting from its junction box, usually ending in MC4 connectors. These aren't just any old wires you'd find in your house; they are photovoltaic (PV) wire, specifically engineered for the harsh outdoor environment where solar panels live.
PV wire is typically single-conductor, meaning each cable carries either positive or negative current. It's built with stranded copper for flexibility, which is crucial during installation and for resisting vibration over time. The insulation on PV wire is paramount: it's designed to withstand intense ultraviolet (UV) radiation from the sun, extreme temperature fluctuations (from scorching summer days to freezing winter nights), moisture, and abrasion. Many PV wires use XLPE (Cross-Linked Polyethylene) insulation, which offers superior resistance to heat, chemicals, and UV degradation compared to standard electrical wire. Common gauges you'll encounter for connecting individual panels or strings to a combiner box or charge controller are 10 AWG (American Wire Gauge) or 12 AWG. The choice depends on the length of your wire run and the current flowing through it; longer runs or higher currents generally require thicker (smaller AWG number) wire to prevent excessive voltage drop. It’s also important to ensure these cables are properly secured and protected from physical damage from wildlife, tree branches, or even curious kids.
Battery Bank Cables
Ah, the battery bank! This is where the rubber meets the road, or rather, where the serious current often flows. Batteries are typically low voltage but high current devices, especially when they're supplying power to a large inverter that's running appliances. This high current demands very thick cables, much thicker than what you'd use for your solar panels.
For inter-battery connections (connecting batteries to each other in series or parallel) and connecting the entire bank to your inverter, you'll typically be looking at cables ranging from 1 AWG all the way up to 4/0 AWG (pronounced "four ought"). The exact size depends heavily on the total amperage your inverter will draw and the distance of the run. Many off-gridders prefer welding cable for battery banks due to its exceptional flexibility, making it much easier to route and bend into tight spaces compared to stiffer industrial cables. Marine-grade cables, often tinned copper, are another excellent choice, especially if your battery bank is in a humid environment or on a boat, as the tinning helps prevent corrosion. A critical aspect here is keeping the cable runs between batteries as short and equal in length as possible. Unequal lengths can lead to imbalances in charging and discharging, shortening the lifespan of your expensive batteries. These aren't areas where you want to cut corners; robust, well-sized battery cables are fundamental to the safety and longevity of your system.
Inverter to Battery and Load Center Cables
The inverter is the heart of most off-grid solar systems, converting the DC power from your batteries into the AC power that runs your standard household appliances. The cables connecting your inverter are therefore crucial, handling significant power flows.
On the DC side, connecting the inverter to your battery bank, the cables will be very thick, often in the 2/0 to 4/0 AWG range, similar to your main battery bank cables. This is because the inverter draws a massive amount of current from the batteries, especially during surge loads (like when a refrigerator compressor kicks on or you start a power tool). It’s absolutely vital to size these cables correctly to minimize voltage drop and prevent dangerous overheating. If you're building a system with, say, a Sol-Ark 12K inverter, the DC input cables will be substantial. On the AC side, where the inverter outputs power to your home's electrical panel (or a subpanel), you'll use standard household wiring like Romex (NM-B) or THHN wires run through conduit. The gauge here will depend on the AC output capacity of your inverter and the breakers in your AC distribution panel, just like any other household electrical circuit. Always follow local electrical codes and the inverter manufacturer's recommendations for both DC and AC wiring to ensure safety and compliance. A well-designed system, like those often outlined in a good guide on Off-Grid Solar Wiring Diagram Explained, will clearly illustrate these connections.
Making the Connections: Essential Off-Grid Connectors
Cables are only as good as their connections. Loose, corroded, or improperly sized connectors are a common source of system failures, efficiency losses, and even electrical fires in off-grid setups. Choosing the right connectors and installing them correctly is just as important as selecting the right cables.
MC4 Connectors for Solar Panels
The MC4 connector has become the industry standard for solar panel connections, and for good reason. These cylindrical, snap-together connectors are designed to be waterproof, UV-resistant, and provide a secure, low-resistance electrical connection. You'll find them on virtually all modern solar panels and often on extensions or combiner box inputs.
MC4s are typically used with 10 AWG or 12 AWG PV wire. While you can buy pre-assembled MC4 cables, many DIYers opt to crimp their own. This requires a specialized MC4 crimping tool and a good understanding of how to correctly strip the wire and insert it into the metal pin before crimping. A proper crimp is absolutely critical for a reliable, safe connection that won't pull apart or develop resistance over time. Improperly crimped MC4s can lead to arcing, which is a significant fire risk. For connecting multiple panels in series or parallel, you'll use MC4 branch connectors (also known as Y-splitters). These allow you to combine the output of several panels before sending it to your charge controller. Brands like Renogy often include high-quality MC4 connectors in their solar kits and offer them separately, making it easier for you to find reliable components for your system. When you're learning How to Connect Batteries, Inverter, and Panels, you'll quickly realize how essential these simple connectors are.
Lugs and Terminals for Batteries and Inverters
For the high-current connections to your batteries, charge controller, and inverter, you'll primarily be using heavy-duty ring terminals, often called "lugs." These are designed to be bolted securely onto threaded posts or busbars, ensuring a strong mechanical and electrical connection.
Lugs are typically made of copper, and for environments where corrosion is a concern (like in a humid shed or an RV), tinned copper lugs offer superior protection. They come in various sizes to match your cable gauge (e.g., a 2/0 AWG lug for a 2/0 AWG cable) and the bolt size of the terminal (e.g., 3/8-inch ring opening). Just like with MC4s, proper crimping is paramount for lugs. For thicker battery cables, you'll need a hydraulic crimper to achieve a solid, gas-tight crimp that won't loosen or corrode. Some DIYers might attempt to solder lugs, but for high-current applications, a properly crimped and then sealed lug (with heat shrink tubing) is generally preferred for its mechanical strength and reliability. Heat shrink tubing, especially the adhesive-lined kind, serves a dual purpose: it insulates the connection to prevent accidental shorts and seals out moisture and corrosive elements, extending the life of your connections. When you look at guides like How to Size Battery Cables, they will always emphasize correct lug usage.
Fuses, Breakers, and Disconnects
While not strictly "connectors" in the traditional sense, fuses, breakers, and disconnects are integral components that provide essential safety functions and act as critical connection points within your off-grid system. They protect your wiring, equipment, and ultimately, you and your property from overcurrent events.
Every major component of your off-grid system should have appropriate overcurrent protection. For solar panel arrays, DC-rated circuit breakers or fuses are installed in a combiner box or near the charge controller. These protect the wiring from the panels in case of a short circuit. For the battery bank, a large DC-rated fuse (like an ANL or Class T fuse for very high-power inverters) is installed as close to the battery bank as possible, protecting the main inverter cables. Circuit breakers are also used between the charge controller and the battery bank. Additionally, easily accessible disconnect switches are vital to safely de-energize sections of your system for maintenance or emergencies. You'll want a PV array disconnect near the panels and a battery disconnect near the batteries. All these components must be properly rated for the DC voltage and current of your system. Installing them correctly is covered in detail in resources like How to Install Fuses and Breakers and is crucial for Off-Grid Solar Safety and Grounding.
Sizing Your Wires and Ensuring System Reliability
The size of your cables isn't just a suggestion; it's a critical engineering decision that directly impacts the performance, safety, and longevity of your off-grid solar system. Get it wrong, and you're looking at wasted energy, overheated wires, and potential hazards.
The Critical Role of Wire Gauge and Voltage Drop
Wire gauge, typically measured in AWG (American Wire Gauge), is an inverse relationship: the smaller the AWG number, the thicker the wire. So, a 4/0 AWG cable is much thicker than a 10 AWG cable. The primary reason we care about wire gauge in off-grid solar is to mitigate voltage drop.
Voltage drop occurs when the electrical resistance of a wire causes some of the voltage to be "lost" as heat over a distance. In a low-voltage DC system, like a 12V or 24V battery bank, even a small voltage drop can represent a significant percentage of your total power, leading to reduced efficiency and components not receiving enough voltage to operate correctly. For example, if your 12V system experiences a 0.5V drop, your appliance is only getting 11.5V, which can affect its performance or even prevent it from starting. This loss manifests as heat in the wire, which can be dangerous if the wire is too thin for the current it's carrying.
To calculate the appropriate wire gauge, you need to consider three main factors:
- Current (Amps): The amount of electricity flowing through the wire.
- Distance (Feet): The one-way length of the wire run.
- System Voltage: Whether it's 12V, 24V, or 48V.
Higher voltage systems (e.g., 48V) can transmit the same amount of power (Watts) with lower current (Amps), which means you can often use thinner and less expensive wire for longer runs. This is a key reason why larger off-grid systems often opt for a 48V setup, as discussed in detail in posts like 12V vs 24V vs 48V: Which to Choose. Always aim for a voltage drop of no more than 2-3% for DC circuits to ensure optimal performance. Ignoring this can lead to "How to Prevent Voltage Drop in Off-Grid Wiring" becoming a very pressing, and costly, question down the line.
Here's a quick reference table for common off-grid solar wiring applications, but always refer to specific sizing charts for your exact current and distance:
| Component Type | Typical Current Level | Recommended Voltage Drop % | Example Cable Gauge (AWG) |
|---|---|---|---|
| Solar Panel to Combiner Box | Low to Medium (5-15A) | <3% | 10 AWG |
| Combiner Box to Charge Controller | Medium to High (10-60A) | <3% | 8-4 AWG |
| Charge Controller to Battery Bank | High (20-100A+) | <2% | 6-1/0 AWG |
| Battery Interconnects | Very High (100A-500A+) | <0.5% | 2/0-4/0 AWG |
| Inverter to Battery Bank | Very High (100A-500A+ peak) | <1% | 2/0-4/0 AWG |
| Inverter to AC Load Center | Varies (AC Amps) | <3% | 14-6 AWG (AC wire) |
Note: This table provides general guidelines. Always consult detailed wire sizing charts and local electrical codes for your specific system.
Best Practices for Wiring and Connection Security
Once you've got the right cables and connectors, how you put it all together makes all the difference. Sloppy wiring isn't just unsightly; it's a recipe for disaster in an off-grid system.
First and foremost, neatness and labeling are your best friends. Use cable ties, wire loom, or conduit to organize your runs. Labeling cables at both ends, especially in complex systems, will save you immense frustration when troubleshooting or expanding. Imagine trying to figure out which PV string is underperforming without labels! Secondly, strain relief is crucial. Ensure cables aren't pulled taut or bending sharply at connection points, which can stress the conductors or insulation. Cable clamps and proper routing through conduit can prevent this.
Protecting your cables from physical damage, UV exposure (for non-PV wire), and even critters (mice love to chew on wires!) is essential. Running wires in appropriate conduit (flexible or rigid, depending on location) is a great way to shield them. Thirdly, torquing connections properly is non-negotiable. Loose connections are one of the most common causes of system failure. They create resistance, leading to heat buildup, arcing, and can eventually melt insulation or even start a fire. Use a torque wrench where specified by component manufacturers (like for inverter terminals or busbar connections) to ensure fasteners are tightened to the correct specification. For battery terminals, a thin layer of anti-corrosion grease can help maintain a clean, low-resistance connection over time.
Finally, remember that even a well-designed DIY setup needs to be executed with care. If you're tackling a large project, consulting guides like DIY Off-Grid Solar Installation Step by Step can provide invaluable guidance. For acquiring quality components, specialized solar suppliers are great, but for many standard wires, connectors, and tools, online retailers like Amazon can offer a wide selection, often with good customer reviews to help you make informed choices. Taking the time to do things right the first time will pay dividends in the form of a reliable, safe, and efficient off-grid power system.
Disclaimer
The information provided in this guide is for general informational purposes only and does not constitute professional electrical advice. Off-grid solar system design and installation can be complex and involve significant electrical hazards. Always consult with a qualified electrician or solar professional and ensure all work complies with local electrical codes and regulations. Proceed with caution and at your own risk.