How to Size an Off-Grid System for a Hunting Cabin
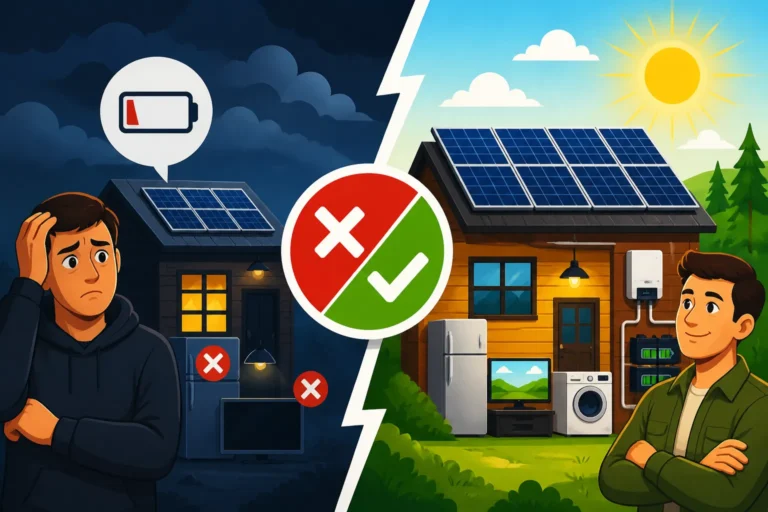
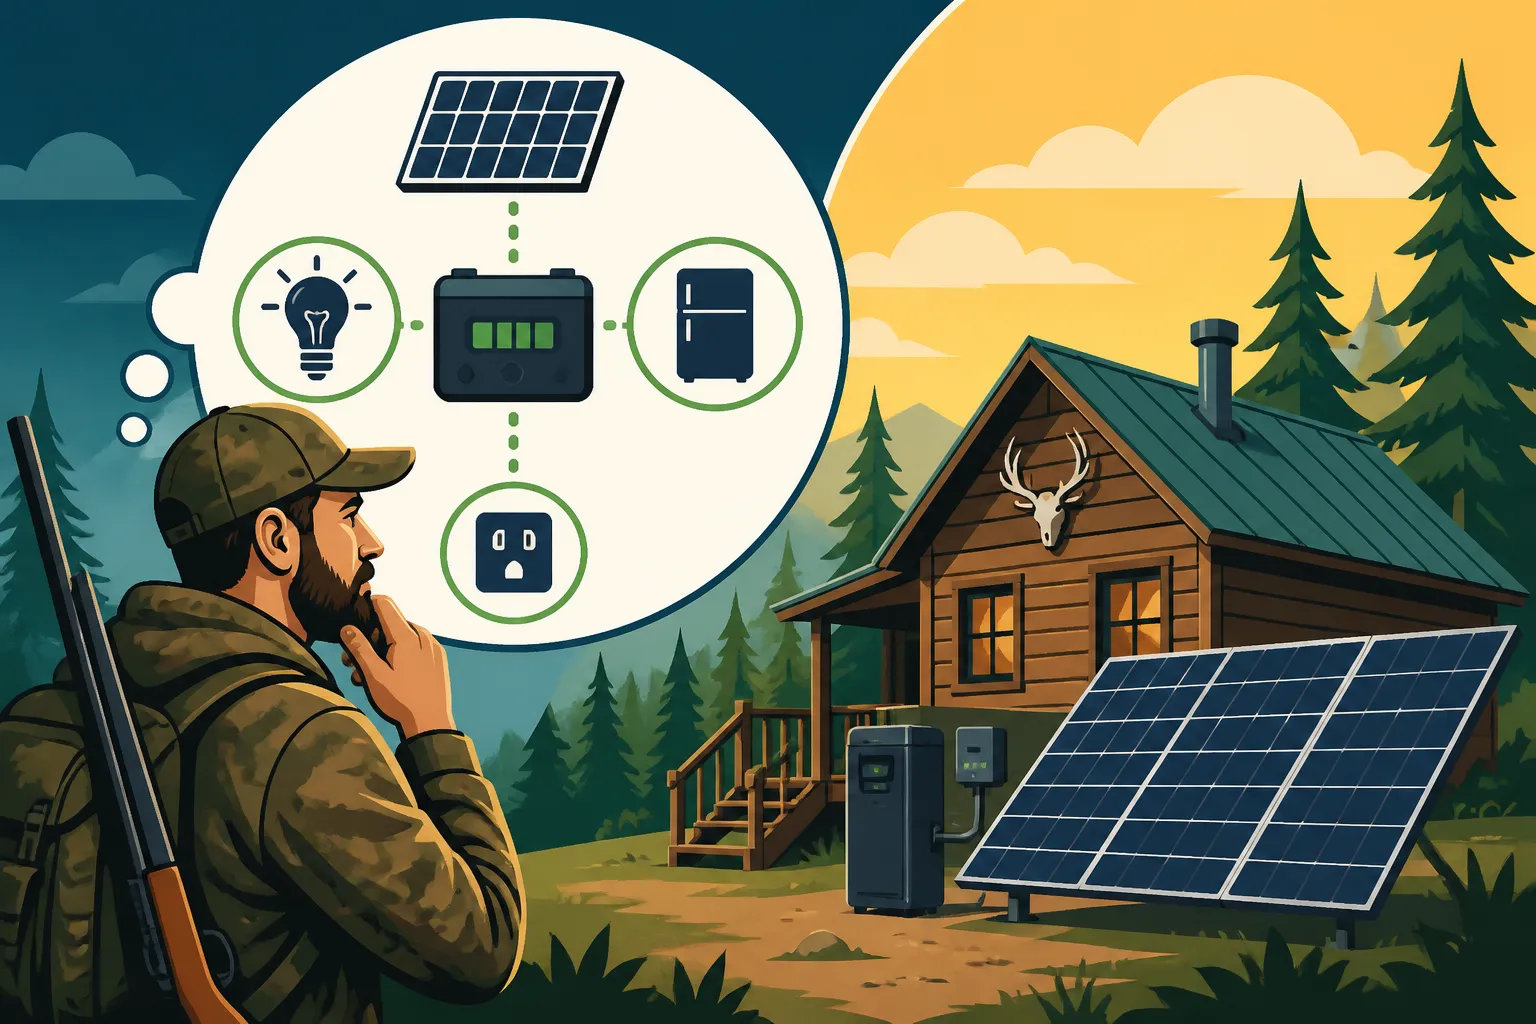
There's nothing quite like the peace and solitude of a remote hunting cabin, but the struggle for reliable power can quickly turn that tranquil escape into a frustrating battle with dead phone batteries and dark evenings. If you've been dreaming of bringing modern comforts to your wilderness retreat without the noise and hassle of a gas generator, you're in the right place. This comprehensive guide will walk you through the essential steps to accurately size an off-grid solar system specifically tailored for your hunting cabin, ensuring you have dependable power whenever you need it most.
Understanding Your Cabin's Energy Needs (The Foundation)
Before you even think about solar panels or batteries, the absolute first step is to understand what you actually want to power in your hunting cabin. It’s a common mistake to just guess, or to dramatically overestimate or underestimate your needs. Getting this right is the foundation of a successful off-grid system, saving you money and headaches down the road.
Conducting a Detailed Load Analysis
A load analysis is simply a list of every electrical appliance and device you plan to use, along with how much power they consume and for how long each day. Think of it like a meticulous household budget, but for electricity. Don't overlook anything, no matter how small; even a few LED lights and phone chargers add up over time.
Start by making a comprehensive list. Will you have a small refrigerator to keep drinks cold and game fresh? Perhaps some LED lights for evening reading or cooking? A water pump if you have a well or cistern? Maybe you'll want to charge power tool batteries, your cell phone, or run a small fan on warmer days. Consider seasonal usage too – a cabin used primarily in fall/winter might prioritize lighting and heating small appliances, while summer use might include a portable air conditioner or more robust refrigeration. Remember to account for tools or equipment you might bring for maintenance, like drills or saws.
Once you have your list, for each item, you need to find its wattage (how much power it uses when running) and estimate how many hours per day you'll operate it. Most appliances have this information on a label, in the user manual, or you can find it with a quick online search. For example, a typical LED light bulb might be 9-12 watts, a small cabin refrigerator 50-100 watts (when running, but it cycles on and off), and a phone charger around 5-10 watts. Be realistic with your daily usage; if you only spend a few hours a day in the cabin, your lights won't be on for 12 hours.
Calculating Daily Watt-Hours
After listing everything and noting its wattage and estimated daily runtime, it's time to crunch the numbers to get your daily watt-hour (Wh) consumption. This is your total energy budget for a 24-hour period.
The formula is straightforward:
Appliance Wattage (W) × Daily Run Time (Hours) = Daily Watt-Hours (Wh) for that appliance
You'll do this for every single item on your list, and then add up all the individual daily watt-hours to get your grand total. Let's imagine a simple hunting cabin scenario:
- Four 10W LED lights, used 4 hours/day each: 4 lights * 10W/light * 4 hours/day = 160 Wh
- Small 75W refrigerator, runs 8 hours/day (compressor cycle): 75W * 8 hours/day = 600 Wh
- Phone charger (10W), used 2 hours/day: 10W * 2 hours/day = 20 Wh
- Small water pump (150W), used 0.5 hours/day: 150W * 0.5 hours/day = 75 Wh
In this example, your total daily watt-hour consumption would be 160 + 600 + 20 + 75 = 855 Wh per day. This number is critical because it dictates the size of your entire solar system. For a deeper dive into this, you might find our guide on How to Calculate Daily Energy Usage helpful.
Sizing Your Solar Panel Array (Capturing the Sun)
Once you know your cabin's daily energy needs, the next step is to figure out how many solar panels you’ll need to generate that power. This isn't just about total wattage; it’s about how much usable sunlight your location receives throughout the day.
Determining Peak Sun Hours for Your Location
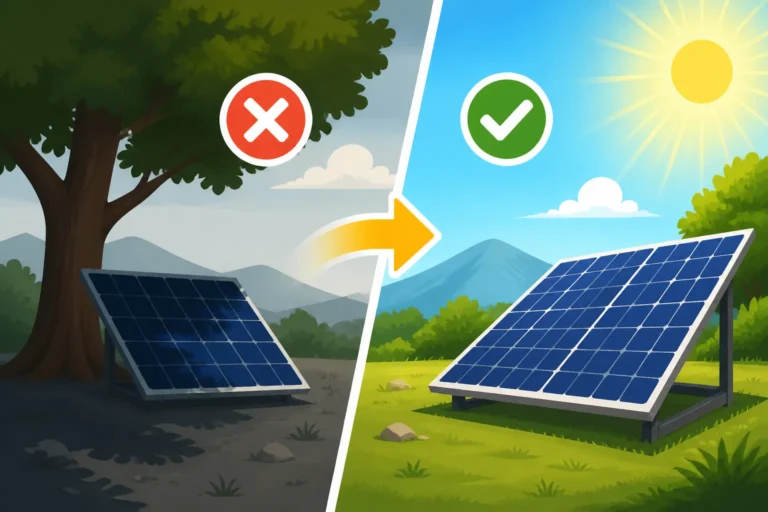
Solar panels don't produce their rated wattage all day long. Their output varies with the intensity of the sun. To account for this, we use "peak sun hours." Peak sun hours represent the average number of hours per day when the sun's intensity is equivalent to 1,000 watts per square meter (which is considered full sun).
The number of peak sun hours varies significantly by location and season. A cabin in northern Michigan in December will have far fewer peak sun hours than a cabin in Arizona in July. For a hunting cabin, you typically want to size your system for the worst-case scenario during your usage period. If you hunt in the late fall or early winter, you'll need to use the average peak sun hours for those specific months. You can find this data from various online sources, often provided by national renewable energy labs or weather services. For example, a sunny region in the summer might see 5-7 peak sun hours, while a cloudy winter day might only offer 1-2. This factor is crucial when planning for year-round off-grid power.
Calculating Required Panel Wattage
Now that you have your daily watt-hour consumption and your location's peak sun hours, you can calculate the total wattage your solar panel array needs to produce.
Here's the formula:
Total Daily Watt-Hours (Wh) ÷ Peak Sun Hours = Required Panel Wattage (W)
Using our earlier example of 855 Wh per day, let's assume your hunting cabin is in an area that gets an average of 3 peak sun hours during the hunting season you frequent.
855 Wh ÷ 3 hours = 285 Watts
So, you'd need at least 285 watts of solar panels. However, you absolutely should add a buffer. Solar panels lose efficiency over time, dirt and snow can reduce their output, and not all days are "average." It's wise to oversize your array by at least 20-30% for reliability. So, 285W * 1.30 = 370.5W. This means aiming for around 400 watts of panels would be a more robust choice. You can purchase several smaller panels (e.g., two 200W panels) or one larger one to reach this target. Many brands, like Renogy, offer a variety of panel sizes, including portable options that might be suitable for a remote hunting cabin where permanent installation isn't ideal. Our guide on How Many Solar Panels for Off-Grid Living goes into more detail.
Sizing Your Battery Bank (Storing Power for When You Need It)
The sun doesn't shine 24/7, so a reliable off-grid system needs a way to store the energy collected by your solar panels for use after dark or on cloudy days. This is where your battery bank comes in.
Determining Days of Autonomy
"Days of autonomy" refers to how many days your battery bank can power your cabin without any additional charging from your solar panels. For a hunting cabin, this is particularly important because you might experience several consecutive cloudy days, or you might only be at the cabin for a weekend, needing power primarily from stored energy.
A common recommendation for off-grid homes is 2-3 days of autonomy. For a hunting cabin, especially one where you want uninterrupted power during your stay, aiming for 2-3 days is a smart move. This means if the sun doesn't shine for two or three days straight, your batteries can still keep your lights on and your fridge running. Of course, more days of autonomy means a larger, more expensive battery bank, so you'll need to balance cost with your desired level of reliability.
Calculating Battery Capacity (Ah or kWh)
Once you've decided on your days of autonomy, you can calculate the necessary battery capacity. Battery capacity is usually measured in Amp-hours (Ah) or kilowatt-hours (kWh).
First, let's calculate the total watt-hours needed for your desired days of autonomy:
Total Daily Watt-Hours (Wh) × Days of Autonomy = Total Watt-Hours Needed (Wh)
Using our example of 855 Wh/day and aiming for 2 days of autonomy:
855 Wh/day × 2 days = 1710 Wh
Now, you need to factor in the depth of discharge (DoD) for your chosen battery type. Lead-acid batteries (like flooded or AGM) should generally not be discharged more than 50% to maximize their lifespan. Lithium iron phosphate (LiFePO4) batteries, on the other hand, can often be discharged 80-100% without significant impact on their cycle life. This is a huge advantage for LiFePO4, as you need less overall capacity to get the same usable energy.
Let's assume you opt for LiFePO4 batteries, which are increasingly popular due to their long lifespan, high efficiency, and deep discharge capabilities. You can typically get 80-90% usable capacity.
Total Watt-Hours Needed (Wh) ÷ Usable Depth of Discharge (%) = Gross Battery Bank Watt-Hours (Wh)
1710 Wh ÷ 0.80 (for 80% DoD) = 2137.5 Wh
So, you'd need a battery bank with a gross capacity of approximately 2138 Wh, or about 2.1 kWh.
To convert this to Amp-hours (Ah), which is how many batteries are rated, you also need to decide on your system voltage (12V, 24V, or 48V). Let's assume a common 12V system for a small cabin.
Gross Battery Bank Watt-Hours (Wh) ÷ System Voltage (V) = Required Amp-Hours (Ah)
2138 Wh ÷ 12V = 178.17 Ah
Therefore, you would need roughly 180 Amp-hours of LiFePO4 battery capacity at 12V. This might translate to one 200Ah 12V battery, or two 100Ah 12V batteries wired in parallel. This is a good place to look at specific products like those offered by Renogy or other reputable brands, many of which are available on Amazon. Considering the Cost of an Off-Grid Solar Battery Bank is also an important factor in this decision.
Choosing Your System Voltage
The system voltage (12V, 24V, or 48V) affects how components communicate and the efficiency of your wiring.
- 12V Systems: These are the most common for smaller systems like RVs, vans, and many hunting cabins. They are simpler to wire, and many small DC appliances are readily available in 12V. However, for higher power demands, 12V systems require thicker, more expensive wiring to avoid voltage drop, and they can be less efficient overall.
- 24V Systems: A good middle ground, offering better efficiency than 12V for slightly larger loads without the complexity of 48V. Wiring costs are reduced compared to 12V.
- 48V Systems: Typically used for larger, whole-home off-grid systems. They are the most efficient for transmitting power over longer distances and handling very high loads, reducing wire size and loss. However, components can be more expensive, and wiring requires more care.
For a hunting cabin with modest energy needs, a 12V or 24V system is usually sufficient and easier to implement. If you're running a powerful well pump or a mini-split AC, you might consider 24V or even 48V. Our article on 12V vs 24V vs 48V: Which to Choose can help you weigh your options.
Sizing Your Charge Controller and Inverter (The Brains of the System)
With your panels and batteries sized, it's time to select the electronics that manage the power flow. The charge controller protects your batteries, and the inverter converts stored DC power into usable AC power for your appliances.
Sizing the Charge Controller
The charge controller is the battery's best friend. It regulates the voltage and current coming from your solar panels, preventing overcharging and extending battery life. There are two main types:
- PWM (Pulse Width Modulation): Simpler, less expensive, but less efficient. Best for small systems where the panel voltage closely matches the battery bank voltage (e.g., a 12V panel charging a 12V battery).
- MPPT (Maximum Power Point Tracking): More advanced, more expensive, and significantly more efficient. MPPT controllers can take higher voltage from your solar panels and convert it down to your battery voltage, optimizing power harvest. They are highly recommended for most off-grid setups, especially when you have multiple panels or panel voltage is higher than battery voltage.
To size your charge controller, you need to know your total panel wattage and your system voltage. The controller needs to be able to handle the maximum current (amps) that your solar array can produce.
The formula is:
Total Panel Wattage (W) ÷ System Voltage (V) = Maximum Amperage (A)
Using our example of 400W of panels and a 12V system:
400W ÷ 12V = 33.33 Amps
You should always add a 25% safety margin, as per electrical codes, for continuous loads:
33.33 A × 1.25 = 41.66 Amps
So, you would need a charge controller rated for at least 40-50 Amps for a 12V system with 400W of panels. If you have a 24V system, the amperage would be roughly half, requiring a smaller rated controller. Brands like Victron Energy or Renogy offer excellent MPPT charge controllers suitable for hunting cabins, and they are widely available on Amazon. You can learn more about How to Choose an Off-Grid Charge Controller in our detailed guide.
Sizing the Inverter
The inverter is what allows you to run standard household AC appliances (like a refrigerator, microwave, or phone charger) from your DC battery bank. It converts the direct current (DC) stored in your batteries into alternating current (AC) that your devices use.
When sizing an inverter, you need to consider two main ratings:
- Continuous Wattage: This is the maximum power the inverter can supply constantly. It should be equal to or greater than the sum of all the devices you expect to run simultaneously.
- Surge Wattage (Peak Power): Many appliances, especially those with motors (like a well pump or refrigerator compressor), draw a much higher burst of power for a few seconds when they start up. Your inverter must be able to handle this "surge" without shutting down.
To calculate your continuous wattage need, list all appliances you might run at the same time and add up their wattages. For a hunting cabin, this might be your fridge, a couple of lights, and a laptop charger.
Let's assume for our example cabin, you might simultaneously run:
- Small refrigerator: 75W
- Two LED lights: 2 * 10W = 20W
- Laptop charger: 60W
- Total continuous load: 75 + 20 + 60 = 155W
However, the surge load is critical. If your 150W water pump needs 500-700W to start, or your small microwave (800W running) needs 1200-1500W to start, your inverter needs to handle that momentary spike. Always size your inverter based on your highest expected surge load, even if it's only for a few seconds.
For most hunting cabins with modest needs, a 1000W to 2000W pure sine wave inverter is usually a safe bet. Pure sine wave inverters produce clean power, identical to grid power, which is essential for sensitive electronics like laptops, TVs, and some kitchen appliances. Modified sine wave inverters are cheaper but can damage certain devices and are less efficient. Many reliable inverters can be found on Amazon. Our detailed guide on How to Size an Off-Grid Inverter provides even more information.
Typical Hunting Cabin Appliance Energy Estimates
Here's a table summarizing common hunting cabin appliances and their approximate wattage and daily watt-hour usage. Remember, these are averages, and your specific appliance models may vary.
| Appliance | Average Running Wattage (W) | Estimated Daily Run Time (Hours) | Daily Watt-Hours (Wh) | Notes |
|---|---|---|---|---|
| LED Light Bulb (10W) | 10 | 4 | 40 | Multiply by number of bulbs. |
| Small Mini-Fridge | 50 – 100 | 8 – 12 (cycling) | 400 – 1200 | Varies heavily by model and ambient temperature. Crucial load. |
| Cell Phone Charger | 5 – 10 | 2 | 10 – 20 | Small, but essential for communication. |
| Laptop Charger | 45 – 90 | 2 | 90 – 180 | For work, entertainment, or navigation. |
| Water Pump (small) | 150 – 300 | 0.25 – 0.5 | 37.5 – 150 | High surge demand; factor into inverter sizing. |
| Propane Heater Fan | 10 – 30 | 4 – 8 | 40 – 240 | If it has an electric fan. |
| Small Microwave (700W) | 700 – 1200 | 0.1 (6 mins) | 70 – 120 | Very high surge and running wattage, but short use. |
| Small Coffee Maker | 600 – 1000 | 0.1 (6 mins) | 60 – 100 | High momentary load, consider for inverter. |
| TV (LED, 32-inch) | 30 – 60 | 2 | 60 – 120 | For entertainment or weather updates. |
| Rechargeable Drill | N/A | Charging for 1 hour | 50 – 100 | Charge battery, not continuous use. Check charger wattage. |
Putting together an off-grid solar system for your hunting cabin is a rewarding project that offers true independence and comfort in the wilderness. By carefully sizing each component – from understanding your daily energy budget to selecting the right panels, batteries, and electronics – you're ensuring a reliable and efficient power supply. Take your time with the calculations, consider your specific usage patterns, and don't be afraid to slightly oversize key components for peace of mind. With a properly sized system, your cabin will be a true sanctuary, powered by the sun.
Disclaimer
The information provided in this guide is for general informational purposes only and does not constitute professional advice. Off-grid solar system design and installation can be complex and should only be undertaken by individuals with appropriate electrical knowledge and safety precautions. Consult with a qualified solar professional or electrician for specific advice tailored to your situation and to ensure compliance with all local codes and regulations.