How to Size an Off-Grid System for a Garage
It's incredibly frustrating to have a garage, a space for projects, storage, or even just a quiet retreat, only to be limited by the lack of readily available power. Whether you're dealing with a remote property, an expensive grid connection extension, or just want to cut ties with the utility company, powering your garage off-grid can feel like a daunting task. This comprehensive guide will walk you through the precise steps to accurately size an off-grid solar system for your garage, ensuring you have reliable power for all your needs without the guesswork.
Understanding Your Garage's Unique Power Demands
Before you even think about buying a solar panel or a battery, the absolute first step in designing any off-grid system is to thoroughly understand what you intend to power. Garages are unique; they can range from a simple shed needing only a light bulb to a full-blown workshop humming with power tools. Skipping this critical "load analysis" step is one of the biggest and most common off-grid sizing mistakes. You wouldn't build a house without knowing how many rooms it needs, right? The same principle applies here.
Identifying Essential and Non-Essential Appliances
Start by making a comprehensive list of every single electrical item you might want to use in your garage. Don't leave anything out, even if you think you'll only use it occasionally. Think about:
- Lighting: Overhead lights, task lighting, outdoor security lights. Are they LED, fluorescent, or incandescent? This makes a huge difference.
- Power Tools: Drills, saws (circular, miter, table), grinders, air compressors, welders. These are often the heaviest hitters and require special consideration for their "surge" power.
- Charging Devices: Battery chargers for power tool batteries, car batteries, phone chargers, laptop chargers.
- Refrigeration: A mini-fridge for drinks, a full-size freezer for extra storage.
- Heating/Cooling: A small space heater, a fan, a window AC unit, or a mini-split system. These consume a lot of power.
- Entertainment/Communication: Radio, TV, Wi-Fi booster, security cameras.
- Garage Door Opener: Often overlooked, but it's an electrical load.
Once you have your exhaustive list, go through it and categorize items as "essential" (must-have, daily use) and "non-essential" (nice-to-have, occasional use). This helps you prioritize and decide where you might compromise if your budget or space is limited. For instance, an air compressor might be essential for your projects, but a full-size refrigerator might be a luxury you can live without or use only sparingly.
Calculating Wattage and Daily Usage
Now that you have your list, it's time to crunch some numbers. For each item, you need to find its wattage (how much power it uses when running) and estimate how many hours per day you'll use it.
- Find the Wattage: Look for labels on the appliance itself (often on the back or bottom). It might list watts (W), amps (A), or volts (V). If it lists amps and volts, multiply them (A x V = W) to get the wattage. If you can't find it, a quick online search for "[Appliance Name] wattage" will usually give you a good estimate. Be aware that many tools have both a "running wattage" (what it uses consistently) and a much higher "starting wattage" or "surge wattage" (a brief spike of power needed to get the motor going).
- Estimate Daily Use: Be realistic! If you run a circular saw for 15 minutes, that's 0.25 hours. If your garage light is on for 4 hours, that's 4 hours. Don't overestimate unless you deliberately want to build in a buffer.
- Calculate Daily Watt-Hours (Wh): Multiply the wattage by the estimated daily hours of use.
- Example: A 60W LED light used for 4 hours a day = 60W x 4h = 240 Wh/day.
- Example: A 1500W miter saw used for 0.5 hours a day = 1500W x 0.5h = 750 Wh/day.
Sum up all the daily watt-hours for all your essential and non-essential items. This total is your total daily energy consumption, usually expressed in Watt-hours per day (Wh/day). This is perhaps the most crucial number in the entire sizing process. If you need help with this step, our guide on how to calculate daily energy usage can provide even more detailed examples and methods.
Accounting for Surge Power
This is where many DIYers get tripped up, especially with garages full of power tools. Motors, like those found in saws, air compressors, and even some garage door openers, require a significantly higher burst of power to start up than they do to run continuously. This is called surge wattage.
- Identify Surge Loads: Any appliance with an electric motor will have a surge wattage.
- Find the Surge Wattage: This is harder to find on labels. Often, it's 2 to 7 times the running wattage. For instance, a drill might run at 500W but surge to 1500W for a split second. A large air compressor could run at 1500W but surge to 6000W or even higher.
- Determine Your Max Simultaneous Surge: Which motor-driven appliance will demand the most surge power at any one time? You typically only need to size for the largest surge, not the sum of all surges, unless you plan to start multiple large tools simultaneously (which is rare).
Your inverter (which converts battery power to AC power for your appliances) must be able to handle this highest surge wattage. If it can't, your system will simply shut down or trip a breaker when that tool tries to start.
Here's a simplified table to help you organize your load analysis:
| Appliance | Running Watts (W) | Surge Watts (W) (Estimate if not listed) | Daily Use (Hours) | Daily Watt-hours (Wh) | Essential? |
|---|---|---|---|---|---|
| LED Overhead Light | 20 | – | 5 | 100 | Yes |
| Cordless Drill Charger | 50 | – | 2 | 100 | Yes |
| Mini-Fridge (on cycle) | 80 | 200 | 8 (compressor run time) | 640 | Yes |
| Miter Saw | 1500 | 4500 (3x running) | 0.25 | 375 | Yes |
| Shop Vac | 1000 | 3000 (3x running) | 0.15 | 150 | Yes |
| Radio | 10 | – | 3 | 30 | No |
| Total Daily Wh | 1395 | ||||
| Max Single Surge | 4500 (Miter Saw) |
In this example, your total daily energy consumption is 1395 Wh/day, and your highest surge requirement is 4500W. This means your inverter will need to handle at least 4500W of surge, and your system needs to generate and store at least 1395 Wh per day. This initial number, 1395 Wh/day, is what our guide on how much solar you need will build upon.
Sizing Your Solar Array and Battery Bank
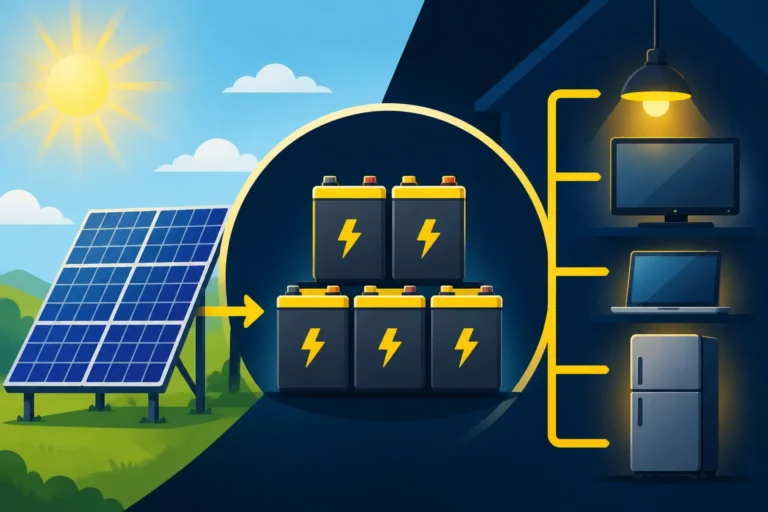
With your daily energy needs calculated, you can now start thinking about the hardware. The solar panels collect the sun's energy, and the battery bank stores it for when the sun isn't shining. These two components are intrinsically linked in an off-grid system.
Determining Solar Panel Wattage
Sizing your solar array is about generating enough power to meet your daily needs, recharge your batteries, and account for inevitable losses.
- Start with Daily Watt-Hours: Use your calculated daily Wh (e.g., 1395 Wh).
- Account for System Losses: No system is 100% efficient. You'll lose power due to wiring, temperature, inverter conversion, and charge controller efficiency. A good rule of thumb is to add a 20-30% buffer to your daily energy needs. Let's use 25%.
- Adjusted Daily Wh Needed: 1395 Wh * 1.25 = 1743.75 Wh
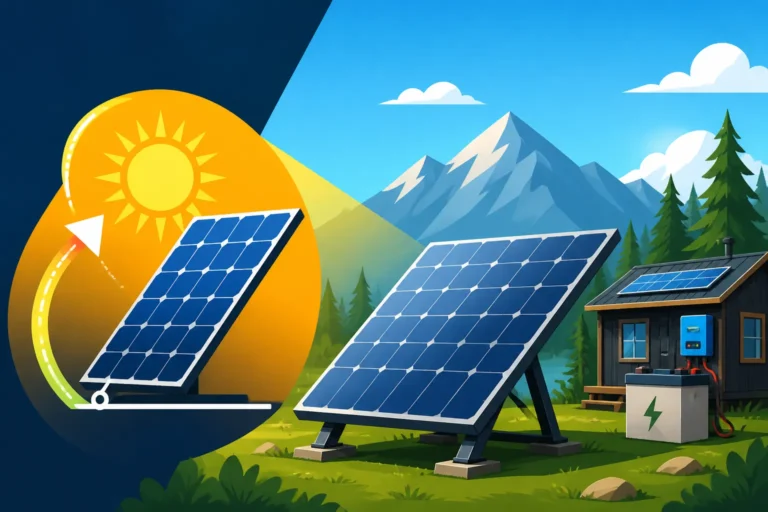
- Factor in Peak Sun Hours (PSH): This is critical. PSH represents the average number of hours per day when the sun's intensity is equivalent to 1,000 watts per square meter (full sun). This varies greatly by location and season. A site like the National Renewable Energy Laboratory (NREL) or a simple online search for "peak sun hours [your city/state]" can give you estimates. For a garage, you likely want year-round operation, so consider the lowest PSH month (usually winter). Let's assume you're in a region with 4 average PSH in winter.
- Calculate Required Panel Watts: Divide your adjusted daily Wh needed by your PSH.
- Required Panel Watts: 1743.75 Wh / 4 PSH = 435.9 W
So, you'd need approximately 440 watts of solar panels. Since panels typically come in sizes like 100W, 200W, or 400W, you might choose two 220W panels, or one 400W panel and one 50W panel, or a single 400W panel and accept a slight deficit on the worst days. Many DIYers will round up or even "oversize" their array a bit, especially if they anticipate cloudy days or want to ensure batteries charge quickly. For instance, using a 500W array instead of 440W provides a nice buffer. Brands like Renogy offer reliable solar panels in various wattages suitable for garage systems. Remember, you'll also need to consider how many solar panels for off-grid living more broadly if this garage is part of a larger off-grid vision.
Sizing Your Battery Bank
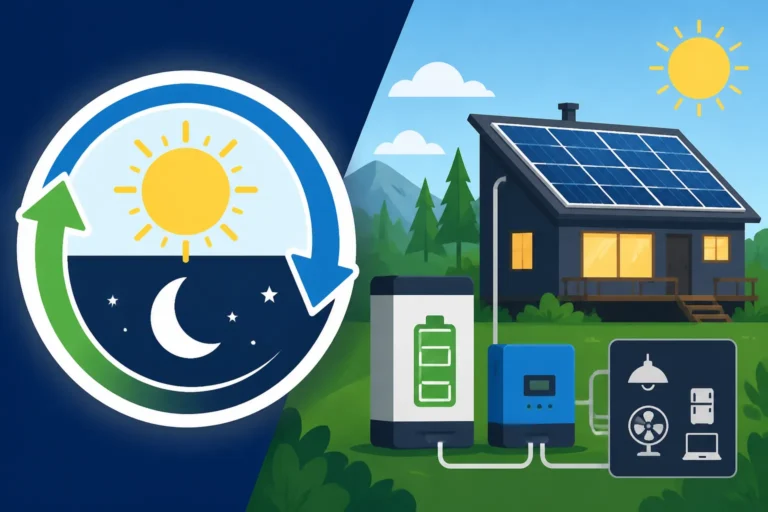
Your battery bank is the heart of your off-grid garage, storing energy for nighttime or cloudy days. Sizing it correctly is vital for autonomy and battery longevity.
- Determine Days of Autonomy: This is how many days your system can run without any sun before the batteries are depleted. For a garage, 1-3 days is common. For critical loads or very cloudy regions, you might want more. Let's aim for 2 days of autonomy for our example.
- Total Wh Needed for Autonomy: 1395 Wh/day * 2 days = 2790 Wh
- Factor in Battery Depth of Discharge (DoD): This is the percentage of a battery's capacity that can be safely used before recharging.
- Lead-Acid (Flooded, AGM, Gel): Generally, you shouldn't discharge these below 50% DoD to maximize their lifespan. So, you'll need twice the usable capacity.
- Lithium Iron Phosphate (LiFePO4): These can typically be discharged to 80-100% DoD without significant harm, offering much more usable capacity per rated amp-hour.
- For our example, let's assume we're using LiFePO4 batteries, allowing 80% DoD.
- Calculate Usable Battery Capacity Needed (Wh):
- LiFePO4 Example (80% DoD): 2790 Wh / 0.80 = 3487.5 Wh total battery capacity.
- Lead-Acid Example (50% DoD): 2790 Wh / 0.50 = 5580 Wh total battery capacity.
Clearly, LiFePO4 batteries are more efficient in terms of usable capacity and often have a longer lifespan, though their upfront cost can be higher. Our article LiFePO4 vs Lead-Acid Battery Cost offers a deeper dive into this comparison.
- Choose System Voltage and Convert to Amp-Hours (Ah): Off-grid systems typically operate at 12V, 24V, or 48V. For a small garage with relatively low power needs, 12V might be sufficient. For larger loads or longer wire runs, 24V or 48V is generally more efficient, as higher voltage means lower current for the same power, leading to thinner wires and less loss. Let's assume a 12V system for our garage example, as it's common for smaller setups.
- Required Ah Capacity (12V LiFePO4): 3487.5 Wh / 12V = 290.6 Ah.
So, you would need roughly 300 Ah of 12V LiFePO4 batteries. You might achieve this with three 100Ah batteries wired in parallel. This calculation is a primary component of how much battery capacity you need. Many manufacturers, including some available on Amazon, offer various capacities of these batteries. You'll find a detailed review of options in our guide to the best off-grid solar batteries.
- Required Ah Capacity (12V LiFePO4): 3487.5 Wh / 12V = 290.6 Ah.
Choosing System Voltage
The choice between 12V, 24V, and 48V system voltage isn't just arbitrary; it impacts efficiency, safety, and component availability.
- 12V Systems: Best for very small systems, like powering a single light and charging a phone. Components are widely available and often cheaper. However, higher current means thicker, more expensive wires for the same amount of power, and losses can be higher over longer distances. It's often suitable for a minimalist garage.
- 24V Systems: A good middle-ground. Offers better efficiency and allows for thinner wiring than 12V, making it suitable for moderate garage loads, including some power tools and a small fridge. Many components are still readily available.
- 48V Systems: Ideal for larger systems with significant power needs, like a workshop with multiple heavy tools, a well pump, or AC units. High voltage means much lower current, reducing wire size and losses significantly. Most high-power inverters are designed for 48V. If your garage loads approach whole-house levels, 48V is the way to go.
For our example, with a 1395 Wh/day consumption and a 4500W surge, a 12V system might work, but you'd be dealing with very high currents, especially during tool startup. A 24V system would be a safer and more efficient choice, reducing the amperage and making wiring easier and less costly. If we decided on a 24V system, our battery capacity calculation would change: 3487.5 Wh / 24V = 145.3 Ah. This means fewer batteries in parallel (e.g., three 50Ah batteries in series to get 24V, then combine in parallel for capacity, or simply 2x 100Ah 12V batteries in series to get 24V and 100Ah, then add more parallel strings for more Ah).
Selecting Your Inverter and Charge Controller
These are the unsung heroes of your off-grid system, converting the raw solar and battery power into usable electricity for your garage.
Inverter Sizing for Peak Loads
The inverter is responsible for converting the DC (direct current) power from your batteries into AC (alternating current) power that most standard appliances use.
- Continuous Power Rating: The inverter's continuous power rating must be greater than the sum of all the running wattages of the appliances you plan to use simultaneously. For our example, if we run the LED light (20W), mini-fridge (80W), and a cordless drill charger (50W) at the same time, that's 150W. But if we add the miter saw (1500W), that jumps to 1650W. So, you'd need an inverter with a continuous rating of at least 1700W for those concurrent loads.
- Surge Power Rating: Critically, the inverter must also be able to handle the highest single surge wattage you identified in your load analysis. For our example, the miter saw's 4500W surge is the determining factor. Your inverter needs a surge rating of at least 4500W, even if its continuous rating is lower. Many quality inverters can handle surges that are 2-3 times their continuous rating for a short period.
- Pure Sine Wave vs. Modified Sine Wave:
- Pure Sine Wave: Produces clean, consistent AC power, identical to what you get from the grid. Essential for sensitive electronics (laptops, TVs), variable speed tools, and anything with a motor (to prevent damage and ensure efficiency). This is almost always the recommended choice for a garage.
- Modified Sine Wave: Cheaper, but produces a "choppy" waveform. Can cause issues with sensitive electronics, make motors run hotter and less efficiently, and may not work with certain appliances. Generally not recommended for anything beyond simple resistive loads (like an old incandescent light bulb).
Given the presence of power tools, a pure sine wave inverter is an absolute must for a garage setup. You'll find many excellent options reviewed in our guide to the best off-grid solar inverters. Brands like Victron Energy and Growatt offer robust inverter solutions.
Charge Controller Sizing
The charge controller is the "brain" of your solar charging system. It regulates the voltage and current from your solar panels, ensuring your batteries are charged efficiently and safely without overcharging.
- MPPT vs. PWM:
- MPPT (Maximum Power Point Tracking): More efficient, especially in varying light conditions and cooler temperatures. It can convert higher voltage from panels down to the battery voltage with minimal loss, capturing significantly more power (10-30% more) than PWM. Recommended for all but the smallest, lowest-budget systems.
- PWM (Pulse Width Modulation): Simpler and cheaper. Essentially, it connects the panels directly to the battery, cycling the charge on and off. Less efficient, and best suited for small systems where the panel and battery voltages are closely matched.
For a garage system with power tools and a decent battery bank, an MPPT charge controller is highly recommended for maximum efficiency and quicker charging.
- Sizing the Controller:
- Maximum Solar Array Current (Amps): The charge controller must be rated to handle the maximum current (amps) your solar panel array can produce. To calculate this, take the total wattage of your solar array (e.g., 500W) and divide it by the voltage of your battery bank (e.g., 12V). Then add a 25% safety factor for cold weather, which can increase panel voltage and current.
- Example (12V system, 500W array): (500W / 12V) * 1.25 = 52.08 Amps.
- So, you'd need at least a 60-amp MPPT charge controller.
- Maximum Solar Array Voltage (Voc): Ensure the controller's maximum input voltage (Voc – open circuit voltage of the panels in series) is higher than the Voc of your solar array, especially in cold temperatures. Manufacturers often provide a "max PV input voltage" spec.
- Maximum Solar Array Current (Amps): The charge controller must be rated to handle the maximum current (amps) your solar panel array can produce. To calculate this, take the total wattage of your solar array (e.g., 500W) and divide it by the voltage of your battery bank (e.g., 12V). Then add a 25% safety factor for cold weather, which can increase panel voltage and current.
Matching your panels to a good quality charge controller, such as those made by Victron or EPEVER, is critical. Our comprehensive article on how to size a charge controller provides more in-depth guidance on these calculations, and you can explore options in our list of best MPPT charge controllers.
Accounting for Real-World Variables and Future Expansion
The numbers on paper are a great start, but the real world throws curveballs. Planning for these and considering your future needs will save you headaches and money down the line.
Environmental Factors and Efficiency Losses
Your perfectly sized system might underperform if you don't consider external factors:
- Temperature: Solar panels are less efficient in extreme heat. Batteries also perform differently in cold or heat.
- Shading: Even partial shading on a single panel can drastically reduce the output of an entire array, especially with older panel technologies. Plan panel placement carefully to avoid shadows from trees, chimneys, or other structures.
- Wire Losses: Longer or thinner wires lead to voltage drop and power loss. Always size your wires appropriately for the current and distance.
- Dust and Dirt: Dirty panels produce less power. Regular cleaning is part of off-grid solar maintenance costs.
- Inverter and Charge Controller Efficiency: These components aren't 100% efficient; they consume a small amount of power themselves.
Because of these real-world losses, it's always a good idea to slightly oversize your solar array (e.g., by 10-20% beyond the calculated minimum). This buffer ensures your batteries get adequately charged even on less-than-ideal days.
Planning for Expansion
One of the most common regrets off-gridders have is not planning for future expansion. What starts as powering a few lights and a drill might evolve into wanting to run a welding machine, a larger air compressor, or even a small workshop heater.
- Modular Components: When choosing your inverter, charge controller, and battery bank, consider if they are designed to be easily expanded. Some inverter-chargers allow you to stack multiple units for increased power output. Battery banks, especially LiFePO4, are often modular, allowing you to add more capacity by wiring additional batteries in parallel.
- Wiring Capacity: Install wiring that can handle future increases in current if you plan to add more panels or expand your battery bank. It's much cheaper to run thicker wire once than to redo it later.
- Space Considerations: Ensure you have enough physical space for additional panels on your roof or a ground mount, and adequate ventilation and room for more batteries in your battery enclosure.
Thinking ahead can turn your initial garage off-grid setup into a scalable solution for years to come. Our guide on how to design an expandable system offers great insights into building a system that can grow with your needs.
Budgeting and Component Choice
Let's be real, going off-grid isn't always cheap upfront, but it pays dividends in the long run. When budgeting, consider the quality of components. Cheap components might save you money initially but could lead to frequent replacements and headaches.
- Quality over Cost: For critical components like batteries and inverters, investing in reputable brands known for reliability, such as Victron Energy, Outback Power, or good quality LiFePO4 batteries from brands like Battle Born or EG4, often saves money in the long run. For panels, many brands offer good value, including Renogy and Rich Solar, often found on platforms like Amazon.
- DIY vs. Professional Installation: Deciding between a DIY approach and hiring a professional will significantly impact your off-grid solar installation cost. DIY can save you a lot on labor, but requires careful research and adherence to safety protocols.
- Hidden Costs: Don't forget smaller but essential items like wiring, fuses, breakers, mounting hardware, and potentially a battery box or enclosure. These can add up. Our article hidden costs of going off-grid delves into these often-overlooked expenses.
Final Thoughts on Sizing Your Garage Off-Grid System
Sizing an off-grid solar system for your garage is a process that demands careful planning and realistic assessment of your power needs. It's not just about throwing a few panels on the roof; it's about creating a robust, reliable system that supports your activities. By thoroughly understanding your loads, calculating your energy consumption, and selecting appropriately sized components – from your solar array and battery bank to your inverter and charge controller – you can build a system that delivers the energy independence you seek. Take your time with each step, double-check your calculations, and don't hesitate to factor in a little extra capacity for those unexpected demands or future additions. The satisfaction of powering your garage with the sun's energy, free from utility bills and outages, is truly worth the effort.
Disclaimer
The information provided in this guide is for educational and informational purposes only and is not intended as professional advice. Off-grid solar system design and installation can be complex and involve electrical hazards. Always consult with qualified professionals and adhere to all local electrical codes and regulations before installing or modifying any electrical system.