How to Calculate Off-Grid Solar Needs
The thought of going off-grid with solar can be incredibly exciting, but let's be honest, the moment you start looking at panels, batteries, and inverters, it can quickly feel like you're staring at a foreign language. Many people jump in, buy what seems like a good deal, only to find their lights flicker out mid-evening or their well pump struggles to start. This guide is here to cut through that confusion, giving you a clear, step-by-step process to confidently calculate your off-grid solar needs so you can design a system that truly works for your lifestyle.
Why Calculating Your Off-Grid Solar Needs Is Absolutely Critical
Diving into off-grid living without a solid understanding of your power requirements is like trying to build a house without blueprints. You might get something standing, but it’s unlikely to be efficient, cost-effective, or even safe in the long run. Taking the time upfront to calculate your needs meticulously is the single most important step you can take.
Avoiding Costly Mistakes and Underpowering Your Life
Imagine investing thousands into a solar system, only to realize that every time the clouds roll in for a day or two, you're suddenly living in the dark. Or perhaps your refrigerator, a non-negotiable for most of us, drains your batteries faster than your panels can recharge them. These aren't just minor inconveniences; they're major frustrations that can completely undermine the dream of off-grid independence. Under-sizing your system often means needing to buy additional components later, potentially at higher prices, or resorting to a noisy, fuel-guzzling generator more often than you'd like. This not only adds to your overall How much does an off-grid solar system cost but also defeats the purpose of sustainable, quiet power. The emotional toll of constantly worrying about power levels or having to drastically change your daily habits due to insufficient power can be incredibly draining.
The Peace of Mind That Comes with Right-Sizing
On the flip side, a properly sized off-grid solar system offers a level of peace of mind that's truly invaluable. When you know your system can handle your daily demands, with a comfortable buffer for cloudy weather or unexpected usage, you can relax and truly enjoy your independence. Right-sizing means you'll have reliable power for your critical appliances, from keeping food fresh to running medical devices, without constant monitoring or anxiety. It means your lights stay on, your internet keeps running, and your water pump reliably draws water. This translates into less stress, fewer emergency generator runs, and a higher quality of life, allowing you to focus on the joys of off-grid living rather than its challenges. It's about designing a system that provides consistent power, day in and day out, freeing you from the unpredictable whims of weather or the grid.
Step 1 – The All-Important Load Analysis: What Are You Powering?
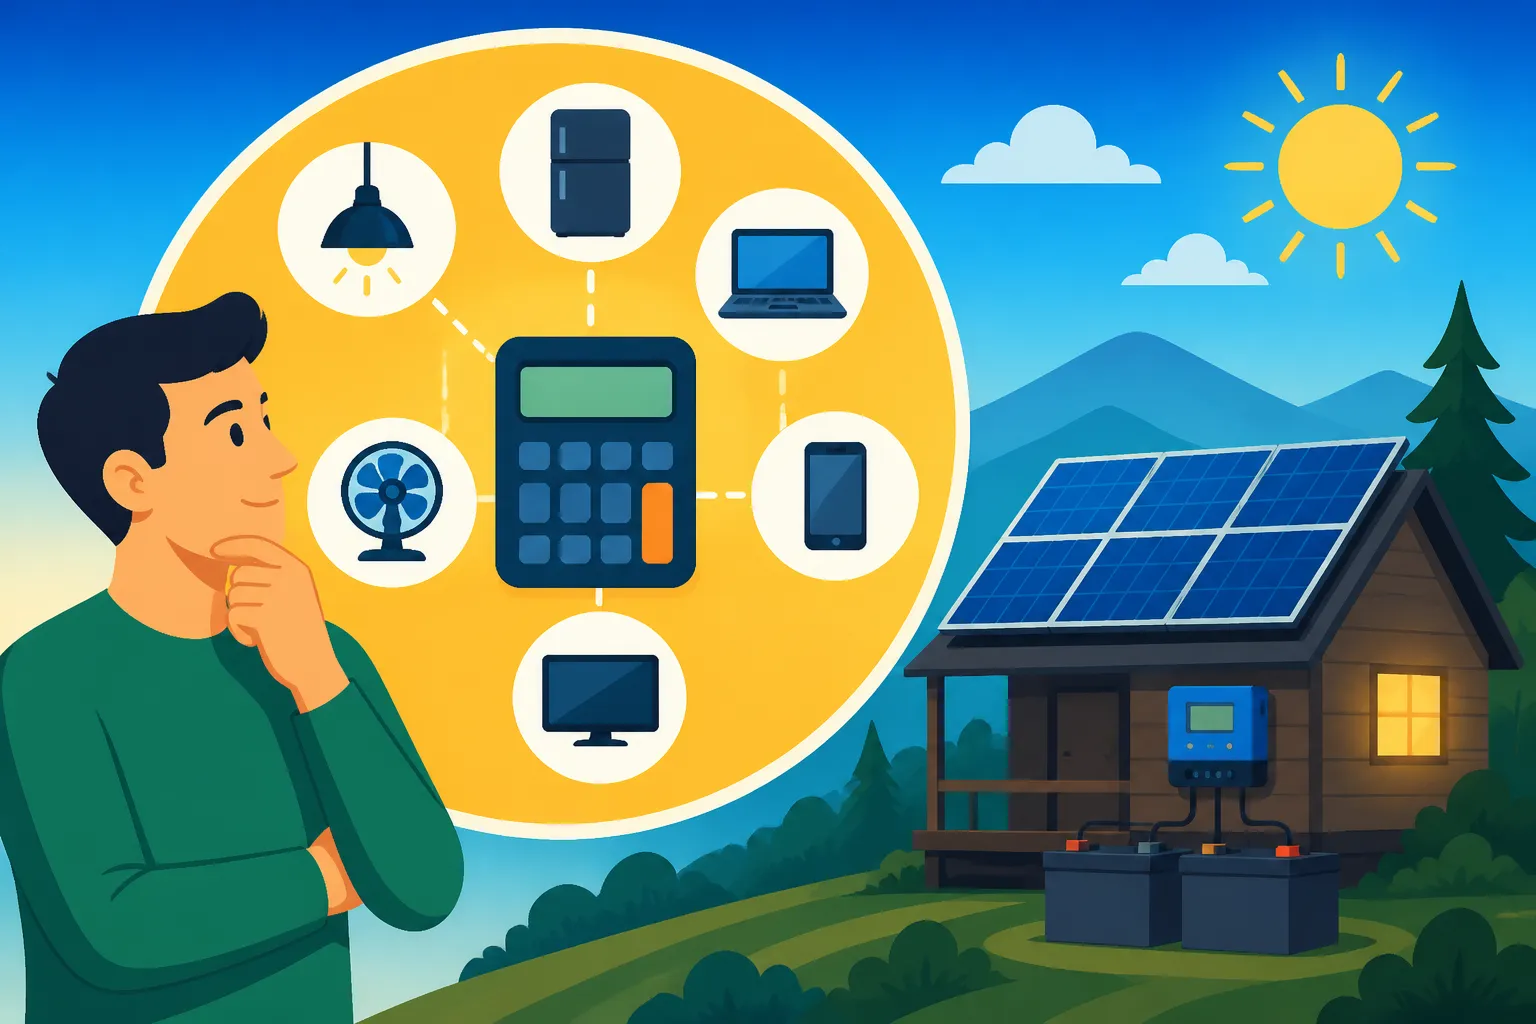
The very first, and arguably most crucial, step in calculating your off-grid solar needs is conducting a thorough load analysis. This is where you figure out exactly what devices and appliances you intend to power and for how long. Don't skip this part! It's the foundation upon which your entire system will be built.
Identifying All Your Appliances and Devices
Start by making a comprehensive list of every single electrical item you plan to use. And I mean every single one, from your large appliances like refrigerators, freezers, and washing machines, down to your phone chargers, LED lightbulbs, and electric toothbrushes. For a remote cabin, you might think of a few lights and a fridge, but don't forget the coffee maker, the laptop, the small fan, or even a water pump if you have one. For an RV, consider all your kitchen gadgets, entertainment systems, and any climate control units.
It’s easy to overlook small items, but these "phantom loads" or frequently used small electronics can add up quickly over a day. Once you have your list, the next step is to find out the wattage (W) or amperage (A) of each item. This information is usually found on a sticker on the back or bottom of the appliance. If you can't find it, consider purchasing an inexpensive kill-a-watt meter from a retailer like Amazon. You can plug your appliances into this device, and it will tell you exactly how much power they are drawing in real-time. This is especially helpful for understanding the real power consumption of items that cycle on and off, like refrigerators or air conditioners. For a deeper dive into this initial phase, check out our guide on How to Calculate Daily Energy Usage.
Estimating Power Draw and Daily Run Time
Once you have your list of appliances and their wattage, you need to estimate how long each item will run per day. This is where a little realistic introspection comes in. Don't just guess; think about your actual habits.
For example:
- Refrigerator: These don't run constantly. They cycle on and off. A good estimate is that they might run about 8-12 hours per day in total, depending on ambient temperature and how often you open the door. If your fridge label says 100W, and you estimate it runs for 10 hours a day, that's 100W * 10 hours = 1000 Watt-hours (Wh) per day.
- Lights: If you have ten 5W LED bulbs and you typically have them on for 4 hours a night, that's 10 bulbs * 5W/bulb * 4 hours = 200 Wh per day.
- Well Pump: This is often a high-wattage item, but it runs for short bursts. A 1000W pump that runs for a total of 30 minutes (0.5 hours) a day would consume 1000W * 0.5 hours = 500 Wh per day.
- Microwave: A 1500W microwave used for 10 minutes (0.17 hours) total per day would be 1500W * 0.17 hours = 255 Wh per day.
You also need to account for "starting watts" or "surge watts" for certain appliances, particularly those with motors like refrigerators, well pumps, and power tools. These items draw a significantly higher amount of power for a very brief moment when they first start up. While this doesn't factor into your daily Watt-hour consumption, it's crucial for sizing your inverter, which we'll discuss later. For the purpose of your daily energy calculation, focus on the continuous running wattage. Understanding the difference between Watts vs Watt-Hours vs Amp-Hours Explained is key here.
Step 2 – Totaling Your Daily Energy Consumption (Watt-Hours)
After you've meticulously listed every appliance and estimated its daily power consumption in Watt-hours, the next step is to sum it all up. This total will represent your average daily energy demand, which is the cornerstone for sizing both your solar panel array and your battery bank.
Summing Up Your Appliance Loads
This is where all that detailed work pays off. Create a simple spreadsheet or a clear, organized list. For each item, multiply its wattage by the estimated daily run time to get its daily Watt-hours (Wh). Then, add up all those individual Watt-hour figures to get your grand total for daily energy consumption.
Let's look at a quick example for a small, minimalist off-grid setup:
| Appliance | Wattage (W) | Est. Daily Run Time (Hours) | Daily Watt-hours (Wh) |
|---|---|---|---|
| LED Lights (5 x 5W) | 25 | 4 | 100 |
| Refrigerator (Small) | 60 | 10 | 600 |
| Laptop Charging | 50 | 2 | 100 |
| Phone Charging | 10 | 1 | 10 |
| Water Pump (Small) | 300 | 0.5 | 150 |
| Total Daily Usage | 960 Wh |
In this hypothetical scenario, the total daily energy usage is 960 Wh. This number is incredibly important because it tells you exactly how much energy your solar system needs to generate and store each day to keep everything running. Being precise here will prevent future headaches. You can dive even deeper into this process with our guide on How to Do an Off-Grid Load Analysis.
Accounting for Phantom Loads and Seasonal Variations
Remember those small, often overlooked devices? These are your "phantom loads" or "vampire draws." Things like smart plugs, modems, routers, TVs in standby mode, or even a small clock radio, can draw a tiny amount of power continuously. While individually small, over 24 hours and across multiple devices, they can quietly add up to a significant chunk of your daily consumption. It's wise to add a buffer (e.g., 5-10% of your total) to your daily Watt-hour calculation to account for these unseen drains, or better yet, identify them with your kill-a-watt meter and add them to your list.
Furthermore, your energy needs aren't static; they fluctuate with the seasons. In winter, you might use more lighting, potentially run electric blankets or space heaters (though these are huge power hogs and often require very large systems), and your refrigerator might run less frequently due to cooler ambient temperatures. Conversely, in summer, you might rely on fans or even air conditioning (another major power user that requires significant solar and battery capacity). When calculating, it's generally best to size for your peak usage, or at least understand how your needs shift. If you plan to live off-grid year-round, always calculate for the most demanding season to avoid being underpowered when you need it most. Also, remember that How Winter Affects Off-Grid Sizing dramatically due to shorter daylight hours and lower sun angles.
Step 3 – Calculating Your Solar Panel Array Size
Once you have a clear picture of your daily energy consumption in Watt-hours, you can move on to determining how many solar panels you'll need to generate that power. This step involves understanding how much sunlight your location receives and accounting for real-world inefficiencies.
Understanding Peak Sun Hours and Solar Insolation
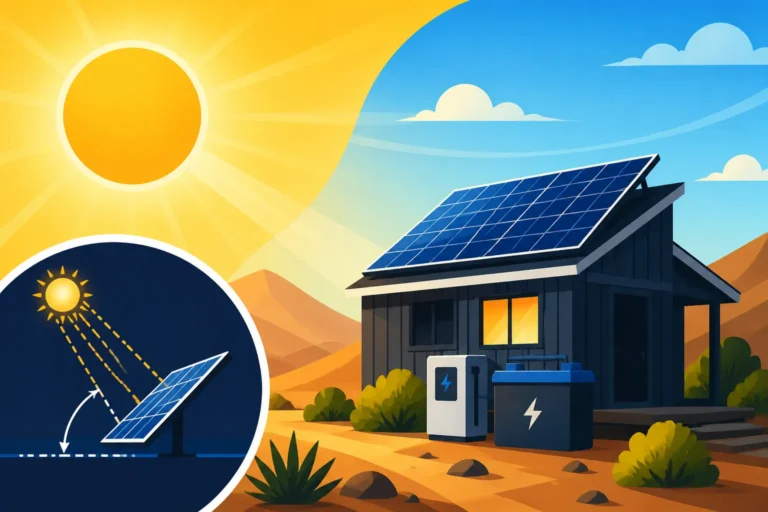
Solar panels convert sunlight into electricity, but not all sunlight is created equal. "Peak sun hours" is a crucial concept here. It represents the equivalent number of hours per day when the sun's intensity averages 1,000 watts per square meter (kW/m²). This isn't the same as total daylight hours; rather, it's a measure of usable, strong sunlight. For instance, a long summer day might have 14 hours of daylight, but only 5-7 of those might be considered "peak sun hours."
Your specific location, the season, and even local weather patterns (like fog or consistent cloud cover) will heavily influence your peak sun hours. You can find average daily peak sun hour data for your specific location using tools like the National Renewable Energy Laboratory's (NREL) PVWatts Calculator or various solar insolation maps available online. It's vital to use the data for the lowest sun period you expect to operate, typically winter, as this will be your system's most challenging time. If you size for winter, you'll have an abundance of power in summer. This is fundamental for understanding Peak Sun Hours Explained and how to effectively How to Use Peak Sun Hours in Sizing.
Determining the Total Wattage of Your Solar Panels
Now that you know your daily energy needs (Wh) and your location's peak sun hours, you can calculate the total wattage your solar panel array needs to produce. However, it's not a simple division. You must factor in system losses. Solar panels rarely operate at 100% efficiency due to factors like temperature, dirt, shading, wiring losses, and inverter inefficiencies. A typical loss factor ranges from 1.2 to 1.3, meaning you should increase your calculated panel wattage by 20-30% to account for these real-world losses.
Here's the formula:
Required Panel Array Wattage (Wp) = (Total Daily Watt-hours / Peak Sun Hours) * Loss Factor
Let's use our previous example of 960 Wh daily consumption, assume 4 peak sun hours (typical for a winter day in many northern regions), and a loss factor of 1.25 (25% losses).
- Required Panel Array Wattage = (960 Wh / 4 hours) * 1.25
- Required Panel Array Wattage = 240 W * 1.25
- Required Panel Array Wattage = 300 Wp
This means you'll need approximately 300 Watts peak (Wp) of solar panels. If you're looking at, say, 100W Renogy solar panels, you would need three of them (3 x 100W = 300W). This calculation will tell you How many watts of solar you need and directly influences How many solar panels for off-grid living. Always round up to ensure you have a bit of extra capacity, especially when accounting for How to Account for Cloudy Days.
Step 4 – Sizing Your Battery Bank for Autonomy
Your solar panels generate power during the day, but you need power at night and during cloudy periods. That's where your battery bank comes in. Sizing your battery bank correctly is paramount to ensuring continuous, reliable power for your off-grid lifestyle.
Defining Days of Autonomy and Depth of Discharge (DoD)
"Days of autonomy" refers to how many days your battery bank can power your entire system without any additional charge from your solar panels (e.g., during prolonged cloudy weather). For most residential off-grid systems, aiming for 2-5 days of autonomy is a good starting point. Remote cabins in areas prone to week-long cloudy spells might want more, while an RV owner who can easily move to sunny locations might opt for less.
Equally important is understanding "Depth of Discharge" (DoD). This is the percentage of a battery's capacity that has been discharged. Continually discharging a battery too deeply significantly reduces its lifespan. Different battery chemistries have different recommended DoD limits:
- Lead-Acid Batteries (Flooded, AGM, Gel): Generally, it's recommended not to discharge these beyond 50% DoD to maximize their lifespan. So, if you have a 100Ah lead-acid battery, you should only use 50Ah of its capacity.
- Lithium Iron Phosphate (LiFePO4) Batteries: These are much more robust and can typically be discharged to 80-100% DoD without significant impact on their cycle life. This makes them highly efficient and popular for off-grid systems, despite their higher upfront cost.
Factoring in DoD correctly means you'll need more total battery capacity than your pure daily usage demands. You can explore the cost implications and benefits in our article on LiFePO4 vs Lead-Acid Battery Cost.
Calculating Required Battery Capacity (Amp-Hours or Watt-Hours)
To calculate the required capacity of your battery bank, you'll need your total daily Watt-hours, your desired days of autonomy, your chosen system voltage (e.g., 12V, 24V, 48V), and the recommended DoD for your battery chemistry.
Here's the formula using Watt-hours, which is often easier for system sizing:
Required Battery Bank Capacity (Wh) = (Total Daily Watt-hours * Days of Autonomy) / Recommended DoD
Let's use our 960 Wh daily consumption example, assume 3 days of autonomy, and opt for LiFePO4 batteries with an 80% (0.8) DoD.
- Required Battery Bank Capacity (Wh) = (960 Wh * 3 days) / 0.8
- Required Battery Bank Capacity (Wh) = 2880 Wh / 0.8
- Required Battery Bank Capacity (Wh) = 3600 Wh
This means you need a battery bank capable of storing 3600 Wh.
If you prefer to think in Amp-hours (Ah), which is common for batteries, you'll need to divide by your chosen system voltage. Let's assume a 12V system:
- Required Battery Bank Capacity (Ah) = Required Battery Bank Capacity (Wh) / System Voltage
- Required Battery Bank Capacity (Ah) = 3600 Wh / 12V
- Required Battery Bank Capacity (Ah) = 300 Ah
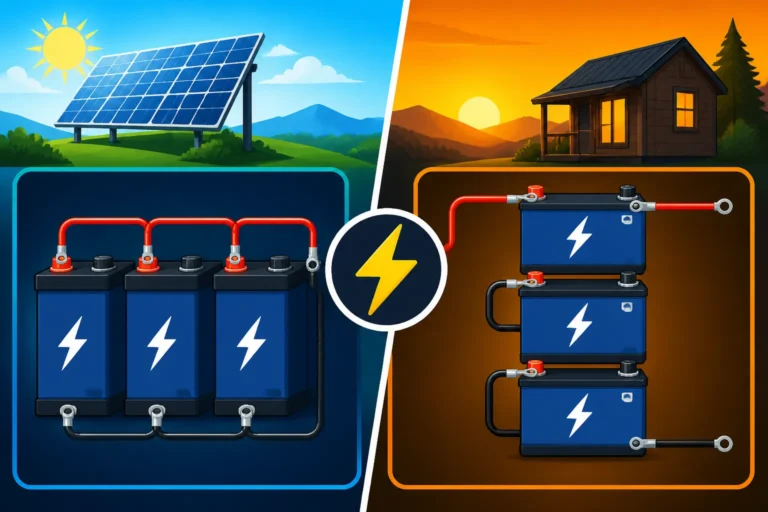
So, you would need a 12V, 300 Ah battery bank. If you were using 100Ah 12V LiFePO4 batteries, you'd need three of them wired in parallel to achieve 300Ah. If you chose a 24V system, you'd need 150Ah at 24V, which could be two 12V 150Ah batteries in series, or four 12V 75Ah batteries in a series-parallel configuration. Always consider the total How many batteries for an off-grid system you'll need. This calculation is vital for understanding How Much Battery Capacity You Need and How to Calculate Days of Autonomy.
Step 5 – Selecting Your Charge Controller and Inverter
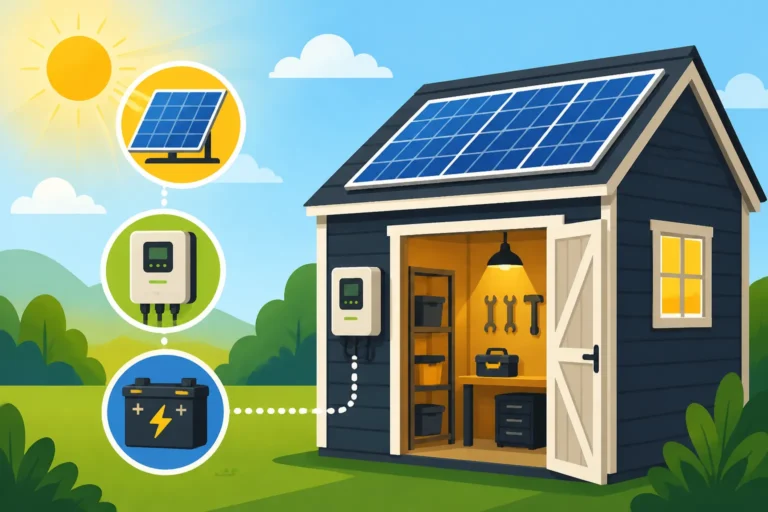
With your solar panel array and battery bank sized, the next crucial components to select are the charge controller and the inverter. These pieces are the "brains" and the "muscle" of your off-grid system, ensuring efficient power management and conversion.
Sizing Your Charge Controller
The charge controller is the guardian of your battery bank. Its primary job is to regulate the voltage and current coming from your solar panels, ensuring your batteries are charged safely and efficiently without being overcharged or damaged. There are two main types:
- PWM (Pulse Width Modulation) Charge Controllers: These are simpler, less expensive, and generally suitable for smaller systems where the voltage of the solar array closely matches the battery bank voltage. They essentially act like a switch, rapidly turning the power on and off to maintain battery voltage.
- MPPT (Maximum Power Point Tracking) Charge Controllers: These are more advanced and efficient, especially for larger systems and when the solar panel voltage is significantly higher than the battery bank voltage. MPPT controllers can "track" the optimal voltage and current from the panels, converting excess voltage into additional current, which results in more power sent to your batteries, particularly in sub-optimal conditions.
To size your charge controller, you need to consider the total wattage of your solar array and your battery bank's voltage. You'll want a controller with an amperage rating that can handle the maximum current from your solar panels. A standard safety factor of 1.25 (or 25% over your calculated maximum current) is typically applied.
Here’s the basic formula for determining the minimum charge controller amperage:
Minimum Charge Controller Amperage = (Total Solar Panel Watts / System Voltage) * 1.25
Using our 300Wp solar array and a 12V battery system:
- Minimum Charge Controller Amperage = (300W / 12V) * 1.25
- Minimum Charge Controller Amperage = 25A * 1.25
- Minimum Charge Controller Amperage = 31.25A
So, you would need a charge controller rated for at least 32 Amps. It's often easier and safer to round up to the next standard size, like a 40A MPPT charge controller. Remember that you can often find a wide variety of charge controllers, including reputable brands like Victron or Renogy, on platforms like Amazon. Our guide on How to Size a Charge Controller offers more in-depth calculations.
Sizing Your Inverter for Continuous and Surge Loads
The inverter is what converts the direct current (DC) power stored in your batteries into alternating current (AC) power, which is what most household appliances use. Sizing your inverter correctly means understanding two critical wattage figures:
- Continuous Wattage: This is the total power draw of all AC appliances you might run simultaneously on a continuous basis. This is the sum of the running watts of everything that could be on at once.
- Surge Wattage: As mentioned before, motor-driven appliances (refrigerators, pumps, power tools) draw a much higher "starting" wattage for a split second when they first kick on. Your inverter must be able to handle this brief surge without shutting down. The surge wattage can often be 2-3 times the continuous running wattage for these specific appliances.
To size your inverter, first add up the continuous running wattage of all AC appliances you foresee running at the same time. This gives you your minimum continuous inverter rating. Then, identify the appliance with the highest surge requirement and add that surge wattage to the total continuous wattage of all other running appliances. This will give you your absolute peak surge demand.
For example, if your continuous load is 1000W, and your well pump has a 2000W surge (but only 500W running), your inverter needs to handle:
- Continuous: 1000W (for all items running constantly)
- Surge: (1000W – 500W for pump) + 2000W (pump surge) = 2500W
Therefore, you'd look for an inverter that can continuously deliver at least 1000W and has a surge rating of at least 2500W. Often, inverters are rated with both a continuous output and a peak surge rating (e.g., a 2000W continuous inverter might have a 4000W surge capability for a few seconds). It's always best to err on the side of oversizing your inverter slightly to handle unexpected loads or future additions. To get a more detailed understanding of this, take a look at our article on How to Size an Off-Grid Inverter.
Putting It All Together: A Comprehensive Example and Final Considerations
Calculating your off-grid solar needs can seem like a lot of individual steps, but when you combine them, a clear picture emerges. Let's walk through a complete example for a typical small cabin setup to solidify these concepts.
A Step-by-Step Calculation for a Small Cabin
Imagine a cozy, two-person cabin in a rural area of northern Arizona, planning for year-round use with typical appliances. They want 2 days of autonomy and will use LiFePO4 batteries (80% DoD). Peak sun hours in their area average about 5 hours in spring/fall, but they want to size for winter, where it drops to 3.5 peak sun hours.
Step 1: Load Analysis (What are we powering?)
| Appliance | Wattage (W) (Running) | Daily Run Time (Hours) | Daily Watt-hours (Wh) | Surge Watts (W) |
|---|---|---|---|---|
| LED Lights (8x5W) | 40 | 5 | 200 | 0 |
| Refrigerator | 150 | 12 | 1800 | 750 |
| Water Pump | 700 | 0.5 | 350 | 2100 |
| Microwave | 1200 | 0.25 (15 min) | 300 | 0 |
| Laptop Charging | 65 | 3 | 195 | 0 |
| Phone Charging | 10 | 2 | 20 | 0 |
| Router | 15 | 24 | 360 | 0 |
| Subtotal | 3225 Wh |
Step 2: Total Daily Energy Consumption (Watt-Hours)
- Total Daily Watt-hours = 3225 Wh
- Adding 10% buffer for phantom loads/minor variations: 3225 Wh * 1.10 = 3547.5 Wh/day (Let's round up to 3550 Wh/day for simplicity).
Step 3: Solar Panel Array Size
-
Total Daily Watt-hours = 3550 Wh
-
Worst-case Peak Sun Hours (winter) = 3.5 hours
-
Loss Factor = 1.25 (25% losses)
-
Required Panel Array Wattage = (3550 Wh / 3.5 hours) * 1.25
-
Required Panel Array Wattage = 1014.28 W * 1.25
-
Required Panel Array Wattage = 1267.85 Wp (So, roughly 1270 Watts peak).
- If using 300W panels (like some models from Renogy), they would need 1270 / 300 = 4.23, so 5 x 300W panels (1500 Wp total) would be a good fit. This provides a little extra buffer.
Step 4: Battery Bank for Autonomy
-
Total Daily Watt-hours = 3550 Wh
-
Days of Autonomy = 2 days
-
Recommended DoD (LiFePO4) = 80% (0.8)
-
Required Battery Bank Capacity (Wh) = (3550 Wh * 2 days) / 0.8
-
Required Battery Bank Capacity (Wh) = 7100 Wh / 0.8
-
Required Battery Bank Capacity (Wh) = 8875 Wh
-
Choosing a 48V system for efficiency (better for larger loads over distance).
-
Required Battery Bank Capacity (Ah) = 8875 Wh / 48V = 184.9 Ah
- If using 100Ah 48V LiFePO4 batteries (or four 12V 100Ah batteries wired in series to create one 48V 100Ah battery), they would need 184.9 / 100 = 1.84, so 2 x 48V 100Ah batteries (200Ah total at 48V) would be appropriate. Our article on How Many Batteries for an Off-Grid System can help you visualize this.
Step 5: Charge Controller and Inverter
-
Charge Controller Sizing:
- Total Solar Panel Watts = 1500 Wp
- System Voltage = 48V
- Safety Factor = 1.25
- Minimum Charge Controller Amperage = (1500 W / 48 V) * 1.25 = 31.25 A * 1.25 = 39.06 A
- A 40A or 60A MPPT charge controller would be suitable.
-
Inverter Sizing:
- Simultaneous Continuous AC Load: Assume all lights (40W), refrigerator (150W running), laptop (65W), phone charger (10W), router (15W) are always on, plus a microwave (1200W) or water pump (700W) might run briefly.
- Baseline Continuous = 40+150+65+10+15 = 280W
- Highest Individual Appliance (Microwave): 1200W
- Highest Surge Appliance (Water Pump): 2100W
- Scenario 1 (Continuous + Microwave): 280W + 1200W = 1480W (continuous)
- Scenario 2 (Continuous + Water Pump running, then surges): (280W – 150W for fridge + 150W for fridge running + 700W for pump running) = 1000W. When the pump starts, the surge would be (280W – 700W pump running) + 2100W pump surge + 700W running = 2180W surge (This needs careful thought, it's about what is already running plus the single largest surge).
- Let's assume the highest continuous load with the most frequently used high-wattage item (microwave) is 1480W.
- The highest surge is from the water pump at 2100W, plus the other baseline items running (~280W-700W). Let's say ~2100W + a portion of other loads. A 3000W continuous inverter with a 6000W surge capacity would be a very safe bet. This provides ample headroom.
- Simultaneous Continuous AC Load: Assume all lights (40W), refrigerator (150W running), laptop (65W), phone charger (10W), router (15W) are always on, plus a microwave (1200W) or water pump (700W) might run briefly.
Important Factors Beyond the Numbers
While the calculations provide a robust foundation, there are other crucial considerations for your off-grid system:
- Future Expansion: Always think ahead. Do you plan to add more appliances, like a chest freezer or an electric oven, in the future? It's often more cost-effective to oversize slightly now or design an expandable system than to completely overhaul it later.
- Energy Efficiency: The best way to reduce your solar needs (and cost!) is to minimize your energy consumption. Switching to LED lighting, choosing highly efficient Energy Star appliances, and simply being mindful of usage can drastically reduce your daily Watt-hour requirements. Every Watt-hour saved is a Watt-hour your solar panels don't need to generate and your batteries don't need to store.
- Budget: Off-grid solar can be a significant investment. Understanding the individual costs of components will help you budget effectively. Our Off-Grid Solar Cost: Complete Breakdown article can provide detailed insights into this. Don't forget to factor in installation costs, especially if you plan to hire professionals.
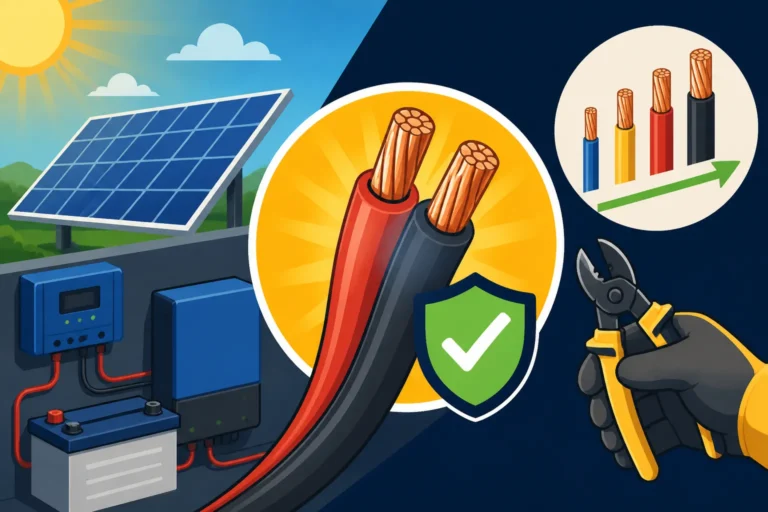
- Safety and Wiring: Proper wiring, fusing, and grounding are non-negotiable for safety and system longevity. Incorrect wiring can lead to fires, equipment damage, and serious injury. If you're not experienced with electrical work, it's highly recommended to consult with or hire a qualified electrician.
- Permits and Codes: Depending on your location, even off-grid systems may require permits and adherence to local electrical codes. Always check with your local authorities before beginning installation to avoid costly fines or mandatory system changes.
- Monitoring: Investing in a good battery monitor is highly recommended. It allows you to track your battery's state of charge, voltage, current, and historical data, giving you crucial insights into your system's performance and helping you avoid deep discharges.
By meticulously following these steps and considering these additional factors, you'll be well on your way to designing an off-grid solar system that reliably meets your unique power needs, bringing you true energy independence and peace of mind.
Disclaimer
Please remember that the information provided in this guide is for educational purposes only. While every effort has been made to ensure accuracy, off-grid solar system design and installation can be complex and should always be undertaken with a strong understanding of electrical principles and safety. Always consult with qualified professionals and adhere to all local codes and regulations before installing any electrical system.