Off-Grid Solar Cost for a Workshop
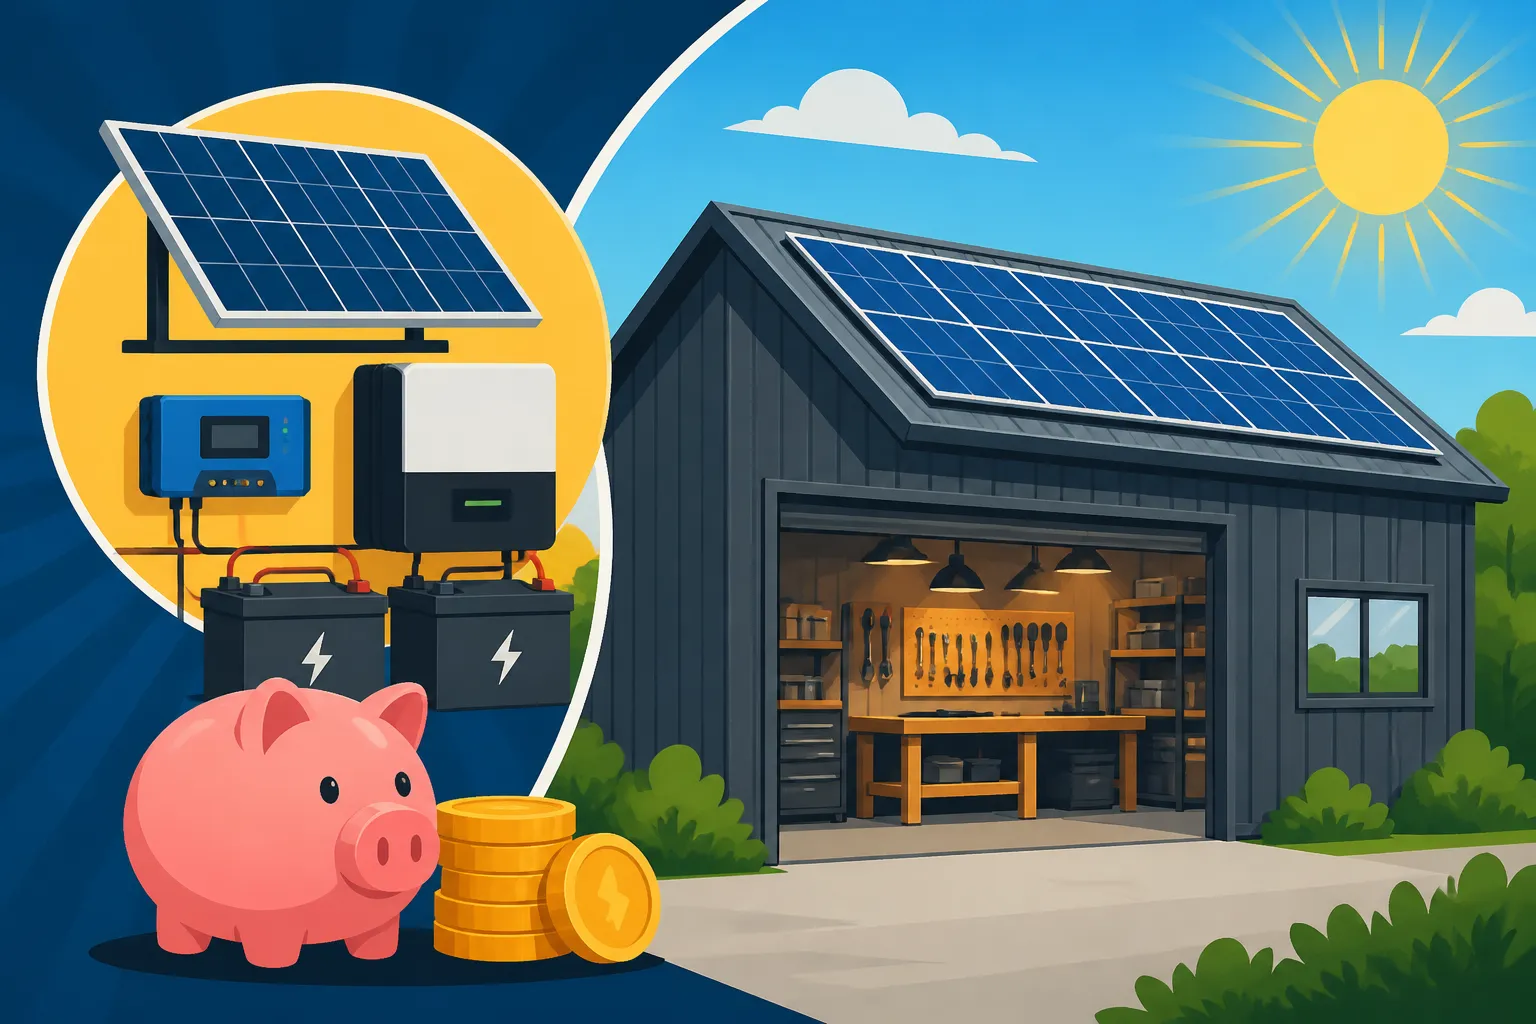
Trying to figure out how much it'll actually cost to power your workshop with off-grid solar can feel like deciphering ancient hieroglyphs. You dream of running your tools, lights, and perhaps even a small heater without a sky-high utility bill or the hassle of trenching power lines to a remote property, but the upfront investment is a huge question mark. This guide is here to demystify the numbers, breaking down everything you need to know to accurately budget for an off-grid solar setup tailored to your workshop's needs.
Understanding the Core Components and Their Costs
When you're building an off-grid solar system for your workshop, you're essentially assembling a miniature power plant. Each part plays a crucial role, and its quality, capacity, and brand will directly influence the overall price tag. It's not just about throwing some panels on the roof; it's about a cohesive system.
Solar Panels The Power Harvesters
Solar panels are where it all begins – they're the workhorses capturing sunlight and converting it into electricity. For a workshop, you'll generally be looking at rigid monocrystalline panels, known for their efficiency and durability. The cost here is usually calculated per watt.
- Panel Type and Efficiency: Most workshops benefit from high-efficiency monocrystalline panels. While polycrystalline panels might be slightly cheaper upfront, their lower efficiency means you might need more physical space or more panels to achieve the same power output, which can increase other costs like mounting hardware. Flexible panels, while convenient for RVs, are typically not robust enough or cost-effective for a stationary workshop. You can often find good deals on reliable panels on platforms like Amazon or from specialized solar distributors.
- Wattage and Quantity: A single 400-watt panel can cost anywhere from $150 to $400, depending on the brand, quality, and where you purchase it. So, if your workshop needs, say, 2,000 watts of solar generation capacity, you're looking at five 400-watt panels, bringing your panel cost to roughly $750 to $2,000. Keep in mind that real-world output varies with sun exposure, temperature, and angle. This is just one piece of the puzzle; you'll also need to consider How Many Solar Panels for Off-Grid Living
- Mounting Hardware: Don't forget the racking and mounts! Whether you're putting panels on the roof of your workshop or setting up a ground mount, you'll need sturdy aluminum rails, feet, and clamps. A basic roof mount kit for 4-6 panels could run you $200-$500, while a robust adjustable ground mount system for a similar number of panels might be $500-$1,500 or more, especially if you opt for something heavy-duty to withstand high winds or snow loads.
Batteries The Energy Storage Heart
Batteries are arguably the most expensive component in an off-grid system, but they are absolutely critical. Without them, your workshop only has power when the sun is shining directly on your panels. For comprehensive details, check out our guide on the Cost of an Off-Grid Solar Battery Bank
- Battery Chemistry Choices:
- Lead-Acid (Flooded, AGM, Gel): These are the traditional, more budget-friendly options upfront. Flooded lead-acid batteries require regular maintenance (checking water levels) and ventilation, making them less ideal for indoor workshops without proper setup. AGM (Absorbed Glass Mat) and Gel batteries are sealed, maintenance-free, and more tolerant of temperature fluctuations. However, all lead-acid batteries have a shorter lifespan (3-7 years) and a shallower usable depth of discharge (typically 50%), meaning you need more capacity than you can actually use. For a modest workshop, a bank of 4-6 100Ah 12V AGM batteries could cost $1,000-$3,000.
- Lithium Iron Phosphate (LiFePO4): These are the premium choice and have become increasingly popular. While their initial cost is higher, they offer a significantly longer lifespan (10-15+ years or more charge cycles), a much deeper usable depth of discharge (80-100%), and are virtually maintenance-free. They're also lighter and more compact. For a workshop requiring substantial power, a LiFePO4 battery bank with equivalent usable capacity to the lead-acid example might start at $2,000-$6,000 or more, but the long-term value often outweighs the initial expense. Brands like Battle Born or EG4 are well-regarded in this space.
- Capacity Needs: The size of your battery bank depends entirely on your daily energy consumption and how many "days of autonomy" you want – meaning, how long your workshop can run solely on battery power without any solar input (think cloudy days or nighttime). A small hobby workshop might get by with 200-400 amp-hours (Ah) at 12V, while a workshop with power-hungry tools could easily need 800-1200 Ah or more at 24V or 48V. This is where a proper Off-Grid Solar Load Calculation Explained really comes into play.
Inverter and Charge Controller The Brains and Brawn
These components manage the flow of electricity, ensuring your batteries charge correctly and that your AC appliances receive the right type of power.
- Charge Controller: This device regulates the voltage and current coming from your solar panels to charge your battery bank safely and efficiently. There are two main types:
- PWM (Pulse Width Modulation): Less efficient but cheaper, usually suitable for smaller systems with simpler needs. A PWM controller might cost $50-$200.
- MPPT (Maximum Power Point Tracking): More efficient, especially in varying light conditions, and highly recommended for larger or more complex systems. They can boost power output by up to 30% compared to PWM. An MPPT controller for a workshop system could range from $150 to $800 or more, depending on its amperage capacity and features.
- Inverter: This converts the DC (Direct Current) power stored in your batteries into AC (Alternating Current) power, which is what most standard household and workshop appliances use.
- Pure Sine Wave: Absolutely essential for sensitive electronics and most power tools, as it provides clean, stable power. These are more expensive but prevent damage to your equipment.
- Modified Sine Wave: Cheaper but can cause issues with motors, electronics, and even some chargers. Generally not recommended for a modern workshop.
- Wattage Rating: The inverter's wattage rating must be able to handle the combined continuous draw of all AC devices you might run simultaneously, plus a surge capacity for starting motors (like saws or air compressors). A good quality pure sine wave inverter for a workshop might cost anywhere from $300 for a 1,500W unit to $1,500+ for a 5,000W or 8,000W unit. Some advanced models, like those from Victron Energy or Sol-Ark, can combine an inverter, charge controller, and even grid-tie capabilities (for future expansion) into one robust unit, but they come at a premium price.
Factors That Significantly Impact Workshop Solar Costs
The baseline costs for components are one thing, but your specific situation and choices can swing the total cost wildly. It’s not a one-size-fits-all solution, especially when you're talking about powering tools and potentially heating or cooling a workshop.
Your Workshop's Energy Consumption Profile
This is arguably the single biggest determinant of your total off-grid solar cost. How much power you use, and when you use it, dictates the size of every component in your system.
- Light-Duty Hobby Workshop: If your workshop is mainly for occasional light use – a few LED lights, charging power tool batteries, running a small radio, maybe a Dremel tool for an hour or two – your power needs are relatively low. You might get away with a smaller system, perhaps 1,000-2,000 watts of solar panels and 200-400Ah of 12V battery storage. Such a setup could range from $2,500 to $6,000 for components, especially if you're leaning towards budget-friendly lead-acid batteries and doing the installation yourself. A portable power station, like a larger Jackery model, combined with a couple of solar panels could even serve as a minimal, highly flexible solution for very light intermittent use, costing $1,000-$3,000.
- Moderate-Use Woodworking or Metalworking Shop: If you're running bench saws, planers, air compressors, welders, and maintaining comfortable temperatures with a mini-split, your energy demands skyrocket. Power tools, especially those with induction motors, have significant "surge" requirements to start up. You'll need a much larger array (3,000-8,000+ watts of panels), a substantial 24V or 48V battery bank (600-1200+ Ah LiFePO4), and a high-capacity pure sine wave inverter with excellent surge capabilities. This kind of system could easily run $10,000 to $30,000+ for components alone.
- Seasonal vs. Year-Round Use: If your workshop is only used seasonally, say, during the summer months when solar insolation is highest, you might get by with a slightly smaller battery bank. However, if you plan to use it year-round, especially in regions with low winter sun or short daylight hours, you'll need to significantly oversize your solar array and battery bank to account for those dark, cloudy periods. This is a critical factor when considering How to Design for Year-Round Off-Grid Power
Location and Climate Considerations
Where your workshop is located impacts both the efficiency of your panels and the necessary system size.
- Sunlight Availability (Peak Sun Hours): A workshop in sunny Arizona will generate more power from the same solar array than one in cloudy Seattle. "Peak sun hours" refer to the equivalent number of hours per day when solar irradiance averages 1,000 watts per square meter. Knowing your location's average peak sun hours is crucial for accurately sizing your system. More sun means you might need fewer panels, reducing upfront costs. Less sun means you need more panels or a larger battery bank for autonomy.
- Temperature Extremes: Batteries perform best within a certain temperature range. Extreme cold can significantly reduce the usable capacity of lead-acid batteries and prevent charging of many LiFePO4 batteries without internal heating elements. Extreme heat can also degrade battery life. If your workshop experiences harsh winters or scorching summers, you'll need to factor in climate control for your battery bank, which adds to the cost. For instance, a heated, insulated battery enclosure might be necessary in northern Michigan, adding hundreds or even a thousand dollars to your project.
- Shading: Even a small amount of shading from nearby trees or buildings can drastically reduce the output of an entire string of solar panels. It's essential to perform a thorough site analysis to identify and mitigate any potential shading issues. This might involve trimming trees (an added cost) or choosing a ground mount over a roof mount, which can also influence installation costs.
DIY Installation Versus Professional Services
This is a major cost differentiator. Doing it yourself can save a lot of money, but it requires time, skills, and a good understanding of electrical systems.
- DIY Approach: If you're handy with tools, comfortable with electrical wiring, and willing to invest the time in research and learning, a DIY installation can save you 30-50% or more on labor costs. You'd be responsible for sourcing all components, reading manuals, performing the physical installation, and ensuring everything is wired safely and correctly. Many components are designed for DIY installation, and platforms like Amazon offer a vast array of parts. However, mistakes can be costly or even dangerous, so a thorough understanding of Off-Grid Solar Wiring Diagram Explained and safety protocols is paramount.
- Hiring Professionals: For those who lack the time, expertise, or desire to tackle a complex electrical project, hiring a professional solar installer is a wise choice. They handle everything from system design and component sourcing to installation and permitting. This convenience and expertise come at a price, typically adding 20-50% to the total project cost, with installation fees ranging from a few thousand dollars for smaller systems to $10,000+ for whole-house or large workshop setups. However, a professional installation can ensure optimal performance, safety, and compliance with local codes. For more on this, you might want to read about DIY vs Professional Off-Grid Solar Cost
Estimating Your Workshop's Specific Solar Costs
Calculating the exact cost for your workshop involves a step-by-step process of figuring out your energy needs and then matching those needs with appropriately sized components. It's less about guessing and more about methodical calculation.
Step 1: Conduct a Detailed Load Analysis
Before you even think about buying components, you need to know precisely what you plan to power and for how long. This is your "load analysis" and it's the foundation of your entire system design.
- List Every Appliance and Tool: Go through your workshop and list every single electrical device you use or plan to use. Don't forget lights, a small fridge, charging stations, fans, heaters, radios, and of course, all your power tools (table saw, miter saw, router, air compressor, welder, etc.).
- Determine Wattage and Daily Usage: For each item, find its running wattage (usually on a label or in the manual). Then, estimate how many hours per day you'll run it. For tools with motors, also note the "surge wattage" or "starting wattage," which can be 2-7 times higher than the running wattage for a brief moment.
- Example:
- LED Shop Lights (4x 20W): 80W total, 4 hours/day = 320 Wh/day
- Table Saw (15 Amp @ 120V): 1800W running, 5000W surge, 0.5 hours/day = 900 Wh/day
- Drill Charger (50W): 2 hours/day = 100 Wh/day
- Small Air Compressor (1500W running, 4500W surge): 0.25 hours/day = 375 Wh/day
- Small Mini-Fridge (100W running): 8 hours/day (compressor cycle) = 800 Wh/day
- Total Estimated Daily Watt-Hours: Sum all these up. In this example, it's roughly 2,495 Wh/day. This number is critical for How to Calculate Daily Energy Usage
- Example:
- Identify Peak Power Requirements: Look at the highest single surge wattage and the highest combined running wattage. This will help you size your inverter. In our example, the table saw has a 5000W surge, so your inverter needs to handle at least that for a brief period. If you run the table saw and air compressor at the same time, your continuous draw is 1800W + 1500W = 3300W. Your inverter must comfortably manage this.
Step 2: Sizing Your Components and Estimating Costs
Once you have your load analysis, you can start to size your components and get real cost estimates.
- Battery Bank Sizing:
- Take your total daily watt-hours (e.g., 2,495 Wh/day).
- Decide on your "days of autonomy" (e.g., 2 days for cloudy weather). 2495 Wh/day * 2 days = 4,990 Wh.
- Factor in battery efficiency (around 85-95%) and usable depth of discharge (DoD) (50% for lead-acid, 80-100% for LiFePO4).
- For lead-acid at 50% DoD: 4,990 Wh / 0.50 = 9,980 Wh required gross capacity. At 12V, that's roughly 830 Ah (9980 / 12).
- For LiFePO4 at 80% DoD: 4,990 Wh / 0.80 = 6,237 Wh required gross capacity. At 12V, that's roughly 520 Ah (6237 / 12).
- Cost for lead-acid (830Ah @ 12V, e.g., eight 100Ah batteries): $2,000 – $4,000.
- Cost for LiFePO4 (520Ah @ 12V, e.g., five 100Ah LiFePO4 batteries): $2,500 – $6,000.
- It's generally recommended to go with a 24V or 48V system for workshops to reduce wire size and losses, so these capacities would translate to fewer amp-hours at higher voltages but similar watt-hour storage. For more help, see How Many Batteries for an Off-Grid System
- Solar Panel Sizing:
- Take your daily watt-hour need (e.g., 2,495 Wh/day).
- Divide by your local average "peak sun hours" (e.g., 4.5 hours/day in many US regions). 2495 Wh / 4.5 hours = 554 watts of continuous production needed.
- Add a buffer for cloudy days, efficiency losses, and future expansion (e.g., 20-30%). 554W * 1.25 = 692.5 watts.
- So, you'd need roughly 700 watts of solar panels. If using 400W panels, that's two panels.
- Cost for 2x 400W panels: $300 – $800.
- Remember, oversizing your solar array is often a good idea, especially for off-grid systems, to ensure your batteries get fully charged even on less-than-perfect days. You can learn more about this in our guide on How Much Solar to Charge Your Batteries Daily
- Inverter Sizing:
- The inverter needs to handle your highest combined continuous load (e.g., 3300W from table saw + air compressor) and your highest single surge load (e.g., 5000W from table saw).
- An inverter rated for 4000-5000W continuous output with a surge capacity of 8000-10,000W would be appropriate.
- Cost for a quality pure sine wave inverter: $800 – $2,500.
- Charge Controller Sizing:
- Based on 700W of solar panels. If using 12V batteries and an MPPT controller, your maximum charging current would be roughly 700W / 12V = 58 amps. You'd need a charge controller rated for at least 60-70 amps.
- If using 24V batteries: 700W / 24V = 29 amps. A 30-40 amp controller would suffice.
- Cost for an MPPT charge controller: $200 – $600.
- Miscellaneous Costs: Don't forget wiring, fuses, breakers, disconnect switches, conduits, and battery cables. These can easily add $500 – $1,500 depending on the complexity and size of your system. You can often find these components on Amazon, but ensure they meet electrical code standards.
| Component | Small Hobby Workshop (Example) | Moderate Workshop (Example) | Price Range (Approximate) |
|---|---|---|---|
| Solar Panels | 1000W (e.g., 3x 350W) | 4000W (e.g., 10x 400W) | $450 – $4,000 |
| Mounting Hardware | Roof or small ground mount | Robust ground mount | $200 – $1,500 |
| Batteries | 400Ah @ 12V (LiFePO4) | 800Ah @ 48V (LiFePO4) | $2,000 – $10,000+ |
| Charge Controller | 60A MPPT | 80A MPPT (or multiple) | $200 – $1,000 |
| Inverter | 2000W Pure Sine Wave | 5000W – 8000W Pure Sine Wave | $400 – $2,500+ |
| Wiring, Fuses, etc. | Basic kit | Extensive wiring, disconnects | $300 – $1,500+ |
| Total Component Cost | $3,550 – $8,200 | $7,100 – $20,500+ | |
| Professional Install | (Add 20-50%) | (Add 20-50%) | $1,000 – $10,000+ |
| Grand Total (DIY) | $3,550 – $8,200 | $7,100 – $20,500+ | |
| Grand Total (Pro) | $4,260 – $12,300 | $8,520 – $30,750+ |
Note: These are estimates based on common component costs and do not include potential permitting fees, property modifications, or advanced monitoring systems.
Step 3: Budgeting for the Unexpected and Long-Term
It's tempting to focus solely on the initial component costs, but a realistic budget includes more than just the big-ticket items.
- Permitting and Inspections: Depending on your location and the size of your system, you might need electrical permits and inspections. These costs vary widely, from a few hundred dollars to over a thousand. Always check with your local authority having jurisdiction (AHJ) before starting.
- Shipping and Freight: Larger components like batteries and solar panels can incur significant shipping costs, especially if you're ordering from different vendors or to a remote workshop location. Factor this into your budget.
- Tools and Materials for DIY: If you're going DIY, you'll need specialized tools like crimpers for MC4 connectors, a multimeter, wire strippers, and perhaps even conduit benders. These can add a few hundred dollars to your initial outlay if you don't already own them.
- Maintenance and Replacements: While solar panels last 25+ years, batteries have a finite lifespan. Lead-acid batteries will need to be replaced every 3-7 years, while LiFePO4 batteries can last 10-15+ years. This is a crucial long-term cost to consider when thinking about Off-Grid Solar Battery Replacement Cost Over Time Regular cleaning of panels and occasional system checks are also part of ongoing maintenance. You should also consider the Off-Grid Solar Maintenance Costs that come with any system.
- System Expansion: Many people start with a smaller system and plan to expand later. If this is your intention, design your initial system with expansion in mind – choose an inverter and charge controller that can handle more capacity, and ensure your wiring is appropriately sized. This forethought can save you money down the road. Our guide on How to Design an Expandable System can provide more insight.
Long-Term Savings and Considerations for a Workshop
While the initial cost of an off-grid solar system for your workshop might seem substantial, it's crucial to look at the long-term benefits and savings it can provide. This isn't just an expense; it's an investment in energy independence and potentially increased property value.
The Return on Investment: When Does it Pay Off?
Many people wonder if the upfront cost of off-grid solar for a workshop is "worth it." The answer often comes down to your alternative options and how you value energy independence.
- Avoiding Utility Extension Costs: If your workshop is remote and connecting to the grid would involve trenching miles of power lines, the cost could be astronomical – easily tens of thousands of dollars, or even over $50,000 in some cases. In such scenarios, off-grid solar very quickly becomes the more economical choice. You can learn more about this comparison in Off-Grid Solar vs Utility Extension Cost The initial investment in solar effectively replaces a massive, one-time grid connection fee.
- Eliminating Monthly Utility Bills: Once your off-grid system is up and running, you're no longer paying for electricity consumption. This is a significant ongoing saving, especially if you use your workshop frequently or run power-intensive tools. Over 10, 20, or even 30 years, these accumulated savings can far outweigh the initial investment. This long-term saving is a core reason many go off-grid, and you can explore Off-Grid Solar Payback Period Explained for more details.
- Fuel Savings from Generators: If your alternative to grid power is running a gasoline or diesel generator, the fuel costs alone can be staggering. Generators are noisy, require maintenance, and constantly consume expensive fossil fuels. Off-grid solar, once installed, provides free energy from the sun. The comparison of Off-Grid Solar vs Generator Fuel Cost often highlights the substantial savings solar offers.
Future-Proofing and Energy Independence
Beyond the direct financial savings, having an off-grid solar workshop offers invaluable benefits that are harder to put a price tag on.
- Reliable Power in Remote Locations: For workshops located far from traditional infrastructure, off-grid solar provides consistent, reliable power where it might otherwise be impossible or prohibitively expensive. This means you're not limited by geography in where you can set up your creative or productive space.
- Protection Against Power Outages: When the grid goes down due to storms, natural disasters, or infrastructure failures, your off-grid workshop remains powered. This provides incredible peace of mind and ensures your projects or work can continue uninterrupted. It's a fantastic solution for emergency preparedness, knowing you have a self-sufficient power source.
- Environmental Impact: Choosing solar means significantly reducing your carbon footprint, which is a big win for many people. You're generating clean, renewable energy, contributing to a healthier planet.
- Increased Property Value: A well-designed and installed off-grid solar system can be a major asset, increasing the appeal and value of your property, especially for those seeking self-sufficiency or remote living.
Ultimately, the cost of off-grid solar for a workshop is a multifaceted equation. It requires careful planning, a clear understanding of your energy needs, and a realistic budget for both upfront investment and long-term maintenance. But with the right approach, it's an investment that offers substantial financial, practical, and environmental rewards for years to come.
Disclaimer
The information provided in this guide is for general informational purposes only and does not constitute professional advice. Off-grid solar system design and installation can be complex and should be undertaken with caution. Always consult with qualified professionals, adhere to local electrical codes and permitting requirements, and prioritize safety. Component prices and system costs are estimates and can vary significantly based on location, market conditions, brand, and specific system requirements.