How to Winterize an Off-Grid Solar System
The crisp, clear days of autumn can be beautiful, but for anyone relying on an off-grid solar system, they also bring a unique kind of worry. The thought of shorter daylight hours, freezing temperatures, and heavy snowfalls can make you anxious about your power supply and the health of your expensive equipment. No one wants to be caught without power when the mercury drops, or face costly repairs because their system wasn't prepared. This comprehensive guide is here to walk you through the essential steps for winterizing your off-grid solar setup, helping you maintain reliable power and protect your investment through even the toughest winters.
Understanding Winter's Impact on Off-Grid Solar
Before we dive into how to winterize, it's really important to understand why it's so critical. Winter isn't just a few colder days; it's a season that fundamentally alters how your solar system performs and the stresses it endures. Ignoring these factors can lead to significant headaches, from diminished power output to outright component failure, right when you need power the most for heating and lighting.
Reduced Solar Irradiance and Shorter Days
One of the most immediate and obvious impacts of winter is the dramatic reduction in available sunlight. Not only are the days shorter, meaning fewer hours for your panels to generate power, but the sun's angle is also much lower in the sky. This lower angle means that sunlight travels through more of the Earth's atmosphere, reducing its intensity (solar irradiance) by a noticeable amount. Think about those weak, watery winter sunbeams compared to the scorching intensity of a summer afternoon. Your solar panels feel that difference, too.
Furthermore, cloud cover tends to be more prevalent in many regions during winter, further obscuring the sun and limiting energy production. This combination of shorter days, lower sun angle, and increased cloudiness means your solar array will produce significantly less power each day. This isn't a minor dip; it can be a substantial drop that catches many off-gridders off guard, especially if they haven't adequately sized their system for year-round operation. If you're keen to understand the deeper implications of reduced sun, you might find our guide on how to Account for Cloudy Days particularly insightful.
Temperature Extremes and Component Stress
While solar panels actually perform a bit better in colder temperatures (their efficiency slightly increases as temperature decreases, assuming strong sunlight), the associated extreme cold can be brutal on other components of your off-grid system. Batteries, inverters, and charge controllers are particularly vulnerable to sub-zero conditions. Freezing temperatures can significantly reduce the capacity and lifespan of certain battery types, and in extreme cases, even cause them to crack if they're lead-acid and left in a discharged state.
Beyond just the cold, rapid temperature swings — common in many mountain or desert climates during winter — can cause materials to expand and contract repeatedly. This constant thermal cycling puts immense stress on electrical connections, wiring insulation, and mounting hardware, potentially leading to cracks, loose connections, or material fatigue over time. Condensation, especially in poorly ventilated enclosures, can also become a problem, leading to corrosion and short circuits.
Snow and Ice Accumulation Challenges
Snow and ice are perhaps the most visible winter challenges. A blanket of snow, even a few inches thick, can completely block your solar panels from receiving sunlight, effectively turning off your power source until it melts or is removed. This isn't just about losing a day's worth of power; if snow lingers for several days, it can deeply discharge your batteries, putting them at risk, especially lead-acid types. Ice, on the other hand, can be incredibly heavy, putting structural stress on your panel mounts and potentially causing damage if not properly addressed.
Beyond the weight, ice damming around the edges of panels or mounting hardware can exacerbate water infiltration issues, potentially compromising the integrity of your roof or causing damage to wiring. In some areas, freezing rain can encase panels in a thick, clear layer of ice that's incredibly difficult to remove and can persist for days, leading to extended power outages.
Pre-Winter Assessment and Planning
Winterizing your off-grid solar system isn't just about doing a few tasks right before the first snowflake; it's a strategic process that begins with a thorough assessment and careful planning. Taking the time to understand your system's current state and your anticipated winter needs will save you a lot of grief and potential expense down the line.
Reviewing Your System's Performance
Before the cold truly sets in, take a good, hard look at how your system has been performing throughout the warmer months. Have you noticed any dips in power production on cloudy days? Are your batteries consistently reaching their full charge, or are they often sitting at a lower state of charge? Review your data logs from your charge controller or battery monitor. If you've got an integrated system like those offered by Victron Energy or MidNite Solar, their monitoring apps can provide invaluable insights into trends and anomalies.
This is the time to identify any weak links in your setup. Perhaps your panels are slightly undersized for your actual usage, or your battery bank isn't quite robust enough to handle a few cloudy days. Addressing these issues now, while the weather is still cooperative, is much easier than trying to troubleshoot in a blizzard. Consider running a system diagnostic to ensure all components are communicating correctly and operating within their specified parameters. You might find our detailed guide on how to Design an Off-Grid Solar System Step by Step helpful for a broader system overview.
Energy Consumption Audit for Winter
Now, this is where many people get tripped up. Your energy consumption habits often change dramatically in winter. Think about it: you're probably using more lights because of shorter days, running heaters or electric blankets, perhaps using a well pump more frequently if livestock need water, or even powering heavy-duty tools for winter projects in a workshop. All of these add up.
Go through your daily routine and make a list of every appliance you use, noting its wattage and how many hours a day you expect to run it during winter. Don't forget those phantom loads, either! Comparing this to your summer usage can be eye-opening. You might discover you need to significantly reduce your consumption, or perhaps you'll realize your system needs more capacity. This audit is crucial for determining if you have enough power generation and storage for reliable winter operation. For a deep dive into this, check out our article on How to Calculate Daily Energy Usage.
Gathering Essential Winterization Supplies
Having the right tools and materials on hand before winter strikes is paramount. You don't want to be scrambling for supplies when the snow is already flying. Here's a basic list of what you might need:
- Cleaning supplies: Soft brush, squeegee, mild, biodegradable soap or specialized panel cleaning solution.
- Safety gear: Sturdy ladder, safety harness (if working at heights), gloves, eye protection.
- Electrical tools: Multimeter, wire brush for terminals, dielectric grease.
- Insulation materials: Foam board, thermal blankets, rigid insulation for battery boxes or equipment enclosures. You can find a good range of materials on platforms like Amazon.
- Snow removal tools: A long-handled soft brush or specialized snow rake designed for solar panels (avoid metal tools that can scratch panels).
- Backup power options: Fuel for a generator, extra charge for a portable power station.
| Component Category | Recommended Winterization Supplies | Notes |
|---|---|---|
| Solar Panels | Soft-bristle brush, squeegee | Avoid abrasive cleaners; consider a non-toxic de-icing spray. |
| Panel cleaning solution | Biodegradable and safe for solar panel surfaces. | |
| Mounting Hardware | Rust-inhibiting spray, torque wrench | Check for loose bolts, apply protective coating. |
| Wiring & Connections | Dielectric grease, wire brush, UV-resistant zip ties | Protect against moisture, prevent corrosion, secure loose wiring. |
| Batteries | Thermal blankets, rigid foam insulation | Maintain optimal operating temperature, especially for LiFePO4. |
| Battery terminal cleaner | Ensure clean connections for efficient charging. | |
| Inverter/Charge Controller | Sealant for enclosures, desiccant packs | Prevent moisture intrusion and condensation. |
| General Safety | Safety harness, sturdy ladder, insulated gloves | Essential for working on rooftops or in cold conditions. |
| Snow Removal | Snow rake (non-abrasive), long-handled brush | Safely remove snow without damaging panels. |
Step-by-Step Winterization Procedures for Your Solar Array
Your solar panels are the heart of your off-grid system, and they take the brunt of winter's assault. Properly preparing them means ensuring they can withstand the elements and capture every photon of available sunlight. This isn't just about cleaning; it's about optimizing their position and structural integrity.
Cleaning and Inspecting Solar Panels
Before snow and ice make it impossible, give your solar panels a thorough cleaning. Dust, pollen, bird droppings, and accumulated grime can significantly reduce their efficiency, and this loss is compounded by already reduced winter sunlight. Use a soft brush or squeegee with a mild, biodegradable cleaning solution (many specific solar panel cleaners are available, or just use a very dilute, non-abrasive soap solution). Rinse thoroughly with clean water.
While you're cleaning, take the opportunity to visually inspect each panel. Look for any cracks, delamination (where the layers of the panel separate), or discolored spots, which could indicate hot spots or internal damage. Check the frames for any signs of corrosion or warping. Also, inspect the wiring underneath each panel. Are all the connections tight? Is the insulation intact, or are there any signs of critter damage? Addressing these issues now can prevent bigger problems later. For comprehensive details on panel installation that include maintenance tips, consider our guide on How to Install Off-Grid Solar Panels.
Optimizing Panel Angle and Tilt
This is a game-changer for winter performance. In most northern hemispheres, the sun's path is much lower in the sky during winter. If your panels are set to a summer-optimized angle (often around your latitude), they won't be as efficient at catching those low-angle winter rays. Adjusting your panel tilt to a steeper angle (often latitude plus 15 degrees, or even a vertical mount in some extreme cases) can dramatically improve your winter energy harvest.
For example, if you live in Bend, Oregon (approx. 44° N latitude), a summer tilt might be 44°. For winter, you might adjust it to 59° or even steeper. This steeper angle also helps snow slide off more easily, reducing accumulation. If you have adjustable mounts, make this change carefully. If your panels are fixed, you might need to accept a bit less efficiency, but the cleaning and maintenance still apply.
Securing and Protecting Panel Mounts
The high winds and heavy snow loads of winter can put immense stress on your panel mounting system. Now is the time to go around and check every single bolt, clamp, and bracket. Ensure everything is tight and secure. Loose connections can lead to panels shifting, vibrating, and potentially even detaching in strong gusts.
Inspect the structural integrity of your mounts. Are there any signs of rust or fatigue? For ground mounts, ensure the anchors are solid and haven't shifted. For roof mounts, check the roof penetrations for any signs of leaks or compromised sealant. Re-caulk or reseal as needed with a high-quality, weather-resistant sealant. Consider adding extra bracing if you live in an area known for very heavy snowfalls or extreme winds. Even robust panels from brands like Renogy can be ripped off their mounts if the mounting hardware isn't up to snuff.
Protecting Your Off-Grid Battery Bank and Electronics
While your panels are out there braving the elements, the heart of your off-grid system – your battery bank and associated electronics – needs a cozy, protected environment. These components are far more sensitive to temperature fluctuations and moisture, and their failure can bring your entire system to a grinding halt.
Battery Care in Cold Weather
Batteries, especially traditional lead-acid batteries (like flooded, AGM, or Gel), are highly susceptible to cold. As temperatures drop, their internal resistance increases, reducing their available capacity and making them harder to charge fully. A lead-acid battery that is fully charged can withstand freezing temperatures well below 0°F (-18°C), but a partially discharged one can freeze and be permanently damaged at much milder temperatures, sometimes as high as 20°F (-6°C).
If you're using LiFePO4 (Lithium Iron Phosphate) batteries, you have a different but equally critical concern: they cannot be charged when their internal temperature is at or below freezing (typically 32°F or 0°C) without risking irreversible damage. Discharging is usually fine, but charging is a no-go. Many modern LiFePO4 batteries, like those from Battle Born or EG4, come with low-temperature cut-offs or even internal heaters to mitigate this. However, for those without, it's essential to insulate your battery bank. Build a well-insulated battery box using foam board or other rigid insulation, or use thermal blankets. Some folks even add a small, low-wattage heating pad or a "belly warmer" designed for RV tanks, ensuring it's thermostatically controlled to prevent overheating. Maintaining your battery bank's optimal operating temperature is key to its longevity and performance. For deeper insights, you might want to read our article on How to Choose an Off-Grid Battery Bank or How Many Batteries for an Off-Grid System.
Securing Inverters and Charge Controllers
Your inverter and charge controller are the brains of your operation, converting and managing the power. They typically have wider operating temperature ranges than batteries, but extreme cold, and more importantly, condensation, can still be an issue. Ensure these devices are installed in a dry, well-ventilated, and protected area, ideally within a heated space if possible.
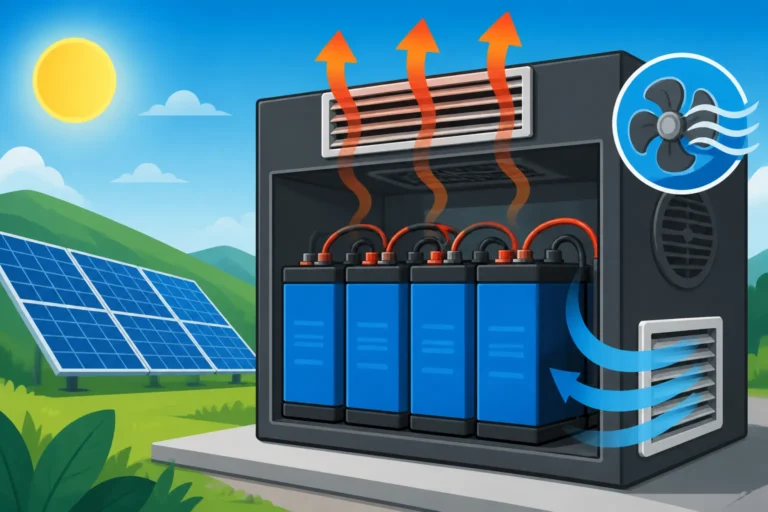
If they must be in an unheated shed or enclosure, ensure that the enclosure is sealed against moisture and pests. You might consider adding a desiccant pack to absorb any humidity, especially if you experience significant temperature swings that lead to condensation. Check all ventilation openings to ensure they're clear of debris but not allowing direct moisture ingress. The goal is a stable, dry environment.
Wiring and Connection Checks
Cold weather makes electrical components more brittle, and the constant expansion and contraction can loosen connections over time. Go through all your wiring, from the solar array down to the battery bank and out to your loads. Check every connection point for tightness. Look for any signs of fraying, cracking insulation, or corrosion.
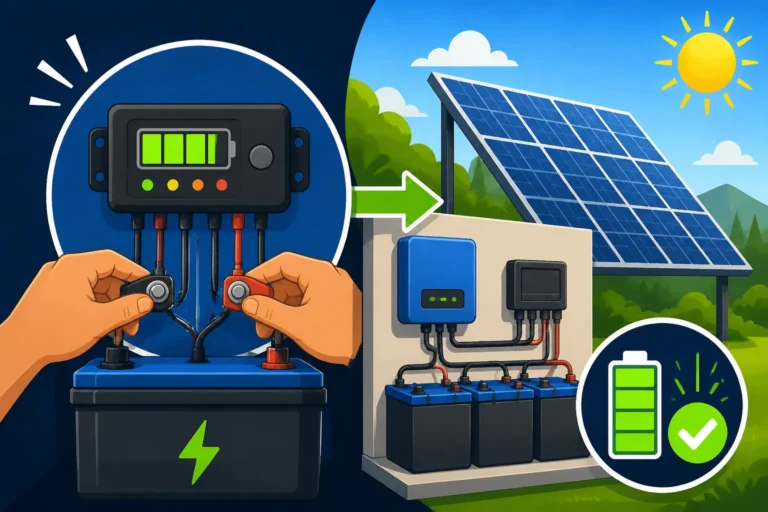
Use a wire brush to clean any corroded terminals, especially on your batteries, and apply dielectric grease to protect them from moisture and further corrosion. Ensure all cables are properly supported and routed, preventing them from rubbing against sharp edges or sagging where they could collect ice. Critter damage is also more common in winter as animals seek shelter, so inspect wiring for chew marks. Properly routing and protecting your cables is a crucial step in maintaining a reliable system; consider exploring our guide on How to Wire an Off-Grid Solar System for more detailed best practices.
Ongoing Winter Maintenance and Monitoring
Winterization isn't a one-and-done deal. Once you've prepared your system, ongoing vigilance throughout the colder months is essential to ensure consistent power and prevent any issues from escalating. It's about proactive care and quick responses to winter's unpredictable nature.
Snow Removal Strategies
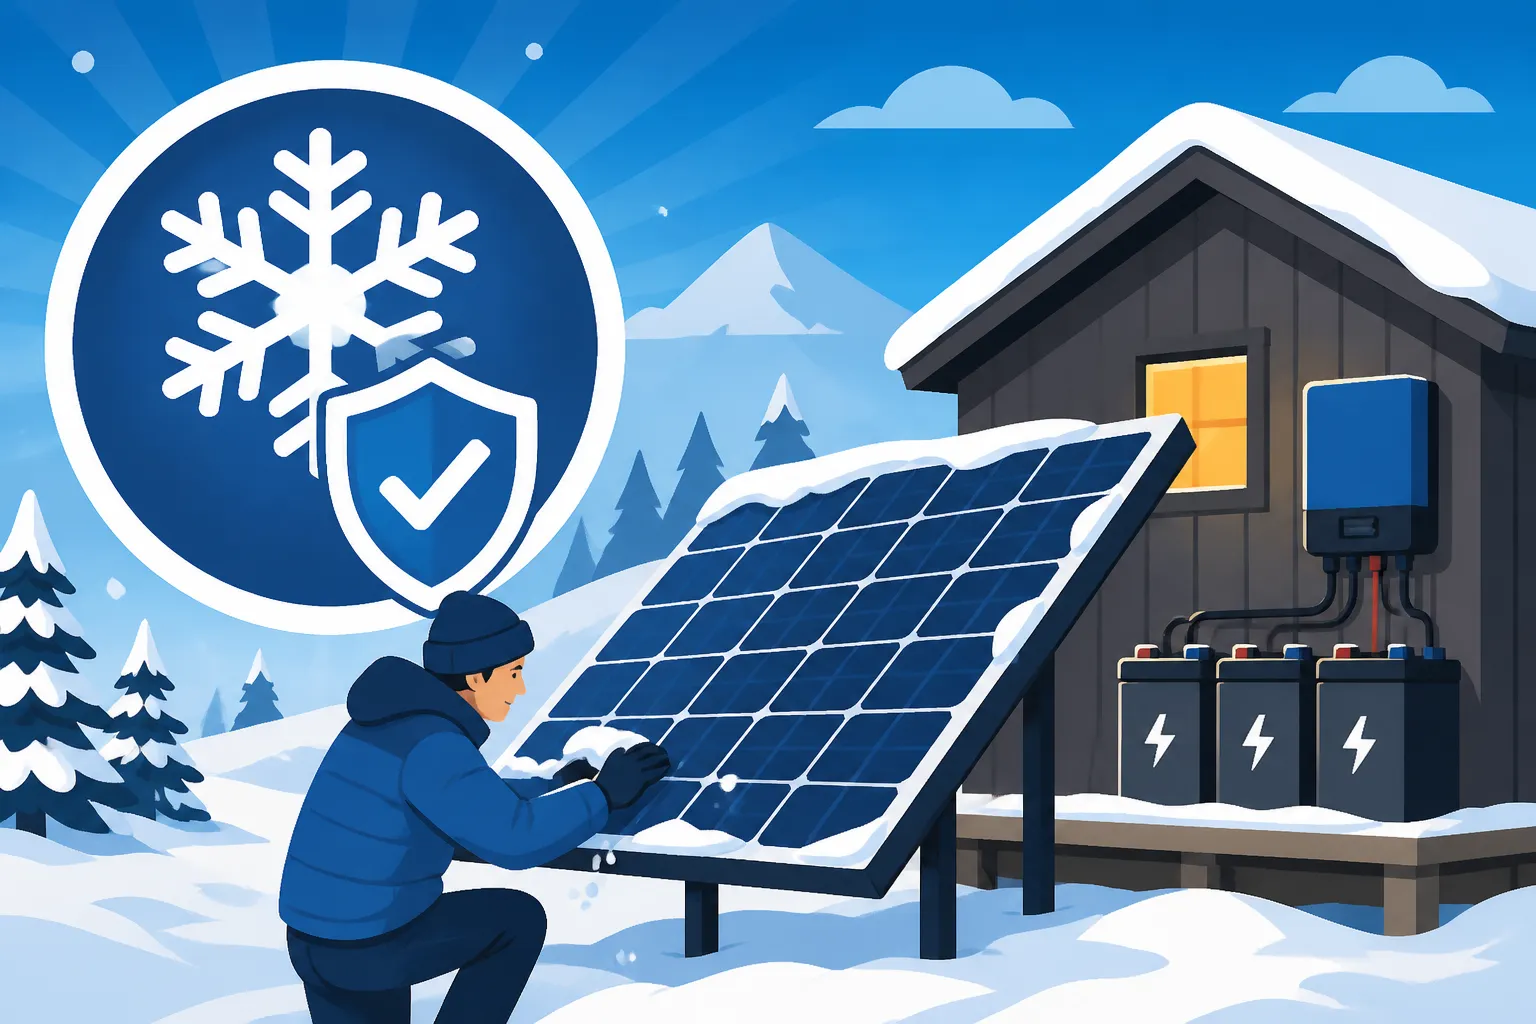
When snow falls, it's inevitable your panels will get covered. While a steep tilt helps, heavy or wet snow can stick. The safest and most effective way to remove snow from panels is with a soft-bristle brush or a specialized solar panel snow rake. These tools are designed to extend, allowing you to clear panels from the ground without climbing onto a slippery roof. Avoid using metal shovels or hard tools, as these can scratch or damage the glass surface of your panels.
A key thing to remember is not to use hot water to melt snow or ice, as the sudden temperature change can thermal shock the panels, potentially causing micro-cracks or other damage. If ice is stubborn, a gentle, non-toxic de-icing spray designed for solar panels can be an option, but generally, patience is your best friend. Wait for the sun to do its work, or use gentle mechanical removal. Remember that light snowfall might melt off quickly if there's enough sun, but heavy, wet snow needs intervention.
Regular System Performance Checks
During winter, you need to be more diligent than ever about monitoring your system. Regularly check your battery's state of charge. Ideally, you want to keep your batteries as full as possible, especially lead-acid types, to prevent freezing and maximize available power. Monitor your charge controller's output to see how much power your panels are actually generating. If it's consistently lower than expected for the conditions, it might indicate snow accumulation, shading, or an underlying issue.
Keep an eye on your inverter and charge controller displays for any error codes or warnings. Many modern systems, including those that might integrate with equipment found on Amazon, offer remote monitoring capabilities via apps, which can be incredibly helpful for checking in on your system from the warmth of your home. A daily check of these parameters can alert you to problems before they become critical. Regularly checking your system and performing maintenance can also help you understand and mitigate Off-Grid Solar Maintenance Costs.
Backup Power Considerations
Even the best-designed and maintained off-grid solar system can be overwhelmed by extended periods of extremely cloudy weather, persistent heavy snow, or unusually short days in deep winter. This is where backup power becomes not just an option, but a necessity for peace of mind and true energy independence.
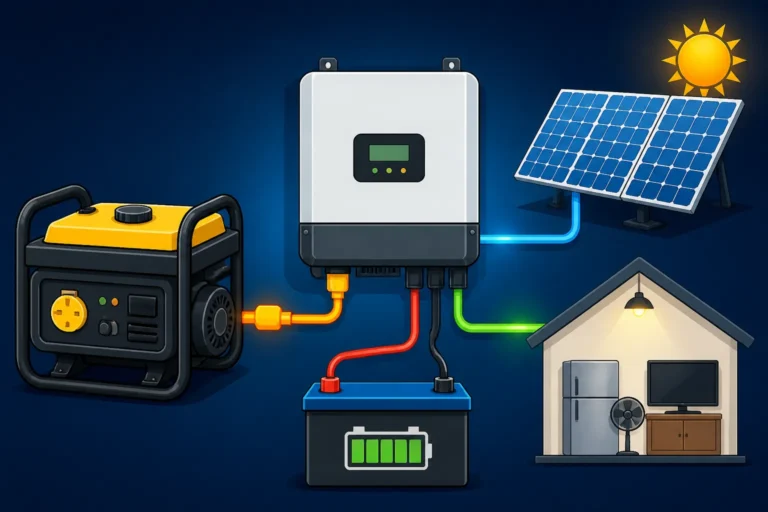
A reliable backup generator, fueled by propane, gasoline, or diesel, can be a lifesaaver. Ensure it's properly maintained, regularly tested, and that you have a sufficient supply of fuel on hand. Many off-grid inverters have generator integration capabilities, allowing for automatic starting and stopping to charge your batteries when solar input is low. Portable solar generators or power stations, like those from EcoFlow or Bluetti, can also serve as excellent secondary backups for critical loads or smaller power needs, especially if you’re trying to avoid running a larger, louder generator. Having a backup plan helps ensure you don't face a power crisis when winter truly digs in. If you're planning for this, our article on How to Add a Generator to Your Design offers valuable advice.
Disclaimer
The information provided in this guide is for general informational purposes only. While we strive to offer accurate and helpful advice based on common off-grid solar practices and industry knowledge, it is not a substitute for professional advice. Off-grid solar system design, installation, and maintenance can be complex and involve electrical hazards. Always consult with a qualified solar professional or licensed electrician for specific recommendations tailored to your system and local conditions. Adhere to all local electrical codes, safety regulations, and manufacturer instructions for all components. We are not responsible for any damage, injury, or loss that may result from following the information contained herein.