How to Wire a 48V Off-Grid System
Wiring up a 48V off-grid solar system can feel like a daunting task, especially when you're looking at all those components and wondering how on earth they all connect without causing a major spark show. It's a common frustration, and many folks get hung up on the intricacies of volts, amps, and proper cable management. But don't you worry! This guide is here to walk you through the process of wiring a 48V off-grid system, making sense of each connection, ensuring your setup is safe, efficient, and ready to power your independent lifestyle.
Understanding 48V Off-Grid Systems
When you're diving into off-grid living, especially for a cabin, tiny home, or a more substantial RV setup, you'll quickly hear the recommendation for a 48V system. It’s not just an arbitrary number; there are some really solid reasons why this voltage is often the sweet spot for larger power needs.
Why 48V is the Go-To for Larger Systems
Think about it this way: electricity is like water flowing through pipes. Voltage is the pressure, and current (amperage) is the volume. For a given amount of power (watts), if you increase the voltage, you decrease the current. Why does this matter for wiring? Lower current means you can use thinner, more manageable wires, which are not only easier to work with but also often less expensive. It also significantly reduces voltage drop over longer cable runs, which is crucial for maintaining efficiency in your system. Imagine trying to run a high-draw appliance like a well pump or a mini-split air conditioner on a 12V system; the current would be enormous, requiring extremely thick, expensive cables that would be a nightmare to install and manage. A 48V system effortlessly handles these larger loads with less fuss, making it ideal for robust off-grid applications where you're powering more than just a few lights and a phone charger. It’s about building a system that can truly support year-round living or significant power demands without breaking the bank on copper or losing precious energy to resistance.
Key Components in a 48V Setup
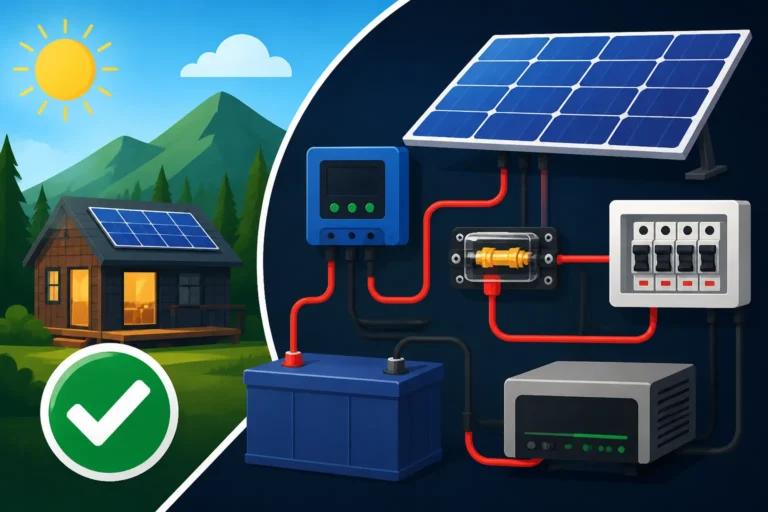
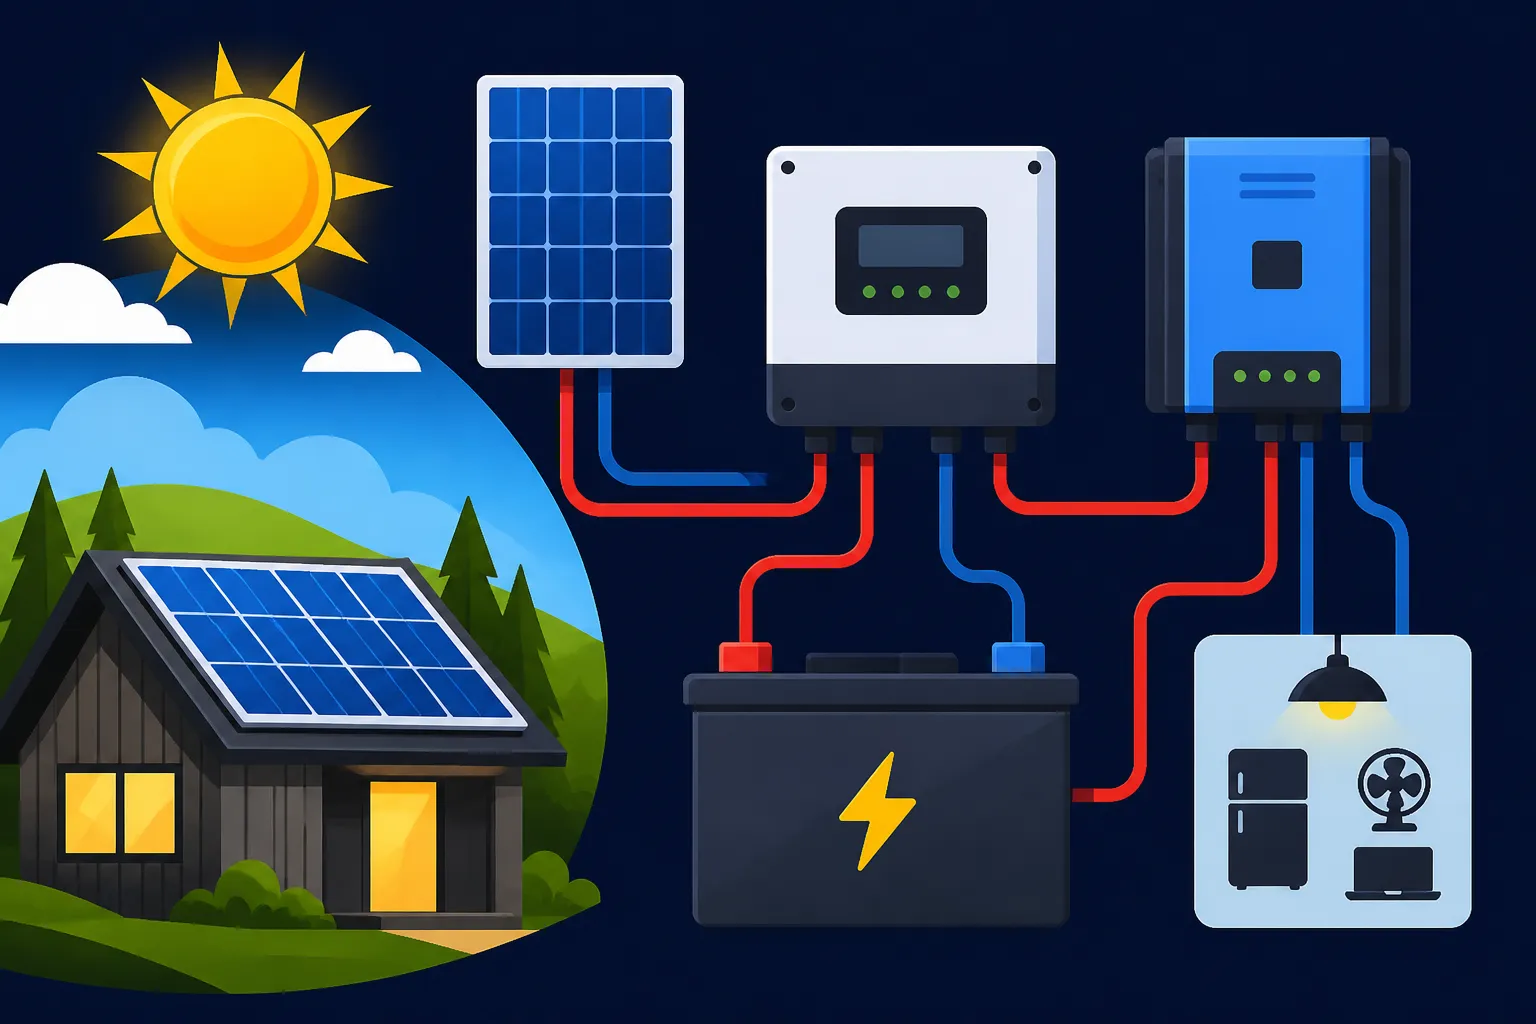
Before we get into the nitty-gritty of wiring, let's quickly touch on the main players in any 48V off-grid solar system. Understanding each component's role will make the wiring process much clearer. First, you have your solar panels, which are the workhorses, converting sunlight into electricity. For a 48V system, you'll either use panels specifically designed for higher voltages (like 60-cell or 72-cell panels) or wire multiple lower-voltage panels in series to reach the desired voltage. Next in line is the charge controller, which acts as the brain of your charging system. Its job is to regulate the power flowing from the solar panels to your batteries, preventing overcharging and ensuring optimal battery health. For a 48V system, an MPPT (Maximum Power Point Tracking) charge controller is almost always the best choice due to its superior efficiency in converting higher panel voltages down to the battery bank's voltage. Then comes the heart of your storage: the battery bank. This is where all that solar energy gets stored for use when the sun isn't shining. For a 48V system, you'll typically be connecting four 12V batteries or two 24V batteries in series to achieve the 48V nominal voltage. Finally, the inverter takes the stored DC (direct current) power from your batteries and converts it into AC (alternating current), which is what most of your household appliances and electronics use. Just like the charge controller, your inverter absolutely must be rated for 48V DC input to match your battery bank. Getting these core components right, and ensuring they're all compatible with a 48V architecture, is the first critical step in a successful off-grid setup.
Wiring Your 48V Off-Grid System Components
Now, let's roll up our sleeves and get into the actual wiring process. This is where it really comes together, piece by piece. Taking your time and double-checking every connection is key to a safe and reliable system.
Wiring Your Solar Panel Array for 48V
The first step in generating power is connecting your solar panels. For a 48V system, you’ll typically be dealing with a higher voltage from your solar array (often 60V-150V or even higher, depending on your MPPT charge controller's specifications). This is usually achieved by wiring panels in series. When you wire panels in series, you add their voltages together while the amperage remains the same. For example, if you have four 12V nominal solar panels, each putting out around 18-22V at open circuit, wiring them all in series would give you a total voltage of approximately 72-88V – a perfect range for many 48V MPPT charge controllers. If you have 24V nominal panels, you'd wire two in series to achieve around 70-80V.
It's crucial to understand your panels' open-circuit voltage (Voc) and maximum power voltage (Vmp) to ensure they fall within your charge controller's input limits. Always start by consulting your charge controller's manual! Once you've determined your series string configuration, you'll connect the positive terminal of the first panel to the negative terminal of the second, and so on. The unused negative of the first panel and the unused positive of the last panel in the string become your main array output leads. For larger arrays with multiple strings, you might use a solar combiner box, which safely brings multiple strings together and provides overcurrent protection (fuses or breakers) for each string before sending the combined power to your charge controller. Remember, always cover your panels with a blanket or tarp during wiring to prevent them from generating power, which minimizes the risk of electric shock. For more detailed instructions on how to set this up, check out our guide on How to Wire Solar Panels in Series.
Connecting to the Charge Controller
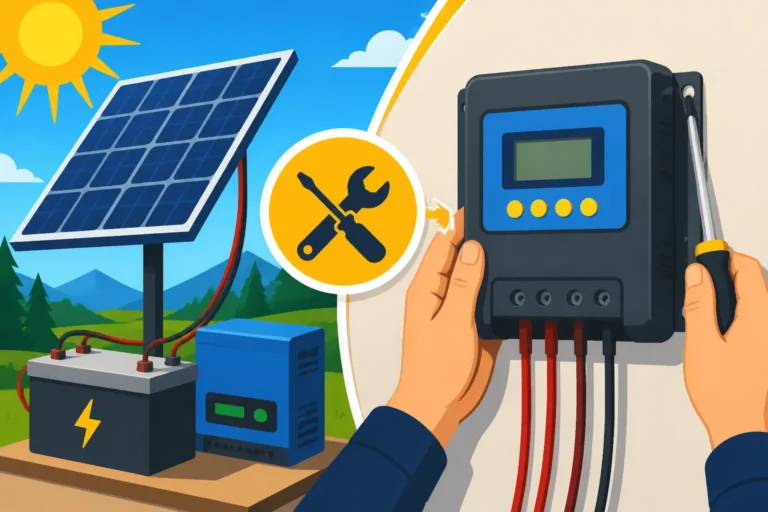
With your solar array wired, the next component in line is the charge controller. For a 48V system, an MPPT charge controller is highly recommended, as it efficiently steps down the higher voltage from your solar panels to match your 48V battery bank, maximizing energy harvest. When connecting, you'll run the positive and negative leads from your solar array (or combiner box) directly to the "PV Input" or "Solar Input" terminals on your MPPT charge controller.
It's absolutely essential to use appropriate wire sizing for this run. The further your panels are from the charge controller, the thicker your wires will need to be to minimize voltage drop and maintain efficiency. Consult a wire sizing chart or an online calculator, taking into account the distance and the maximum current your array can produce. Many reputable brands, like Renogy, offer MPPT controllers designed for 48V systems, often clearly labeling their terminals for PV input, battery connection, and sometimes a load output. Always double-check polarity – positive to positive, negative to negative – as reversing polarity on the PV input can damage some controllers. For a deeper dive into this step, refer to our comprehensive article on How to Wire an MPPT Charge Controller.
Building and Wiring Your 48V Battery Bank
The battery bank is the backbone of your off-grid system, providing stored energy when the sun isn't shining. To create a 48V battery bank, you'll typically connect four 12V batteries in series, or two 24V batteries in series. When wiring in series, you connect the positive terminal of one battery to the negative terminal of the next battery. For example, with four 12V batteries:
- Connect the positive of Battery 1 to the negative of Battery 2.
- Connect the positive of Battery 2 to the negative of Battery 3.
- Connect the positive of Battery 3 to the negative of Battery 4.
The remaining open negative terminal on Battery 1 becomes your bank's main negative output, and the remaining open positive terminal on Battery 4 becomes your bank's main positive output. This setup creates a single 48V string. If you need more capacity, you would build multiple 48V strings and then wire those strings in parallel.
Use high-quality, appropriately sized battery interconnect cables – these are usually very thick gauge to handle the high currents during discharge and charge cycles. Ensure all connections are clean, tight, and corrosion-free. A main battery disconnect switch and a circuit breaker or fuse should be installed on the main positive lead of your battery bank, as close to the batteries as possible, to protect against short circuits and allow you to safely de-energize the system. Installing a battery monitor with a shunt is also highly recommended; this little device gives you crucial information like state of charge, voltage, and current, allowing you to accurately track your power usage and battery health. Finding the Best Off-Grid Solar Batteries for your system is also a critical step, as battery chemistry and capacity greatly impact performance and cost. For further detail on connecting your battery bank, our guide on How to Wire a 48V Battery Bank provides a comprehensive overview.
Connecting the Inverter to the Battery Bank
The inverter is the component that takes the DC power from your battery bank and transforms it into the AC power that your standard household appliances use. For a 48V system, your inverter must be explicitly rated for 48V DC input. Connecting it is straightforward but requires meticulous attention to detail and safety.
You'll connect the main positive and negative leads from your 48V battery bank to the corresponding DC input terminals on your inverter. These cables will be very thick, typically 2/0 or 4/0 AWG, especially for larger inverters, due to the substantial current they carry. Just as with the battery bank, it is absolutely critical to install a properly sized DC circuit breaker or fuse on the positive battery cable, as close to the battery bank as possible, before it reaches the inverter. This protects your inverter and system from potential short circuits or overcurrent events. Ensure all terminals are clean and tightened to the manufacturer's specifications to prevent loose connections, which can cause arcing and fire hazards. Once the DC side is connected, you can then begin wiring the AC output of the inverter to your AC distribution panel, just as you would with a standard electrical service. This allows your off-grid house or RV to receive power to its various outlets and appliances. You can learn more about this crucial connection in our detailed guide on How to Connect an Inverter to Batteries.
Essential Safety and Optimal Performance
Wiring an off-grid solar system involves significant electrical power, and safety should always be your number one priority. Ignoring safety protocols can lead to serious injury, equipment damage, or even fire. Beyond safety, optimizing your system's performance means paying attention to details like proper wire sizing and regular monitoring.
Grounding and Overcurrent Protection
When working with any electrical system, grounding isn't just a suggestion – it's a critical safety requirement. Proper grounding protects you and your equipment from electrical surges, lightning strikes, and fault currents. Every major component in your off-grid system, including your solar panel frames and racking, charge controller, inverter chassis, and the main electrical service panel (if you have one), must be properly grounded. This typically involves connecting them to a common grounding point, often a copper ground rod driven deep into the earth. The size of the grounding wire will depend on your system's components and local electrical codes, but generally, a #6 AWG copper wire is a good starting point for larger systems.
Equally important is overcurrent protection. This means installing fuses or circuit breakers at strategic points in your system to prevent wires and components from overheating and catching fire in the event of a short circuit or overload. You'll need DC-rated fuses or breakers on:
- Each solar panel string (within a combiner box, if used)
- The main PV input to your charge controller
- The main positive cable from your battery bank (as close to the batteries as possible)
- The DC input to your inverter
You'll also need AC-rated breakers on the output of your inverter to protect your AC loads and wiring. Always size your fuses and breakers correctly based on the maximum current your components can handle and the wire gauge you are using. This comprehensive approach to safety, from proper grounding to diligent overcurrent protection, is paramount for a long-lasting and secure off-grid solar setup. For more specific guidelines on protecting your system, refer to our article on Off-Grid Solar Safety and Grounding.
Wire Sizing and Voltage Drop Considerations
Choosing the correct wire size is paramount for both safety and efficiency in your 48V off-grid system. Undersized wires can overheat, posing a fire risk, and also lead to excessive voltage drop. Voltage drop is simply the loss of electrical potential as current travels through a wire. While a 48V system inherently has less voltage drop than a 12V or 24V system for the same power, it's still a critical factor, especially over longer distances.
For instance, if your solar panels are 50 feet away from your charge controller, the resistance in those cables will cause a portion of your precious solar energy to be lost as heat. Over time, these small losses add up, reducing the overall efficiency of your system and leading to less power reaching your batteries. To combat this, you'll need to use thicker wires (lower AWG number). The general rule of thumb is to aim for no more than a 2-3% voltage drop in any circuit. You'll need to consider the current, the distance, and the voltage of the circuit. Luckily, there are many online calculators that can help you determine the optimal wire size for different runs in your system. While an off-grid setup offers independence, skimping on wire quality or size can quickly negate those benefits. Investing in proper wiring ensures your system delivers its full potential. To understand the calculations involved, read our guide on How to Size Wire and Cables.
Here's a simplified table illustrating wire gauge recommendations for different currents and distances for DC circuits at 48V, assuming a 3% voltage drop. Always perform your own calculations and consult code.
| Current (Amps) | Distance (Feet, One Way) | Recommended Wire Gauge (AWG) |
|---|---|---|
| 10 | 25 | 12 |
| 10 | 50 | 10 |
| 20 | 25 | 10 |
| 20 | 50 | 8 |
| 50 | 10 | 6 |
| 50 | 25 | 4 |
| 100 | 10 | 2 |
| 100 | 25 | 0 |
| 150 | 10 | 0 |
| 150 | 25 | 00 |
Note: This table is for illustrative purposes only. Always use a professional wire sizing tool or consult an electrician for precise calculations based on your specific system, components, and local electrical codes.
Monitoring and Maintenance for 48V Systems
Once your 48V off-grid system is wired and operational, the work isn't quite over. Regular monitoring and maintenance are crucial to ensure its longevity and optimal performance. One of the best investments you can make for your battery bank is a quality battery monitor. Devices like those from Victron Energy provide real-time data on your battery's state of charge, voltage, current in/out, and even how much energy you've used since the last full charge. This information is invaluable for understanding your power consumption habits and making sure you're not over-discharging your batteries, which can significantly shorten their lifespan. You can find excellent multimeters and basic monitoring equipment on platforms like Amazon to get started.
Maintenance involves more than just watching numbers on a screen. Periodically, you'll want to:
- Check all connections: Ensure terminals are tight and free of corrosion. Loose connections can lead to resistance, heat, and power loss.
- Inspect wiring: Look for any signs of wear, fraying, or rodent damage.
- Clean solar panels: Dust, dirt, leaves, and bird droppings can reduce your panel's efficiency. A gentle cleaning with water and a soft brush or squeegee can make a big difference, especially in dry, dusty climates.
- Monitor battery health: For lead-acid batteries, check electrolyte levels and specific gravity. For LiFePO4 batteries, monitor cell balance through your BMS (Battery Management System) if accessible.
- Check ventilation: Ensure your battery compartment is well-ventilated, especially if you're using lead-acid batteries that off-gas hydrogen.
By being proactive with monitoring and maintenance, you're not just preventing potential issues; you're also ensuring your independent power source remains reliable for years to come. Our guide on How to Maintain an Off-Grid Battery Bank offers more in-depth advice on keeping your power storage in top shape.
Troubleshooting and Common Challenges
Even with the best planning, sometimes things don't go exactly as expected. Troubleshooting an off-grid system can be intimidating, but many common issues have straightforward solutions. Knowing what to look for can save you a lot of time and frustration.
Avoiding Wiring Pitfalls
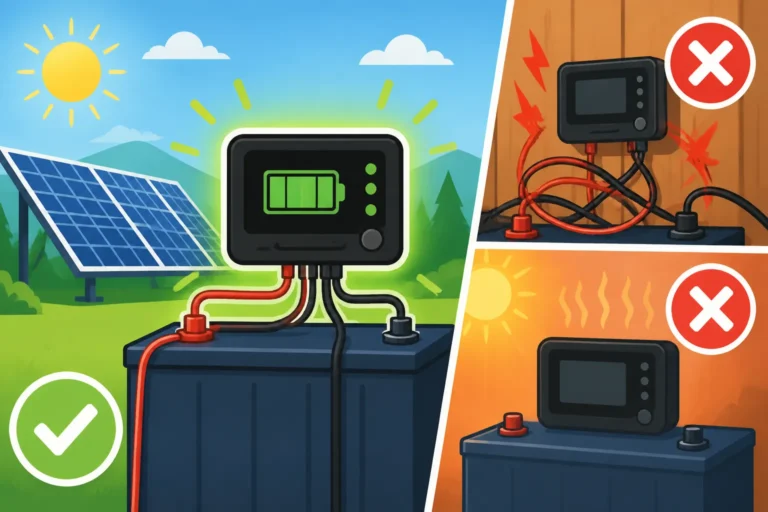
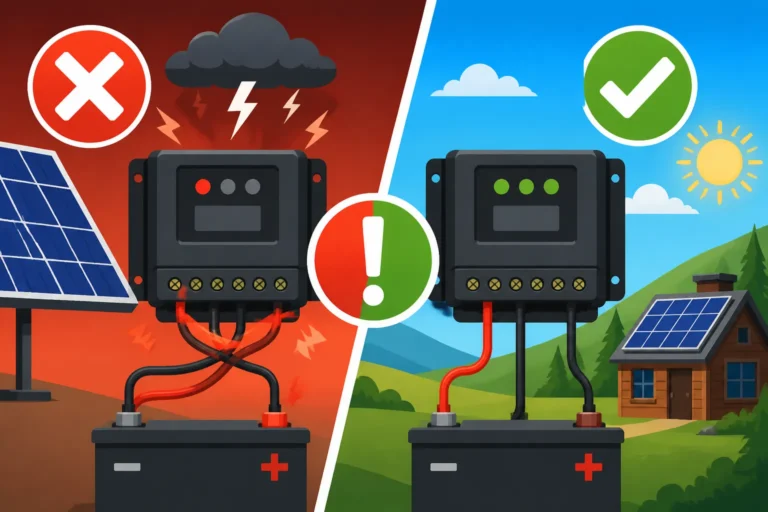
When wiring a 48V system, there are several common mistakes that can lead to problems, from minor inefficiencies to major safety hazards. One of the most critical pitfalls is polarity reversal. Accidentally connecting a positive wire to a negative terminal, or vice-versa, can instantly damage components like charge controllers or inverters. Always triple-check your polarity with a multimeter before making final connections and applying power. Another frequent issue is loose connections. Over time, vibrations or improper initial installation can cause terminals to loosen, leading to increased resistance, heat buildup, and potential arcing. Regularly inspecting and tightening connections can prevent this.
Undersized wiring is another common error, often made to save a few dollars on copper. As discussed earlier, this leads to excessive voltage drop, reduced system efficiency, and potential fire hazards. Always use wire gauges appropriate for the current and distance. Lastly, using incompatible component voltages is a mistake that can render your system useless or damage equipment. While it seems obvious, double-checking that your panels, charge controller, battery bank, and inverter are all aligned for a 48V system (e.g., a 48V nominal battery bank with a 48V input inverter) is non-negotiable. Many of these issues can be avoided with careful planning and adherence to best practices. We cover many of these preventable errors in our article, Common Off-Grid Wiring Mistakes, which is an excellent resource to review before you start your project.
Initial System Testing and Commissioning
After all the wiring is done, you're not quite ready to flip the switch and power everything up. The initial system testing and commissioning phase is crucial to ensure everything is connected correctly and safely before putting it under load. It's a methodical process that minimizes risk.
The typical power-up sequence for an off-grid solar system is as follows:
- Connect the battery bank to the charge controller first. This allows the charge controller to properly recognize the system voltage.
- Connect the solar panels to the charge controller. Once the charge controller is connected to the batteries, it's safe to bring in the solar input. You should see the charge controller start to show activity, indicating it's receiving power from the panels and beginning to charge the batteries.
- Finally, connect the inverter to the battery bank. Ensure the main battery disconnect is open before making the final connections, then close it once everything is secure. Power on the inverter.
During each step, use your multimeter to check voltages. Verify that the voltage coming from your solar array is what you expect, that your battery bank voltage is correct, and that the inverter is outputting the correct AC voltage (120V or 240V, depending on your system). Monitor the initial charging cycle to ensure the charge controller is functioning as intended, and that there are no abnormal sounds, smells, or excessive heat from any components. Only after these checks have passed should you gradually introduce your loads. This systematic approach ensures that if something isn't right, you can isolate the problem to a specific section of your wiring or a particular component. For a more detailed walkthrough on how to methodically test your system, check out our guide on How to Test an Off-Grid Solar System. Having a good quality multimeter, available readily on sites like Amazon, is indispensable for this stage.
Disclaimer
The information provided in this guide is for general informational purposes only and does not constitute professional electrical advice. Working with electricity can be dangerous. Always consult with a qualified and licensed electrician or solar professional before installing or modifying any electrical system. Follow all local codes, regulations, and manufacturer instructions for all components. The author and publisher are not liable for any personal injury, property damage, or other loss that may result from the use of or reliance on this information.