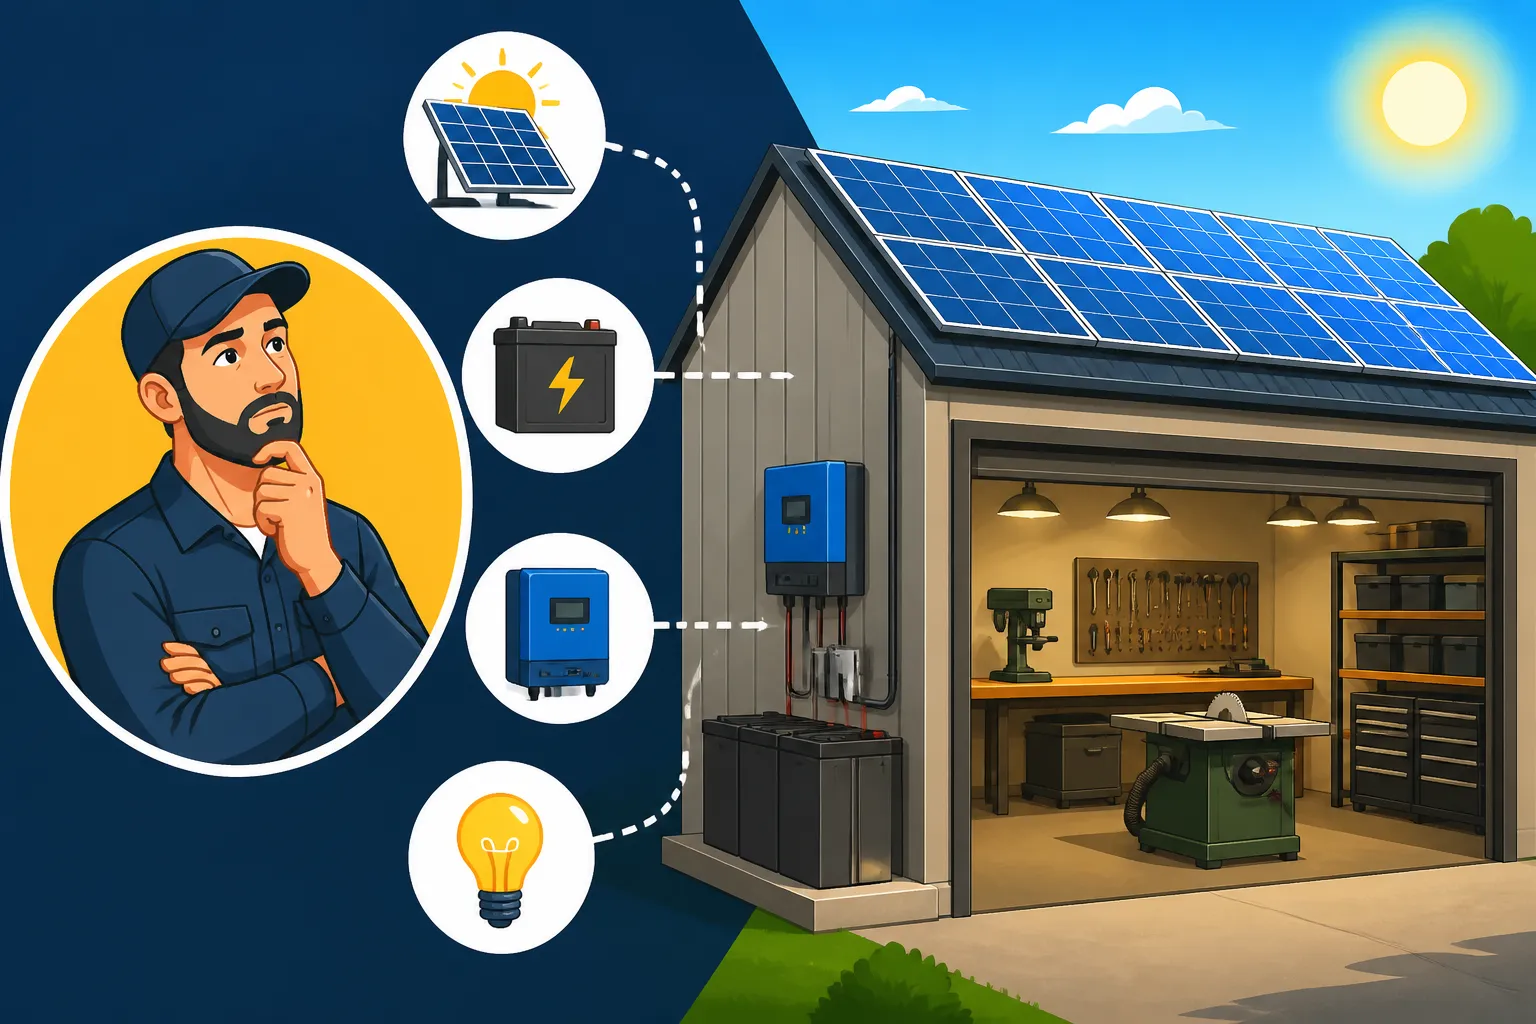
How to Size Off-Grid Solar for a Workshop
Trying to set up a workshop in a remote spot, far from the nearest power pole, can feel like an overwhelming task. You dream of tackling projects without worrying about extension cords stretching for miles or the constant drone of a gas generator, but figuring out exactly what solar equipment you need often leads to more head-scratching than actual building. This guide is here to demystify the process, walking you through every step to size an off-grid solar system specifically for your workshop, ensuring you have reliable power for all your tools and ambitions.
Understanding Your Workshop's Energy Appetite: The Load Analysis
Before you even think about buying solar panels or batteries, the absolute first step is to get intimately familiar with your workshop's power demands. This is what we call a "load analysis," and it's the bedrock of any successful off-grid system. Without this crucial step, you’re essentially throwing darts in the dark, and that’s a recipe for either an underpowered system that leaves you frustrated or an oversized one that costs you a fortune.
Identifying Your Workshop Appliances and Tools
Think about every single item in your workshop that uses electricity, from the mighty table saw to the humble LED work light. It's not just about what you might use, but what you will use regularly, and crucially, what you might run simultaneously.
Workshop tools are a special beast when it comes to power. Many of them, especially those with motors like saws, air compressors, or even a grinder, have two distinct power ratings: their running wattage and their surge (or starting) wattage. The surge wattage is a brief, intense spike in power consumption that occurs for a fraction of a second when the tool first kicks on. This surge can be two, three, or even five times higher than the running wattage! For example, a miter saw might run at 1500 watts but could draw 4500 watts or more for a split second when you press the trigger. Your solar system needs to be robust enough to handle these brief, powerful demands without faltering.
Go through your workshop, item by item. List every drill, every charging station, every radio, every fan, every electric heater (if you dare to power one with solar!), and every single power tool. Don't forget any dedicated lighting or even a small refrigerator if you keep drinks in your workshop. For each item, look for its wattage rating. This is usually printed on a label on the tool itself, often near the power cord. If you can't find wattage, you might find amps and volts (Watts = Amps x Volts). For those tricky surge loads, a tool like a Kill-A-Watt meter, readily available on Amazon, can be an absolute lifesaver. You plug the tool into it, and it will show you both running and peak wattage. This real-world data is far more accurate than relying solely on manufacturer specs, which can sometimes be optimistic.
Calculating Daily Watt-Hours Consumed
Once you have your list of tools and their running wattages (and a good idea of their surge wattages), the next step is to estimate how long you'll use each item per day. This is where honesty with yourself really pays off. Are you a weekend warrior who spends a few hours sawing lumber, or are you running a small business out of your workshop, using grinders and drills for hours on end?
Here's a simple process to calculate your daily watt-hours:
- List Appliances: Make a table of all your electrical loads.
- Running Wattage: Note the running wattage for each.
- Daily Usage (Hours): Estimate how many hours per day you'll use each appliance. Be realistic, or even slightly overestimate, especially for critical tools.
- Daily Watt-Hours: Multiply the running wattage by the daily usage hours for each item (Watts x Hours = Watt-Hours).
- Total Daily Watt-Hours: Sum up all the daily watt-hours to get your total daily energy consumption.
Let's imagine a small, moderately active workshop:
| Appliance | Running Watts | Daily Usage (Hours) | Daily Watt-Hours | Surge Watts (Estimate) |
|---|---|---|---|---|
| LED Work Lights (4x) | 60 | 4 | 240 | – |
| Miter Saw | 1500 | 0.5 | 750 | 4500 |
| Drill Press | 750 | 0.25 | 187.5 | 1800 |
| Battery Charger | 100 | 2 | 200 | – |
| Small Shop Fan | 50 | 3 | 150 | – |
| Radio | 20 | 4 | 80 | – |
| Total Daily | 1607.5 Wh | (Peak Simultaneous Surge: 4500W) |
In this example, your workshop consumes about 1600-1700 Watt-hours per day. This is a crucial number. When you're thinking about How to Calculate Daily Energy Usage, remember that precision here saves headaches and money down the line. It's not just about the numbers; it's about imagining your typical workflow and ensuring your system can keep up.
Sizing Your Solar Array: Generating Enough Power
Once you know your workshop's daily energy needs, you can start looking at how much solar power you'll need to generate to meet that demand. This involves calculating the size of your solar panel array.
Determining Required Solar Panel Wattage
Your total daily watt-hour consumption is the target. To hit that target, you need to consider how many "peak sun hours" your location receives. Peak sun hours aren't just the total hours the sun is out; they represent the equivalent number of hours per day when the sun's intensity is at its peak (1000 watts per square meter). You can find this data for your specific location through various online resources or solar calculators. It varies significantly by season and geography. For example, a sunny spot in Arizona might get 5-6 peak sun hours, while a cloudy region in the Pacific Northwest might only get 2-3 in winter.
The formula to estimate your required panel wattage is:
Total Daily Watt-Hours / (Peak Sun Hours * System Efficiency Factor) = Minimum Solar Panel Wattage
Let's say our example workshop needs 1607.5 Wh/day. We'll use a conservative system efficiency factor of 0.75 (accounting for losses in wiring, temperature, dust, and inverter conversion). And let's assume you're in an area that gets an average of 4 peak sun hours per day.
1607.5 Wh / (4 peak sun hours * 0.75) = 1607.5 Wh / 3 = ~536 Watts
So, you'd need approximately 536 watts of solar panels. Since panels typically come in sizes like 100W, 200W, or 400W, you'd likely aim for something like three 200W panels (600W total) or perhaps two 300W panels. It's often a good idea to slightly oversize your solar array to account for cloudy days, less-than-ideal panel angles, or future expansion. Thinking about How Many Solar Panels for Off-Grid Living is crucial here, as it directly impacts your charging capability. Many folks who live off-grid aim for 1.2 to 1.5 times their minimum calculated wattage to provide a buffer.
Factors Affecting Solar Panel Selection and Placement
Choosing the right panels involves more than just their wattage rating.
Panel Types and Efficiency
- Monocrystalline: These are typically black, more efficient, and perform slightly better in low light conditions. They are a great choice for workshops where space might be limited but power demand is high. Many high-quality panels from brands like Renogy are monocrystalline.
- Polycrystalline: These have a blueish hue and are slightly less efficient, meaning you might need more surface area to achieve the same wattage. They are often a bit more budget-friendly.
For a workshop, rigid panels are almost always preferred over flexible panels due to their durability and efficiency. Flexible panels tend to degrade faster and are really best suited for curved RV roofs or temporary setups.
Tilt Angle and Azimuth
Panels should be angled to capture the maximum amount of sunlight throughout the day. For stationary workshops, this usually means facing them south (in the Northern Hemisphere) at an angle roughly equal to your latitude. However, if your workshop usage is heavily seasonal (e.g., primarily winter projects), you might adjust the tilt angle to be steeper to capture more low-angle winter sun. Adjustable tilt mounts, often found on Amazon, can be a great investment for maximizing seasonal output.
Shading Considerations
Shade is the enemy of solar panels. Even partial shading on one panel can drastically reduce the output of your entire array if the panels are wired in series. Before installing, carefully observe your workshop area throughout the day and across seasons to identify any potential shading from trees, buildings, or even utility poles. If shading is unavoidable, consider micro-inverters or power optimizers, which allow each panel to operate independently, minimizing the impact of shade on the overall system. If you're pondering How to Install Off-Grid Solar Panels, remember that proper placement is half the battle.
Building Your Energy Storage: The Battery Bank
Solar panels only produce power when the sun shines. For your workshop to function when it's cloudy, at night, or early in the morning, you need a way to store that energy: a battery bank. This is often the most expensive component of an off-grid system, and rightly so, as it provides the essential buffer for continuous power.
Calculating Battery Bank Capacity (Amp-Hours or Kilowatt-Hours)
Your battery bank needs to store enough energy to power your workshop for a certain number of days without any solar input. This is known as "days of autonomy" or "days of reserve." For a workshop, where constant power might be less critical than a full-time residence, you might aim for 1-3 days of autonomy. For a mission-critical workshop, 3-5 days would be a safer bet.
Let's stick with our 1607.5 Wh/day workshop. If we want 2 days of autonomy:
1607.5 Wh/day * 2 days = 3215 Wh
Now, you need to consider your battery type.
- Lithium Iron Phosphate (LiFePO4) Batteries: These are the gold standard for off-grid solar. They can be safely discharged deeply (typically 80-100% Depth of Discharge, or DoD), have a very long cycle life (thousands of cycles), are lightweight, and don't require maintenance. While their upfront cost is higher, their longevity and performance often make them more cost-effective over their lifespan. Brands like Battle Born and EG4 offer excellent LiFePO4 options.
- Lead-Acid Batteries (AGM/Gel): These are a more budget-friendly option upfront but have a shorter lifespan and can only be safely discharged to about 50% DoD. Discharging them deeper significantly reduces their lifespan. They also tend to be heavier and may require some maintenance.
If you choose LiFePO4 batteries (80% DoD for calculation simplicity):
Required Battery Storage (Wh) / (System Voltage * Usable DoD) = Battery Bank Capacity in Ah
Let's say you're building a 24V system (we'll cover voltage next).
3215 Wh / (24V * 0.80) = 3215 Wh / 19.2V = 167.4 Amps
So, you'd need a 24V battery bank with at least 167.4 Ah of usable capacity. Since batteries come in standard sizes (e.g., 100Ah, 200Ah), you might consider two 100Ah 24V LiFePO4 batteries wired in parallel for 200Ah, or a single 200Ah unit.
If you chose AGM batteries (50% DoD):
3215 Wh / (24V * 0.50) = 3215 Wh / 12V = 267.9 Amps
You'd need significantly more nominal capacity with AGM batteries to get the same usable power. This highlights why understanding How to Calculate Battery Amp-Hours Needed and your battery chemistry is so vital. This also directly impacts your Cost of an Off-Grid Solar Battery Bank.
Choosing System Voltage and Battery Wiring
The voltage of your off-grid system (12V, 24V, or 48V) is a critical decision.
- 12V Systems: Suitable for very small workshops or simple setups, like a shed with a few lights and chargers. They are easier to set up but require thicker, more expensive wiring for higher loads, as current (amps) increases as voltage decreases for the same power.
- 24V Systems: A good middle-ground for many workshops. They are more efficient than 12V for moderate loads, reducing wire gauge requirements.
- 48V Systems: Best for larger workshops with significant power demands, especially if you're running multiple high-draw tools simultaneously or planning for future expansion. Why 48V Is Better for Large Systems is because it further reduces current, allowing for thinner wiring and minimizing voltage drop over longer cable runs.
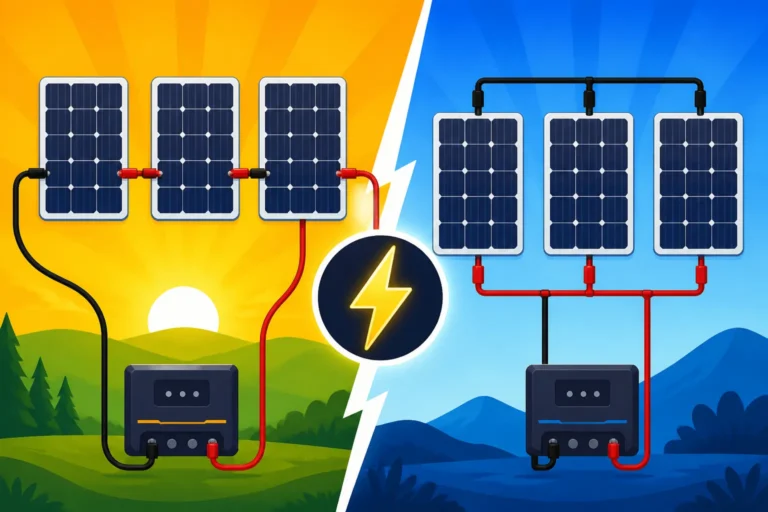
Batteries can be wired in series or parallel to achieve the desired voltage and capacity.
- Series wiring: Increases voltage (e.g., two 12V batteries in series make a 24V bank). The Ah capacity remains the same.
- Parallel wiring: Increases amp-hour capacity while keeping the voltage the same (e.g., two 12V 100Ah batteries in parallel create a 12V 200Ah bank).
- Series-Parallel wiring: Combines both to achieve both higher voltage and higher capacity.
For any off-grid system, especially for a workshop with valuable tools, ensure your battery setup is well-protected. This means having appropriate fusing, circuit breakers, and a sturdy, well-ventilated enclosure.
Selecting Your Inverter and Charge Controller
These two components are the brains and brawn of your off-grid solar system, converting raw solar energy into usable power and managing the flow of electricity.
Sizing the Inverter for Peak and Continuous Loads
The inverter is what converts the DC (Direct Current) power from your batteries into AC (Alternating Current) power, which is what most standard household and workshop appliances use. When selecting an inverter, you need to consider two main ratings:
- Continuous Wattage: This is the total power (in watts) that the inverter can supply constantly without overheating or tripping. This needs to be high enough to cover all the appliances you plan to run at the same time during normal operation. If you routinely use a drill press (750W), your work lights (60W), and a radio (20W) simultaneously, your continuous load is around 830W.
- Surge Wattage: This is the maximum power the inverter can briefly handle (typically for milliseconds or a few seconds) to start up motor-driven tools that have high initial current draws. Remember our miter saw's 4500W surge? Your inverter must be able to handle this. If your most demanding tool has a 4500W surge, your inverter should have a surge rating at or above that, even if its continuous rating is lower. Many people underestimate surge loads, leading to frustrating inverter shutdowns. This is critical for What Size Inverter to Run Power Tools.
For most workshops, a pure sine wave inverter is an absolute must. Modified sine wave inverters are cheaper but can damage sensitive electronics, cause motors to run hotter and less efficiently, and create buzzing in audio equipment. Given the investment in your tools, don't skimp on a pure sine wave inverter. Brands like Victron Energy, Sol-Ark, and even Renogy offer reliable pure sine wave inverters suitable for workshop applications. A good quality 2000W continuous / 4000W surge inverter might be a minimum for a workshop with standard power tools, but a 3000W or 4000W continuous inverter (with corresponding higher surge capabilities) might be necessary for more demanding tools like air compressors or larger table saws. If you're looking for guidance on How to Size an Off-Grid Inverter, remember that accounting for those sudden power demands is non-negotiable.
Matching the Charge Controller to Your Panels and Batteries
The charge controller is the unsung hero of your solar system. It regulates the voltage and current coming from your solar panels, ensuring your batteries are charged efficiently and safely without overcharging or being damaged.
There are two main types of charge controllers:
- PWM (Pulse Width Modulation): These are simpler, less expensive, and less efficient, especially in colder temperatures or when the panel voltage significantly exceeds the battery bank voltage. They essentially throttle the panel output to match the battery voltage.
- MPPT (Maximum Power Point Tracking): These are more advanced and significantly more efficient. MPPT controllers actively track the maximum power point of the solar array, allowing them to convert excess voltage into additional current. This means they can take a higher voltage input from your panels and efficiently convert it to the battery bank's voltage, capturing more power. For a workshop, where maximizing every watt from your panels is important, an MPPT charge controller is almost always the superior choice.
To size your charge controller, you need to consider the total wattage and voltage of your solar array and the voltage of your battery bank. The charge controller must be able to handle the maximum open-circuit voltage (Voc) of your solar array and the maximum short-circuit current (Isc) of your array. Always check the manufacturer's specifications for your chosen panels and batteries. For example, if you have three 200W panels (600W total) wired in series, and each panel has a Voc of 40V and an Isc of 6A, your array Voc would be 120V and Isc would be 6A. If you combine them in parallel, the Voc would be 40V and Isc would be 18A. Your charge controller needs to be rated for these values, plus a safety margin (often 20-25%). When considering How to Size a Charge Controller, remember that efficiency here translates directly to more power getting to your batteries.
Sample Workshop Electrical Components and Power Needs
To give you a clearer picture, here's a table summarizing typical power draw for common workshop tools and what component might handle it:
| Appliance/Tool | Running Watts (Average) | Surge Watts (Estimate) | Component Sizing Consideration |
|---|---|---|---|
| LED Work Lights | 15-60 W | – | Minimal impact on inverter, but adds to daily Wh. |
| Battery Chargers | 50-200 W | – | Adds to daily Wh. |
| Hand Drill | 400-800 W | 1000-2000 W | Inverter surge capacity. |
| Orbital Sander | 200-400 W | 500-1000 W | Inverter surge capacity. |
| Jigsaw | 500-750 W | 1000-1500 W | Inverter surge capacity. |
| Miter Saw | 1500-2000 W | 3000-5000 W | Major Inverter surge capacity consideration. |
| Table Saw | 1500-3000 W | 4000-7000 W | Critical Inverter surge & continuous capacity. |
| Air Compressor (small) | 1000-1500 W | 3000-5000 W | Critical Inverter surge & continuous capacity. |
| Vacuum (Shop-Vac) | 1000-1400 W | 2000-3000 W | Inverter surge & continuous. |
| Bench Grinder | 500-1000 W | 1500-2500 W | Inverter surge capacity. |
This table helps illustrate why that surge capacity for your inverter is so critical for a workshop. You might not run the table saw all day, but when you do, it needs enough juice to get going. This initial load analysis and component sizing are paramount for ensuring your Off-Grid Solar System Sizing Guide leads to a successful, functional workshop. Don't be afraid to use a worksheet or even a simple spreadsheet to Designing an Off-Grid Solar System Step by Step.
Remember, building an off-grid workshop solar system is an investment, both in your independence and your passion projects. Taking the time to properly size each component will save you from frustration and costly mistakes down the line. Whether you're considering a full off-grid solar system cost breakdown or just want to know how much solar to run a workshop, diligence in sizing is key.
Disclaimer
The information provided in this guide is for general informational purposes only and does not constitute professional advice. Off-grid solar system design and installation can be complex and involve electrical hazards. Always consult with a qualified electrician or solar professional before installing or modifying any electrical system. Adhere to all local electrical codes and permitting requirements.