Off-Grid Sizing Worksheet Explained
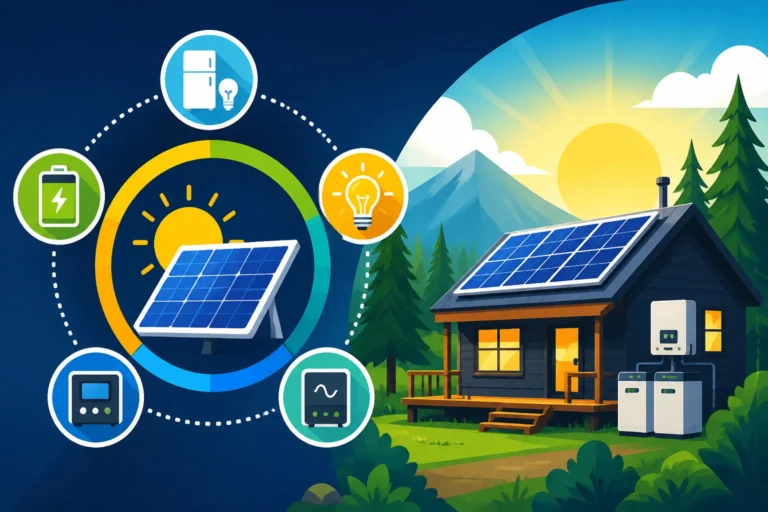
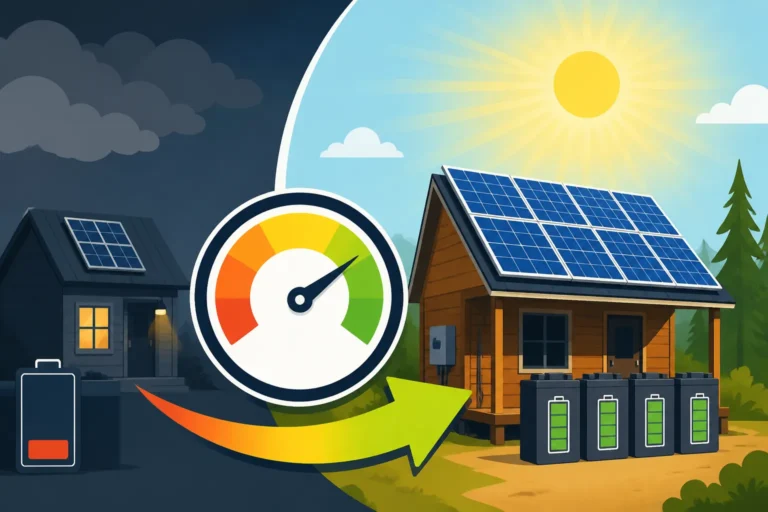
Trying to figure out how much solar power you actually need for your off-grid dreams can feel like an impossible math problem, leaving you overwhelmed by numbers and acronyms. Many folks just guess or buy a pre-made kit that’s either far too small, leaving them in the dark, or wildly oversized, wasting precious money. This guide will walk you through the essential off-grid solar sizing worksheet, explaining each crucial step to help you accurately determine your energy needs and build a system that works for your unique lifestyle, avoiding those common, costly mistakes.
The Challenge of Accurate Off-Grid Sizing
The journey to off-grid independence is exciting, but the planning phase, especially when it comes to figuring out your power system, often trips people up. It's not just about slapping some panels on a roof; it's about understanding energy in a way most grid-tied homeowners never have to. Guessing leads to frustration, underperformance, or overspending, and nobody wants that.
Why a Worksheet is Essential
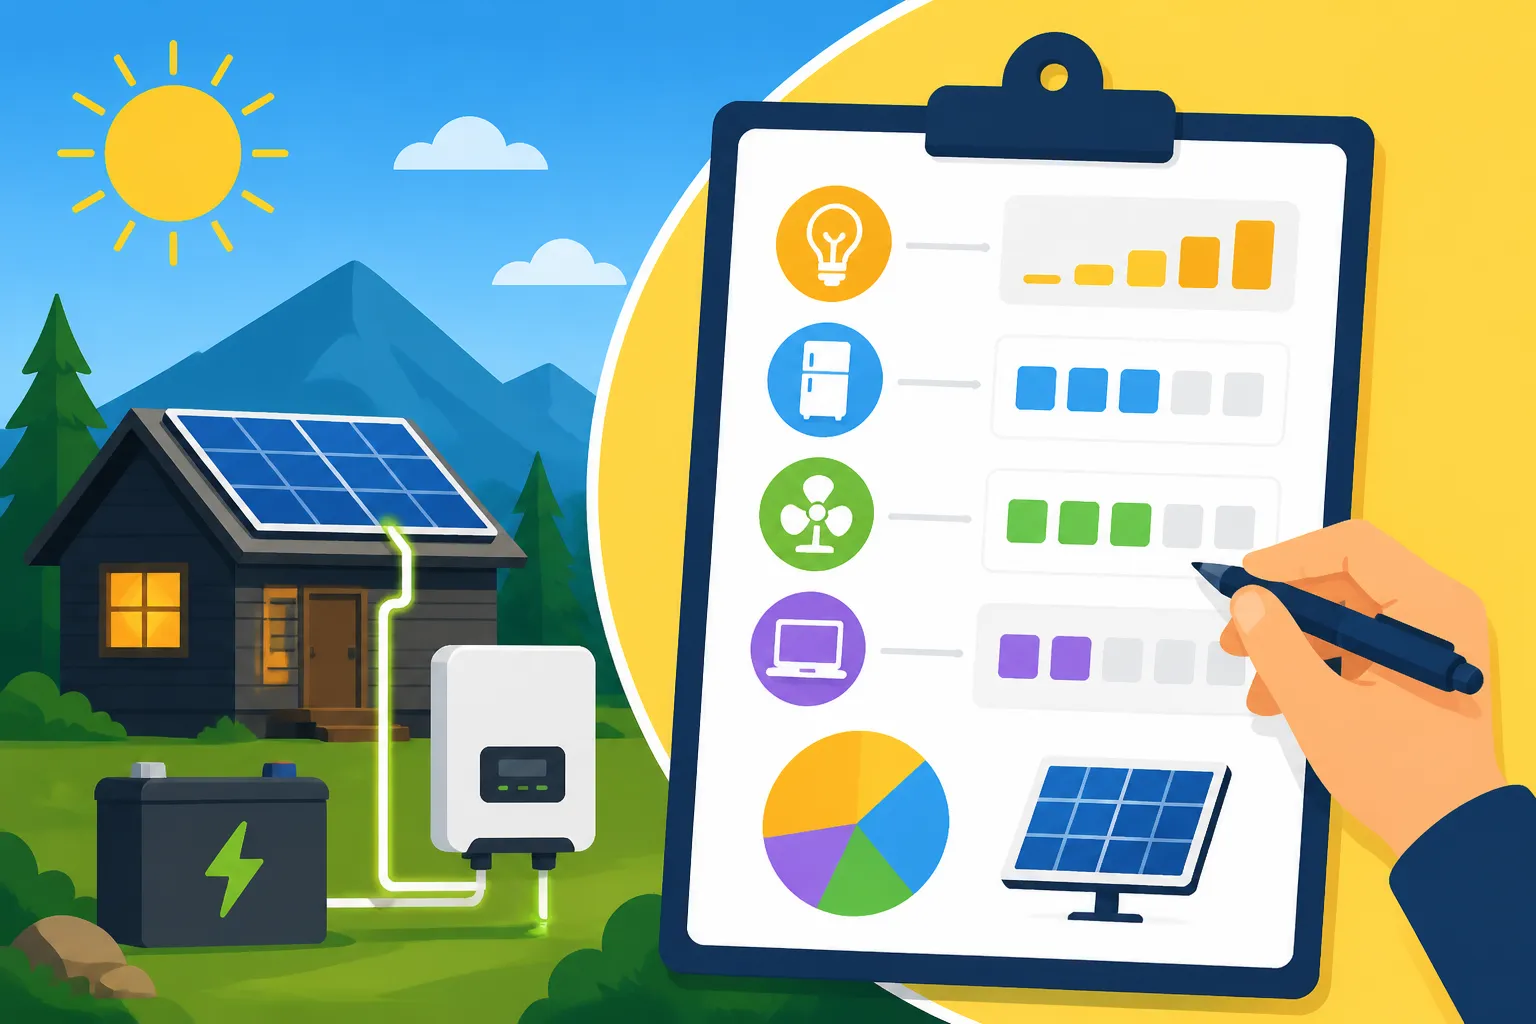
Think of an off-grid solar sizing worksheet as your blueprint for energy freedom. Without it, you’re essentially building a house without any measurements. You might end up with too few batteries to last through a cloudy spell, or an inverter that can't handle your microwave, or way more solar panels than you ever actually needed. A structured worksheet forces you to consider every appliance, every light, every charge cycle, translating your daily life into quantifiable energy demands. It takes the guesswork out of the equation, providing a clear roadmap for purchasing components that are perfectly matched to your real-world needs. This meticulous approach saves you from the headache of troubleshooting an underperforming system or the regret of having spent thousands more than necessary. It's the foundation for a reliable and efficient off-grid setup.
Overcoming Common Sizing Misconceptions
One of the biggest misconceptions we see is people focusing solely on peak wattage ratings. They see a 1000W inverter and think it can power everything, forgetting about surge loads or continuous draw. Another common pitfall is underestimating winter usage or extended cloudy periods. Many first-timers also neglect the efficiency losses inherent in any solar system, from cabling to the inverter itself. They might calculate their daily needs and then simply divide by their panel's wattage, assuming 100% ideal conditions all day, every day – which, as any off-grid veteran knows, just isn't reality. A proper worksheet helps you account for these factors, ensuring you don't build a system that only performs well on paper. It's about designing for your worst-case scenario, not just the sunny ideal. If you're looking for a deeper dive into the overall process, our guide on how to size an off-grid solar system provides a great starting point for understanding all the moving pieces.
Deciphering the Off-Grid Solar Sizing Worksheet
The core of any successful off-grid solar system lies in accurately assessing your energy consumption. This isn't just about what you think you use, but what you actually use, down to the last watt-hour. The sizing worksheet breaks this down into manageable steps, transforming your energy habits into actionable data points.
Step 1: Documenting Your Daily Energy Needs (Load Analysis)
This is perhaps the most critical part of the entire process, often referred to as a "load analysis." You need to create a comprehensive list of every single electrical device you plan to use in your off-grid setup. This includes everything from the smallest LED light bulb to your refrigerator, well pump, power tools, and even phone chargers. Don't skip anything!
For each item, you'll need to find its wattage (how much power it draws when operating). This is usually listed on the appliance label, in the user manual, or you can use a watt-meter like a Kill A Watt device to measure it directly. Remember, some appliances have both a running wattage (the power they use continuously) and a surge wattage (a brief spike in power when they first start up, common in motors like refrigerators or well pumps). For this step, we're primarily concerned with the running wattage for daily consumption.
Next, estimate how many hours per day you'll use each appliance. Be realistic. If you're running a refrigerator 24/7, that's 24 hours. If you only use your microwave for 10 minutes a day, that's 0.17 hours. Don't forget seasonal items, like fans in summer or electric blankets in winter; you'll design your system for your peak usage, usually winter for many folks. Our detailed guide on how to calculate daily energy usage can help you fine-tune these estimations and ensure you don't miss any critical appliances.
Step 2: Calculating Your Total Watt-Hours Per Day
Once you have your list of appliances, their wattages, and their daily usage hours, the next step is straightforward multiplication. For each appliance, multiply its wattage by the hours of daily use. This gives you its daily watt-hour consumption.
Example:
- LED Lights (5W each) x 4 lights = 20W total. If used for 5 hours/day: 20W x 5h = 100 Wh/day
- Refrigerator (60W running) x 24 hours/day (though it cycles on/off, we estimate based on average daily draw, or measure actual Wh/day) = 1440 Wh/day
- Laptop (40W) x 3 hours/day = 120 Wh/day
After calculating the daily watt-hours for each appliance, you simply sum them all up. This grand total is your estimated total daily watt-hours (Wh/day). This number is incredibly important; it represents the amount of energy your solar system needs to generate and store every single day to keep your off-grid life humming along. This foundational calculation is key to the entire Off-Grid Solar System Sizing Guide, as all other component sizing depends on it.
Step 3: Determining Your Inverter Requirements
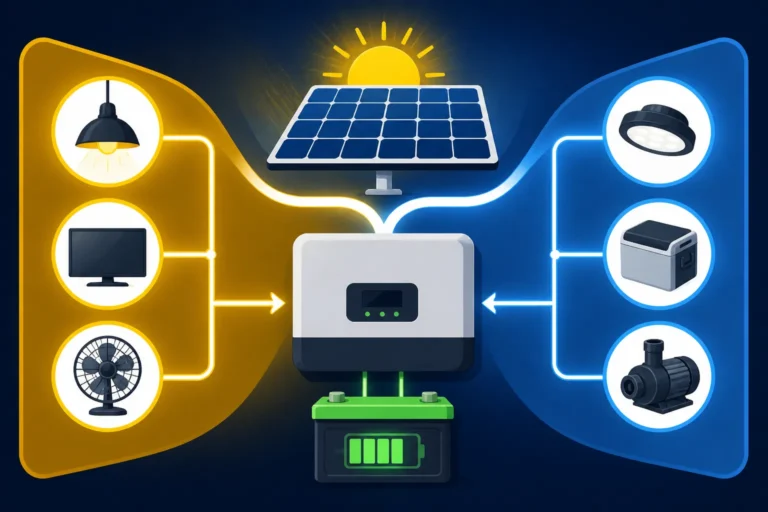
The inverter is the brain of your AC system, converting the DC power from your batteries into usable AC power for most household appliances. To size your inverter correctly, you need to consider two main aspects: continuous power and surge power.
Your continuous power requirement is the sum of the wattages of all AC devices you anticipate running simultaneously at any given time. This isn't your total daily watt-hours, but rather the peak power draw when everything important is on. For instance, if you might run your microwave (1000W), coffee maker (800W), and a few lights (50W) at the same time, your continuous draw would be 1850W.
The surge power requirement is even more critical for appliances with motors, like refrigerators, freezers, well pumps, and power tools. These devices momentarily draw significantly more power (often 2-7 times their running wattage) when they first kick on. Your inverter must be able to handle this brief surge without shutting down. If your well pump surges to 3000W for a second, your inverter needs to be capable of supplying that 3000W, even if its continuous rating is lower. Many quality off-grid inverters, like those offered by Victron or Sol-Ark, have a surge rating that's double their continuous rating for a short period. You’ll choose an inverter with a continuous wattage rating that comfortably exceeds your highest expected simultaneous load and a surge rating that can handle your largest motor-driven appliance's startup. We have a dedicated article explaining How to Size an Off-Grid Inverter that delves much deeper into this specific calculation.
Sizing Your Solar Panels and Battery Bank
With your daily energy needs and inverter size mapped out, you’re ready to tackle the heart of your off-grid system: the battery bank and solar array. These two components work in tandem to store the sun's energy and deliver it when you need it most.
Step 4: Sizing Your Battery Bank for Autonomy
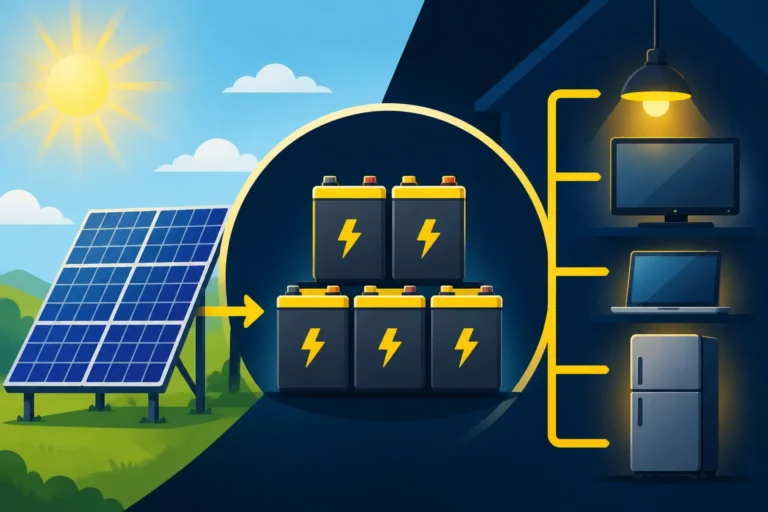
Your battery bank is your energy reservoir, storing the power generated by your solar panels for use when the sun isn't shining—at night, on cloudy days, or during winter. Sizing it correctly is crucial for ensuring you have enough power for your "days of autonomy."
Days of Autonomy (DoA) refers to how many consecutive days your battery bank can power your home without any additional input from solar panels or a generator. For most full-time off-gridders, 2 to 5 days of autonomy is a common target, depending on local weather patterns and backup options. If you live in a sunny area like Arizona, you might get away with 2-3 days. If you’re in a cloudier region like the Pacific Northwest, 4-5 days, or even more, might be necessary.
Next, consider the Depth of Discharge (DoD). This is how much of your battery's capacity you plan to use before recharging.
- Lead-acid batteries (like flooded or AGM) should typically not be discharged below 50% to maximize their lifespan. So, if you need 10,000 Wh, you'd need a 20,000 Wh lead-acid bank.
- Lithium iron phosphate (LiFePO4) batteries can safely be discharged to 80-100% without significant harm to their cycle life. If you need 10,000 Wh, a 10,000 Wh LiFePO4 bank is sufficient (assuming you only discharge to 100% on rare occasions; 80-90% is often a safer everyday bet). This factor significantly impacts the total battery capacity you need.
Once you have your total daily watt-hours from Step 2, multiply it by your desired days of autonomy and then divide by your chosen battery's usable DoD percentage. This will give you the total usable watt-hour capacity you need. From there, you can convert to amp-hours (Ah) if your batteries are rated that way, by dividing watt-hours by your system's voltage (e.g., 12V, 24V, 48V). For example, a 48V system needing 10,000 Wh of usable capacity would need roughly 208 Ah (10,000 Wh / 48V = 208 Ah). Knowing how many batteries for an off-grid system is often the most expensive part of the setup, so getting this right is critical. We also have an article dedicated to explaining How to Size an Off-Grid Battery Bank for more comprehensive details.
Step 5: Sizing Your Solar Array (Panel Wattage)
Now that you know how much energy you need to replenish daily (your total daily watt-hours) and how much battery capacity you have, you can determine how many solar panels you’ll need. This step involves a few key variables:
- Peak Sun Hours (PSH): This is not simply the number of daylight hours. PSH is the average number of hours per day your specific location receives the equivalent of 1,000 watts of solar irradiance per square meter. It varies significantly by geography and season. For instance, sunny Arizona might get 5-6 PSH in winter, while cloudy regions in the Northeast might get 2-3 PSH during the same period. You can find PSH data for your location from various online sources.
- System Inefficiencies: No solar system is 100% efficient. You'll lose power in the wires, through the charge controller, and in the inverter. A general rule of thumb is to add a 20-30% buffer to your calculations to account for these losses, as well as panel degradation over time and less-than-ideal weather conditions.
To calculate your required solar panel wattage, take your total daily watt-hour consumption (from Step 2), add the 20-30% buffer for inefficiencies, and then divide that by your location's lowest average peak sun hours (typically winter). This will give you the total wattage your solar array needs to produce daily. Then, simply divide that by the wattage of the individual solar panels you plan to use (e.g., 400W panels). This will tell you how many solar panels for off-grid living are ideal for your situation. Remember, oversizing your solar array slightly is often a good strategy to ensure reliable power during less-than-ideal conditions, as detailed in our guide on How to Account for Cloudy Days. Many manufacturers like Renogy offer a variety of panels, from smaller 100W options perfect for RVs to larger 400W+ panels suitable for homes, making it easier to select based on your array needs.
Step 6: Selecting the Right Charge Controller
The charge controller acts as the gatekeeper between your solar panels and your battery bank. Its job is to regulate the voltage and current coming from the panels, ensuring your batteries are charged safely and efficiently without being overcharged.
There are two main types of charge controllers:
- PWM (Pulse Width Modulation) controllers: These are simpler, less expensive, and generally suitable for smaller systems where the panel voltage closely matches the battery bank voltage (e.g., a 12V panel charging a 12V battery).
- MPPT (Maximum Power Point Tracking) controllers: These are more advanced and efficient, especially for larger systems or when panel voltage is significantly higher than battery voltage. MPPT controllers can convert excess voltage into amperage, allowing your panels to operate at their optimal power point and harvest more energy. This is particularly beneficial in colder weather or when panels are wired in series.
To size your charge controller, you need to know the maximum current (amps) your solar array can produce. This is typically found by dividing the total wattage of your solar array by the system voltage (e.g., 48V). Always round up and add a safety margin (25% is common) to ensure the controller can handle peak output from your panels, especially in ideal conditions. For a comprehensive comparison of charge controller types, check out our article on MPPT vs PWM Charge Controllers.
Putting the Worksheet into Practice and Real-World Considerations
Even with a perfectly filled-out worksheet, the real world often throws curveballs. Understanding how to adapt your plan and where to find support is crucial for long-term off-grid success.
Accounting for Seasonal and Weather Variations
One of the biggest lessons learned by any off-gridder is that the sun doesn't shine equally every day, nor every season. Your worksheet should ideally be calculated based on your worst-case scenario, which for most locations, is the winter months when sun hours are at their lowest and many people tend to increase heating loads or indoor activity.
For example, your summer energy needs might be high due to air conditioning, but you'll have abundant sunshine to cover it. In winter, even if your total energy consumption drops, fewer peak sun hours mean your panels will produce less. Therefore, it's wise to perform your sizing calculations using the lowest average peak sun hours for your location and the highest anticipated loads for that period. This might mean having a slightly "oversized" solar array or battery bank for the summer, but it ensures you won't be left in the dark when you need power most. Remember to factor in not just fewer hours of sun, but also more frequent cloudy days, which greatly impact solar production. Our guide on How Winter Affects Off-Grid Sizing offers more strategies for cold-weather planning.
The Iterative Nature of Sizing
It's important to understand that off-grid solar sizing isn't a one-and-done deal. Your lifestyle might change, you might add new appliances, or your consumption habits could evolve. The worksheet serves as your starting point, but consider it a living document.
Many seasoned off-gridders start with a system that meets their immediate essential needs and then plan for future expansion. This might mean installing an inverter with a higher continuous rating than initially needed, or a charge controller that can handle more panels down the line. It's often more cost-effective to upgrade components strategically than to completely overhaul your system. After a few months of living off-grid, you'll have a much clearer picture of your actual energy usage, and you can then make informed decisions about expanding your solar array or adding more battery capacity. Think of it as a journey, not a destination.
Where to Find and Utilize Sizing Worksheets
There are many resources available to help you put this knowledge into practice. You can find printable PDF worksheets online from various solar equipment retailers, including Renogy, which often provides helpful tools and guides for aspiring off-gridders. Many forums and community websites also offer downloadable spreadsheets that automate some of the calculations for you, which can be a real time-saver.
Beyond static worksheets, some companies offer online solar calculators or system builders that take you through the load analysis step-by-step and then recommend suitable components. These can be incredibly helpful for visualizing your system. Even a quick search on Amazon for "off-grid solar calculator" or "solar sizing guide" will yield a wealth of resources. When using any worksheet or calculator, always double-check the inputs and assumptions. Understand the "why" behind each number, rather than just plugging them in blindly. This foundational understanding, outlined in guides like Off-Grid Solar Load Calculation Explained, will empower you to troubleshoot and optimize your system as you gain experience.
| Component | What it Calculates | Key Inputs | Example Output |
|---|---|---|---|
| Load Analysis | Total Daily Watt-Hours (Wh) | Appliance Wattage, Hours Used/Day | 5000 Wh/day |
| Inverter | Continuous & Surge Power | Max Simultaneous Load (W), Largest Motor Surge (W) | 3000W Cont. / 6000W Surge |
| Battery Bank | Total Usable Capacity (Wh) | Daily Wh, Days of Autonomy, Battery DoD | 20,000 Wh usable (4 days @ 50% DoD) |
| Solar Array | Total Panel Wattage (W) | Daily Wh, Peak Sun Hours, System Inefficiencies | 2500W Solar Panels |
| Charge Controller | Max Amperage Capacity (A) | Total Panel Wattage, System Voltage (V) | 60A MPPT Controller |
Disclaimer
The information provided in this article is for general informational purposes only and does not constitute professional advice. Off-grid solar system design and installation can be complex and involve electrical hazards. Always consult with qualified professionals and adhere to local electrical codes and regulations. Incorrect installation or sizing can lead to property damage, injury, or death.