How to Choose Off-Grid Solar for a Rv
Embarking on the off-grid RV lifestyle is a dream for so many, offering unparalleled freedom and the ability to chase horizons without being tied down by shore power. But let's be honest, the thought of choosing and installing a solar system that can reliably power your home-on-wheels can feel incredibly overwhelming, leaving many scratching their heads about where to even begin. This guide is here to cut through the confusion, helping you understand exactly what goes into choosing the perfect off-grid solar setup for your RV, ensuring your adventures are powered by the sun, not by stress.
Understanding Your RV's Unique Energy Needs
Before you even think about buying solar panels or batteries, the absolute first step is to figure out how much power you actually use. This isn't just about guessing; it's about getting down to the nitty-gritty of your energy consumption habits. RVs, by their very nature, have a finite amount of space and weight capacity, which means every watt and every pound counts. Understanding your specific needs will prevent you from overspending on an oversized system or, worse, being stuck without power halfway through your boondocking adventure.
Calculating Your Daily Watt-Hour Consumption
This is where the rubber meets the road. You need to perform a thorough energy audit of every electrical appliance you plan to use in your RV. Don't skip anything, from your phone charger to your microwave. For each item, you'll need to know its wattage and how many hours per day you plan to use it. Many appliances have their wattage listed directly on them or in their manual. If not, you can use a kill-a-watt meter or simply search online for typical wattage draw.
Let's take a common scenario:
- Lights: Maybe you have 5 LED lights, each drawing 5 watts, and you use them for 4 hours a day. That's 5 lights * 5 watts/light * 4 hours/day = 100 Watt-hours (Wh).
- Refrigerator: A typical RV compressor fridge might draw 50-70 watts, but it doesn't run constantly. It cycles on and off. A good estimate for daily consumption is often around 800-1200 Wh, depending on its efficiency, size, and ambient temperature. Let's say yours uses 1000 Wh.
- Laptop Charging: A laptop charger might pull 60 watts for 2 hours. That's 60 watts * 2 hours = 120 Wh.
- Phone Charging: Let's say two phones, 10 watts each, charging for 1 hour. (2 * 10 watts * 1 hour) = 20 Wh.
- Water Pump: Maybe 60 watts for 15 minutes (0.25 hours) per day total. (60 watts * 0.25 hours) = 15 Wh.
- Fan: A small fan drawing 20 watts, used for 3 hours. (20 watts * 3 hours) = 60 Wh.
Add all those up: 100 Wh (lights) + 1000 Wh (fridge) + 120 Wh (laptop) + 20 Wh (phones) + 15 Wh (water pump) + 60 Wh (fan) = 1315 Wh per day. This crucial number, your total daily energy usage, is the foundation for sizing your entire off-grid system. You can dive deeper into this process with guides like "How to Calculate Daily Energy Usage" to ensure you don't miss any critical steps.
Peak vs. Continuous Power Requirements
Beyond just the daily total, you need to consider the instantaneous power demands of your appliances. This is often overlooked, but it's incredibly important for choosing the right inverter. Many appliances, especially those with motors or compressors (like a microwave, coffee maker, or even an air conditioner), have a "surge" wattage that's much higher than their "running" or "continuous" wattage. This surge happens for a brief moment when the appliance first starts up.
For example, a microwave might only run at 1000 watts, but it could surge to 2000 watts for a second or two when you press "start." Your inverter needs to be able to handle this brief surge without tripping. If you plan to run a high-draw appliance like an air conditioner, especially for a bigger RV, you'll be looking at significant surge requirements. Your continuous power requirement is the sum of all appliances you might run simultaneously. For instance, if you want to run the microwave (1000W) while the fridge is cycling (70W) and some lights are on (25W), your continuous load is roughly 1095 watts, and your inverter needs to handle the microwave's surge on top of that. Ignoring these peak demands is a common mistake that leads to frustration and premature inverter failure.
Essential Components of an RV Off-Grid Solar System
An off-grid solar system for your RV is more than just a few panels; it's a carefully orchestrated symphony of components working together. Understanding each part's role is key to making informed decisions and building a reliable system. For a full rundown of all the parts, you might want to check out "Off-Grid Solar System Components Explained".
Solar Panels: Types and Considerations for RVs
The solar panels are your energy collectors, converting sunlight into electricity. For RVs, you have a few main types and configurations to consider, each with its pros and cons related to weight, durability, and ease of installation.
- Rigid Panels: These are your traditional, framed solar panels, typically made with monocrystalline cells (which are highly efficient) or polycrystalline cells. They are robust, offer excellent efficiency, and have a long lifespan. They are often the best choice for permanent roof mounts on larger RVs or those with ample roof space. Brands like Renogy and Rich Solar offer reliable rigid panels popular with RVers. The downside is their weight and rigidity, making them less suitable for curved surfaces or if you need to frequently remove them. For those interested in maximizing solar output, exploring "Best Off-Grid Solar Panels" can offer more specific recommendations.
- Flexible Panels: These panels are lightweight and can conform to slightly curved surfaces, making them popular for RVs where weight is a concern or roof space is limited and traditional mounting isn't feasible. They are generally less efficient and less durable than rigid panels, and their performance can degrade faster if they get too hot (which can be an issue when directly adhered to a hot RV roof without an air gap). They can be a good option for smaller systems or supplementing a rigid array.
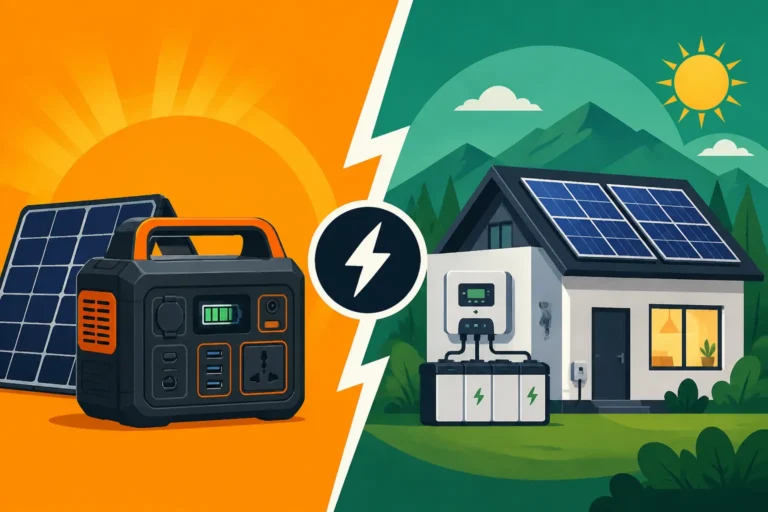
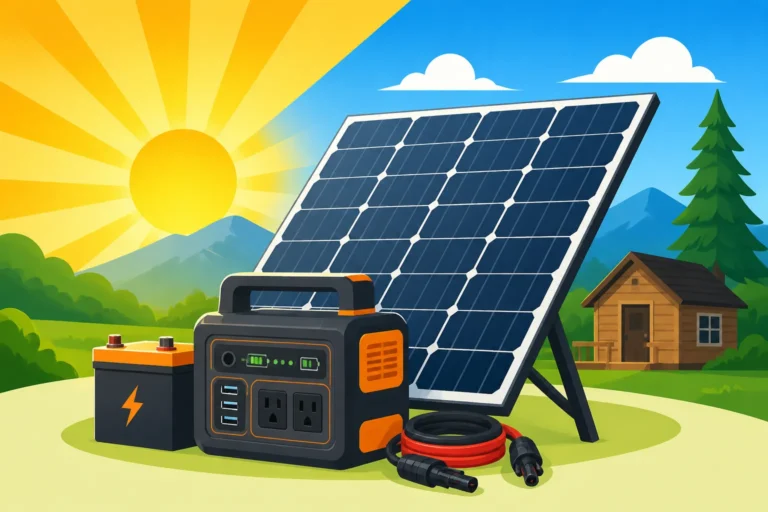
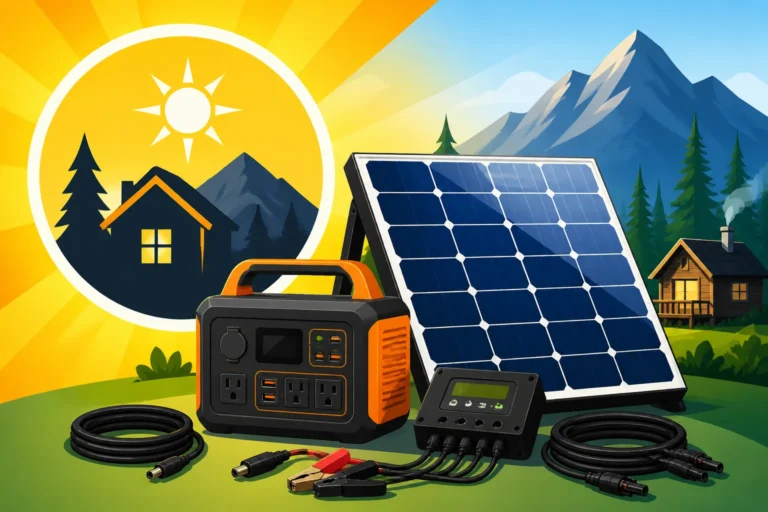
- Portable Panels: Think of these as your supplementary power source. They aren't permanently mounted and can be set up when you're parked. They're fantastic for chasing the sun throughout the day, especially if your RV is parked in the shade or you only need occasional power. A popular choice here is a solar generator paired with portable panels, like a unit from Jackery. These all-in-one solutions are incredibly convenient for weekend warriors or as a backup to a larger system. To learn more about portable options, check out "Best Portable Solar Panels".
When choosing, consider your RV's roof space, weight limits, and how much time you'll spend in direct sun versus shade. Most RVers opt for a combination, perhaps rigid panels on the roof for baseline power, supplemented by portable panels for extra juice or when parked under trees.
Batteries: The Heart of Your RV's Power System
Your battery bank is where all that glorious solar energy is stored, ready to power your RV when the sun isn't shining. This is often the most expensive component, but it's also the most critical for reliable off-grid living.
- Lithium Iron Phosphate (LiFePO4) Batteries: These are the darlings of the RV solar world, and for good reason. They are significantly lighter than lead-acid batteries, can be discharged much deeper (typically to 80-100% without damage, compared to 50% for lead-acid), last thousands of cycles, and have a very stable voltage output. While the upfront cost is higher, their longevity and performance often make them more cost-effective in the long run. Brands like Battle Born and EG4 are highly regarded in the LiFePO4 space. If you're weighing your options, exploring "LiFePO4 vs Lead-Acid Battery Cost" can provide a detailed comparison.
- Lead-Acid Batteries (AGM/Gel): These are a more traditional, budget-friendly option. AGM (Absorbed Glass Mat) batteries are sealed, maintenance-free, and perform better than flooded lead-acid in vibration-heavy environments like an RV. Gel batteries are similar but have a lower charge rate. Both, however, are heavy, can only be discharged to about 50% without significantly shortening their lifespan, and have a much shorter cycle life than LiFePO4. They are still a viable option for smaller, less demanding systems or if budget is the absolute primary concern.
For most modern RVers, especially those planning to spend significant time off-grid, LiFePO4 batteries are the superior choice due to their efficiency, weight, and lifespan. Most RV systems run on 12-volt, but some larger rigs might use 24-volt systems. The voltage of your battery bank needs to match the voltage of your inverter and charge controller. Don't forget a good battery monitor (like a Victron SmartShunt) to keep tabs on your battery's state of charge and overall health. For more detailed information on battery banks, consider "How Many Batteries for an Off-Grid System".
Charge Controllers and Inverters: The Brains of the Operation
These two components manage the flow of electricity in your system, ensuring your batteries are charged safely and efficiently, and that your appliances get the right kind of power.
- Charge Controller: This device sits between your solar panels and your batteries. Its job is to regulate the voltage and current coming from the solar panels to prevent overcharging your batteries.
- MPPT (Maximum Power Point Tracking) Controllers: These are highly efficient, especially in varying light conditions (think partial shade or cloudy days). They can take higher voltage from your panels and convert it into the correct voltage for your batteries with minimal loss, maximizing the energy harvest. They are more expensive but almost always worth the investment for larger or more critical RV systems.
- PWM (Pulse Width Modulation) Controllers: These are simpler and less expensive. They essentially reduce the panel voltage to match the battery voltage. They are less efficient than MPPT controllers, particularly when the panel voltage is significantly higher than the battery voltage. They are suitable for small, simple systems where cost is the main driver. Given the premium on energy in an RV, MPPT is generally preferred.
- Inverter: Your inverter takes the DC (direct current) power stored in your batteries and converts it into AC (alternating current) power, which is what most of your household-style appliances use.
- Pure Sine Wave Inverters: These produce a clean, smooth waveform identical to what you get from grid power. This is essential for sensitive electronics like laptops, medical equipment, and anything with a motor (like a microwave or refrigerator). Always opt for a pure sine wave inverter for an RV.
- Modified Sine Wave Inverters: These produce a "stepped" or "choppy" waveform. They are cheaper but can damage sensitive electronics and cause motors to run hot or inefficiently. Avoid them for anything beyond basic resistive loads like simple light bulbs.
- Inverter-Chargers: Many RVers opt for an inverter-charger, which combines the functions of an inverter with a battery charger that can be used when you have shore power or a generator. This simplifies your system and can save space. When selecting your inverter, think about your maximum simultaneous power draw and the surge requirements for appliances like a "Cost to Run A Microwave on Off-Grid Solar." For advice on specific inverter models, see "Best Off-Grid Solar Inverters".
Sizing Your RV Off-Grid Solar System Correctly
Now that you know your energy needs and the main components, it's time to put it all together and size your system. This is a crucial step that directly impacts your success and satisfaction with off-grid living. A common mistake is undersizing, leading to constant battery anxiety, or oversizing, which wastes money and adds unnecessary weight. If you want a more in-depth guide, consider "How to Size an Off-Grid Solar System".
Determining Solar Panel Array Size
To figure out how many solar panels you need, you'll take your calculated daily watt-hour consumption and factor in your average daily "peak sun hours." Peak sun hours are not the total hours the sun is out, but rather the equivalent number of hours when the sun's intensity is at its peak (roughly 1000 watts per square meter). This varies significantly by location and time of year. For example, in the summer, you might get 5-7 peak sun hours, while in winter, it might drop to 2-3 in many regions. You should always size for your worst-case scenario (e.g., winter or cloudy weather) if you plan on year-round use.
Let's use our earlier example of 1315 Wh/day.
- Step 1: Account for Inefficiencies: Solar systems aren't 100% efficient. You'll lose power in conversion (panels to charge controller, charge controller to battery, battery to inverter). A common efficiency factor is around 70-80%. So, to generate 1315 Wh, you actually need your panels to produce more. Let's aim for 1315 Wh / 0.75 = 1753 Wh from the panels.
- Step 2: Factor in Peak Sun Hours: Let's say you're planning for shoulder season camping and expect 4 peak sun hours per day.
- Step 3: Calculate Required Panel Wattage: 1753 Wh / 4 peak sun hours = 438.25 Watts.
- Step 4: Choose Panels: If you decide on 100-watt panels, you'd need approximately 438.25 W / 100 W/panel = 4.38, so 5 x 100W panels (total 500W). If you opt for more powerful 200-watt panels, you'd need 438.25 W / 200 W/panel = 2.19, so 3 x 200W panels (total 600W).
Remember, this is an average. Cloudy days will drastically reduce output. Many RVers choose to slightly oversize their array to give themselves a buffer. For more guidance on sizing, "How Many Solar Panels for Off-Grid Living" is an excellent resource.
Sizing Your Battery Bank for Autonomy
Your battery bank size determines how long you can run your RV without any solar input (i.e., at night, on cloudy days, or when parked in the shade). This is often referred to as "days of autonomy." For RVs, most people aim for 1-3 days of autonomy.
Using our 1315 Wh/day consumption:
- Step 1: Calculate Total Watt-Hours Needed for Autonomy: For 2 days of autonomy, you need 1315 Wh/day * 2 days = 2630 Wh.
- Step 2: Account for Inverter Inefficiency (if applicable): If you're running everything through your inverter, you'll have some loss there (typically 10-15%). So, you need to store more in the battery. 2630 Wh / 0.85 (for 85% inverter efficiency) = 3094 Wh.
- Step 3: Convert to Amp-Hours for a 12V System: Battery capacity is often listed in Amp-hours (Ah). To convert Wh to Ah, divide by your system voltage (e.g., 12V).
- 3094 Wh / 12V = 257.83 Ah.
- Step 4: Factor in Depth of Discharge (DoD): This is where LiFePO4 batteries truly shine. You can safely discharge them to 80-100%. Lead-acid batteries should only be discharged to 50% to maximize their lifespan.
- For LiFePO4 (80% DoD): 257.83 Ah / 0.80 = 322.28 Ah. So, you'd likely aim for 300-400 Ah of LiFePO4 battery capacity. Many common LiFePO4 batteries are 100 Ah or 200 Ah, so you might need two to four 100Ah batteries, or two 200Ah batteries wired in parallel.
- For Lead-Acid (50% DoD): 257.83 Ah / 0.50 = 515.66 Ah. You'd need a significantly larger (and heavier) lead-acid bank to achieve the same usable power.
Considering the weight and space constraints of an RV, this calculation highlights why LiFePO4 batteries are so popular. They give you more usable power for less weight and volume.
Matching Your Inverter and Charge Controller
- Inverter Sizing: Remember those peak and continuous power requirements? Your inverter needs to handle the largest simultaneous load you anticipate, plus the surge from any high-draw appliances. If your maximum continuous draw is 1095 watts (fridge, microwave running, lights) and the microwave surges to 2000 watts, you'd likely want at least a 2000-watt pure sine wave inverter, possibly 3000 watts for a comfortable buffer or if you add an induction cooktop.
- Charge Controller Sizing: This is determined by the total wattage of your solar array and your battery bank voltage. A simple formula for MPPT controllers is: (Total Panel Watts / Battery Voltage) * 1.25 (safety factor).
- For our 500W panel array and 12V battery: (500W / 12V) * 1.25 = 52.08 Amps. You'd look for an MPPT charge controller rated for at least 50-60 amps. Always round up to the next available size.
Getting these components sized correctly is crucial for system efficiency and longevity.
| RV Usage Profile | Daily Watt-Hours (Approx.) | Recommended Solar Panel Array (Watts) | Recommended LiFePO4 Battery Bank (Ah @ 12V) | Recommended Inverter (Watts Pure Sine) | Considerations |
|---|---|---|---|---|---|
| Weekend Warrior | 500-1000 Wh | 200-400 W | 100-200 Ah | 1000-1500 W | Minimal appliances (lights, phone/laptop charging). May use a solar generator like a Jackery for simplicity. Good for short trips. |
| Part-Time Boondocker | 1000-2500 Wh | 400-800 W | 200-400 Ah | 2000-3000 W | Regular use of fridge, water pump, lights, some cooking appliances (microwave, coffee maker). Needs reliable daily charging. |
| Full-Time Off-Gridder | 2500-5000+ Wh | 800-1500+ W | 400-800+ Ah | 3000-5000+ W | Running high-draw appliances frequently (mini-split AC, induction cooktop, well pump if applicable). Requires robust charging and large battery capacity. May need a generator backup. |
Installation Considerations and Practical Tips for RVs
Once you've got your components, the installation process for an RV system has its own set of challenges and best practices. While many components of an RV solar system can be DIY installed, especially smaller ones, understanding proper techniques is vital for safety and performance. For a broader overview, you can refer to "How to Install an Off-Grid Solar System".
Mounting Panels on Your RV
The way you mount your solar panels on your RV roof is critical for performance and safety.
- Fixed Roof Mounts: This is the most common approach for rigid panels. You'll typically use aluminum mounting brackets that lift the panels a few inches off the roof. This air gap is crucial for cooling, as solar panels lose efficiency when they get hot. Ensure the mounts are securely fastened to the RV's roof studs or reinforced areas, using plenty of sealant (like Dicor Self-Leveling Lap Sealant) to prevent leaks at every penetration point. Consider the angle and orientation for optimal sun exposure – generally flat, but adjustable tilt mounts can boost winter performance.
- Flexible Panel Adhesion: If using flexible panels, they are usually adhered directly to the roof. While this saves space and weight, it exacerbates heat issues, which can degrade the panel's performance and lifespan over time. If you opt for flexible, try to choose lighter colors for your RV roof to minimize heat absorption or add a slight air gap if possible.
- Portable Systems: As mentioned earlier, portable panels or solar generators are a fantastic, low-commitment option. They require no permanent installation, which is a huge plus for renters or those who want maximum flexibility. A Jackery Explorer power station with accompanying SolarSaga panels, for example, can be set up in minutes and packed away just as quickly. This also allows you to park your RV in the shade while keeping your panels in direct sun.
Always consider future expansion when planning your mounting. Leave a little extra space if you anticipate adding more panels down the line.
Wiring and Safety Best Practices
Wiring an RV solar system isn't something to take lightly. Poor wiring can lead to fires, component damage, and inefficient power delivery.
- Wire Sizing: This is paramount. Undersized wires create resistance, leading to voltage drop and heat, which wastes energy and is a fire hazard. You need to size your wires based on the current (amps) they will carry and the distance they will run. DC circuits are especially susceptible to voltage drop. Always use appropriate gauge copper wire (e.g., marine-grade or fine-strand welding cable for battery connections).
- Fuses and Breakers: Every major circuit must be protected by appropriately sized fuses or circuit breakers. This includes the wire run from the solar panels to the charge controller, from the charge controller to the battery, and from the battery to the inverter. These are your system's safety nets, protecting against overcurrents and short circuits.
- Grounding: Proper grounding is essential for safety, protecting both your equipment and anyone in the RV from electrical shocks. Your RV's chassis should be grounded, and all major electrical components (inverter, charge controller, battery bank, and even the solar panel frames) should be bonded to this common ground point.
- Conduit and Cable Management: Protect your wiring from physical damage, UV exposure, and moisture. Use UV-resistant conduit or cable ties to neatly route wires, especially on the roof and under the RV. Proper cable entry points into the RV are crucial to prevent leaks; use marine-grade cable glands or roof entry plates.
If you're unsure about any aspect of wiring, it's always best to consult with or hire a qualified RV electrician or solar professional. This is not an area where you want to cut corners. For more on safe installations, look at "Off-Grid Solar Safety and Grounding".
Managing Your System for Optimal Performance
Even with a perfectly sized and installed system, good management and maintenance are key to long-term success.
- Monitoring: Install a reliable battery monitor (like a Victron SmartShunt or a similar shunt-based meter) to accurately track your battery's state of charge, current draw, and total energy consumed. This helps you understand your power usage in real-time and avoid deep discharges that can damage your batteries. Many modern charge controllers and inverters also offer Bluetooth connectivity and apps for remote monitoring.
- Maintenance: Keep your solar panels clean! Dust, dirt, leaves, and bird droppings can significantly reduce their output. A simple rinse with water and a soft brush is usually sufficient. Regularly inspect all connections for corrosion or looseness. Check battery terminals and ensure proper ventilation, especially for lead-acid batteries.
- Generator Backup: For most full-time RVers, or those traveling in regions with unpredictable weather, a backup generator is almost a necessity. It provides peace of mind on extended cloudy stretches or when you need to run high-draw appliances for long periods. An inverter-charger paired with an auto-start generator can seamlessly integrate into your solar system, kicking on only when your batteries drop below a certain threshold. Even a portable unit, perhaps a small gas generator, can be a lifesaver for quickly topping off batteries or running a large load that your solar array can't handle.
By carefully planning, selecting the right components, prioritizing safety in installation, and diligently managing your system, you'll be well on your way to enjoying limitless, stress-free power on your RV adventures. The freedom of off-grid solar truly transforms the RV experience, turning distant dreams into tangible realities.
Disclaimer
Please remember that this guide provides general information and recommendations. Off-grid solar system design and installation can be complex and involve electrical hazards. Always consult with qualified professionals and adhere to all local electrical codes and safety regulations when designing, purchasing, and installing your system. Incorrect installation can lead to equipment damage, fire, serious injury, or even death.