How Much Solar to Run Lights And Electronics
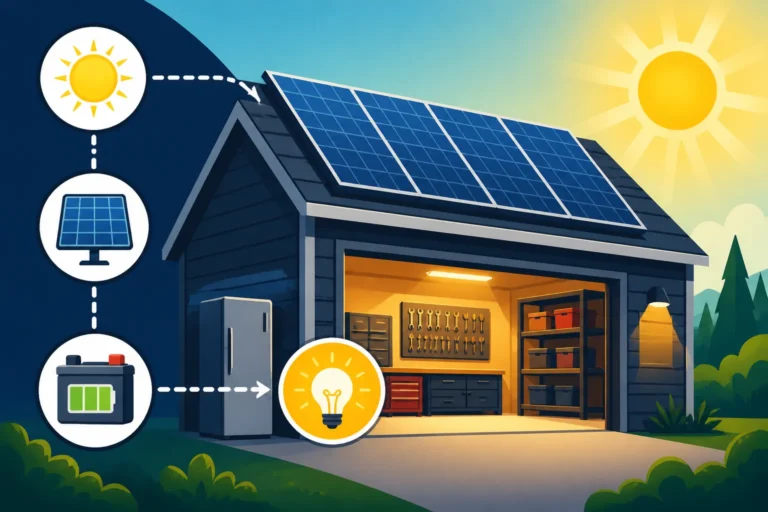
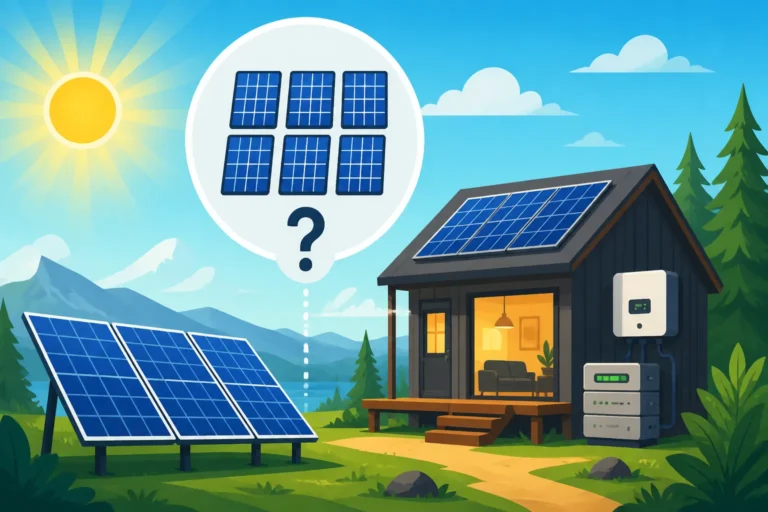
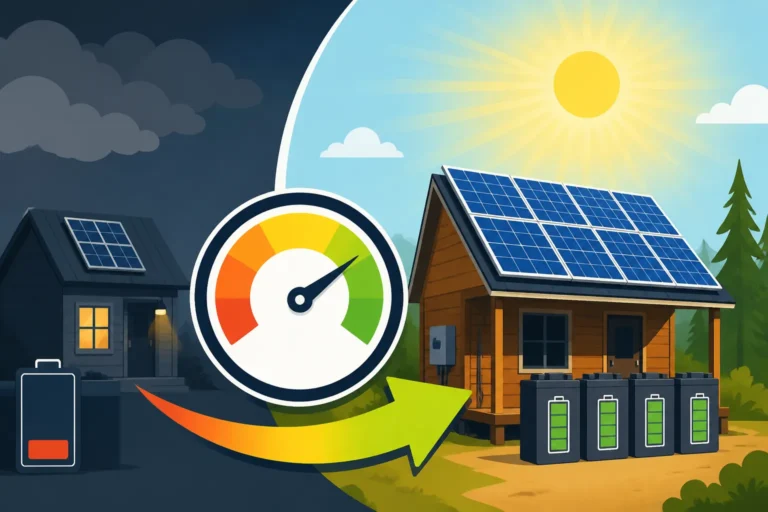
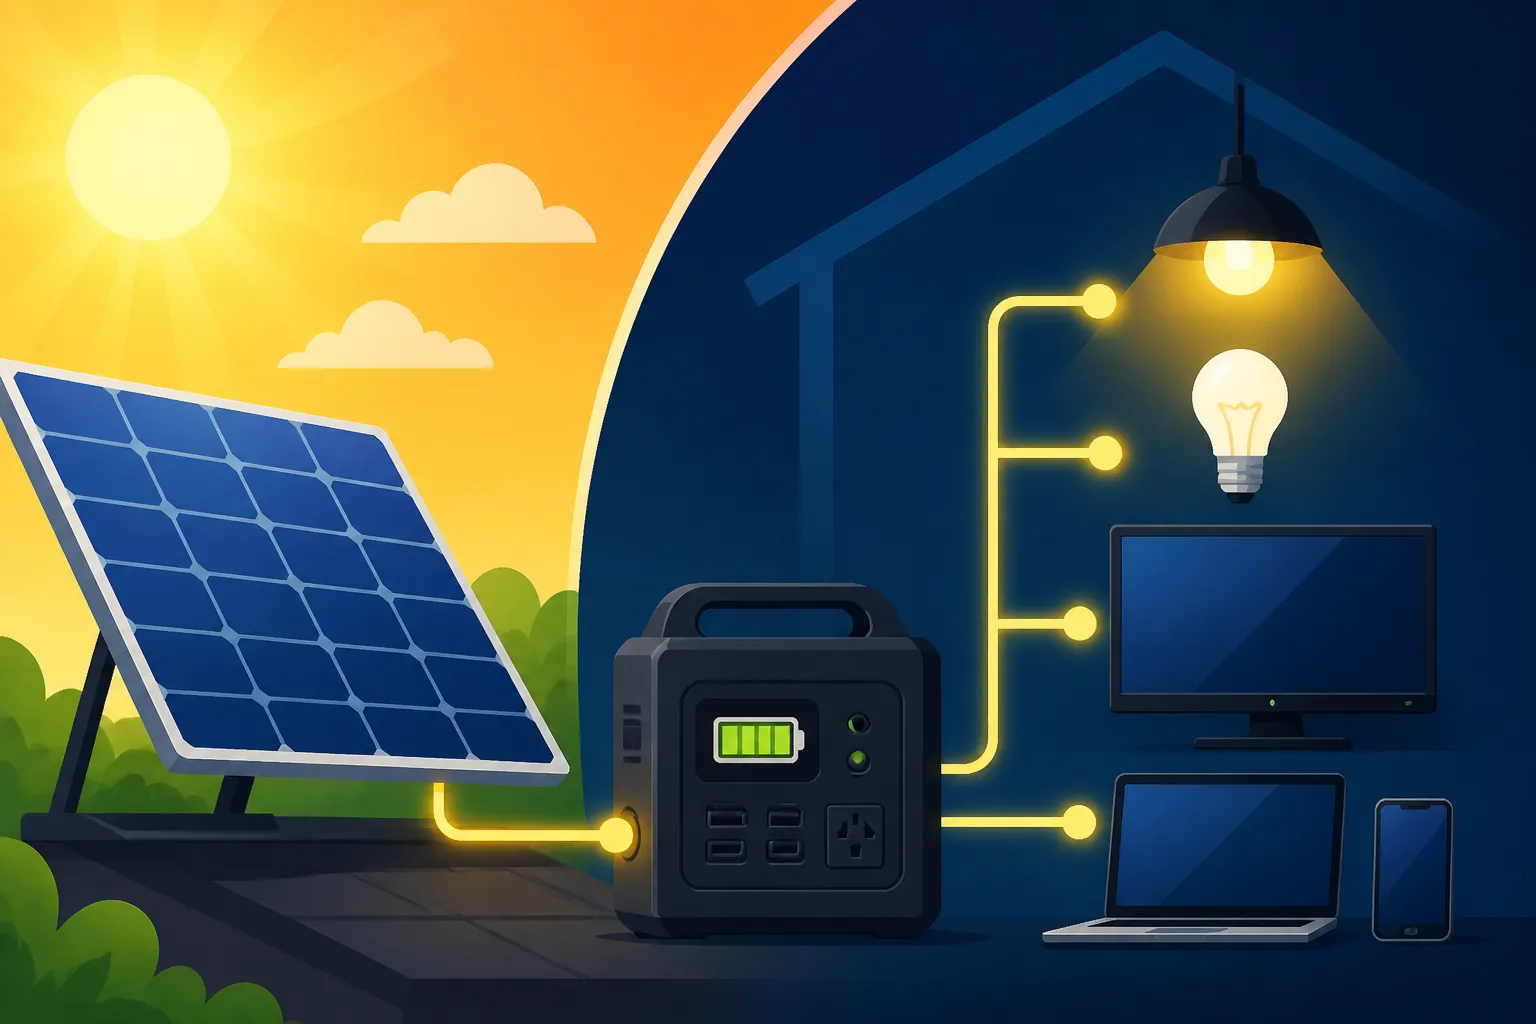
One of the most common questions I hear from folks dipping their toes into the off-grid lifestyle, whether for a remote cabin, an RV, or just a backyard shed, is about powering the essentials: lights and electronics. It can feel overwhelming trying to figure out how much solar you actually need without overspending on a giant system or, worse, undersizing and constantly running out of juice. This guide is here to walk you through the practical steps of figuring out exactly how much solar power you need to keep your lights shining and your devices charged, ensuring you have reliable energy for your everyday needs.
Understanding Your Power Needs for Lights and Electronics
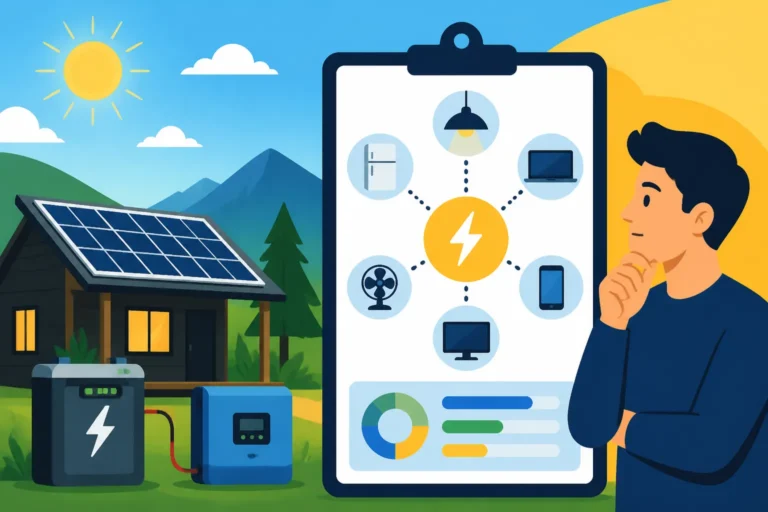
Before you even think about solar panels or batteries, the absolute first step in any successful off-grid solar adventure is to understand your energy consumption. It’s like planning a road trip – you wouldn’t just hop in the car without knowing where you’re going or how much gas you’ll need, right? The same goes for your power. People often underestimate how much power their small devices collectively draw, or they forget to account for how long they’ll actually be using things each day.
Calculating Daily Watt-Hours for Lighting
Let’s start with lights, because they're usually the easiest to quantify. The good news is that modern LED lighting has revolutionized off-grid living. Gone are the days of power-hungry incandescent bulbs that would drain your batteries in a heartbeat. Now, with efficient LEDs, you can have plenty of light without a huge energy footprint.
To figure out your lighting needs, think about each light fixture individually. What's its wattage (usually printed right on the bulb or fixture)? How many hours a day do you expect it to be on? For example, a common LED bulb might be 9 watts. If you have four of these in your cabin, and they're on for an average of 4 hours each evening, that's 4 bulbs * 9 watts/bulb * 4 hours = 144 Watt-hours (Wh) per day. Don't forget any outdoor lights, motion-sensor lights, or task lighting in a workshop. Be realistic about your usage – maybe you read for an extra hour on a rainy day, or leave a porch light on longer than usual. It’s always better to slightly overestimate than to be left in the dark.
Tallying Up Your Electronics' Energy Consumption
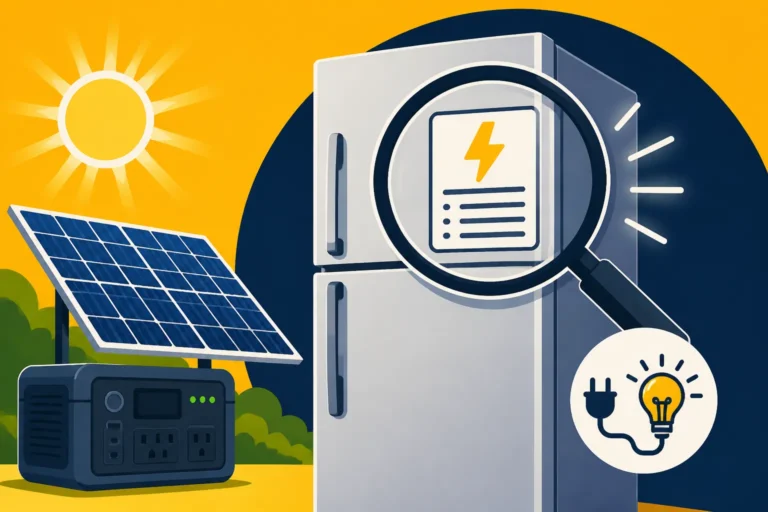
Now for the electronics – this is where it can get a little trickier, but it’s entirely manageable. This category includes everything from charging your phone and laptop to running a Wi-Fi router, a small fan, or a TV. The key is to look at the power draw (wattage) of each device and estimate its daily usage. Many devices will list their power consumption in watts (W) or amps (A) on their power adapter or a label. If it's in amps, and you know your system voltage (e.g., 12V), you can multiply Amps by Volts to get Watts (Watts = Amps x Volts).
Consider a typical day. How long is your laptop plugged in and charging? Maybe 3 hours? A laptop charger might draw around 60 watts. That's 60W * 3 hours = 180Wh. Your phone charger might be 10 watts for 2 hours (20Wh). If you like to watch a movie in the evening, a smart TV could draw 50-100 watts for 3 hours (150-300Wh). Don't forget those phantom loads, either – things that are always plugged in, like a Wi-Fi router (often 10-20 watts, running 24/7). Small, seemingly insignificant items add up quickly.
This detailed process of listing every single device and its usage is known as a load analysis. It's a fundamental step that I've seen many aspiring off-gridders skip, only to regret it later. For a deeper dive into this, you might find our guide on How to Calculate Daily Energy Usage incredibly helpful.
The Importance of a Load Analysis Spreadsheet
Guesswork is the enemy of a reliable off-grid system. That's why a detailed load analysis spreadsheet is your best friend. It forces you to think through every single appliance and light you intend to power, how much wattage it draws, and for how long each day. This isn't just about lights and electronics; it’s a foundational piece of planning for any off-grid setup, large or small.
By creating a table, you can see the cumulative effect of all your devices. This helps you identify high-consumption items and make informed decisions, perhaps switching to more energy-efficient alternatives or reducing usage. For instance, you might realize that running a small space heater for an hour contributes more to your daily energy budget than all your lights combined, prompting you to seek out more efficient heating solutions or supplemental power. You can easily create one of these yourself in a simple spreadsheet program, or even just on paper.
Here’s an example of what a simple load analysis for lights and electronics might look like:
| Device/Appliance | Wattage (W) | Hours Used/Day | Total Watt-Hours (Wh) per Day | Notes |
|---|---|---|---|---|
| LED Ceiling Light (x2) | 10 | 4 | 80 | Main cabin lighting |
| LED Reading Lamp | 5 | 2 | 10 | Used for evening reading |
| Phone Charger | 15 | 2 | 30 | Charging one phone |
| Laptop Charger | 60 | 3 | 180 | Work/entertainment |
| Wi-Fi Router | 20 | 24 | 480 | Essential for connectivity |
| Small TV (32-inch) | 50 | 3 | 150 | Evening entertainment |
| Electric Toothbrush | 2 | 0.25 | 0.5 | Daily charging, negligible |
| Radio/Bluetooth Spkr | 10 | 2 | 20 | Background music |
| Daily Total | 950.5 Wh | This is your target daily energy usage |
This table gives you a clear figure – in this case, about 950.5 Watt-hours per day – which is what your solar system needs to generate and store. Understanding the difference between Watts, Watt-hours, and Amp-hours is crucial here; if you need a refresher, check out our article on Watts vs Watt-Hours vs Amp-Hours Explained.
Sizing Your Solar Panel Array for Lights and Electronics
Once you have your total daily Watt-hour requirement, you're ready to start thinking about solar panels. This is where the sun, or lack thereof, really comes into play. You can have the best panels in the world, but if they're not getting enough sunlight, they won't produce power.
Determining Peak Sun Hours in Your Location
This is a critically important, often overlooked step. "Peak Sun Hours" (or "Full Sun Hours") refers to the equivalent number of hours per day when sunlight intensity averages 1,000 watts per square meter. It's not about how many hours the sun is visibly in the sky, but rather the intensity of that sunlight. A sunny winter day might have many hours of visible sun, but fewer peak sun hours compared to a shorter summer day, simply because the sun is lower in the sky.
You can find average peak sun hour data for your specific location through various online resources, like the National Renewable Energy Laboratory (NREL) maps or other solar irradiance databases. This data is usually broken down by month, which is incredibly useful for designing a system that works year-round, especially in areas with significant seasonal changes. For instance, if you're in Flagstaff, Arizona, you might get 7 peak sun hours in June but only 4 in December. You generally want to size your system based on the lowest peak sun hours you expect to need reliable power, often the winter months if you're living off-grid full-time. To learn more about this, dive into Peak Sun Hours Explained.
Calculating Required Solar Panel Watts
Now, let's put it all together to calculate the solar panel wattage you'll need. This is where we ensure you have enough panels to generate the energy you need, even on less-than-perfect days.
First, take your total daily Watt-hour usage from your load analysis (e.g., 950.5 Wh).
Second, divide that by your average daily peak sun hours for the worst month you need power (let's say 4 hours for winter):
950.5 Wh / 4 hours = 237.625 Watts.
This 237.625 Watts is your theoretical minimum panel wattage. However, solar systems aren't 100% efficient. You lose energy through various components like the charge controller, inverter, and wiring, and panels rarely produce their rated power perfectly due to temperature, dust, and non-ideal angles. A good rule of thumb is to add a buffer, often 1.2 to 1.5 times your calculated wattage, to account for these inefficiencies and provide a margin of error.
So, if we take 237.625 Watts and multiply it by a buffer of 1.3 (for a relatively efficient system with good components):
237.625 W * 1.3 = 308.91 Watts.
This means you would aim for roughly 300-350 watts of solar panels. You'd likely achieve this with perhaps two 175-watt panels or three 100-watt panels. Brands like Renogy offer a range of reliable solar panels that are popular for off-grid applications and can be found easily on platforms like Amazon. This will give you a good starting point for a system to run lights and electronics. For a more exhaustive approach to system sizing, our comprehensive guide on How to Size an Off-Grid Solar System is a must-read.
Factors Affecting Panel Sizing Beyond Basic Math
While the math above provides a solid baseline, real-world conditions mean there are a few more things to consider when picking out your panels. You don’t want to be caught short when the weather turns.
- Shade: Even partial shading on a single panel can drastically reduce the output of an entire string of panels. Trees, neighboring structures, or even self-shading from other panels at certain times of the day must be considered. Always try to find the least shaded spot.
- Tilt and Orientation: For stationary setups like cabins or sheds, optimizing your panel tilt angle and orientation (typically south-facing in the Northern Hemisphere) will maximize production, especially during those low-sun winter months. Adjustable mounts can be a game-changer if you’re willing to adjust them seasonally.
- Weather Variations: While peak sun hours account for average cloudiness, prolonged periods of bad weather can still impact your system. If you live in an area prone to several consecutive cloudy days, you might want to oversize your panels slightly or plan for more battery storage to bridge those gaps.
- Future Expansion: Are you absolutely sure you'll only ever power lights and electronics? Many people start small and then realize they want to add a small fridge, a water pump, or more tools. Designing your system with a bit of headroom, or at least making it easily expandable, can save you headaches and money down the road. Consider adding an extra panel or choosing a charge controller that can handle more input later.
Choosing the Right Battery Bank for Lights and Electronics
Solar panels generate power during the day, but you need electricity at night or on cloudy days. That's where your battery bank comes in – it's your energy reservoir, storing power for when the sun isn't shining.
Estimating Battery Capacity Needs (Amp-Hours/Watt-Hours)
Your battery bank needs to be large enough to store your daily energy consumption and ideally provide a few "days of autonomy" – meaning it can power your loads for a certain number of days without any solar input. For a basic system powering lights and electronics, 1-3 days of autonomy is a common goal.
Let's use our example of 950.5 Wh per day. If you want 2 days of autonomy, you need to store at least 950.5 Wh * 2 days = 1901 Wh.
Now, batteries are typically rated in Amp-hours (Ah) at a specific voltage (e.g., 12V, 24V, 48V). To convert your Watt-hours to Amp-hours at 12V:
1901 Wh / 12V = 158.42 Ah.
However, you also need to factor in the battery's usable depth of discharge (DOD). Lead-acid batteries (like flooded or AGM) typically shouldn't be discharged more than 50% to maximize their lifespan. Lithium iron phosphate (LiFePO4) batteries, on the other hand, can be safely discharged to 80% or even 100% regularly without significant harm.
So, if you chose a lead-acid battery for our 158.42 Ah requirement:
158.42 Ah / 0.50 (50% DOD) = 316.84 Ah total lead-acid capacity needed.
If you chose a LiFePO4 battery (more on these in a moment):
158.42 Ah / 0.80 (80% DOD) = 198.025 Ah total LiFePO4 capacity needed.
You can see the difference immediately! A 12V 200Ah LiFePO4 battery would be ideal here, whereas you'd need closer to two 12V 150-200Ah lead-acid batteries wired in parallel to meet the same need with a 50% DOD limitation. For more detail, check out How Many Batteries for an Off-Grid System.
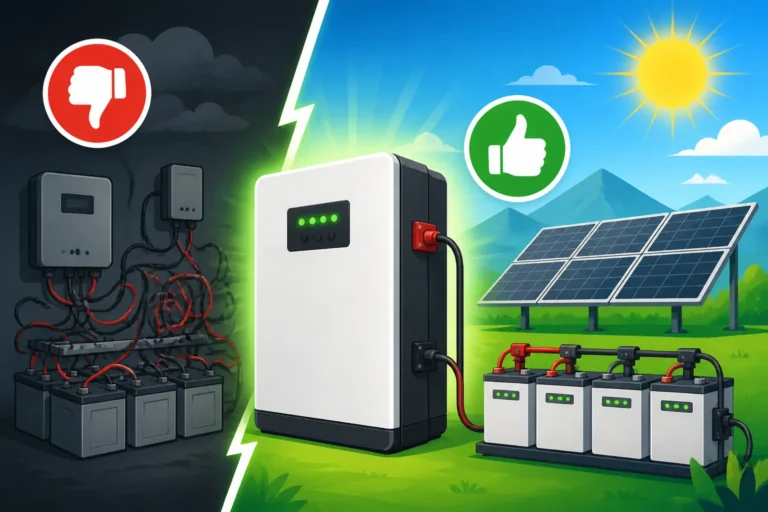
Understanding Battery Chemistry: LiFePO4 vs. Lead-Acid
The choice of battery chemistry is a big one, influencing cost, performance, and longevity.
- Lead-Acid Batteries (AGM, Flooded, Gel): These are generally less expensive upfront. AGM (Absorbed Glass Mat) batteries are sealed, maintenance-free, and suitable for many smaller off-grid applications. Flooded lead-acid batteries require regular maintenance (checking water levels) but can be very robust. Gel batteries are also sealed and maintenance-free. The main drawbacks are their weight, shorter lifespan (typically 3-7 years with proper care), lower usable capacity (50% DOD recommended), and sensitivity to deep discharges. For basic lighting and electronics, especially if you're on a tight budget or only using the system seasonally, AGM batteries can be a good entry point.
- Lithium Iron Phosphate (LiFePO4) Batteries: These are the new darlings of the off-grid world. While they have a higher upfront cost, their advantages are compelling: much longer lifespan (10+ years, often 3,000-5,000 cycles), lighter weight, higher usable capacity (80-100% DOD), faster charging, and virtually no maintenance. For systems you plan to use heavily or full-time, the long-term value often makes LiFePO4 a smarter investment despite the initial sticker shock. Brands like Battle Born and Renogy offer excellent LiFePO4 options that are widely praised for their reliability. For a comprehensive comparison, take a look at our article on LiFePO4 vs Lead-Acid Battery Cost.
System Voltage Considerations (12V vs. 24V)
For a system primarily powering lights and electronics, especially smaller systems, a 12-volt (12V) system is often the simplest and most cost-effective choice. Many common RV appliances, car accessories, LED strip lights, and USB chargers are designed to run directly on 12V DC power. This can simplify wiring and reduce the need for large, expensive inverters if many of your loads are DC.
However, as your system grows and your power needs increase, moving to 24V or even 48V becomes more efficient. Higher voltage systems experience less energy loss over longer wire runs (less voltage drop) and allow for smaller, less expensive wire gauges for the same amount of power. They also generally work better with larger inverters and charge controllers. For a system just for lights and electronics, sticking with 12V is perfectly fine, but if you anticipate adding a refrigerator, microwave, or other significant AC loads down the line, starting with 24V might be a smart move. Our guide on How to Choose System Voltage delves into this decision in more detail.
Selecting Your Charge Controller and Inverter
You've got panels to generate power and batteries to store it. Now you need the brains of the operation: the charge controller to manage the flow from panels to batteries, and the inverter to convert battery power into usable AC power for your household electronics.
Sizing Your Charge Controller
The charge controller is a vital component that regulates the voltage and current coming from your solar panels, ensuring your batteries are charged safely and efficiently without being overcharged or damaged. There are two main types:
- PWM (Pulse Width Modulation) Charge Controllers: These are simpler, less expensive, and generally less efficient, especially in colder weather or if your panel voltage significantly differs from your battery voltage. They work by essentially matching the panel voltage to the battery voltage. For very small, budget-conscious systems, or if your panel array is sized just right for your battery bank, a PWM controller might suffice.
- MPPT (Maximum Power Point Tracking) Charge Controllers: These are more sophisticated and significantly more efficient, especially in varying light conditions and when panel voltage is much higher than battery voltage. They can convert excess voltage from the panels into additional current, meaning you get more usable power from your solar array. While they cost more upfront, the increased efficiency often pays for itself over time through better power harvest. For any system beyond the most basic, an MPPT controller is usually the recommended choice. You can find excellent MPPT controllers from brands like Victron and Renogy.
To size your charge controller, you need to know the maximum current your solar array can produce. If you have 350 watts of panels and your system is 12V, your maximum charge current will be roughly 350W / 12V = 29.17 Amps. You'll want a charge controller rated for at least 25-30% more than this, so a 40-amp MPPT controller would be a safe bet. Our article on How to Size a Charge Controller provides a detailed walkthrough.
Choosing an Inverter for Lights and Electronics
An inverter converts the DC power stored in your batteries into AC power, which is what most standard household lights and electronics use. For powering sensitive electronics like laptops, smart TVs, and charging devices, a pure sine wave inverter is absolutely essential. Modified sine wave inverters are cheaper but can damage sensitive electronics, cause buzzing in audio equipment, and run motors less efficiently. Avoid them if you care about your gadgets.
To size your inverter, you'll need to consider the continuous wattage and surge wattage of your combined AC loads.
- Continuous Wattage: This is the total power draw of all AC devices you anticipate running simultaneously. Look at your load analysis table again, focusing only on the AC devices. If your TV (50W), laptop (60W), and a couple of LED lights (20W total) are on at the same time, that's 50 + 60 + 20 = 130 watts.
- Surge Wattage: Some appliances, especially those with motors (like a well pump or refrigerator compressor – though not typical for just lights and electronics), require a brief burst of much higher power to start up. Your inverter needs to be able to handle this surge. For lights and electronics, surges are less of a concern, but it's good practice to get an inverter with a continuous rating slightly higher than your maximum simultaneous load.
For a system powering just lights and basic electronics, a 500-watt to 1000-watt pure sine wave inverter is usually more than sufficient. This provides plenty of headroom for your listed devices and perhaps a few small additions. Reputable brands like AIMS Power or Victron offer reliable inverters that can be sourced from various retailers, including larger online platforms like Amazon. Our guide on How to Size an Off-Grid Inverter offers more insights into selecting the right one.
Wiring and Safety Considerations
Don't skimp on wiring and safety components. These are crucial for the reliable and safe operation of your off-grid system.
- Wire Gauge: The size (gauge) of your wires must be appropriate for the current they carry and the distance they travel. Undersized wires can lead to voltage drop (loss of power) and, more dangerously, overheating, which is a fire hazard. Use online calculators or consult electrical charts to ensure you're using the correct gauge for all connections, especially between the batteries and inverter, and panels and charge controller.
- Fuses and Breakers: Every major circuit in your off-grid system needs overcurrent protection. This includes fuses or circuit breakers between your solar panels and charge controller, between the charge controller and battery bank, and between the battery bank and inverter. These protect your components and prevent fires in case of a short circuit or overload.
- Grounding: Proper grounding of your solar panels, racking, and inverter is essential for safety, protecting both your equipment and anyone working on the system from electrical hazards. Always follow local electrical codes and manufacturer instructions for grounding.
Remember, safety is paramount. If you're unsure about any aspect of wiring or safety, it's always best to consult with a qualified electrician or an experienced off-grid solar installer. You can learn more about all the major components needed in an off-grid system by reading Off-Grid Solar System Components Explained.
Disclaimer
Please remember that the information provided in this guide is for general informational purposes only and does not constitute professional advice. Off-grid solar system design and installation can be complex and involve electrical hazards. Always consult with qualified professionals and adhere to all local codes, regulations, and manufacturer guidelines when designing, installing, or modifying an off-grid solar power system.