How to Size Off-Grid Wiring for Safety
One of the most intimidating aspects of setting up an off-grid solar system is figuring out all the electrical wiring. You want to power your dreams, whether that's a cozy cabin or a reliable RV setup, but the thought of miscalculating wire sizes and risking electrical fires or poor performance can be genuinely scary. This guide is all about demystifying wire sizing for your off-grid system, ensuring everything runs safely, efficiently, and gives you that peace of mind you deserve.
Understanding the Basics of Off-Grid Wiring
When you're building an off-grid solar system, it's not just about getting power; it's about getting safe power. There's a lot of talk about panels, batteries, and inverters, but the unsung heroes of any system are the wires that connect everything. If you skimp on wire quality or size, you're not just risking system failure; you're inviting potential hazards like overheating wires, reduced power output, and even fires. Nobody wants that after putting in all the hard work to achieve energy independence.
Why Proper Wire Sizing Matters
Think of your wires as the highways for your electricity. If you try to push too many cars (amperes) down a narrow country lane (undersized wire), you're going to get congestion, heat, and ultimately, a breakdown. The same goes for electricity. When wires are too small for the amount of current flowing through them, they heat up. This isn't just inefficient because you're losing energy as heat, but it's a serious fire hazard. Plus, undersized wires lead to what we call "voltage drop." This means that by the time the electricity reaches your appliances, the voltage is lower than it should be, causing your devices to run inefficiently, wear out faster, or simply not work at all.
Beyond the immediate safety concerns, properly sized wiring ensures your entire off-grid system operates at its peak efficiency. You've invested in those solar panels and batteries, so you want every electron they produce to get where it needs to go without unnecessary losses. This is particularly crucial in off-grid setups where every watt-hour counts, especially during cloudy stretches or shorter winter days. You can learn more about how to prevent voltage drop in off-grid wiring to further enhance your system's performance.
Key Electrical Terms You Need to Know
Before we dive into the calculations, let's get a few essential terms straight. These are the building blocks of understanding your system:
- Voltage (V): Imagine this as the "pressure" or "force" of the electricity. Common off-grid system voltages are 12V, 24V, and 48V. Higher voltage systems generally require smaller wires for the same amount of power, which is why larger systems often opt for 48V.
- Current (A): This is the "flow" or "quantity" of electricity, measured in Amperes. This is arguably the most critical factor when sizing wire, as current directly relates to how much heat a wire will generate. The higher the current, the thicker your wire needs to be.
- Power (W): This is the amount of work electricity can do, measured in Watts. It's simply Voltage multiplied by Current (W = V x A). When people ask "How much power does my fridge use?" they're usually referring to wattage.
- Resistance (Ω): This is how much a material opposes the flow of electricity. Wires have resistance, and resistance generates heat. Longer, thinner wires have higher resistance. You'll want to minimize resistance where possible.
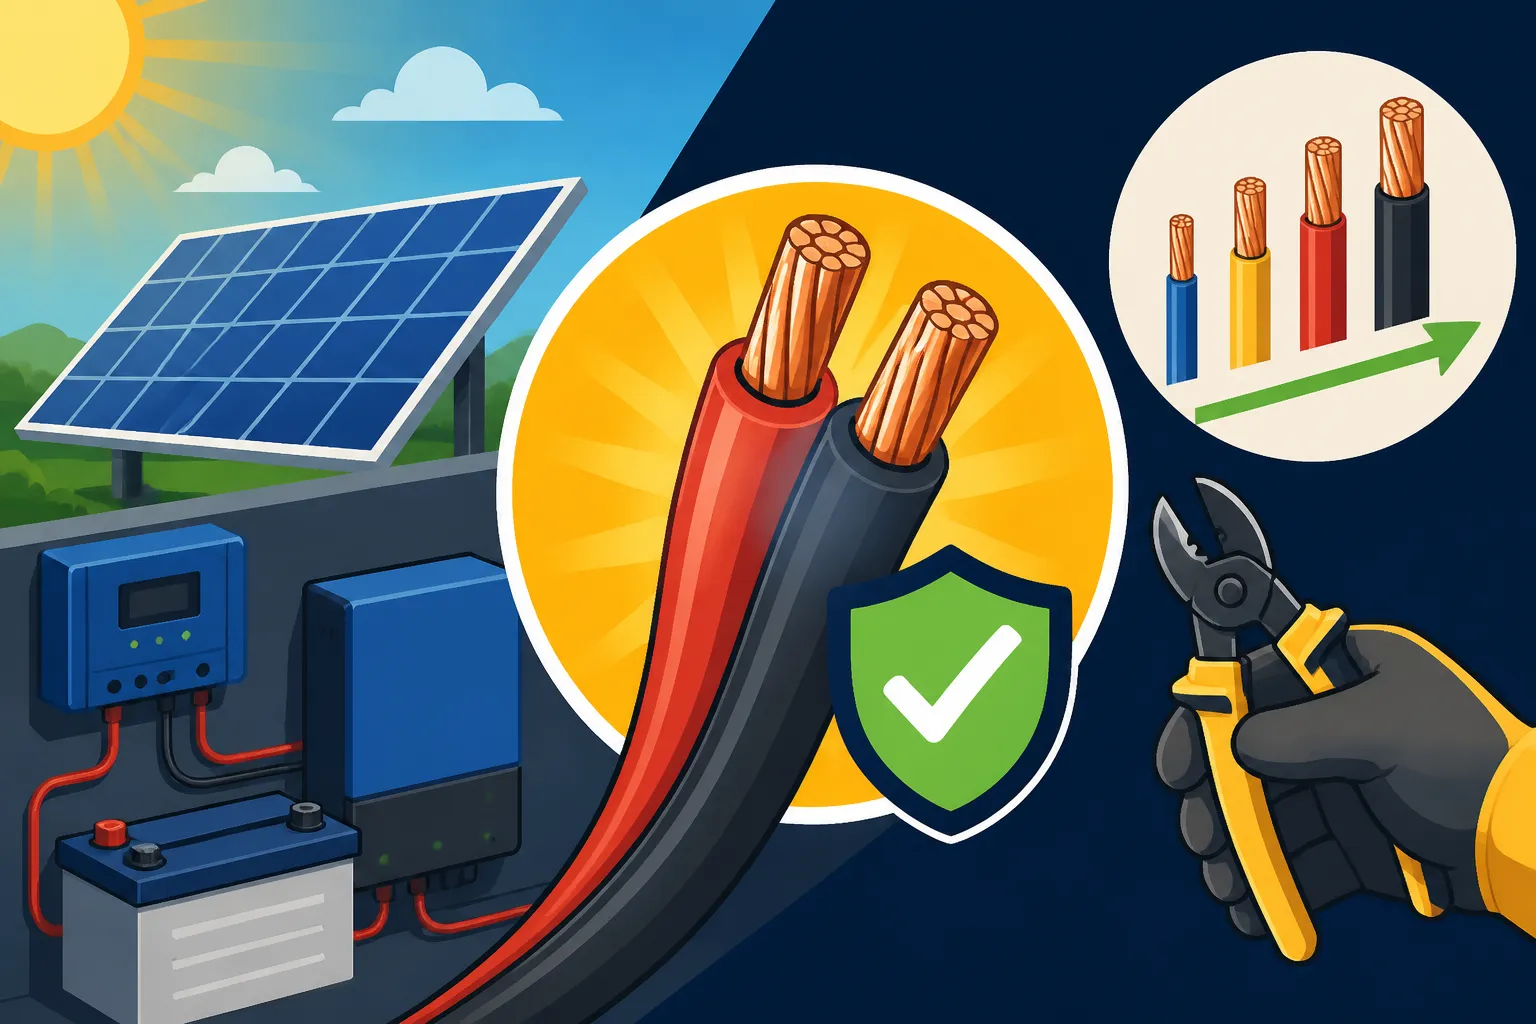
- Wire Gauge: This refers to the diameter of the wire. In the American Wire Gauge (AWG) system, confusingly, smaller numbers indicate thicker wires. For instance, 10 AWG wire is thicker than 14 AWG wire. For larger off-grid systems, you might even see large numbers like 2/0 (pronounced "two aught") or 4/0, which are very thick cables.
Understanding these terms is your first step toward confidently sizing your off-grid wiring. It's like learning the alphabet before you can read a book – they are fundamental to navigating the electrical world of your solar setup.
Step-by-Step Guide to Calculating Wire Gauge
Now, let's get down to the nitty-gritty: how to actually figure out what size wire you need. This isn't rocket science, but it does require careful measurement and a bit of math. The goal is to select a wire that can safely carry the maximum current your system will ever draw, without excessive voltage drop, and without overheating. We’re aiming for robust and reliable, not just barely adequate. This calculation is a critical part of how to size an off-grid solar system.
Determining Your Current Amperage
The very first thing you need to know is the maximum current (amperage) that will flow through a particular wire. This is determined by the load (appliance) or source (solar panels, battery bank) it's connected to.
-
For individual appliances (DC loads): Look for the current rating directly on the appliance label (usually in Amps or Watts). If it's only in Watts, divide the Watts by your system's DC voltage (e.g., 12V, 24V, 48V) to get Amps.
- Example: A 12V LED light rated at 24 Watts will draw 24W / 12V = 2 Amps.
- Always add a buffer, especially for starting (surge) currents for motors. Multiply your running amperage by 1.25 for continuous loads (running for 3+ hours) to comply with National Electrical Code (NEC) guidelines. For intermittent loads, a 1.25 factor for surge might be adequate, but it's best to check appliance specs.
-
For your solar array to charge controller: You'll need to know the maximum current your solar panels can produce. Add up the maximum power point current (Imp) for each panel if wired in parallel, or use the Imp of a single panel if wired in series. Then, apply a safety factor of 1.25 (NEC requirement for PV circuits).
- Example: If you have two 100W panels, each with an Imp of 5.5A, wired in parallel on a 12V system, your total Imp is 11A. With the 1.25 factor, you're looking at 11A * 1.25 = 13.75A. This is the current going from your panels to your charge controller.
-
For your charge controller to battery bank: The charge controller's output current rating is your guide here. If you have a 60A MPPT charge controller, that's your maximum current. Again, factor in 1.25 for continuous charge if you expect it to be pushing full power for extended periods.
-
For your battery bank to inverter: This is often the highest current section and requires the thickest cables. Take the continuous Wattage rating of your inverter and divide it by your battery bank voltage. Then, add a safety factor of 1.25 to account for continuous operation and potential surges.
- Example: A 2000W pure sine wave inverter on a 12V system could draw 2000W / 12V = 166.67 Amps. With the 1.25 safety factor, you need cabling capable of handling 208 Amps! This highlights why higher voltage systems (like 48V) are beneficial for larger power draws; a 2000W inverter on a 48V system only draws 41.67 Amps, making cable sizing much easier and less expensive.
Keep a running list of these maximum currents for each segment of your system. This detailed approach is part of designing an off-grid solar system step by step.
Measuring Your Wire Run Length
The length of the wire run directly impacts voltage drop and resistance. A "run" means the total distance the electricity travels from the source to the load and back. So, if your solar panel is 20 feet from your charge controller, your wire run length is 40 feet (20 feet positive, 20 feet negative).
Accurate measurement is crucial here. Don't just eyeball it. Use a tape measure and account for any bends, drops, or routing complexities. Longer runs mean more resistance and more voltage drop, necessitating thicker wire to compensate. This is where many DIYers make mistakes, leading to frustrating power losses.
Accounting for Voltage Drop
Voltage drop is the enemy of efficiency in off-grid systems. It occurs because wires have resistance, and some voltage is "lost" as heat over the length of the wire. We aim for a minimal voltage drop to ensure your appliances get the power they need and your batteries charge efficiently.
The generally accepted maximum voltage drop for most DC off-grid circuits is 2-3%. For critical circuits like the battery-to-inverter run, some experts even recommend aiming for less than 1%.
Here's the formula for calculating voltage drop, which helps you choose the right wire size:
Voltage Drop = (2 x K x I x L) / CM
Where:
- 2 is for the two conductors (positive and negative)
- K is the resistivity of the conductor material (10.7 for copper, 17.7 for aluminum – use copper for off-grid!)
- I is the current in Amperes
- L is the one-way length of the wire run in feet (so, if your actual wire is 40 feet long, L is 20 feet)
- CM is the circular mil area of the wire (a measure of its cross-sectional area). This value is what you'll look up in a wire gauge chart after you calculate the maximum allowable CM.
To make it easier, most people use online voltage drop calculators or wire sizing charts. You input your voltage, amperage, and length, and the calculator or chart will tell you the minimum AWG size needed to stay within your desired voltage drop percentage. A great chart for wire sizing can be found below, which helps cross-reference wire gauge with current capacity and circular mils.
| AWG Gauge | Diameter (inches) | Circular Mils (CM) | Max Amps (12V @ 3% drop, 20ft run) | Max Amps (24V @ 3% drop, 20ft run) | Max Amps (48V @ 3% drop, 20ft run) |
|---|---|---|---|---|---|
| 14 | 0.0641 | 4,107 | 10A | 20A | 40A |
| 12 | 0.0808 | 6,530 | 15A | 30A | 60A |
| 10 | 0.1019 | 10,380 | 25A | 50A | 100A |
| 8 | 0.1285 | 16,510 | 35A | 70A | 140A |
| 6 | 0.1620 | 26,240 | 50A | 100A | 200A |
| 4 | 0.2043 | 41,740 | 70A | 140A | 280A |
| 2 | 0.2576 | 66,360 | 95A | 190A | 380A |
| 1 | 0.2893 | 83,690 | 115A | 230A | 460A |
| 1/0 (0) | 0.3249 | 105,600 | 135A | 270A | 540A |
| 2/0 (00) | 0.3648 | 133,100 | 150A | 300A | 600A |
| 4/0 (0000) | 0.4600 | 211,600 | 195A | 390A | 780A |
Note: The "Max Amps" columns are approximate and assume standard operating temperatures and direct current (DC) circuits. Always consult specific application requirements and follow safety guidelines.
Always err on the side of slightly thicker wire if you're between sizes. A slightly oversized wire will run cooler and more efficiently, while an undersized wire is a problem waiting to happen. Websites like Amazon offer a wide range of wire gauges, but make sure to confirm the material (copper is best) and insulation rating. For a more detailed look, consider guides on how to size wire and cables.
Selecting the Right Wire Type and Protection
Sizing is only half the battle; choosing the correct type of wire and implementing robust protection devices are equally critical for a safe, reliable off-grid solar system. You wouldn't put cheap tires on a sports car, and you shouldn't put inferior wire in your power system.
Choosing Appropriate Wire Insulation and Material
Not all wire is created equal, and the environment your off-grid system operates in will dictate your choices.
- Material: For almost all off-grid DC applications, copper wire is the gold standard. It has excellent conductivity and is durable. While aluminum is cheaper, it has higher resistance, is more prone to corrosion at connection points, and can expand and contract more, leading to loose connections and potential fire hazards. Stick with copper for reliability and safety.
- Stranded vs. Solid Core: For anything that might experience vibration (like an RV, boat, or even a cabin that settles), or for flexible connections, stranded wire is essential. It's much more flexible and resilient than solid core wire, which can fatigue and break over time. Most automotive and marine applications, as well as general DC power, use stranded wire.
- Insulation Rating: This is absolutely vital.
- UV Resistance: Wires exposed to sunlight (like those running from your solar panels) must be UV-resistant. Look for designations like "PV Wire" or specific jacket types designed for outdoor use. Standard house wire (like Romex) is not designed for outdoor UV exposure and will degrade quickly, exposing bare conductors.
- Temperature Rating: Wires have a maximum operating temperature. Ensure the insulation can handle the ambient temperatures of your installation environment, especially in hot climates or enclosed spaces where heat can build up.
- Wet/Dry Location: Wires designed for wet locations (like outdoors or in damp conduits) will have specific ratings (e.g., THWN, RHW-2). Don't use dry-location-only wire outdoors.
- Marine Grade (Optional but Recommended): If you're building a system for a boat or an exceptionally damp environment, marine-grade wire (often tinned copper) offers superior corrosion resistance. Brands like Renogy offer high-quality solar cabling that is usually UV-resistant and suitable for outdoor use.
Always choose wires that are specifically rated for photovoltaic (PV) systems or outdoor use if they are exposed to the elements. This foresight prevents costly and dangerous failures down the line.
Fuses, Breakers, and Disconnects: Your Safety Net
Even with perfectly sized wires, your system needs protection from unexpected surges, short circuits, or overloads. This is where fuses, circuit breakers, and disconnect switches come into play. They are absolutely non-negotiable for a safe off-grid system and are a key part of any comprehensive off-grid solar wiring diagram.
- Fuses: These are one-time-use devices that contain a metal strip designed to melt and break the circuit if the current exceeds a certain threshold. They offer fast, reliable protection and are typically used in DC circuits, especially between solar panels and the charge controller, and between the battery bank and the inverter. For battery banks, specialized "ANL" or "Class T" fuses are often used due to their high current interruption ratings.
- Circuit Breakers: These are resettable devices that trip (open the circuit) when an overcurrent condition occurs. They are convenient because they can be reset after the fault is cleared. Breakers are common in both AC and DC distribution panels, protecting individual circuits to your loads.
- Disconnect Switches: These manually operated switches allow you to completely isolate parts of your system for maintenance, troubleshooting, or emergencies. You should have disconnects for your solar array (PV disconnect), between your charge controller and batteries, and between your battery bank and inverter. These are critical for safely working on your system, allowing you to cut power without having to physically disconnect wires.
Proper Sizing of Protection Devices:
The rating of your fuse or breaker should be slightly higher than your expected continuous operating current but lower than the maximum current capacity of the smallest wire it protects. For instance, if a wire is rated for 20A, you might use a 15A or 20A fuse/breaker, but never a 30A one. This ensures the protection device blows or trips before the wire overheats and becomes a hazard. This aspect is vital in how to size fuses and breakers for your specific components.
Real-World Scenarios and Common Mistakes
Applying these principles to actual off-grid scenarios can make all the difference between a system that hums along reliably and one that's a constant headache. Let's look at some practical applications and common pitfalls to avoid.
Sizing Wires for Common Off-Grid Appliances
Every appliance has different power demands, which directly impacts the wire size you need. Let's consider a few common ones you might find in an off-grid cabin or RV:
- Refrigerator (12V DC): A typical 12V RV refrigerator might draw 4-6 Amps when running. If your fridge is 20 feet from your battery bank, that's a 40-foot round trip. At 6 Amps, a 10 AWG wire might experience around a 2.5% voltage drop. If you went with 12 AWG, that drop could jump to over 4%, which means your fridge runs less efficiently and your batteries drain faster. For something critical like a fridge, you want minimal voltage drop to ensure consistent cooling and save battery power. You can also explore specific guides like how much solar to run a refrigerator.
- LED Lighting (12V DC): LED lights are generally low-draw. If you have several 12V LED lights totaling, say, 10 Amps on a single circuit, and the longest run is 15 feet (30 feet round trip), 14 AWG wire would likely be sufficient, keeping voltage drop well under 3%. However, if you're lighting an entire workshop with multiple high-power LEDs, you might need a heavier gauge or split into multiple smaller circuits with appropriately sized wires and breakers.
- Water Pump (12V or 24V DC): Well pumps or RV water pumps can have significant surge currents when they start. A 12V water pump might draw 7-10 Amps running, but could spike to 15-20 Amps momentarily. If your pump is 30 feet from your battery (60-foot round trip), and you want to ensure it gets enough starting power, you might opt for 8 AWG or even 6 AWG wire to handle the surge and minimize voltage drop during operation. This ensures the pump runs robustly and prolongs its lifespan. Learning how much solar to run a well pump can help you plan.
- Inverter to AC Outlets: For your AC loads, the wiring within your cabin or RV typically uses standard AC wiring practices (e.g., 14 AWG for 15A circuits, 12 AWG for 20A circuits), but the critical run is from your battery bank to your inverter. As discussed, this often carries the highest current. A 3000W inverter on a 24V battery bank will continuously draw around 125 Amps (plus the 1.25 safety factor), meaning you'd need extremely thick cables, possibly 2/0 AWG or 4/0 AWG depending on the length of the run. This is a common area where oversizing slightly pays dividends in efficiency and safety.
Remember to consider continuous loads versus intermittent loads. Any appliance that runs for more than three hours (like a refrigerator or fan) is considered a continuous load, and you must apply that 1.25 safety factor when calculating current to comply with electrical codes.
Pitfalls to Avoid in Off-Grid Wiring
Even seasoned DIYers can make mistakes. Being aware of these common pitfalls can save you a lot of grief:
- Ignoring Voltage Drop: This is perhaps the most common and frustrating mistake. An undersized wire might technically carry the current, but if your voltage drops too much, your devices won't work correctly, and your system will be inefficient. Always calculate voltage drop for every significant wire run.
- Assuming All Wire is the Same: As we discussed, not all wire is created equal. Using standard indoor-rated speaker wire for solar panels, or automotive wire for an inverter connection, is a recipe for disaster. Always use appropriate gauge, stranded, copper wire with the correct insulation for the environment.
- Poor Connections: Loose, corroded, or poorly crimped connections add resistance, generate heat, and are prime spots for failure. Use high-quality crimpers and terminals. Apply dielectric grease to battery terminals and outdoor connections to prevent corrosion. Ensure all connections are tight and secure.
- Lack of Fuses and Breakers: Skipping these vital safety devices is incredibly dangerous. Every major circuit – from solar panels to charge controller, charge controller to battery, and battery to inverter – absolutely must have appropriate overcurrent protection.
- Improper Grounding: A safe electrical system needs proper grounding. This protects you and your equipment from electrical faults and lightning strikes. Consult local codes or the NEC for proper grounding procedures for your off-grid solar system. This is a critical aspect of Off-Grid Solar Safety and Grounding.
- Not Accounting for Future Expansion: Many people start small and then want to add more panels or batteries. Design your initial wiring with some headroom for future expansion. It's much easier to run slightly thicker conduit or slightly larger wires now than to rip everything out later.
- Overlooking the Cost of Wiring: High-quality, properly sized copper wire can be expensive, especially for larger systems. Don't let the cost tempt you into undersizing. The safety and efficiency benefits far outweigh the upfront savings of cheaper, smaller wire.
- Messy Wiring: A tangled spaghetti of wires isn't just ugly; it's harder to troubleshoot, more prone to damage, and can be a fire hazard. Organize your wiring with zip ties, conduit, and clear labeling. This makes future maintenance and troubleshooting much simpler. If you want a visual aid, check out common off-grid wiring mistakes.
By diligently following these guidelines and double-checking your calculations, you can build an off-grid solar system with wiring that is not only safe but also highly efficient and reliable for years to come.
Disclaimer
The information provided in this guide is for general informational and educational purposes only. While we strive to offer accurate and up-to-date advice, off-grid solar system design and installation involve electrical work that can be dangerous if not performed correctly. Always consult with qualified professionals and adhere to all local electrical codes and regulations. Proceed with caution and at your own risk.