How to Size an Off-Grid System for a Rv
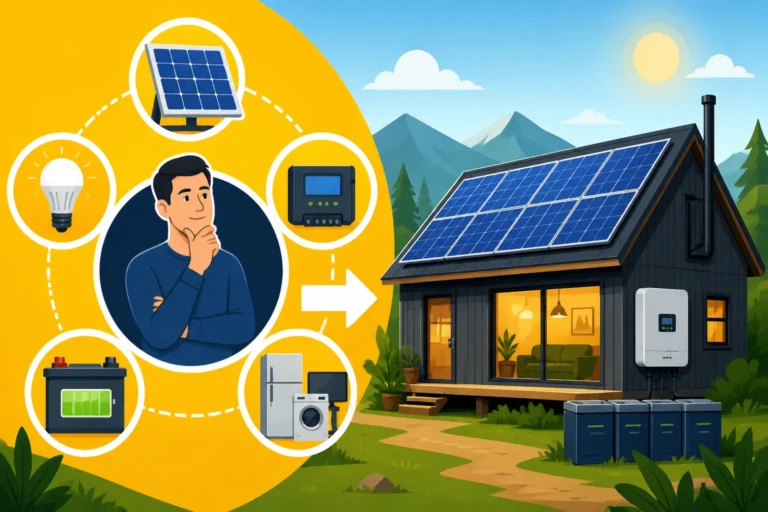
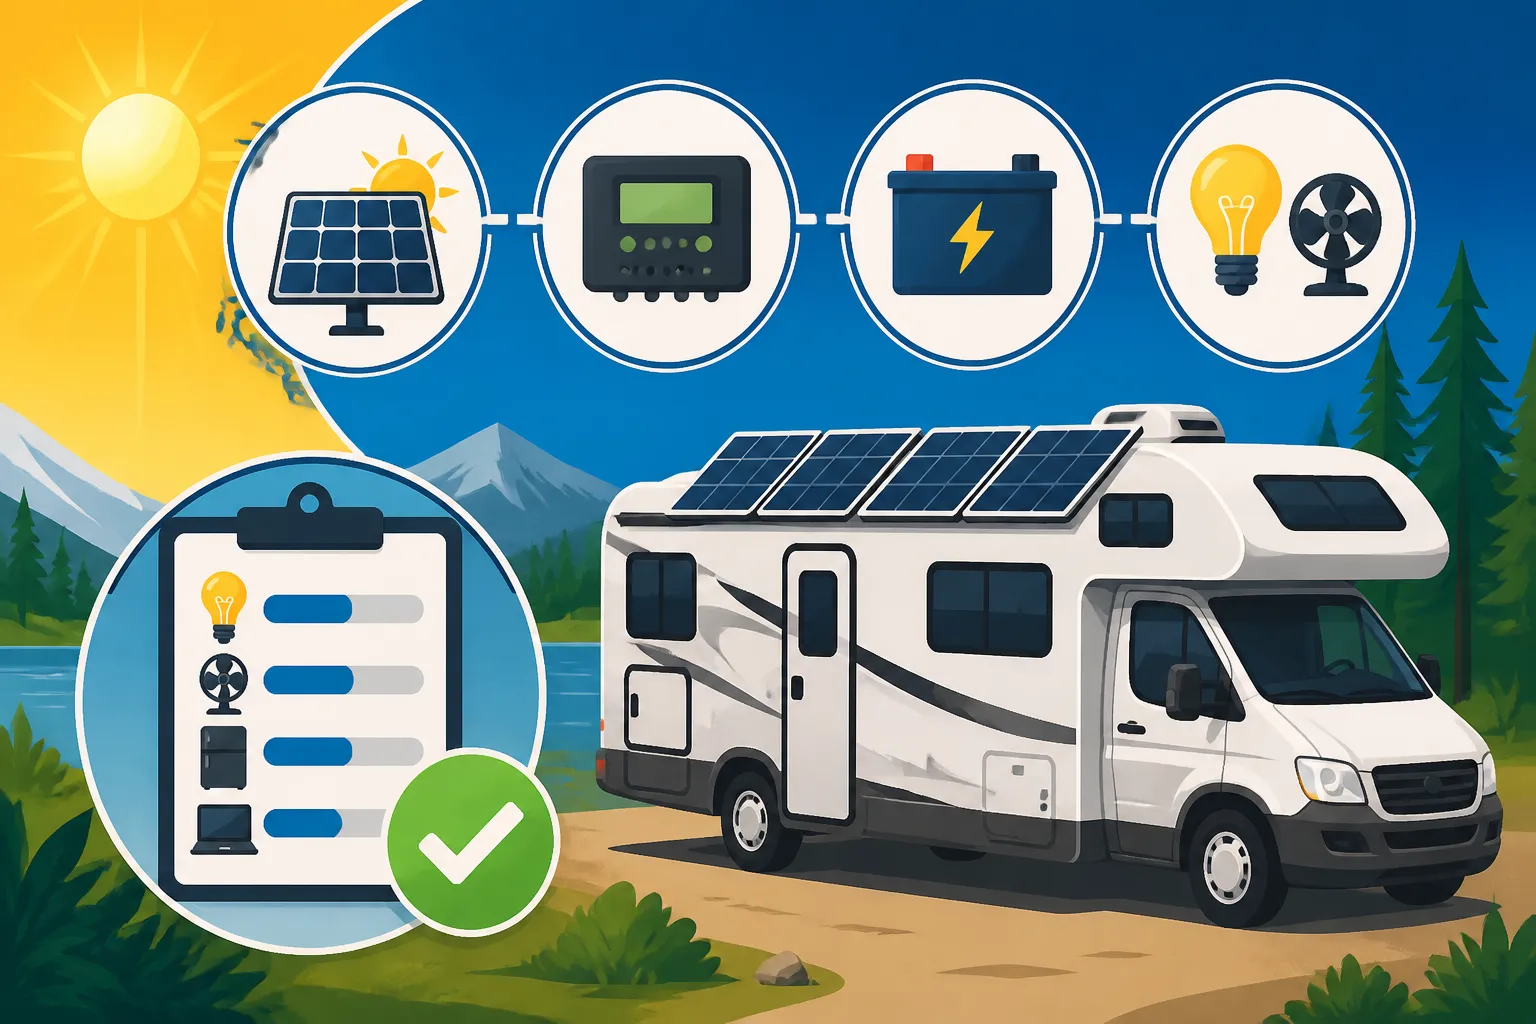
One of the biggest headaches for RV owners who dream of truly hitting the open road, far from crowded campgrounds and noisy generators, is figuring out how to get reliable power. It's a common frustration to feel tethered to shore power or constantly worrying about how many hours are left on your small battery bank. This guide is here to walk you through the entire process of accurately sizing an off-grid solar system for your RV, ensuring you have the independence and comfort you desire, whether you're parked by a serene lake or adventuring deep in the wilderness.
Understanding Your RV's Power Needs
Before you even think about buying solar panels or batteries, the absolute first step is to understand what you actually need to power. This isn't just a guessing game; it's a careful audit of every single electrical device you plan to use in your RV. Many people jump straight to buying a kit, only to find it either drastically undersized, leaving them constantly running out of juice, or vastly oversized, meaning they spent way more money than necessary. Taking the time here will save you so much grief (and money!) down the line.
Conducting a Detailed Energy Audit
To begin your energy audit, grab a pen and paper or open a spreadsheet. You're going to list every appliance and electronic device in your RV, from the smallest phone charger to the biggest microwave or air conditioner. For each item, you need to find its power consumption, usually measured in watts (W), and estimate how many hours per day you plan to use it. You can often find wattage information directly on the appliance label, in the user manual, or by doing a quick online search. Don't forget items like your water pump, lights, fan, and any entertainment systems.
Let's consider a practical example. Imagine you're living in your RV full-time. You might have a small 12V refrigerator (around 40-60W running, but it cycles), LED lights (5-10W each, used for a few hours), a laptop (60W for 3-4 hours), a fan (20W for 8 hours), and you'll probably charge your phone (10W for 2 hours). You also want to run a microwave for 10 minutes (1000W) to heat some leftovers and a coffee maker (800W) for 15 minutes each morning. This detailed list, including both continuous and intermittent loads, is the cornerstone of your solar system design. For more in-depth calculations, you might find our guide on how to do an off-grid load analysis incredibly useful.
Calculating Daily Watt-Hours and Amp-Hours
Once you have your list, it's time to crunch some numbers to determine your total daily energy consumption. For each appliance, multiply its wattage by the number of hours you use it per day. This gives you its daily watt-hours (Wh). For example, a 60W laptop used for 4 hours is 240Wh per day. Summing up all these individual watt-hours will give you your total daily AC (alternating current) watt-hour usage. Remember, some items like refrigerators cycle, so their "use" might be spread out, but their total daily consumption is what matters.
For your DC (direct current) appliances, like many RV lights or fans, you can calculate their daily amp-hours (Ah) directly by multiplying their amperage by the hours used. However, it's often easier to convert everything to watt-hours first, and then to amp-hours at your system voltage (usually 12V, 24V, or 48V for RVs). Let's say your total daily AC watt-hours come to 2000 Wh. If you have a 12V system, you'd divide 2000 Wh by 12V to get approximately 167 Ah. This amp-hour figure is critical for sizing your battery bank. Understanding watts vs watt-hours vs amp-hours explained can simplify this process significantly.
Sizing Your Solar Panel Array for an RV
With your daily energy needs calculated, you can now turn your attention to the power generators: your solar panels. The goal here is to install enough panels to consistently recharge your battery bank and meet your daily power demands, even when the sun isn't shining its brightest. This is where many RVers get it wrong, either underestimating their needs or overlooking crucial environmental factors.
Considering Peak Sun Hours and Shading
Solar panel output isn't constant; it varies wildly depending on several factors. The most important is "peak sun hours" – the equivalent number of hours per day when sunlight intensity averages 1,000 watts per square meter. This value changes significantly with your geographical location and the time of year. For instance, someone RVing in Arizona in July will have many more peak sun hours than someone in Washington in December. You can find average peak sun hour maps online for your typical travel areas.
Another massive consideration for RVs is shading. Trees, other vehicles, even roof-mounted AC units or vents can cast shadows on your panels, drastically reducing their output. If even one cell in a panel is shaded, it can bring down the output of the entire panel, or even a series of panels. When planning your layout, try to maximize unshaded areas. If you anticipate frequent shading, you might consider having multiple smaller panels rather than one large one, or even portable panels that can be moved into direct sunlight. Our guide on how to account for cloudy days goes into more detail about these environmental impacts.
Choosing the Right Panel Type and Wattage
When it comes to RV solar panels, you generally have a few types to choose from: rigid framed panels and flexible panels. Rigid panels, like those often found from brands such as Renogy, are durable, efficient, and typically offer the best watt-per-dollar value. They require mounting brackets and usually sit slightly above the RV roof, which helps with cooling (panels lose efficiency when they get too hot). Flexible panels are lightweight and can be glued directly to curved surfaces, making them great for stealth setups or unusual roof shapes, but they tend to be less efficient and may degrade faster due to heat buildup, as they lack airflow.
The wattage of individual panels varies widely, from small 50W panels ideal for trickle charging to large 400W panels for serious power generation. For an RV, it's often a balance between total wattage needed and available roof space. If you calculated a daily need of 2000 Wh and you get, say, 5 peak sun hours per day, you'd need approximately 400W of panels (2000Wh / 5h). However, you'll want to add a buffer (20-30% extra) to account for less-than-ideal conditions, panel degradation, and cloudy days. So, you might aim for 500-600W of panels to ensure consistent performance. You can find a wide variety of these panels, along with mounting hardware, on platforms like Amazon.
Sizing Your RV Off-Grid Battery Bank
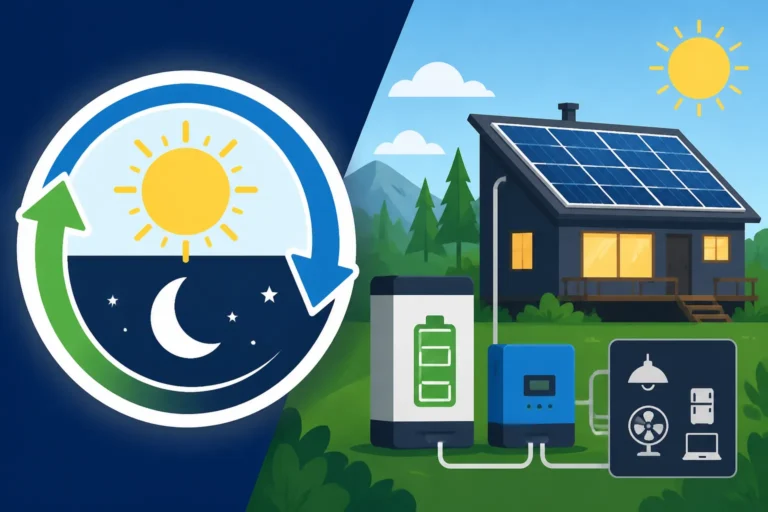
Your battery bank is the heart of your off-grid RV solar system. It stores the energy generated by your panels so you can use it day and night, even when the sun isn't shining. Without a properly sized battery bank, all the solar panels in the world won't keep your lights on after dusk. This is where most off-grid systems fail if not thought through carefully.
Determining Days of Autonomy
"Days of autonomy" refers to how many days your battery bank can power your RV without any additional charge from solar panels or a generator. For RVers, this is a critical consideration. Are you a weekend warrior who occasionally boondocks for a night or two, or do you plan to live off-grid for weeks at a time, potentially in areas with variable weather? For most casual RVers, 1-2 days of autonomy might be sufficient. However, for full-time living or extended remote trips, 3-5 days is a much safer bet, especially if you anticipate stretches of cloudy weather or want to run more power-hungry appliances like a microwave or a small electric heater.
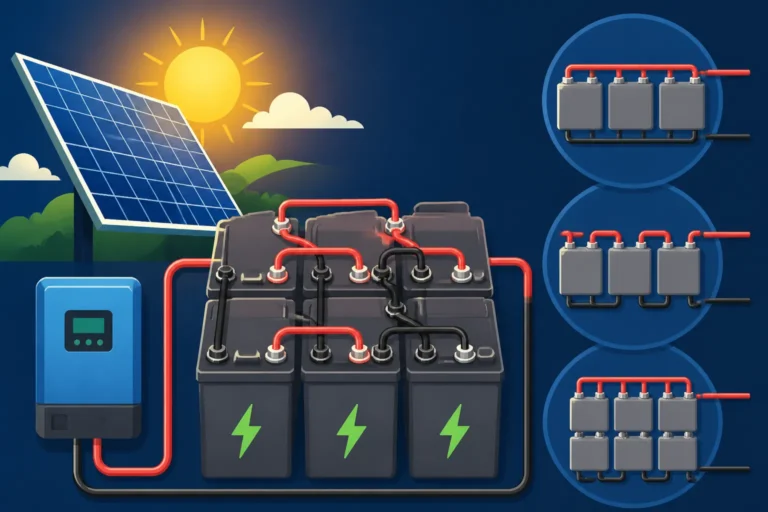
To calculate your battery bank size based on days of autonomy, simply multiply your daily watt-hour or amp-hour consumption by your desired number of days. If you use 167 Ah per day (from our earlier example) and want 3 days of autonomy, you'd need a minimum of 501 Ah of usable battery capacity. This number is crucial because not all battery types allow you to use 100% of their rated capacity without damage. Our in-depth article on how many batteries for an off-grid system provides further details on these calculations.
Selecting Battery Chemistry and Capacity
This is perhaps the biggest decision point for your RV battery bank. You primarily have two main choices: lead-acid (including flooded, AGM, and Gel) and lithium iron phosphate (LiFePO4).
- Lead-Acid Batteries: These are generally cheaper upfront but have significant drawbacks for off-grid RV use. They are heavy, require more maintenance (especially flooded types), and can only be discharged to about 50% of their capacity without severely shortening their lifespan. So, if you need 501 Ah of usable capacity, you'd actually need to buy over 1000 Ah of lead-acid batteries. They also charge slower and are less efficient.
- LiFePO4 Batteries: While more expensive initially, LiFePO4 batteries are a game-changer for RV solar. They are much lighter, can be discharged to 80-100% of their capacity, have a significantly longer lifespan (thousands of cycles vs. hundreds for lead-acid), charge much faster, and are far more efficient. If you need 501 Ah of usable capacity, you can get very close to that with a 500-600 Ah LiFePO4 bank. Brands like Battle Born or even many options on Amazon offer excellent LiFePO4 batteries specifically designed for deep-cycle applications. Despite the higher initial cost, the lifetime cost of an off-grid solar system with LiFePO4 often proves to be more economical due to their longevity and performance.
When calculating the final battery capacity, always convert your daily watt-hours into amp-hours at your chosen system voltage (e.g., 12V). For example, a 100Ah 12V LiFePO4 battery offers 1200 Wh of usable energy (assuming 100% depth of discharge). If your daily need is 1800 Wh, you'd need at least two of these batteries to meet your daily needs and provide some buffer. Always factor in your system voltage when comparing battery capacity.
Choosing the Right Inverter and Charge Controller
These two components are the unsung heroes of your RV solar system. The charge controller manages the power coming from your solar panels, ensuring your batteries are charged safely and efficiently. The inverter then takes the DC power from your batteries and converts it into usable AC power for your standard household appliances. Without them, your panels and batteries are just expensive paperweights.
Sizing Your Inverter for Peak and Continuous Loads
Your inverter's job is to convert the DC power stored in your batteries (typically 12V, 24V, or 48V) into the AC power (120V) that most of your RV appliances use. When sizing an inverter, you need to consider two main ratings: continuous wattage and surge wattage.
- Continuous Wattage: This is the amount of power the inverter can supply constantly. It needs to be high enough to run all your AC appliances that might be on simultaneously. For example, if you plan to run your laptop (60W), TV (100W), and microwave (1000W) at the same time, you'd need an inverter with at least 1160W continuous power.
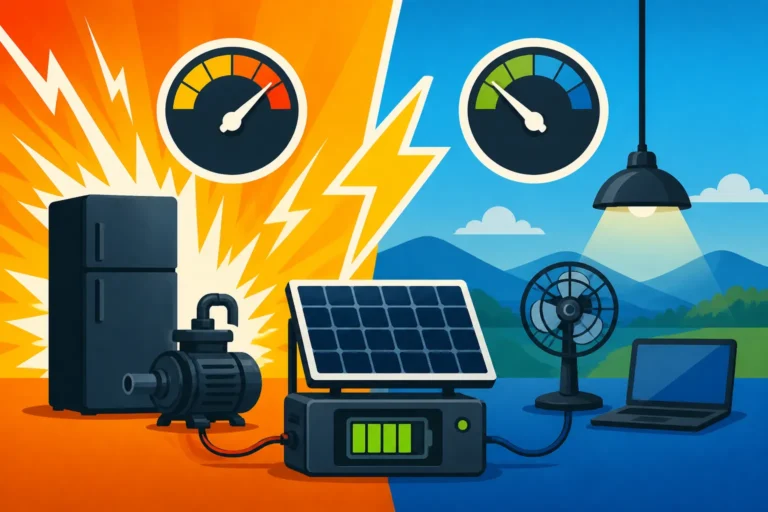
- Surge Wattage: Many appliances, especially those with motors (like a microwave, coffee maker, or air conditioner), draw a much higher amount of power for a very brief moment when they first start up. This is called a surge. Your inverter must be able to handle this momentary surge without shutting down. If your microwave surges to 2000W for a few seconds, your inverter needs a surge rating that can accommodate that. Most quality inverters will list both their continuous and surge ratings. A pure sine wave inverter is highly recommended for RVs, as it provides clean power that's safe for all electronics, unlike cheaper modified sine wave inverters that can damage sensitive equipment. For a typical RV with a microwave and possibly a small air conditioner, a 2000W to 3000W inverter is often a good starting point. You can explore options for the best off-grid solar inverters to find one that fits your needs.
Selecting a Charge Controller for Efficient Charging
The charge controller is the intelligent link between your solar panels and your battery bank. Its primary role is to regulate the voltage and current coming from your solar panels to prevent overcharging your batteries, which can severely damage them. There are two main types:
- PWM (Pulse Width Modulation) Controllers: These are simpler, less expensive, and generally less efficient. They effectively "clip" the voltage from your panels to match your battery voltage. They are best suited for smaller systems where the voltage of your panels closely matches your battery bank's voltage.
- MPPT (Maximum Power Point Tracking) Controllers: These are more advanced and significantly more efficient, especially in larger systems or when there's a significant voltage difference between your panels and batteries (e.g., using high-voltage house panels to charge a 12V RV battery bank). MPPT controllers can convert excess voltage into amperage, maximizing the power harvested from your panels, particularly in sub-optimal conditions like partial shading or cooler temperatures. For any serious off-grid RV setup, an MPPT charge controller is almost always the superior choice.
Sizing your charge controller correctly is critical. It needs to be able to handle the maximum current that your solar array can produce. If you have 600W of 12V panels, for instance, and your system operates at 12V, your panels might produce up to 50 amps (600W / 12V = 50A). You'd want a charge controller rated for at least 50A, with a buffer, so perhaps a 60A controller. Always check the maximum input voltage rating of the charge controller to ensure it can handle your panel array's open-circuit voltage (Voc), especially if you're wiring panels in series. Our guide on how to size a charge controller provides detailed steps for this calculation. Brands like Victron Energy or Renogy offer reliable MPPT charge controllers that are popular among RV enthusiasts.
By carefully considering all these components and doing your homework on your specific RV needs, you can design a robust and reliable off-grid solar system that provides true freedom on the road.
| Appliance Group | Example Appliances | Typical Wattage Range (W) | Est. Daily Use (Hours) | Est. Daily Watt-Hours (Wh) |
|---|---|---|---|---|
| Cooking | Microwave | 600-1500 | 0.25 (15 mins) | 150-375 |
| Coffee Maker | 600-1200 | 0.2 (12 mins) | 120-240 | |
| Toaster | 700-1200 | 0.1 (6 mins) | 70-120 | |
| Refrigeration | 12V/DC Fridge (cycling) | 40-70 | 8-12 (total run time) | 320-840 |
| HVAC/Fans | MaxxAir Fan | 30-60 | 4-10 | 120-600 |
| Small AC Unit (e.g., 5000 BTU) | 500-1000 | 2-6 | 1000-6000 | |
| Electronics | Laptop (charging/running) | 40-100 | 2-6 | 80-600 |
| Phone Charger | 5-20 | 1-3 | 5-60 | |
| TV | 50-150 | 2-4 | 100-600 | |
| Starlink (active) | 40-75 | 8-12 | 320-900 | |
| Lighting | LED Lights (per fixture) | 2-10 | 4-8 | 8-80 |
| Water | Water Pump (intermittent) | 30-70 | 0.1-0.5 (total) | 3-35 |
| Other | Hair Dryer | 1000-1800 | 0.1 (6 mins) | 100-180 |
| CPAP Machine | 30-60 | 8 | 240-480 |
Disclaimer
The information provided in this guide is for general informational purposes only and does not constitute professional electrical or solar engineering advice. Off-grid solar systems involve high voltages and currents that can be dangerous. Improper installation or design can lead to serious injury, fire, or damage to equipment. Always consult with a qualified electrician or solar professional before installing or modifying an off-grid solar system. Local codes and regulations may apply to your installation.