How to Add Panels to an Existing System
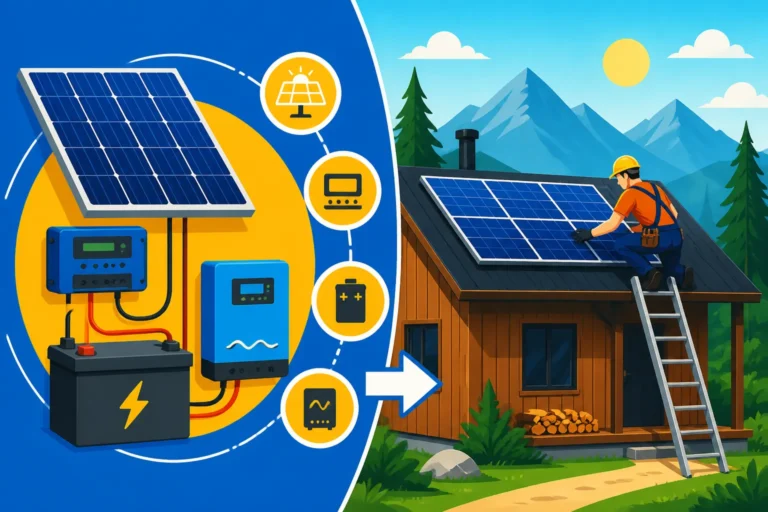
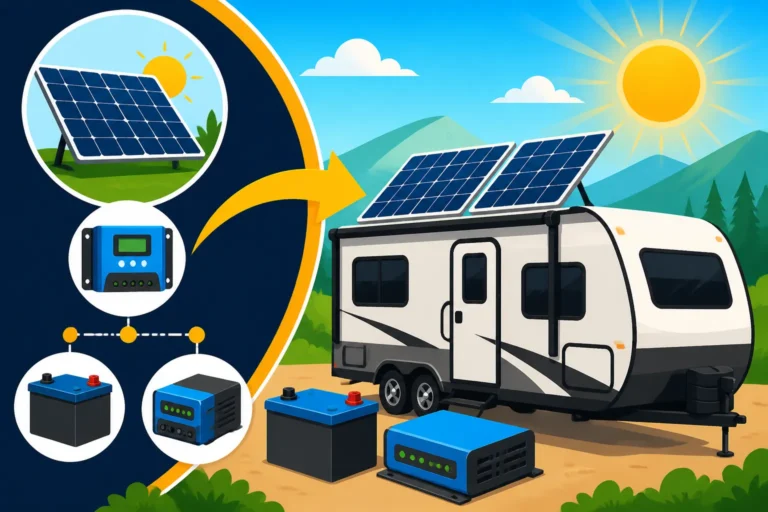
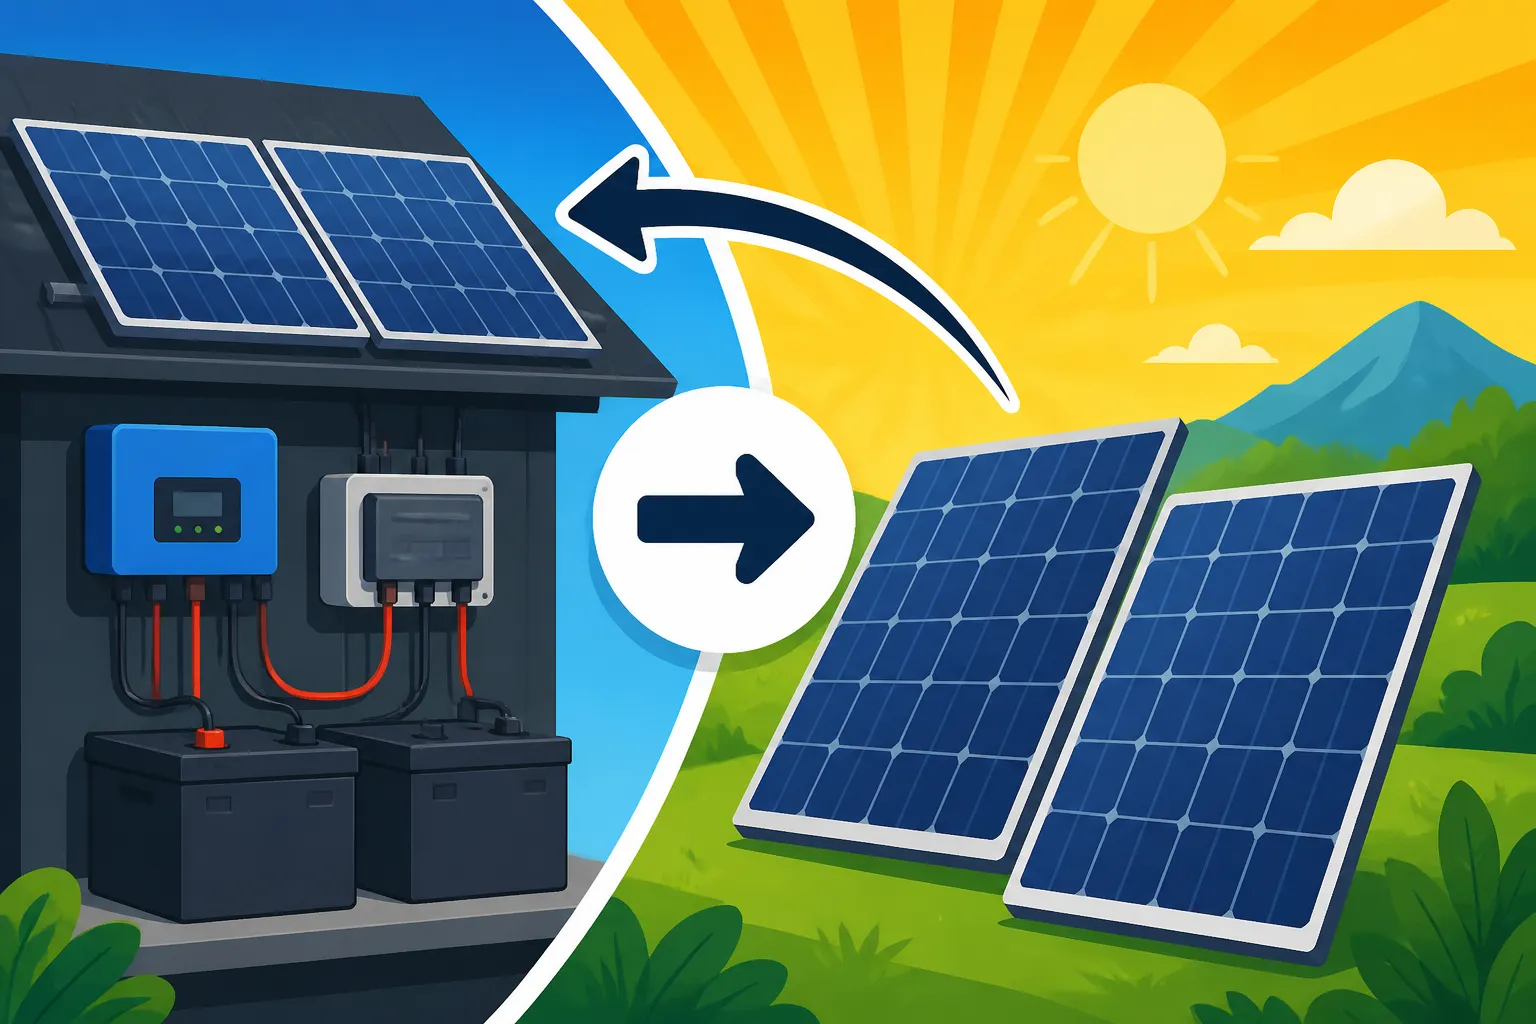
It’s a common scenario for many off-gridders: you set up your solar system, maybe for a cabin or an RV, thinking you’ve got it all figured out, only to find a few months or years down the line that your power needs have grown. Maybe you’ve added new appliances, or perhaps those long winter days are proving tougher than you anticipated. This guide will walk you through the practical steps of how to add panels to an existing system, ensuring your off-grid life remains powered and robust.
Why You Might Need More Solar Panels
Living off-grid is a dynamic journey, and it's rare for your energy needs to stay exactly the same forever. What started as a perfectly adequate system can quickly feel constrained as your lifestyle evolves. Understanding the various reasons why you might need to expand your solar array is the first step toward a successful upgrade.
Increased Energy Demands
Life has a funny way of expanding to fill the space available, and the same often goes for our energy consumption. When you initially planned your off-grid system, you likely made careful calculations based on your current or anticipated needs. However, things change. Perhaps you’ve decided to move a family member into your remote homestead, increasing the demand for lighting, cooking, and entertainment. Or maybe you've finally decided to invest in that energy-efficient but still power-hungry chest freezer you've always wanted, or added a new well pump for a garden expansion. Each new appliance, device, or resident adds to your daily watt-hour consumption, and soon, your battery bank might struggle to keep up, or your existing panels simply can't generate enough juice to fully recharge everything by sundown. It’s not a failure of your initial planning; it's just the natural progression of making your off-grid space more comfortable and functional.
Poor Performance or Shading Issues
Sometimes, the need for more panels isn't about increased consumption, but about underperformance of your current setup. Maybe your initial calculations for "peak sun hours" in your region were a bit optimistic, or you're experiencing more cloudy days than you planned for. Seasonal changes can also play a huge role; a system that works beautifully in the long, sunny days of summer might struggle significantly in the shorter, cloudier, and lower-angle sun of winter. Furthermore, environmental factors can creep up on you. That small sapling you planted five years ago might now be a towering oak casting significant shade on a portion of your array during critical morning or afternoon hours. Even a new shed or a neighbor's structure can suddenly introduce shading you hadn't accounted for, drastically reducing the output of your existing panels. In these cases, adding more panels can compensate for these deficiencies, ensuring you still hit your daily energy targets even when conditions aren't ideal.
Extending System Lifespan or Reliability
Beyond just meeting daily demands, having a bit of an oversized solar array can significantly contribute to the long-term health and reliability of your entire off-grid system. When your panels consistently produce enough, or even a surplus, of power, it means your batteries aren't constantly being drained to very low states of charge. Deep cycling batteries repeatedly shortens their lifespan, especially for lead-acid types. By adding more panels, you can ensure your batteries spend more time at higher states of charge, which is healthier for them, reducing the frequency of needing to Cost to Replace Off-Grid Solar Batteries. An expanded array also provides a crucial buffer for unexpected events, like an extended period of bad weather or a temporary spike in power usage. It’s about building in redundancy and resilience, moving from "just enough" to "comfortably sufficient," giving you peace of mind and extending the life of your expensive battery bank and other components.
Assessing Your Current Off-Grid Solar System
Before you rush out and buy more panels, it's absolutely crucial to take stock of your existing setup. Think of it like a doctor's visit for your electrical system – you need a thorough check-up to understand what's working, what's lacking, and what components might need a little extra support to handle the new additions. Skipping this step can lead to costly mistakes, system inefficiencies, or even dangerous overloads.
Reviewing Your Existing Components
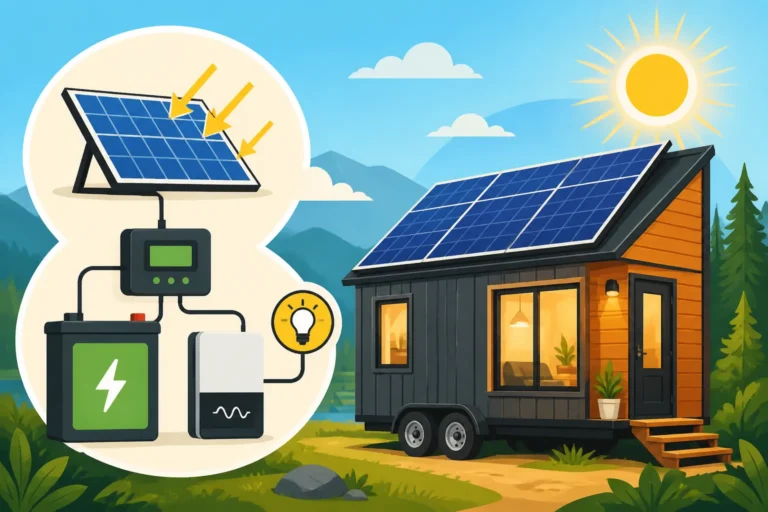
Start by cataloging every piece of your current off-grid solar system. This means looking at your solar panels, your charge controller, your battery bank, and your inverter. For your existing solar panels, note their individual wattage, voltage (Vmpp and Voc), and how they are currently wired (series, parallel, or a combination). For instance, if you have four 100W panels wired in a 2S2P configuration, that’s vital information. Next, examine your charge controller. What is its maximum input voltage (Voc) and current (Amps) capacity? This is perhaps the most critical component to assess, as it dictates how much solar input it can safely handle. You can find this information printed on the unit itself or in its manual. If you have an MPPT charge controller, note its model. For your battery bank, identify the battery type (LiFePO4, AGM, flooded lead-acid), their individual voltage and amp-hour (Ah) rating, and how they are wired. Finally, check your inverter’s continuous wattage rating and surge capacity. You might find that one of your current components, like a Renogy Rover 40 Amp MPPT charge controller, might already have enough headroom to handle a few more panels, or it might be at its limit. This thorough review helps determine which parts can stay and which might need an upgrade.
Calculating Your New Energy Needs
This is where you revisit your load analysis, but with your updated lifestyle in mind. Grab a pen and paper, or fire up a spreadsheet. List every appliance and device you plan to power, both existing and new additions. For each item, note its wattage and how many hours per day you expect to use it. For example, if you're adding a mini-split air conditioner, you'll need to know its running wattage (often found on the spec sheet or appliance label) and how many hours you plan to run it daily. Don't forget peak usage times or surge loads from motors like refrigerators or well pumps, which briefly draw significantly more power than their running wattage. Sum up all these watt-hours to get your new total daily energy consumption. For more details on this, you might want to read our guide on How to Calculate Off-Grid Solar Needs. Having a precise figure for your daily energy consumption in watt-hours is essential for correctly sizing the additional solar panels and confirming your existing battery bank can still meet demand, or if you also need to How Many Batteries for an Off-Grid System.
Checking Component Compatibility and Headroom
Now that you know what you have and what you need, it's time to play matchmaker. Your primary concern will be your charge controller. Can it handle the increased voltage and amperage from your current panels plus the new ones? Refer back to its specifications. If your charge controller has a maximum PV input voltage of 150V and a max input current of 40A, you need to ensure your combined solar array's open-circuit voltage (Voc) doesn't exceed 150V and its short-circuit current (Isc) doesn't exceed 40A, allowing for temperature variations. Going over these limits can damage your charge controller or even create a fire hazard.
Next, consider your inverter. While adding panels directly impacts your charging capacity, your inverter must still be able to handle the peak AC loads from all your appliances. If your new additions include high-draw items like a microwave or power tools, ensure your inverter's continuous and surge wattage ratings are sufficient. Finally, your battery bank. While more panels will charge them faster, you still need enough battery capacity to store that energy for nighttime or cloudy days. If your daily usage has significantly increased, you might find your existing battery bank too small, leading to frequent deep discharges. You can learn more about this crucial aspect in our guide on How to Size an Off-Grid Battery Bank. This critical evaluation will show you exactly what needs upgrading alongside your panels, if anything.
Step-by-Step Guide to Adding Solar Panels
Once you’ve thoroughly assessed your existing system and determined what additional power you need, it’s time to get down to the actual work of integration. This process requires careful planning and attention to detail to ensure safety and optimal performance. Remember, working with electricity can be dangerous, so always prioritize safety, and if in doubt, consult a qualified electrician.
Selecting the Right New Panels
Choosing new panels isn't just about grabbing the cheapest ones you see on Amazon. Compatibility is key. Ideally, you want to match the voltage and wattage of your new panels as closely as possible to your existing ones, especially if you plan to wire them into the same string or parallel connection. Mixing panels with vastly different characteristics can lead to inefficiencies, where the lower-performing panel dictates the output of the entire string, effectively wasting the potential of your higher-performing ones. Look at your existing panels’ Vmpp (maximum power point voltage) and Isc (short-circuit current) and try to find new panels with similar specifications. If you’re purchasing from a reputable brand like Renogy, they often provide detailed datasheets for their panels, making comparisons easier.
Consider the physical size and mounting type too. Do you have space on your roof or ground mount for rigid panels? Or do you need flexible panels for an RV or boat? Monocrystalline panels are generally more efficient and perform better in low-light conditions, making them a good choice for expansion. For a deeper dive into choosing the right panels, check out our guide on How to Choose an Off-Grid Solar Panels. Remember, the goal is to integrate seamlessly, so a little extra effort in panel selection goes a long way.
Wiring New Panels into Your System
This is where the rubber meets the road. How you wire your new panels depends heavily on your existing array’s configuration and the capacity of your charge controller.
- Parallel Wiring: If your existing panels are wired in parallel, adding more panels in parallel is often the simplest approach. This increases the total amperage (current) while keeping the voltage roughly the same. This method is generally safe as long as your charge controller can handle the increased current. Each new panel (or string of panels) will have its positive and negative wires connected to common busbars or a combiner box, which then feeds into your charge controller. Make sure all panels in a parallel connection have similar voltage characteristics.
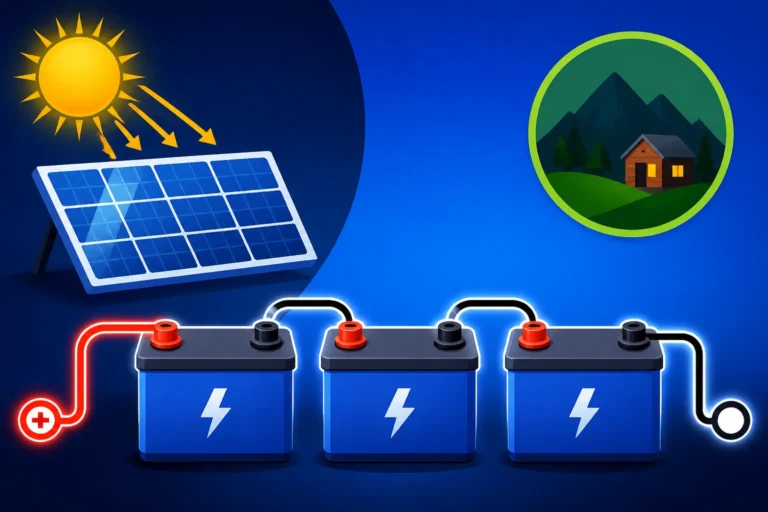
- Series Wiring: If your current panels are in series, adding more panels in series will increase the overall voltage. This is effective for longer wire runs to minimize voltage drop but demands that your charge controller has a high enough maximum input voltage (Voc) rating. All panels in a series string must be identical for optimal performance.
- Series-Parallel Combinations: For larger arrays, you might use a combination. For example, two strings of two panels in series (2S) could then be wired in parallel (2P) to your charge controller. When adding panels, you might create new strings or extend existing ones, always keeping your charge controller's voltage and current limits in mind.
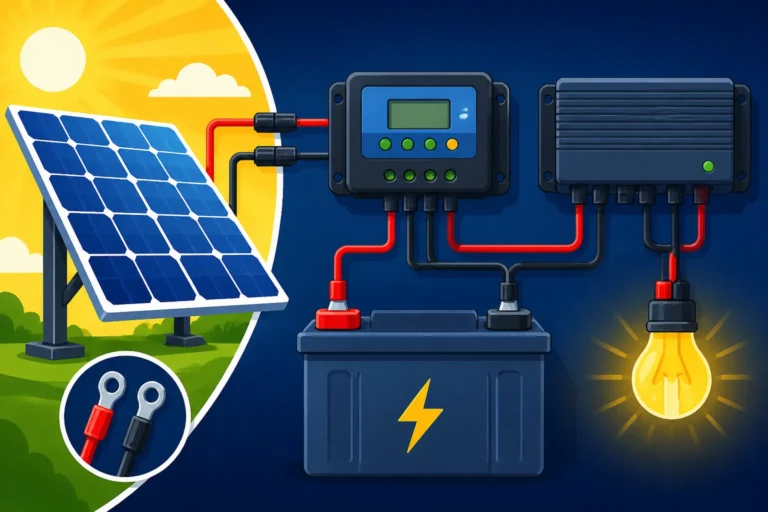
Regardless of the method, always ensure proper wire gauging to handle the increased current, and install appropriate fuses and breakers for safety. A well-labeled Off-Grid Solar Wiring Diagram Explained is invaluable here. If your charge controller's capacity is insufficient, you may need to upgrade it or even add a second charge controller dedicated to the new panels, which then both feed into your battery bank. For detailed instructions on wiring, refer to How to Wire Solar Panels in Series and How to Wire Solar Panels in Parallel.
Upgrading Supporting Components If Necessary
Adding panels isn't always a standalone task; sometimes, it's a catalyst for upgrading other parts of your system.
- Charge Controller: As mentioned, this is often the first component to hit its limit. If your new array’s combined voltage or amperage exceeds your current charge controller’s specs, an upgrade is non-negotiable. Look for a higher-capacity MPPT charge controller that can handle the increased input from your panels and efficiently convert it to charge your batteries. When How to Size a Charge Controller, remember to factor in potential over-paneling for better performance in low light. Brands like Victron Energy or MidNite Solar offer robust charge controllers that handle significant power, though many reliable options are available on marketplaces like Amazon.
- Inverter: While new panels don't directly impact your inverter's ability to convert DC to AC, if your reason for expansion was increased AC load (like a new air conditioner), then your inverter might need an upgrade. Ensure it can handle the new continuous load and any surge currents from motor-driven appliances. A larger pure sine wave inverter will provide cleaner power and handle more demanding appliances.
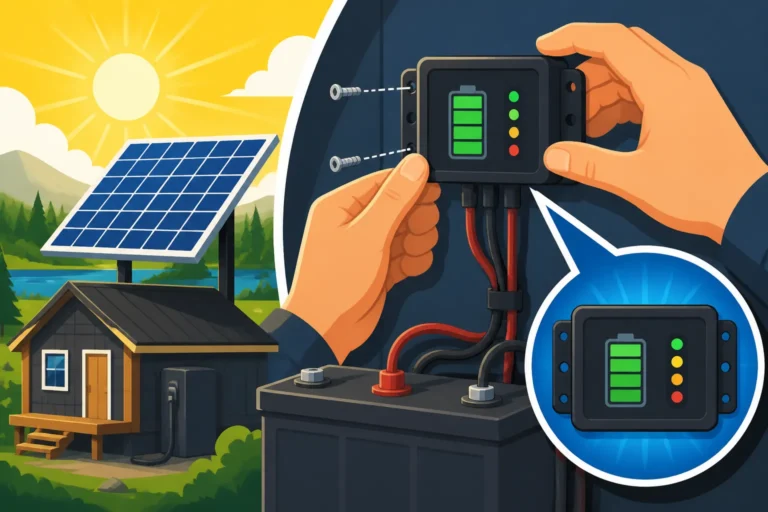
- Battery Bank: More panels mean faster charging, but if your increased energy demands mean you're draining your batteries deeper each cycle, you might need more storage. Expanding your battery bank, especially with LiFePO4 batteries known for their longevity and deep discharge capabilities, ensures you can store all that extra generated power. When adding batteries, it's generally best practice to add new batteries of the same type, age, and capacity as your existing ones to maintain balance and performance. Always verify that your charge controller settings are optimized for your battery chemistry.
Important Considerations for Expansion
Expanding your off-grid solar system is a significant undertaking that goes beyond just bolting on more panels. There are several critical factors you need to consider to ensure your expanded system is safe, efficient, and compliant with any regulations. Overlooking these details can lead to system failures, safety hazards, or legal issues.
Safety First
When dealing with solar panels, especially an existing live system, safety should always be your absolute top priority. Solar panels generate electricity whenever light hits them, even on cloudy days, and this DC voltage can be surprisingly dangerous. Before attempting any wiring or component changes, always disconnect all power sources. This means covering your existing solar panels to stop power generation, disconnecting your battery bank, and ensuring your inverter is turned off and de-energized. Use proper personal protective equipment (PPE) such as insulated gloves, safety glasses, and non-conductive tools.
Proper grounding of your solar array and associated equipment is not just a recommendation; it's a fundamental safety requirement. It protects against lightning strikes and electrical faults. Ensure all metal components of your new panel mounts and frames are properly bonded to an existing grounding rod or system. Additionally, correctly sized fuses and breakers are vital for protecting your wiring and components from overcurrents. If you’re unsure about any aspect of electrical safety or wiring, it’s always best to consult with a qualified solar installer or electrician. Trying to cut corners here is simply not worth the risk.
Future-Proofing Your Expanded System
While you're already in the process of adding to your system, it's a fantastic opportunity to think a little further down the road. What if your needs grow again in another five years? Designing an expandable system from the outset can save you a lot of headaches and expense later. When you upgrade your charge controller, consider one with a higher capacity than your immediate needs. For instance, if you project needing 1000W more, but the next size up controller can handle 2000W, it might be a worthwhile investment. The same goes for your combiner boxes and wiring – install conduit and wire sizes that can accommodate additional runs of cable.
Think about your mounting solution. Is there space to add more rails or another ground mount section? Planning ahead means you won't have to rip out and replace perfectly good infrastructure just to accommodate a few more panels. This approach can make the next expansion significantly simpler and more cost-effective. Investing a little extra now in components that offer more headroom can prevent you from needing to perform a complete overhaul again in the near future. For those thinking about long-term reliability and expansion, our guide on How to Design an Expandable System offers even more insights.
Permitting and Local Regulations
This is often the least exciting part of any home improvement project, but it's incredibly important. Depending on where you live and the size of your expanded system, you might need to obtain permits from your local building department or adhere to specific electrical codes. While many smaller, remote off-grid systems for cabins or RVs might fly under the radar, any significant structural additions (like a new ground mount) or changes to your main electrical system (like upgrading an inverter that connects to an AC distribution panel) could trigger permitting requirements. These regulations are in place for safety and to ensure installations meet minimum standards.
Failure to secure necessary permits can lead to fines, forced removal of your system, or difficulties if you ever decide to sell your property. Before you even start buying components, make a few calls to your local county or municipal planning and zoning office. Ask about requirements for solar installations and any specific rules for off-grid systems. They can clarify what documentation you’ll need, if any inspections are required, and what local electrical codes (like NEC standards) you must follow. Some jurisdictions might even offer incentives for solar, which you wouldn't want to miss. Understanding Off-Grid Solar Permit Requirements upfront can save you a lot of hassle down the line.
Comparing Wiring Methods for Added Panels
| Feature | Series Wiring | Parallel Wiring | Series-Parallel Wiring |
|---|---|---|---|
| Primary Effect | Increases voltage (V) | Increases current (A) | Increases both V and A |
| Best For | Long wire runs, high voltage charge controllers | Short wire runs, low voltage charge controllers | Large arrays, optimizing V and A |
| Panel Matching | All panels must be identical | Panels should have similar voltage | Panels within each series string must be identical |
| Shading Impact | Significant impact on entire string | Less impact, only shaded panel affected directly | Less impact than pure series |
| Charge Controller | Needs high max input voltage (Voc) | Needs high max input current (A) | Needs high input V and A capacity |
| Cable Size | Smaller gauge wire (less current) | Larger gauge wire (more current) | Mixed, depending on section |
| Complexity | Moderate | Simple | Moderate to Complex |
Disclaimer
The information provided in this article is for educational and informational purposes only and is not intended as professional electrical advice. Working with solar electrical systems can be dangerous and should only be undertaken by individuals with appropriate knowledge and experience. Always consult with a qualified electrician or solar professional before making any modifications to your off-grid solar system. Local codes and regulations vary, and it is your responsibility to ensure compliance.