How to Install Off-Grid Solar on a Garage
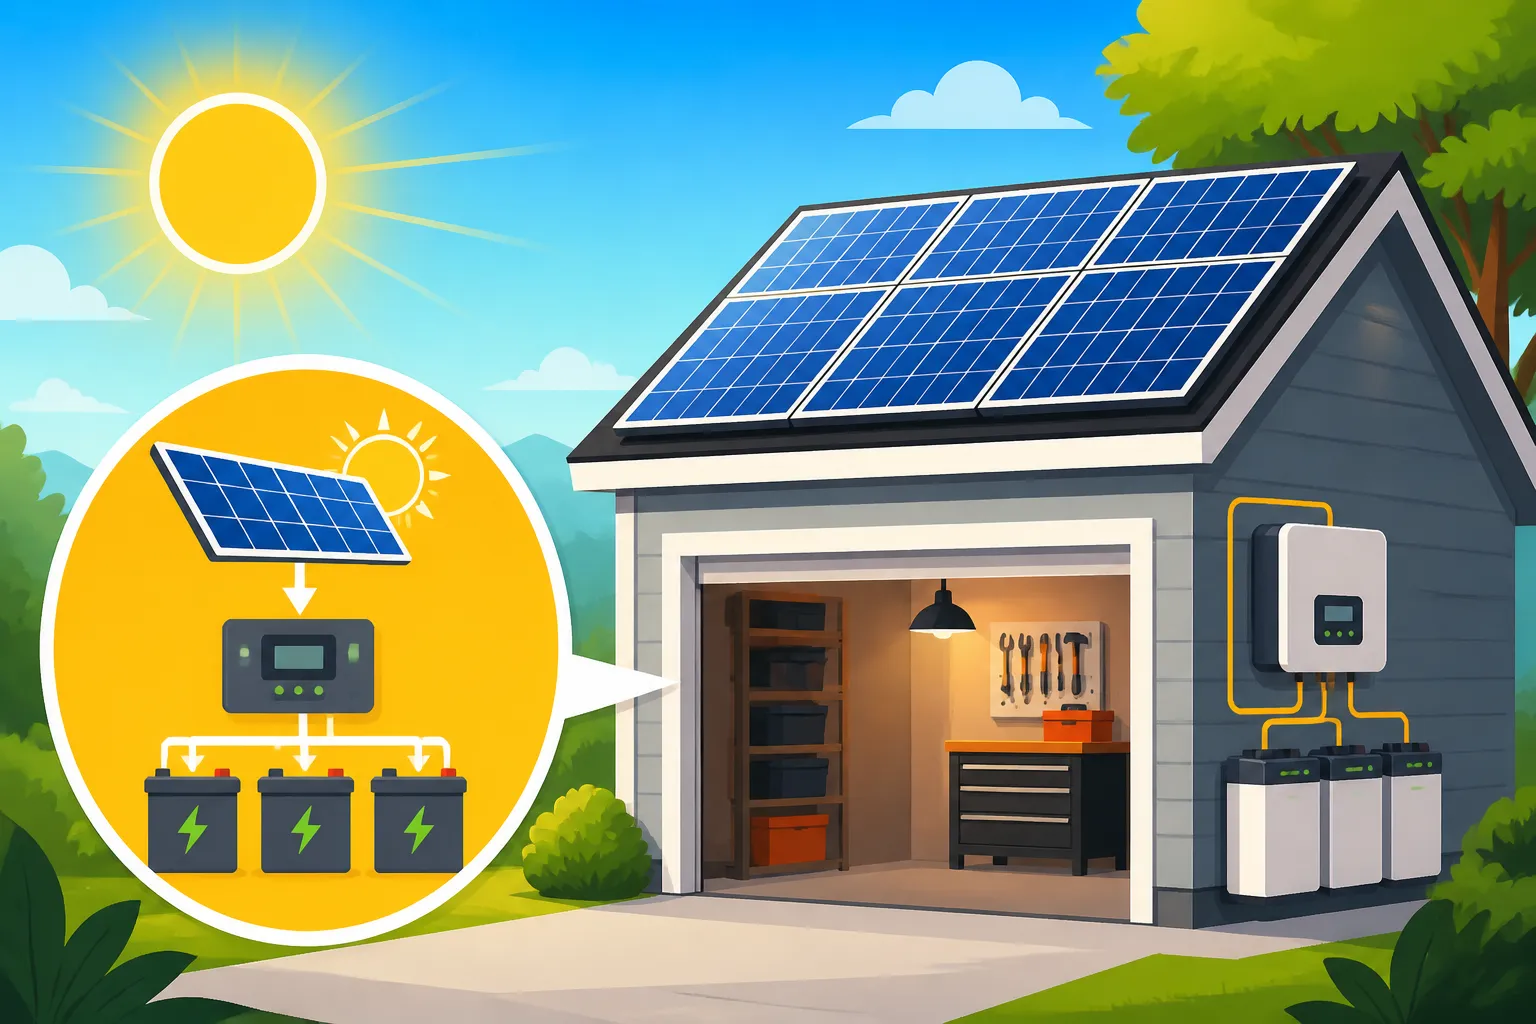
It's incredibly frustrating when you have a detached garage or workshop that's just a little too far from the main house to easily run grid power, or maybe you just don't want to deal with the rising costs and dependency of the utility company. Getting reliable electricity out there can feel like a huge hurdle. This comprehensive guide is here to walk you through the entire process of installing an off-grid solar system on your garage, giving you the freedom and power you need, right where you need it.
Understanding Your Garage's Power Needs and Site Assessment
Before you even think about buying solar panels or batteries, the absolute first step is to figure out what you actually need to power in your garage and where the best spot is to capture that glorious sunshine. This isn't just about throwing some panels on the roof; it's about smart planning to ensure your system meets your expectations.
Calculating Your Energy Load
Let's be real, most garages aren't running central air conditioning and multiple refrigerators. But they do often house power tools, lighting, maybe a mini-fridge for cold drinks, or even a small air compressor. The key here is to make a comprehensive list of every single appliance or device you plan to use in your garage, no matter how small.
For each item, you'll need to find its wattage (how much power it uses) and estimate how many hours per day you'll actually use it. You can usually find the wattage printed on the appliance label or in its manual. Don't forget those sneaky "phantom loads" — devices that draw power even when turned off, like battery chargers or garage door openers in standby mode. Being realistic here is crucial. If you only use your circular saw for 15 minutes a day, don't calculate it as if it's running for hours. A detailed approach to this can be found in our guide on How to Calculate Daily Energy Usage.
Let's look at a quick example for a typical garage setup:
| Appliance | Wattage (W) | Est. Daily Use (Hours) | Daily Watt-Hours (Wh) |
|---|---|---|---|
| LED Shop Lights (x4) | 20 (each) | 4 | 320 |
| Cordless Tool Charger | 100 | 1 | 100 |
| Small Air Compressor | 1500 | 0.25 (15 min) | 375 |
| Radio/Bluetooth Spkr | 20 | 3 | 60 |
| Mini-Fridge | 80 | 8 (cycling) | 640 |
| TOTAL | 1495 Wh |
This example gives us a baseline of nearly 1.5 kilowatt-hours (kWh) per day. This number is your magic key, telling you how much energy your solar panels need to generate and your batteries need to store. If you're planning on running more intensive tools or appliances, like a welder or a larger air conditioner, your total daily watt-hours will jump significantly, requiring a much larger system.
Assessing Your Garage Roof or Ground Space
Once you know your power needs, it's time to scout locations for your solar panels. For most garages, the roof is the natural choice. Walk around your garage throughout the day and observe how the sun hits the roof. Are there any trees, other buildings, or features on your property that cast shadows at different times? Even a small shadow on one panel can drastically reduce the output of an entire string of panels. Southern exposure (in the Northern Hemisphere) is generally ideal for maximizing solar gain.
Consider the condition and pitch of your garage roof. Is it structurally sound enough to support the weight of solar panels and their mounting hardware, especially in areas prone to heavy snow or strong winds? What kind of roofing material do you have? Asphalt shingles, metal, or flat roofs each have different mounting requirements. If your roof isn't ideal due to shading or structural issues, consider a ground mount nearby. Ground mounts offer more flexibility for angling panels optimally and are easier to access for cleaning and maintenance. Remember, the goal is to capture as much unobstructed sunlight as possible.
Choosing System Voltage 12V 24V 48V
The voltage of your off-grid solar system (typically 12V, 24V, or 48V) isn't just a technical detail; it profoundly impacts efficiency, component choice, and overall cost. For a small garage system powering just a few lights and chargers, a 12V system might seem appealing because many small DC appliances are 12V. However, as your power needs grow, higher voltages become much more efficient.
Here's why: higher voltage means lower current (amperage) for the same amount of power. Lower current means you can use thinner, less expensive wiring, and you'll experience less energy loss due to voltage drop over longer cable runs. For a garage with moderate loads, like the example above that includes a mini-fridge and some power tools, a 24V system is often a sweet spot. It offers better efficiency than 12V without the complexity and higher component cost sometimes associated with 48V. For larger setups, especially if you plan to run demanding 240V AC tools, a 48V system is usually the most practical and efficient choice. Our comprehensive guide on How to Size an Off-Grid Solar System delves deeper into this decision.
Essential Components for a Garage Off-Grid Solar System
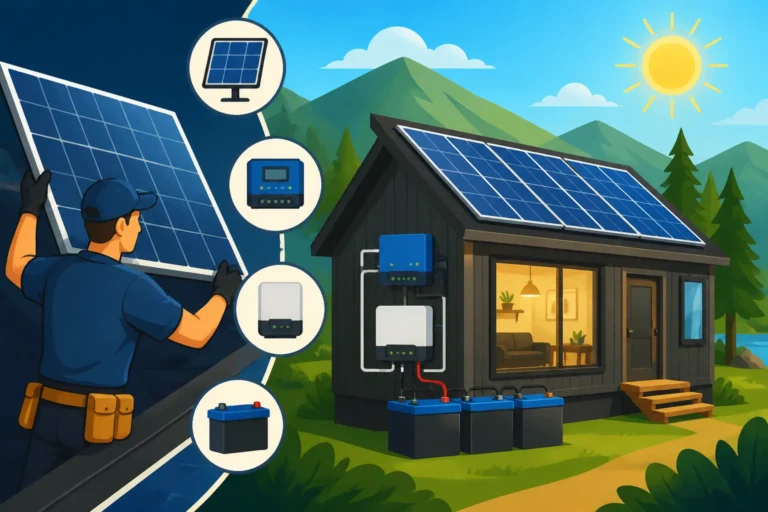
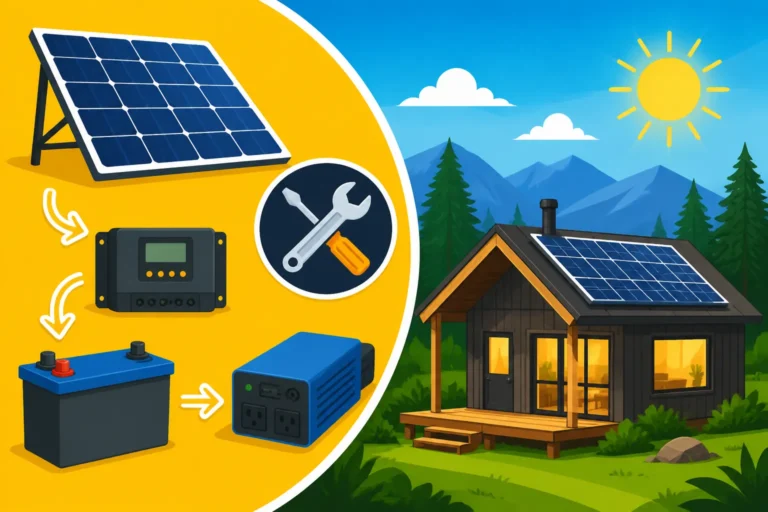
Building an off-grid solar system for your garage involves several key components working in harmony. Think of them as the heart, lungs, and brain of your independent power solution.
Solar Panels Types and Placement
Your solar panels are the workhorses, converting sunlight into electricity. You'll primarily encounter two types: monocrystalline and polycrystalline. Monocrystalline panels are generally more efficient, meaning they produce more power per square foot, which can be a big advantage if your garage roof space is limited. Polycrystalline panels are typically a bit less efficient but can be more cost-effective. For most garage applications, especially if you're looking to maximize output in a smaller footprint, monocrystalline panels are often preferred. Many reliable brands, including Renogy, offer excellent options in both categories, readily available through retailers like Amazon.
When it comes to placement, we've touched on sun exposure, but let's talk specifics. If you're going with a roof mount, ensure the panels are securely attached to the rafters or purlins, not just the roofing material. This is crucial for structural integrity and preventing leaks. Use appropriate flashing and sealants for any penetrations. If a ground mount is your choice, consider a location that won't be shaded by your garage itself or other structures. Ground mounts often allow for adjustable tilt angles, which can be beneficial for optimizing power production throughout the year, especially if you want to maximize winter sun exposure. More details on choosing the right panels are available in our guide on How to Choose an Off-Grid Solar Panels.
Batteries Storage and Chemistry
Batteries are the backbone of any off-grid system, storing the energy generated by your panels for use when the sun isn't shining. Without them, you'd only have power during daylight hours. When considering a garage setup, you'll mainly choose between lead-acid batteries (like AGM or Gel) and lithium iron phosphate (LiFePO4) batteries.
Lead-acid batteries are often cheaper upfront but have a shorter lifespan, require more maintenance (especially flooded lead-acid), and can only be safely discharged to about 50% of their capacity. This means you need double the rated capacity compared to lithium to get the same usable power. LiFePO4 batteries, while more expensive initially, offer a significantly longer lifespan (often 10+ years), can be discharged deeper (80-100%), are lighter, and require virtually no maintenance. For a long-term, reliable garage system, many off-gridders are opting for LiFePO4 batteries despite the higher initial investment. Brands like Battle Born and EG4 offer popular LiFePO4 options. Our article on How to Choose an Off-Grid Battery Bank provides a deeper dive into these options.
Battery capacity is measured in amp-hours (Ah) or kilowatt-hours (kWh). Based on your load calculation, you'll determine how many days of "autonomy" you want – meaning how many days your batteries can power your garage without any sun. For most garage setups, 1-3 days of autonomy is a good target. Remember to factor in efficiency losses for both charging and discharging.
Charge Controllers and Inverters
These two components are critical for managing the flow of electricity.
-
Charge Controller: This device regulates the voltage and current coming from your solar panels to your batteries. It prevents overcharging, which can damage batteries, and ensures they are charged safely and efficiently. There are two main types:
- PWM (Pulse Width Modulation) controllers are simpler and less expensive, but less efficient, especially in colder weather. They work best for smaller, simpler systems.
- MPPT (Maximum Power Point Tracking) controllers are more advanced, extracting significantly more power from your panels (up to 30% more in certain conditions) by dynamically adjusting voltage. For any system larger than a few hundred watts, an MPPT controller is almost always the better choice for efficiency and performance. Renogy offers a range of reliable MPPT controllers suitable for various garage setups. You can learn more in our guide on How to Choose an Off-Grid Charge Controller.
-
Inverter: Since most modern garage tools and appliances run on AC (alternating current) electricity, you'll need an inverter to convert the DC (direct current) power from your batteries into usable AC power.
- Pure Sine Wave Inverters produce clean, stable AC power, just like the grid. This is essential for sensitive electronics and motors found in power tools, refrigerators, and anything with a microprocessor.
- Modified Sine Wave Inverters are cheaper but produce a "choppier" waveform that can damage sensitive electronics or cause motors to run inefficiently or overheat. Always opt for a pure sine wave inverter for a garage system.
When sizing your inverter, consider both the continuous wattage of your combined loads and the "surge" wattage of any motor-driven tools (like air compressors, saws, or shop vacs). Motors often draw 3-7 times their running wattage for a brief moment when they start up. Your inverter needs to be able to handle these surge loads without tripping. Our article on How to Choose an Off-Grid Inverter provides more detailed sizing information.
Balance of System Components
Beyond the main components, you'll need a collection of smaller but equally important items to complete your garage solar system:
- Wiring and Cables: Proper sizing of wires is crucial to prevent voltage drop and ensure safety. Thicker wires are needed for higher currents and longer runs. Always use UV-resistant, outdoor-rated solar cables (like MC4 cables) for panel connections and appropriately sized battery cables for your battery bank.
- Fuses and Breakers: These are your safety devices, protecting your components and preventing fires in case of a short circuit or overload. You'll need DC-rated fuses/breakers between your panels and charge controller, and between your battery bank and inverter. An AC breaker panel may also be necessary if you're distributing power to multiple outlets in your garage.
- Mounting Hardware: This includes rails, clamps, and feet for securing your solar panels to your roof or ground array. Ensure they are made from durable, corrosion-resistant materials like aluminum or stainless steel.
- Disconnect Switches: A DC disconnect switch between your panels and charge controller, and another between your battery bank and inverter, allows you to safely shut down parts of your system for maintenance or emergencies.
- Combiner Box (Optional): If you have multiple strings of solar panels, a combiner box can consolidate their wiring and house fuses or breakers for each string, simplifying wiring and adding protection.
Step-by-Step Installation Process for Your Garage Solar System
Alright, you've done your homework, gathered your components, and now it's time to get hands-on. Remember, safety first! If you're unsure about any electrical work, consult a qualified electrician.
Mounting Your Solar Panels
This is where your vision starts to take shape. Whether on the roof or on the ground, secure mounting is paramount.
-
Roof Mount:
- Locate Rafters: Use a stud finder to identify the underlying rafters or trusses on your garage roof. All mounting hardware must attach directly to these structural elements.
- Install Standoffs/L-feet: Drill pilot holes and secure the mounting feet (often L-feet) through your roofing material into the rafters. Use plenty of approved sealant (like silicone or a rubber gasket) around the holes to prevent water leaks. This step is critical for roof integrity.
- Attach Rails: Once the feet are in place, connect the aluminum rails to them. These rails will form the frame on which your solar panels sit. Ensure the rails are level and properly spaced according to your panel dimensions.
- Place Panels: Carefully lift and place your solar panels onto the rails. Use mid-clamps to secure panels to the rails in the middle, and end-clamps for the panels at the ends of each row. Double-check that all clamps are tightened to the manufacturer's specifications. For more detail, see our guide on How to Install Roof-Mounted Solar Panels.
-
Ground Mount:
- Prepare Site: Clear and level the chosen ground area. You might need to pour concrete footings or use pre-fabricated ground anchors, depending on the mount type and local wind/snow loads.
- Assemble Frame: Construct the ground mount frame according to the manufacturer's instructions. These often allow for adjustable tilt angles.
- Attach Panels: Similar to roof mounting, secure the panels to the frame's rails using appropriate clamps.
Wiring the DC Components
Now for the electrical connections. This is the direct current (DC) side of your system, running from your panels to your charge controller and then to your batteries.
- Panel Wiring: Connect your solar panels. You'll likely wire them in series, parallel, or a combination of both to achieve the desired voltage and current for your charge controller. For instance, if you have 12V panels and a 24V system, you'd wire two panels in series. Use MC4 connectors to make secure, weather-tight connections between panels and for the main runs coming down to your charge controller. Run these cables in conduit if exposed, to protect them from UV and physical damage.
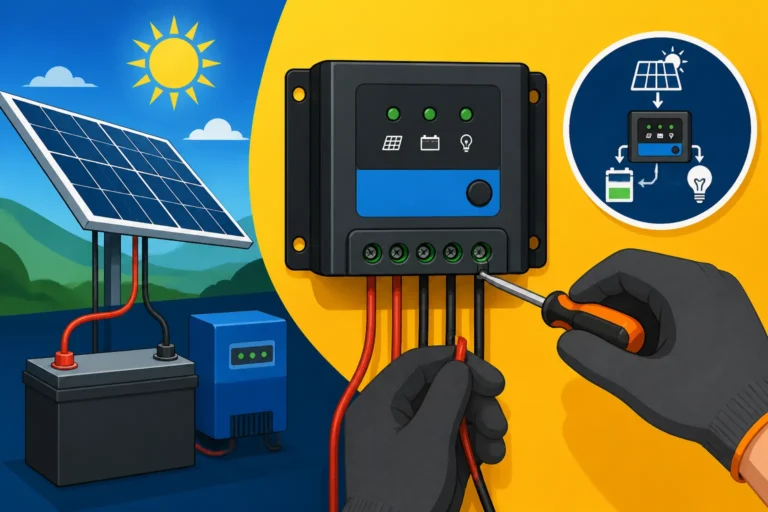
- Connect to Charge Controller: Connect the positive and negative wires from your solar array to the "PV Input" terminals on your charge controller. Ensure correct polarity (positive to positive, negative to negative).
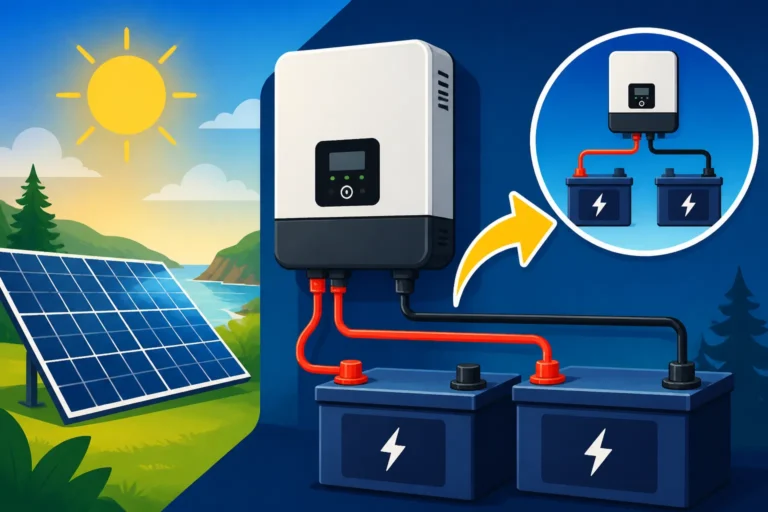
- Connect to Batteries: Next, connect the "Battery Output" terminals of your charge controller to your battery bank. Again, ensure correct polarity. Install an appropriate DC-rated fuse or breaker inline on the positive battery cable as close to the battery bank as possible. This protects your charge controller and wiring from battery surges. When wiring your battery bank, make sure all connections are clean and tight. For a 24V or 48V system, you'll be wiring multiple 12V batteries in series or series-parallel. Read up on How to Wire a Battery Bank to ensure you do this safely and correctly.
Connecting the Inverter and AC Loads
With your DC system established, it's time to bring AC power to your garage.
- Inverter Connection: Connect the positive and negative terminals of your inverter to your battery bank. This connection requires very thick cables, as the inverter draws significant current from the batteries, especially under heavy loads. Install a large DC-rated fuse or breaker on the positive inverter cable, as close to the battery bank as possible. This is paramount for safety, protecting your expensive inverter and preventing fires.
- AC Wiring: Now, connect the AC output of your pure sine wave inverter to a small AC breaker panel inside your garage. From this panel, you can run individual circuits to outlets, lights, and other AC loads. Ensure all AC wiring follows local electrical codes. If you're unfamiliar with AC wiring, seriously consider hiring a licensed electrician for this part.
- Testing: Before connecting any loads, use a multimeter to check voltages at various points: at the panels, at the charge controller's battery output, and at the inverter's AC output. Make sure everything is within expected ranges. Once confirmed, you can start plugging in your garage lights and tools. The entire wiring process is covered in detail in our Off-Grid Solar Wiring Diagram Explained guide.
Grounding and Safety Checks
Proper grounding is not optional; it's a critical safety requirement.
- Grounding: All metal components of your solar system—panel frames, mounting rails, inverter chassis, and sub-panel—must be properly grounded to an earth ground rod. This protects against electrical shock in case of a fault. Use appropriate grounding wire and connectors. Consult local electrical codes for grounding requirements specific to your area. Our guide on How to Ground an Off-Grid Solar System is an excellent resource.
- Double-Check Connections: Before fully energizing your system, go back and double-check every single wire connection. Ensure they are tight, secure, and correctly polarized. Loose connections can lead to resistance, heat, and potential fire hazards.
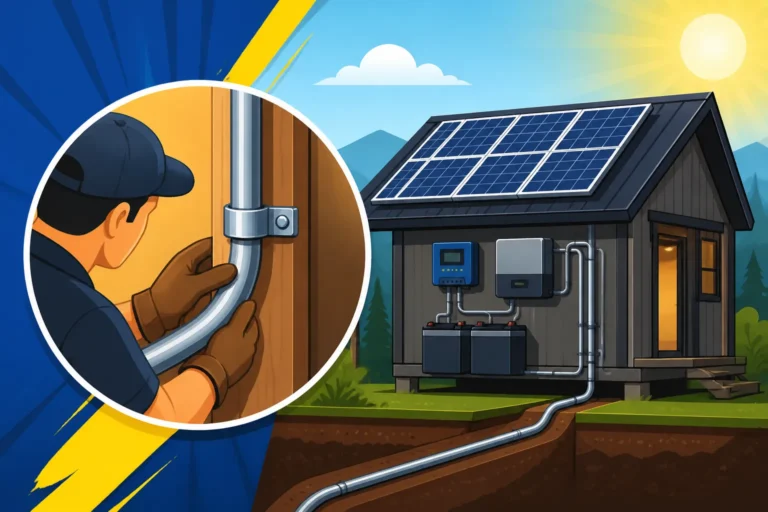
- Insulation: Make sure all exposed wiring is properly insulated, especially where it passes through walls or into junction boxes. Use conduit where necessary to protect cables from damage.
- Labeling: Label all wires, fuses, and breakers clearly. This will be invaluable for future troubleshooting or maintenance.
Common Challenges and Troubleshooting
Even with the best planning, off-grid living throws curveballs. Knowing how to anticipate and address common issues will save you headaches down the line.
Dealing with Shading and Low Sun
One of the most persistent enemies of solar production is shading. Even a small branch or a chimney shadow can significantly impact your panel's output, especially with string inverters or older charge controllers. If you notice a drop in power, check for new shade sources like growing trees or seasonal changes in the sun's path.
- Mitigation: If pruning isn't an option, consider micro-inverters or optimizers for individual panels. These devices maximize the output of each panel independently, so a shaded panel won't drag down the performance of the entire array.
- Seasonal Adjustment: In many regions, the sun's angle changes dramatically between summer and winter. If you're using a ground mount with adjustable tilt, changing the angle seasonally can significantly boost production during those low-sun winter months.
- Oversizing: A common strategy for off-grid systems, especially in areas with variable weather, is to slightly oversize your solar array. This gives you a buffer for cloudy days or lower winter sun.
Battery Management and Longevity
Your battery bank is often the most expensive component to replace, so proper care is essential for maximizing its lifespan.
- State of Charge (SOC): Avoid routinely discharging lead-acid batteries below 50% SOC. For LiFePO4, while they can handle deeper discharges, consistently pushing them to 0% isn't ideal for long-term health. Invest in a good battery monitor to keep tabs on your battery's SOC, voltage, and current flow.
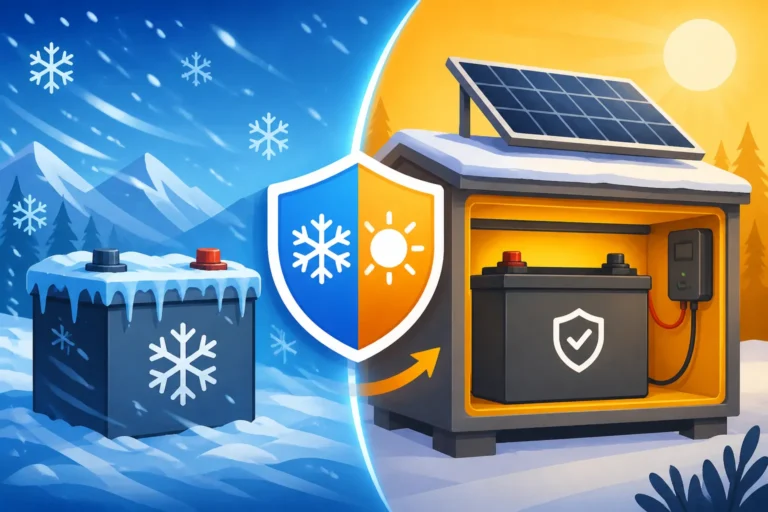
- Temperature: Batteries perform best within a specific temperature range. Extreme cold reduces usable capacity and charging efficiency, while extreme heat can shorten lifespan. If your garage gets very cold in winter or extremely hot in summer, consider insulating your battery box or investing in batteries with built-in heating elements (common in LiFePO4).
- Charging Parameters: Ensure your charge controller is programmed with the correct charging parameters (bulk, absorption, float voltages) for your specific battery chemistry. Incorrect settings can lead to undercharging, overcharging, and premature battery failure.
- Maintenance: Lead-acid batteries require periodic checks of electrolyte levels (for flooded types) and terminal cleaning. LiFePO4 batteries are largely maintenance-free, but always keep terminals clean and secure. Our Off-Grid Solar Maintenance Guide provides a detailed rundown.
System Expansion and Maintenance
Your needs might grow over time. Maybe you want to add more tools or an electric vehicle charger to your garage. Designing an expandable system from the start is smart.
- Plan Ahead: When sizing your original charge controller and inverter, consider buying models with a bit of headroom for future expansion. It's much easier to add more panels and batteries later if your core components can handle the increased capacity.
- Modular Approach: LiFePO4 batteries are often modular, allowing you to add more battery units in parallel as your storage needs increase. Similarly, adding more solar panels to an existing array is usually straightforward, provided your charge controller has capacity.
- Regular Inspections: Periodically inspect all components. Check panel surfaces for dirt or damage, wiring for wear or loose connections, and battery terminals for corrosion. Listen to your inverter and charge controller for any unusual noises. Catching small issues early can prevent costly repairs down the road. You can find many components, including upgrade parts and tools, for your system on Amazon, making maintenance and expansion more accessible.
Disclaimer
The information provided in this guide is for general informational purposes only and does not constitute professional advice. Off-grid solar installation involves working with electricity, which can be dangerous if not handled properly. Always consult with qualified professionals, such as licensed electricians or solar installers, and adhere to all local electrical codes and permitting requirements. The author and publisher are not liable for any loss, injury, or damage arising from the use or misuse of the information contained herein.