Best Off-Grid Solar Kit for a Shed
It can be incredibly frustrating to have a shed, workshop, or even a remote garden office that's just a little too far from your main power source. Running ugly, tripping-hazard-inducing extension cords is hardly a long-term solution, and many outbuildings simply don't have grid access. If you're tired of limited power for your tools, lights, or charging needs, this comprehensive guide will walk you through everything you need to know to choose the best off-grid solar kit for your shed, giving you the freedom and convenience you deserve.
Understanding Your Shed's Power Needs
Before you even begin looking at solar kits, the absolute first step is to get a clear picture of what you actually need to power. Skipping this part is like trying to buy clothes without knowing your size – you'll end up with something that's either far too small and useless, or ridiculously oversized and expensive. Let's dig into the nitty-gritty of figuring out your specific requirements.
Assessing Your Appliances and Tools
Think of your shed as a mini-home for your tools, hobbies, or even just for storage. What kind of electrical items do you use or plan to use in there? Start by making a detailed list of every single appliance, light, and power tool. Don't forget those seemingly small things like phone chargers or a radio, as their cumulative power draw can surprise you.
For each item on your list, you need to find its wattage. This is usually listed on a sticker or plate on the appliance itself, often near where the power cord enters the device. Sometimes it might be listed in amps (A) and volts (V); if so, you can multiply amps by volts to get watts (Watts = Amps x Volts). For example, a small LED light might be 10 watts, while a larger power tool like a circular saw could be 1500 watts, and a mini-fridge might run at 80-100 watts when its compressor is on. Be sure to note whether the wattage is a "running watt" or a "surge watt," especially for motor-driven tools, as their initial startup draw can be much higher than their continuous operating wattage.
Calculating Daily Energy Consumption Watt-Hours
Once you have the wattage for each item, the next step is to estimate how long you'll use it in a typical day. This is crucial for determining your total daily energy consumption, measured in watt-hours (Wh). For instance, if you use a 100-watt light bulb for 4 hours a day, that's 100W * 4h = 400 Wh. If your drill uses 500 watts but you only use it intermittently for a total of 30 minutes (0.5 hours) in a day, that's 500W * 0.5h = 250 Wh.
Add up the watt-hours for all your planned usage. This total daily watt-hour figure is the most critical number you'll need when sizing your solar system. It tells you exactly how much energy your solar panels need to generate and how much your batteries need to store. When you calculate your daily needs, don't forget to account for any phantom loads—devices that draw a small amount of power even when turned off, like chargers plugged into an outlet. Getting an accurate figure here is essential for a reliable off-grid setup, and it's a foundational step that will inform many of your choices, much like figuring out how to size an off-grid solar system for any application.
Considering Future Expansion
It’s easy to think only about what you need right now, but a shed's purpose can evolve. Perhaps today it’s just for gardening tools and a couple of lights. But what if next year you decide to add a small woodworking bench, a mini-fridge for cold drinks, or even an evaporative cooler for those hot summer days? Building an off-grid solar system isn't a one-and-done purchase; it’s an investment, and like any good investment, you want it to have room to grow.
When you're doing your initial planning, mentally add 10-20% to your calculated daily energy needs for future-proofing. This small buffer can save you a lot of headaches and additional costs down the line if you decide to expand your system. Choosing components that are easily expandable, such as a charge controller that can handle more panels than you initially install, or an inverter that has a higher capacity than your current peak loads, can make a huge difference. Think about modular battery banks too; some systems allow you to add more batteries later without replacing your entire setup. This foresight can ensure your system remains relevant and capable as your shed's utility expands.
Key Components of an Off-Grid Shed Solar Kit
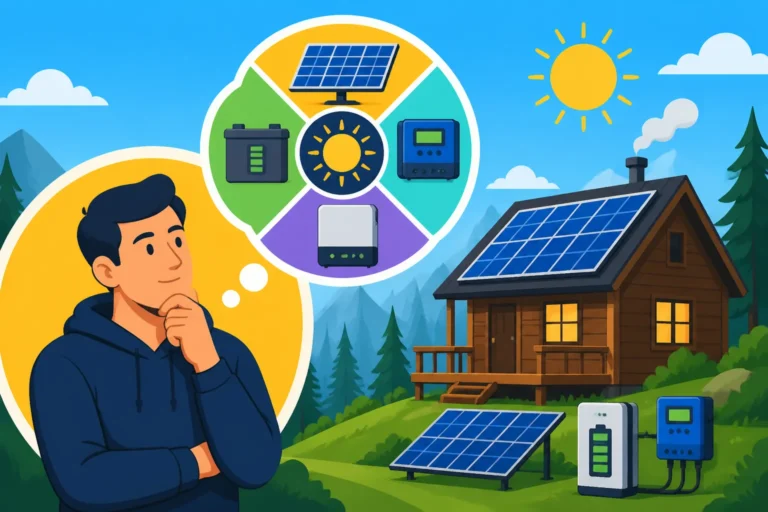
An off-grid solar kit, whether for a shed, RV, or cabin, is more than just a solar panel. It's a carefully orchestrated symphony of components working together to capture, store, and deliver power. Understanding each part is essential for making informed decisions and ensuring your shed gets the reliable electricity it needs. This knowledge is key to understanding off-grid solar system components explained.
Solar Panels Types and Considerations
The solar panels are, quite literally, your energy collectors. They convert sunlight into usable electricity. For sheds, you'll primarily encounter two main types: monocrystalline and polycrystalline. Monocrystalline panels are typically more efficient, meaning they can generate more power from a smaller footprint, which can be advantageous if your shed roof or available ground space is limited. Polycrystalline panels are usually a bit more affordable and still very effective, though slightly less efficient. The choice often comes down to your budget and the space you have available.
Beyond efficiency, consider the physical size and wattage of the panels. Larger sheds might accommodate several high-wattage panels, while smaller sheds might do better with one or two smaller panels or even flexible panels if mounting directly on a curved roof. Mounting options are also crucial: Will they go on the shed roof, or on a ground mount nearby? Consider the angle and orientation to maximize sun exposure throughout the day and across seasons. Factors like shading from trees or other structures must be assessed, as even partial shading can significantly reduce a panel's output.
Batteries Heart of Your System
The battery bank is the unsung hero of any off-grid system. It stores the energy collected by your solar panels for use when the sun isn't shining—at night, on cloudy days, or during peak demand. Without batteries, your shed would only have power when the sun is directly hitting your panels, which is hardly practical. When considering your battery bank, you'll encounter a few main chemistries, each with its own pros and cons, which greatly influence the cost of an off-grid solar battery bank.
- Lead-Acid Batteries (AGM and Flooded): These are the traditional workhorses and are often the most budget-friendly upfront. AGM (Absorbed Glass Mat) batteries are sealed and maintenance-free, making them a popular choice for sheds as they don't require ventilation like flooded lead-acid batteries. However, lead-acid batteries have a shorter lifespan and can only be discharged to about 50% of their capacity regularly without damaging them.
- LiFePO4 (Lithium Iron Phosphate) Batteries: These are the rising stars in the off-grid world. While more expensive upfront, they offer a significantly longer lifespan (often 10+ years), can be discharged to 80-100% of their capacity without harm, and are much lighter. They also perform better in varying temperatures and have a consistent voltage output. Many off-grid enthusiasts, myself included, will often point to LiFePO4 vs Lead-Acid Batteries for Off-Grid as the superior, long-term solution. Brands like Battle Born and EG4 are very popular for their robust LiFePO4 offerings. The initial investment is higher, but their longevity and performance often make them more cost-effective over the system's lifetime. Your choice here heavily impacts the overall performance and longevity of your shed's power system.
Charge Controllers and Inverters
These two components are the brain and brawn that connect your panels to your batteries and your batteries to your appliances. A charge controller is absolutely vital for managing the power flow from your solar panels to your batteries. Its primary job is to prevent overcharging, which can severely damage and shorten the life of your batteries, and to prevent power from flowing back to the panels at night.
There are two main types:
- PWM (Pulse Width Modulation) Charge Controllers: These are simpler, more affordable, and generally suitable for smaller, less complex systems where the panel voltage closely matches the battery bank voltage (e.g., a 12V panel charging a 12V battery).
- MPPT (Maximum Power Point Tracking) Charge Controllers: These are more advanced and efficient, especially in larger systems or when the panel voltage is significantly higher than the battery voltage. They can maximize power harvest from your panels by converting excess voltage into additional current, which can be a game-changer on cloudy days or when you want to use higher voltage panels with a lower voltage battery bank. For anyone serious about maximizing their solar harvest, the benefits of MPPT vs PWM Charge Controllers are clear.
The inverter is what takes the DC (direct current) power stored in your batteries and converts it into AC (alternating current) power, which is what most standard household appliances and power tools use.
- Pure Sine Wave Inverters: These produce clean, stable AC power that is identical to what you get from the grid. They are essential for sensitive electronics like laptops, medical equipment, and variable-speed power tools.
- Modified Sine Wave Inverters: These are cheaper but produce a "choppier" waveform. They can work for basic loads like incandescent lights or simple motors, but they can cause issues, reduce efficiency, or even damage sensitive electronics or some motor-driven appliances over time. For a shed powering even basic hand tools and chargers, a pure sine wave inverter is often the safer and more reliable choice.
Sizing Your Off-Grid Solar Kit for a Shed
Once you've wrapped your head around the individual components, it's time to put it all together and ensure each piece is appropriately sized to meet your specific energy demands. This isn't just about throwing the biggest components you can afford into a system; it's about creating a balanced, efficient, and cost-effective setup that works reliably.
Matching Panel Output to Battery Capacity
This is where your daily energy consumption calculation (watt-hours) truly shines. Your solar panels need to generate enough electricity to cover your daily usage and fully recharge your batteries each day, with a bit of extra for less-than-ideal conditions. To figure this out, you need to consider your "peak sun hours"—the average number of hours per day when your panels receive optimal sunlight. This varies significantly by location and season. For example, if you live in Arizona, you'll have more peak sun hours than someone in Seattle, and everyone will have fewer in winter than in summer.
A general rule of thumb is to aim for your solar array to generate 1.5 to 2 times your daily watt-hour consumption to account for cloudy days, efficiency losses, and seasonal variations. If your shed needs 1000 Wh per day and you have an average of 4 peak sun hours, you'd need panels capable of producing roughly 250-500 watts (1000Wh / 4h = 250W, then add a buffer). This ensures your batteries are topped off daily, and you have some "days of autonomy" – how many days your battery bank can sustain your loads without any solar input. For a shed, 1-3 days of autonomy is usually sufficient, preventing power interruptions during prolonged bad weather. Learning how many solar panels for off-grid living is a similar exercise, just on a larger scale.
Inverter Sizing for Peak Loads
The inverter is your gateway to using AC appliances. Correctly sizing it is crucial, especially if you plan to run power tools that have high "surge" or "starting" wattages. A common mistake is to only look at the continuous running wattage of your tools. For example, a skill saw might run at 1200 watts, but its motor could momentarily draw 2500-3000 watts when it first starts up. If your inverter isn't sized to handle that surge, it will simply shut down, leaving you in the dark (or rather, without power).
Identify the appliance with the highest surge wattage on your list. Your inverter's surge rating should comfortably exceed this number. Its continuous rating should also be higher than the sum of all appliances you expect to run simultaneously. If you plan to run a 100-watt light, charge a laptop (60 watts), and occasionally use a 1200-watt running / 2500-watt surge circular saw, you'd need an inverter with at least a 1500-watt continuous rating and a surge rating well over 2500 watts. Many installers recommend oversizing your inverter by 20-30% to handle unexpected loads or multiple devices starting up at once.
System Voltage 12V, 24V, 48V for Sheds
The system voltage (12V, 24V, or 48V) refers to the voltage of your battery bank and, consequently, your charge controller and inverter. For smaller off-grid applications like basic sheds, 12V systems are very common. They are simple, components are readily available, and many small DC appliances (like RV lights or car chargers) are designed for 12V. They are often ideal for a basic lighting and charging setup, or for those learning how to install an off-grid solar system for the first time.
However, as your power needs grow, a higher voltage system becomes more efficient. For example, if you need more than 1000-1500 watts of continuous AC power, or if your battery bank will be quite large, stepping up to 24V or even 48V makes sense. Higher voltages allow for thinner wires (reducing voltage drop and material cost), and inverters tend to be more efficient at converting power at higher DC input voltages. For a shed that's truly a workshop with multiple power tools and appliances, a 24V system might be the sweet spot, offering better efficiency and power handling than 12V without the added complexity or cost of a 48V system, which is typically reserved for full-sized homes.
Different Types of Off-Grid Solar Kits for Sheds
The world of off-grid solar kits is vast, ranging from simple setups designed for minimalist living to robust systems capable of powering a small home. For a shed, you have several excellent options, each suited to different levels of power demand and user preference. Understanding these categories is key to choosing an Off-Grid Solar Kit for a Shed that perfectly fits your needs and budget.
Basic Lighting and Charging Kits
These are your entry-level systems, perfect for sheds that only need power for basic illumination, charging small electronics, or running a very small fan. Think of a gardener's shed where you might charge your phone, run a couple of LED work lights for an hour or two in the evening, or power a small radio. These kits typically consist of one or two small solar panels (often 50W-100W each), a small charge controller (often PWM type), a single 12V battery (like a 50Ah AGM or a small LiFePO4), and sometimes a small inverter (150W-300W pure sine wave) for limited AC use.
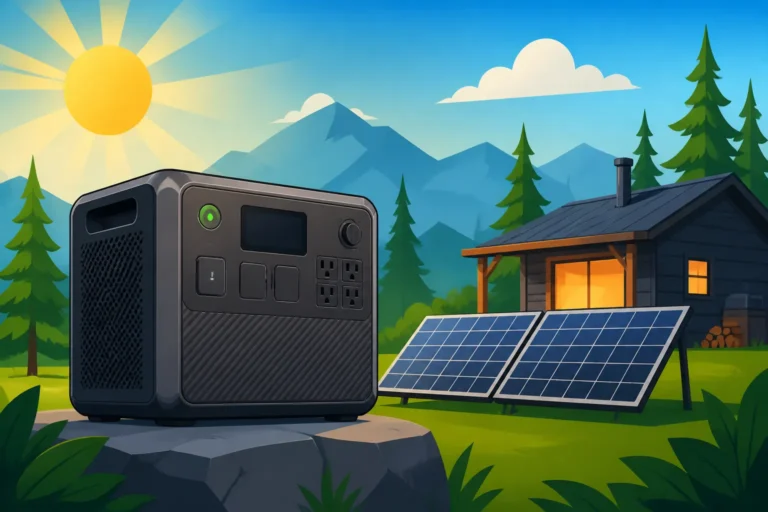
The beauty of these kits is their simplicity and affordability. They're often "plug-and-play," making them ideal for beginners or those on a tight budget. They're usually quite portable or semi-permanent, and some even come integrated into a solar generator unit. For example, a small Jackery portable power station combined with a 100W solar panel offers a fantastic, easy-to-deploy solution for very light shed usage. You simply unfold the panel, plug it into the Jackery unit, and you've got power. While not designed for heavy-duty tools, they excel at keeping your phone charged and your path lit.
Medium-Duty Tool and Appliance Kits
Stepping up from basic kits, medium-duty systems are designed for sheds that function more like workshops or hobby spaces. These kits are suitable if you plan to run power tools (drills, sanders, small saws, but not simultaneously), a mini-fridge, a powerful fan, or several lights for extended periods. This category is popular for those who have a regular need for electricity but aren't looking to power a full-sized household appliance.
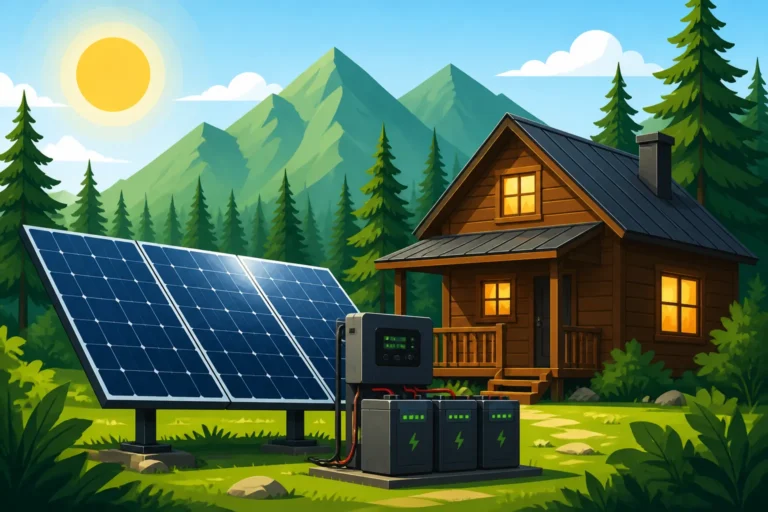
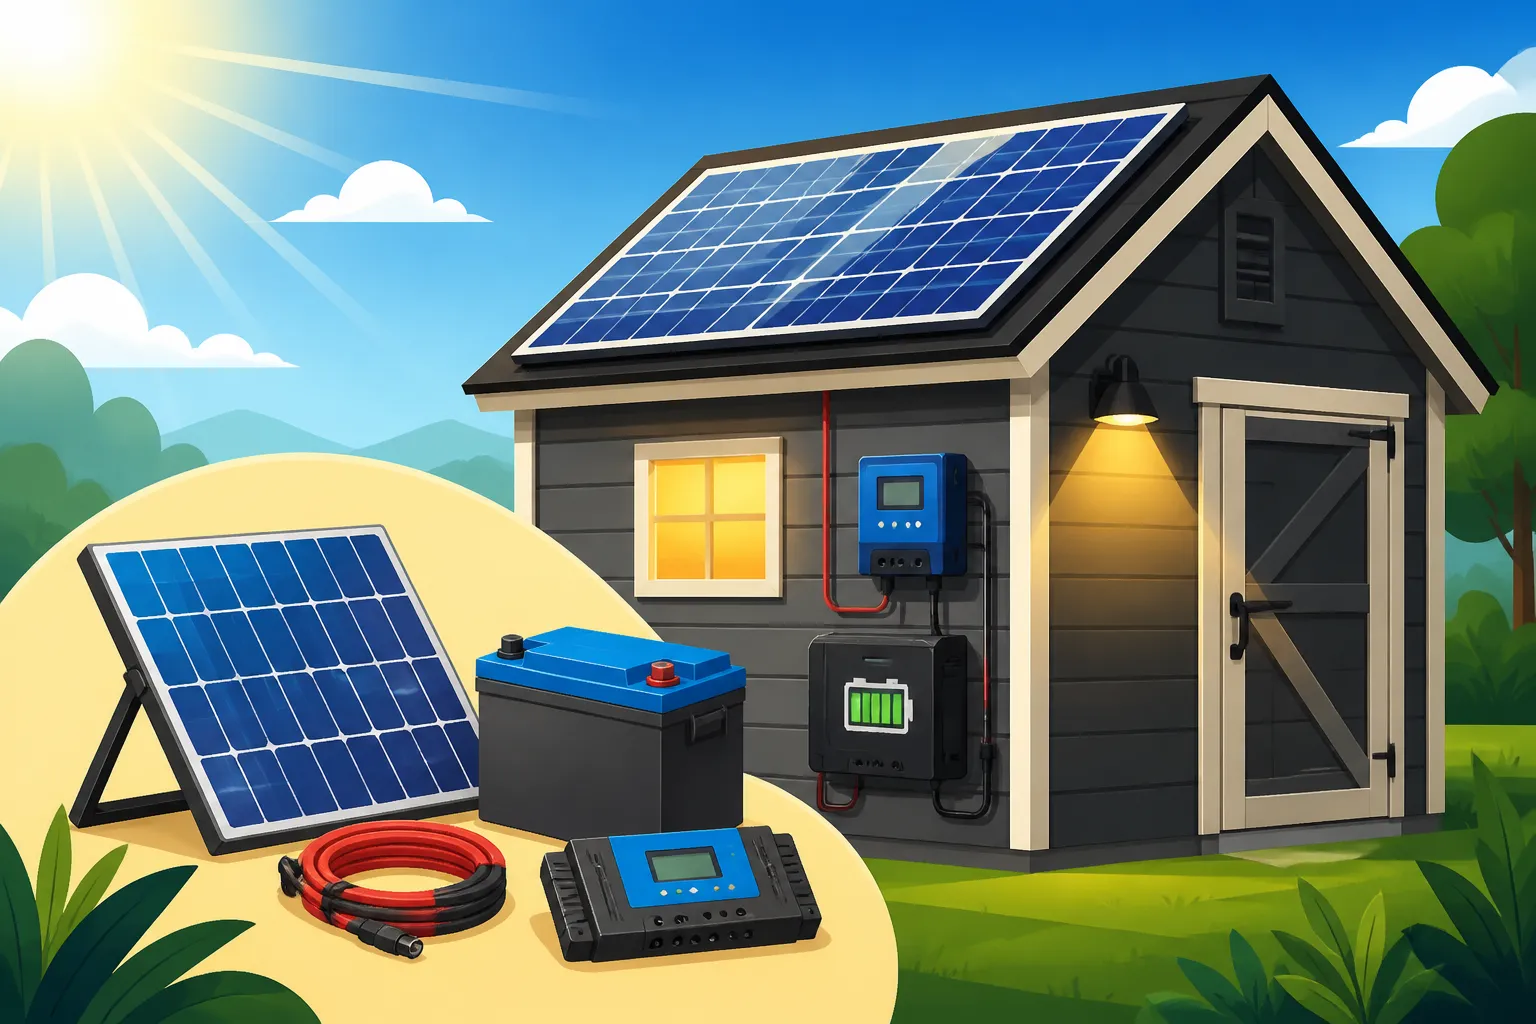
A typical medium-duty kit might include 200W-600W of solar panels, a more robust MPPT charge controller, a 100Ah-200Ah 12V LiFePO4 battery (or two smaller ones in parallel), and a pure sine wave inverter in the 1000W-2000W range. These systems offer significantly more stored energy and higher output capabilities, allowing you to run more demanding appliances. They require a bit more planning for installation and wiring but provide a solid, reliable power source for most common shed activities. For instance, a medium-sized shed kit would easily allow you to work on projects for several hours, running LED lighting, charging cordless tool batteries, and even enjoying a cold beverage from your mini-fridge without a worry.
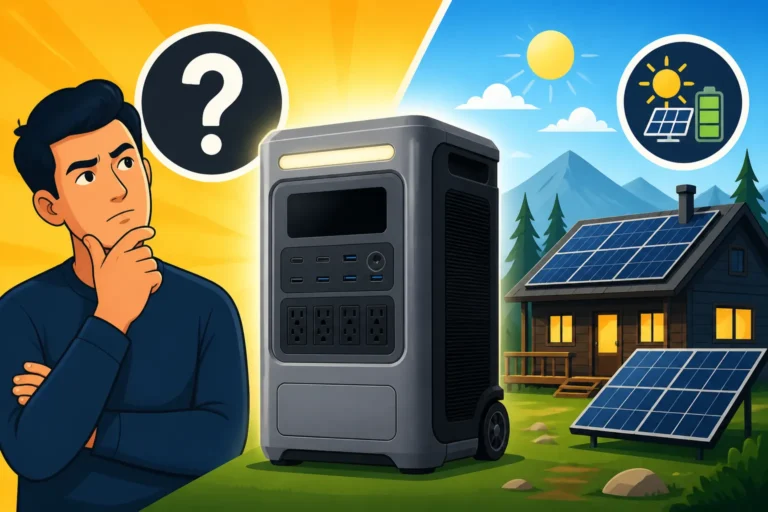
All-in-One Power Stations vs. Component Systems
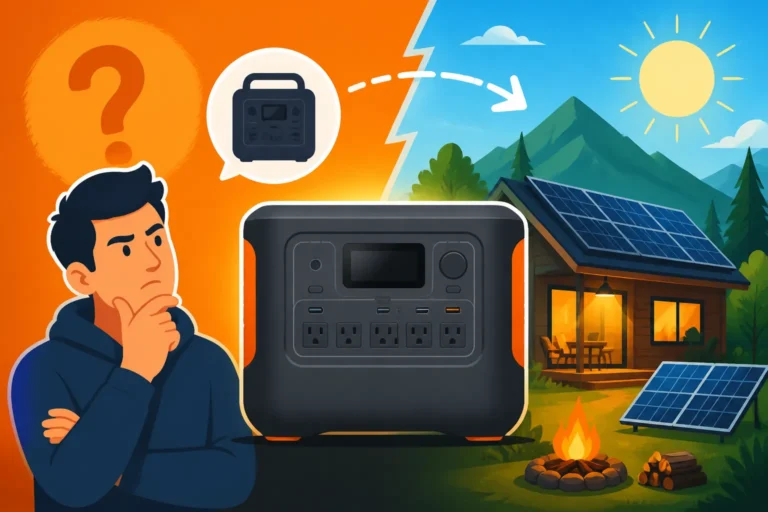
When considering an off-grid solar kit for a shed, you generally have two routes: an "all-in-one" portable power station (often called a solar generator) or a traditional component-based system where you buy panels, batteries, inverter, and charge controller separately. Both have their merits.
All-in-One Power Stations (e.g., Jackery, EcoFlow, Bluetti):
- Pros: Incredible ease of use. Everything is integrated into one portable unit – battery, inverter, charge controller, and often a display for monitoring. Setup is minimal: just plug in your solar panels (often proprietary, but some are universal). They are great for small to medium needs, very quick to deploy, and can easily be moved between your shed, an RV, or used for emergency backup at home. Brands like Jackery offer various sizes, from compact units perfect for basic charging to larger ones capable of running a mini-fridge or a few power tools.
- Cons: Less modularity and expandability compared to component systems. If one part fails, the whole unit might need servicing. They can also be less cost-effective per watt-hour than a custom-built system, especially for larger power demands. For a shed where portability isn't strictly necessary, you might be paying extra for features you don't fully utilize. However, for a very quick and simple solution, they're hard to beat.
Component Systems:
- Pros: Maximum flexibility, customization, and expandability. You can choose specific components (e.g., the best off-grid solar panels, a specific LiFePO4 battery, a powerful Victron inverter) to precisely match your needs and budget. If a component fails, you can replace just that part. Over the long term, these can often be more cost-effective for larger or more permanent installations and offer much greater control over performance. You can start small and expand your system over time, adding more panels or batteries as your needs grow.
- Cons: Requires more technical knowledge for design, wiring, and installation. It's a more involved DIY project, or you might need to hire an electrician, which adds to the initial cost. There are more individual parts to manage and connect. However, for many off-grid enthusiasts, the process of building a custom system is part of the appeal, allowing them to perfectly tailor their setup. Choosing between these depends heavily on your comfort with DIY, your budget, and how permanent and robust you want your shed's power system to be.
| Feature | Basic Lighting/Charging Kit | Medium-Duty Tool/Appliance Kit | All-in-One Power Station (e.g., Jackery) |
|---|---|---|---|
| Typical Use | Lights, phone charging, small fan | Power tools, mini-fridge, multiple lights | Versatile, portable, emergency backup |
| Solar Panels | 50W-200W | 200W-600W | 100W-400W (often foldable/portable) |
| Battery Capacity | 50Ah-100Ah (12V) | 100Ah-200Ah (12V LiFePO4) | 500Wh-2000Wh (integrated LiFePO4) |
| Inverter Size | 150W-300W (pure sine) | 1000W-2000W (pure sine) | 500W-2200W (integrated pure sine) |
| Charge Controller | PWM (small) | MPPT (medium) | Integrated MPPT or similar |
| Complexity | Very Low, often plug-and-play | Moderate DIY, component assembly | Very Low, plug-and-charge |
| Expandability | Limited | Good, modular components | Limited, typically fixed capacity |
| Typical Cost | $300 – $800 | $1,000 – $3,000 | $500 – $2,500 (unit + panels) |
| Best For | Minimal needs, budget-conscious | Workshop use, regular power demands | Quick setup, portability, varying needs |
Installation Considerations and Maintenance
Getting your off-grid solar kit for your shed up and running successfully involves more than just buying the right components. Thoughtful installation and a commitment to basic maintenance are crucial for ensuring safety, efficiency, and longevity. While much of this can be a DIY Off-Grid Solar Installation Step by Step project, understanding the nuances will make a big difference.
Mounting Options for Shed Panels
Where and how you mount your solar panels directly impacts their performance and your system's overall efficiency. For most sheds, you have a couple of primary options, each with its own set of advantages and challenges.
- Roof Mounts: Mounting panels on your shed's roof is often the most aesthetically pleasing option and keeps the panels out of the way. It requires careful consideration of the roof's structural integrity, as panels can add significant weight, especially with heavy snow loads. You'll also need to ensure proper waterproofing for any penetrations you make in the roof to secure the mounts. Critically, the roof's orientation (south-facing in the Northern Hemisphere for optimal sunlight) and pitch are vital. If your shed's roof doesn't face roughly south or is heavily shaded for large parts of the day, a roof mount might not be the most efficient choice, even if it's convenient.
- Ground Mounts: A ground mount offers greater flexibility in terms of orientation and tilt angle, allowing you to fine-tune the panels for maximum solar exposure throughout the day and seasonally. This is especially beneficial if your shed roof is shaded or improperly oriented. Ground mounts also make cleaning and maintenance easier. However, they take up more ground space, may be more prone to theft or damage, and require digging to secure the racking system. For a remote workshop or a garden shed tucked away, a ground mount system might offer superior performance and easier access than a roof mount. Remember to research the best tilt angle for off-grid panels in your specific location for optimal year-round power.
Wiring and Safety Basics
Wiring an off-grid solar system, even a small one for a shed, requires attention to detail and a strong emphasis on safety. Improper wiring can lead to poor performance, fire hazards, or damage to your equipment. While a full step-by-step wiring guide is beyond the scope here, understanding the basics is paramount. All wiring should be appropriately gauged for the current it carries to prevent overheating and voltage drop, which can significantly reduce efficiency. Thicker wires are needed for higher currents or longer runs.
Crucially, fuses and circuit breakers are your system's primary safety devices. They protect your components and wiring from overcurrents and short circuits. You'll need fuses or breakers on the solar panel input, between the charge controller and batteries, and on the inverter output. Every wire should be contained within appropriate conduit to protect it from environmental damage and pests. Last but not least, grounding your system is not optional – it’s a critical safety measure to prevent electrocution in the event of a fault or lightning strike. All metal components, including panel frames and mounting racks, should be bonded together and connected to an earth ground. If you're unsure about any aspect of wiring, particularly with AC circuits, consulting or hiring a qualified electrician is always the safest bet. It's always a good idea to research off-grid solar safety and grounding before beginning your installation.
Simple Maintenance Tips
One of the great appeals of off-grid solar is its relatively low maintenance, but "low" doesn't mean "no." A few simple checks can keep your system running smoothly for years.
- Keep Panels Clean: Dust, dirt, leaves, bird droppings, and even pollen can reduce your solar panel's efficiency. Periodically (monthly or quarterly, depending on your environment) clean your panels with a soft brush or sponge and plain water. Avoid abrasive cleaners or harsh chemicals.
- Check Battery Terminals: For lead-acid batteries, inspect terminals for corrosion and clean them if necessary. Ensure all connections are tight. For LiFePO4 batteries, which are largely maintenance-free, just ensure connections remain secure. In colder climates, protecting your batteries from extreme temperatures is important, as very cold weather can reduce their capacity and prevent efficient charging. Learning how to maintain an off-grid battery bank can extend its life significantly.
- Monitor System Performance: Most charge controllers and inverters have displays or apps that allow you to monitor power generation, battery state of charge, and current draw. Regularly checking these readings can alert you to potential issues early on, like a panel not producing as much power as it should or a battery not holding a charge. This proactive approach can help you troubleshoot minor problems before they become major system failures.
Top Picks and Recommendations for Shed Solar Kits
Navigating the multitude of off-grid solar kits and components can feel overwhelming. To help simplify your decision-making, let's explore some general recommendations tailored to common shed power needs. The goal here isn't to pick a single "best," but to guide you toward types of kits and brands that reliably serve different purposes.
Best Budget-Friendly Options
For those just dipping their toes into off-grid power for a shed, or for applications with very minimal power requirements (a few lights, charging small devices), budget-friendly kits are a fantastic starting point. These kits prioritize affordability and ease of use, often sacrificing some long-term expandability or peak power output.
Look for kits from reputable brands that offer good value, such as Renogy or ACOPower. A typical budget-friendly kit might include a 100W-200W solar panel, a basic PWM charge controller, a smaller 50Ah-100Ah AGM battery, and a modest pure sine wave inverter (200W-500W). These kits are often found in the $300-$800 range. While they won't run heavy-duty power tools, they are perfect for illuminating your shed, charging your phone, running a small radio, or powering an LED work light for a few hours. They serve as an excellent introduction to off-grid solar and can provide sufficient power for a casual user or weekend warrior.
Best for Power Tools and Heavier Loads
If your shed doubles as a serious workshop where you regularly use power tools like miter saws, air compressors, or even a small mini-split air conditioner, you'll need a much more robust system. These kits are designed for higher continuous power output and significant surge capabilities to handle motor startup demands.
For these heavier loads, you'll want to focus on systems with larger solar arrays (e.g., 600W-1500W), an efficient MPPT charge controller, a substantial LiFePO4 battery bank (200Ah or more, possibly at 24V or 48V for efficiency), and a powerful pure sine wave inverter (2000W-5000W) with a high surge rating. Brands like Victron Energy components (often combined with EG4 or Battle Born batteries) are highly regarded for their reliability and performance in demanding off-grid setups. Even larger Jackery or EcoFlow portable power stations, particularly those with higher AC output ratings and expandable battery options, can serve as excellent all-in-one solutions for these needs, offering convenience alongside significant power. Remember to research how to size an off-grid inverter to run an air conditioner or other specific high-draw appliances you plan to use.
Best Expandable Systems
The beauty of off-grid solar is that it can grow with your needs. If you foresee your shed's power demands increasing over time, choosing an expandable system from the outset is a smart move. This involves selecting components that can handle future additions without needing a complete overhaul.
Key aspects of an expandable system include:
- Oversized Charge Controller: Choose an MPPT charge controller that can handle significantly more solar panel wattage than you initially install. This allows you to add more panels later without replacing the controller.
- Modular Battery Bank: LiFePO4 batteries are often ideal for this, as many models allow you to easily connect additional batteries in parallel to increase your overall capacity. Look for batteries from brands like Battle Born, EG4, or SOK, which are known for their quality and modularity.
- Inverter with Headroom: Select an inverter that has a higher continuous and surge rating than your immediate needs. This gives you room to add more appliances later without hitting your inverter's limit.
- Pre-wired Combiner Boxes: For larger arrays, a combiner box with extra fuses or breaker slots makes adding panels much easier.
These systems might have a slightly higher initial cost but offer tremendous flexibility and longevity. Instead of replacing an entire system, you simply add components, making the long-term investment more manageable. It's about thinking ahead, ensuring your initial investment can adapt as your off-grid journey evolves, much like planning for the cost of expanding an off-grid system.
Disclaimer
The information provided in this guide is for general informational purposes only and does not constitute professional advice. Off-grid solar system design and installation can be complex and involve electrical hazards. Always consult with a qualified electrician or solar professional before undertaking any installation work. Adhere to all local electrical codes, regulations, and permitting requirements. The author and publisher are not liable for any losses, injuries, or damages resulting from the use of this information.