Sizing Solar for a Refrigerator
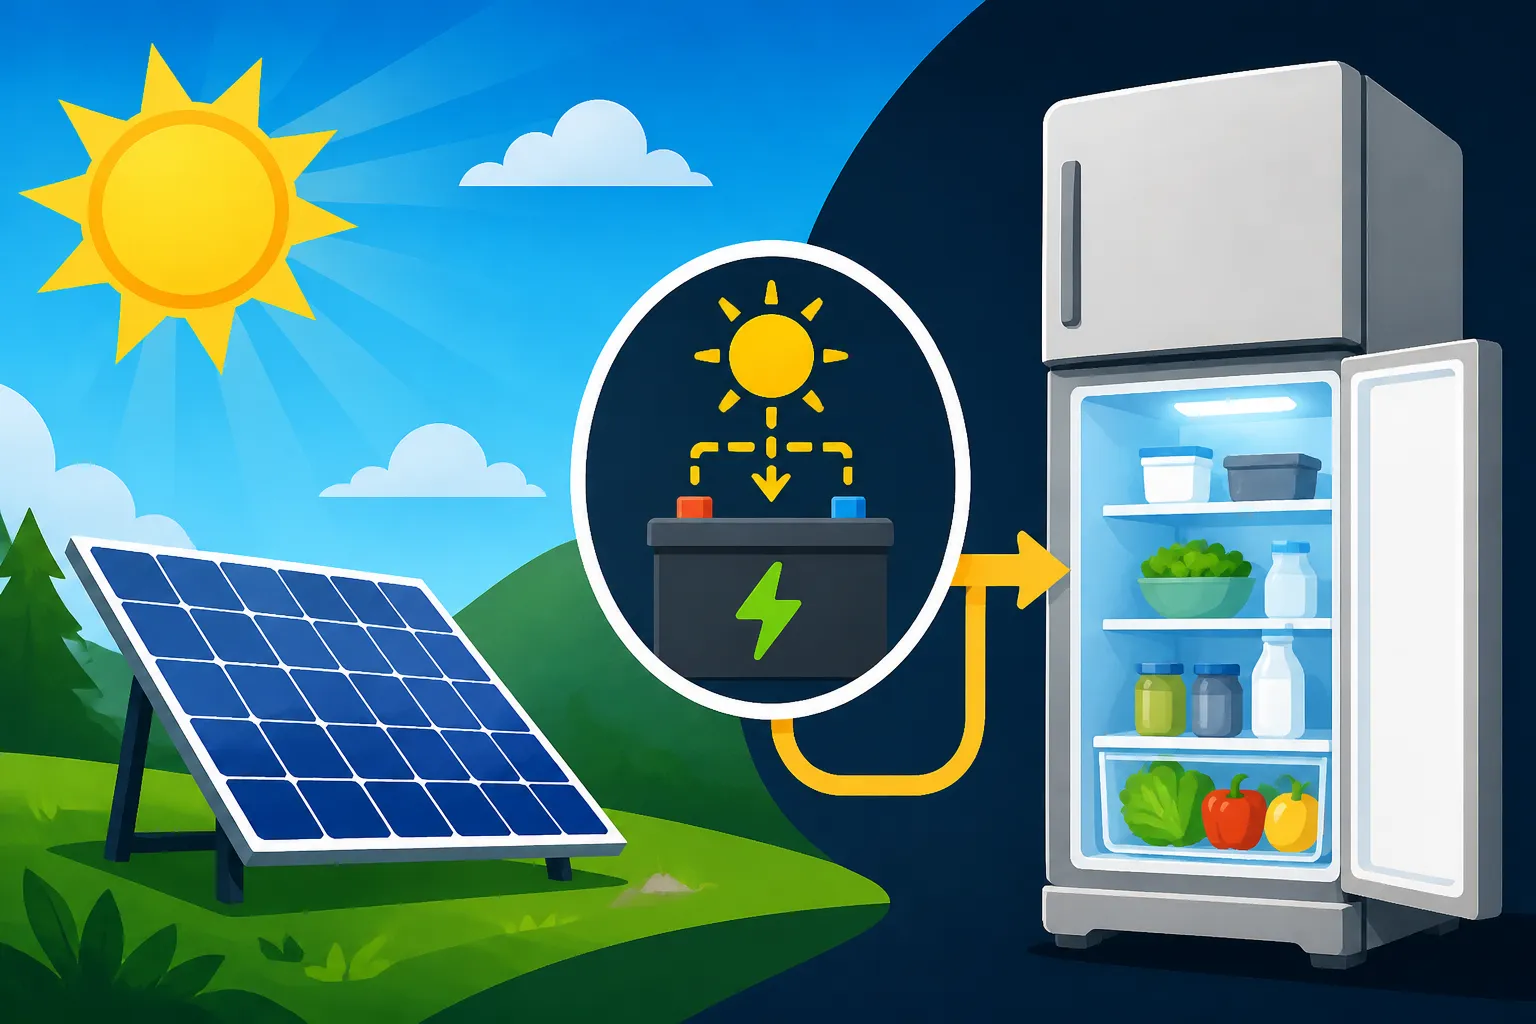
One of the biggest hurdles when you're dreaming of an off-grid lifestyle, whether it's in a cozy cabin, a bustling RV, or a remote tiny home, is figuring out how to keep your food fresh and your drinks cold without constantly stressing about power. Refrigerators are notorious energy hogs, and wrongly sizing your solar system for one can lead to dead batteries, spoiled food, and a whole lot of frustration. This guide is here to walk you through the essential steps and considerations for effectively sizing your off-grid solar setup specifically for a refrigerator, ensuring you have reliable power when you need it most.
Understanding Your Refrigerator’s Power Needs
Getting a handle on how much electricity your refrigerator truly consumes is the absolute first step in designing any off-grid solar system. It’s not just about looking at a label; it’s about understanding the nuances of how these appliances operate in a real-world, off-grid setting. Many folks underestimate this, leading to undersized systems and a lot of headaches down the road.
Identifying Wattage and Amp-Hours
When you look at your refrigerator, usually on the back or inside the door, you’ll find a data plate. This little sticker is packed with crucial information. You’ll typically see a voltage (like 120V AC for most household fridges), an amperage (A), and sometimes a wattage (W). To get a baseline idea of its running wattage, you can multiply the voltage by the amperage (Volts x Amps = Watts). For example, a fridge drawing 1.5 amps at 120 volts is using 180 watts. If the label provides a specific kWh per year or day, that’s even better, as it gives you a direct measure of its average consumption. However, this figure is often based on optimal conditions, not necessarily the stop-and-go reality of an off-grid setup or frequent door openings.
The key here is to find the average running wattage. A refrigerator doesn't run continuously; its compressor cycles on and off to maintain temperature. The listed wattage is usually for when the compressor is running. The actual daily energy consumption will be a factor of how long the compressor runs throughout the day. It’s also worth noting that some refrigerators, especially those designed for RVs or off-grid use, might list their consumption in amp-hours (Ah) for a 12V or 24V DC system, which is a very direct and helpful metric for battery sizing. If you're working with an AC fridge, you'll generally convert everything to watt-hours (Wh) to keep things consistent across your system calculations.
Differentiating Starting Watts vs. Running Watts
This is where many newcomers to off-grid solar get tripped up, and it’s particularly vital for appliances with motors, like refrigerators. When a refrigerator’s compressor first kicks on, it requires a sudden, significantly higher burst of power to overcome inertia and start moving. This is known as the “starting watts” or “surge watts.” Once the compressor is running smoothly, its power draw drops to its “running watts.” A typical residential refrigerator might have running watts around 150-250W, but its starting watts could easily jump to 800W, 1000W, or even more, albeit for a very brief moment (usually less than a second).
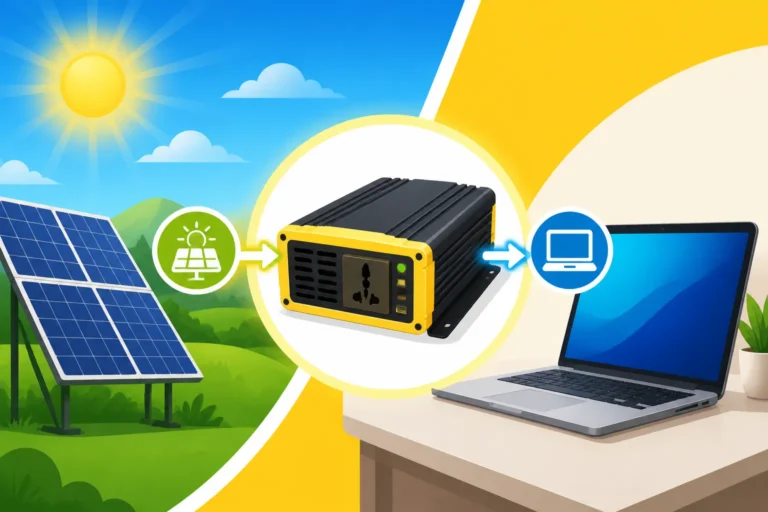
Why does this matter? Your inverter, which converts your battery's DC power into usable AC power for your fridge, needs to be able to handle this momentary surge. If your inverter is only rated for the running watts, it will trip or fail to start the refrigerator. This is a common and frustrating issue when folks first connect their fridge to a new off-grid system. You'll need an inverter with a surge rating substantially higher than your refrigerator's running wattage. For example, if your fridge runs at 200W but surges to 1000W, a 1000W inverter might just barely cut it, but a 1500W or 2000W inverter would provide a much safer margin and smoother operation. You can learn more about how to choose the right inverter in our guide on [How to Size an Off-Grid Inverter].
Accounting for Daily Energy Consumption
Because a refrigerator cycles on and off, simply multiplying its running wattage by 24 hours will give you a wildly inaccurate and overestimated daily consumption. The actual run time depends on many factors: how often you open the door, the ambient temperature of its surroundings, how full it is, and its overall efficiency. A fridge in a cool basement will run less than one in a warm garage, for instance. A common rule of thumb is that a refrigerator’s compressor runs about one-third of the time (8 hours out of 24), but this is a very generalized estimate and can vary wildly from 25% to 50% or even more.
The best way to determine your specific refrigerator's daily energy consumption is to measure it. A Kill-A-Watt meter, easily found on platforms like Amazon, is an inexpensive and incredibly useful tool for this. You simply plug your refrigerator into the meter, and then plug the meter into the wall outlet. Let it run for 24 to 72 hours, and it will accurately record the total kilowatt-hours (kWh) consumed. This reading gives you the true daily average, taking into account all the cycling and variables. This measured data is gold for accurate solar sizing, as it helps you avoid guesswork, which is often a costly mistake in off-grid planning. This measurement ties directly into [How to Calculate Daily Energy Usage] for your entire system.
Calculating Your Daily Energy Requirements (Watt-Hours)
Once you have a solid understanding of your refrigerator’s typical power draw and cycle, the next step is to translate that into a usable daily energy requirement. This measurement, expressed in watt-hours (Wh) or kilowatt-hours (kWh), is the cornerstone of sizing both your solar panels and your battery bank. Getting this number right is paramount, as an error here can throw off your entire system design.
The Basic Formula: Watts x Hours = Watt-hours
If you used a Kill-A-Watt meter, you already have your daily energy consumption in watt-hours or kilowatt-hours (1 kWh = 1000 Wh). This is the most accurate method. If you’re estimating, you’ll need to use the running wattage you identified earlier and multiply it by your estimated daily run time. For example, if your refrigerator runs at 200 watts and you estimate it runs for 10 hours a day (a slightly conservative estimate for an off-grid scenario, especially in warmer climates), your daily consumption would be 200 watts * 10 hours = 2000 watt-hours (or 2 kWh).
It's important to be realistic, if not a little generous, with your estimated run time, especially when planning for off-grid life. Things like higher ambient temperatures in summer, more frequent door openings, or loading up the fridge with warm groceries will make it work harder and run longer. Always lean towards a slightly higher estimate rather than a lower one to prevent system shortages. When considering all your appliances, this calculation is part of a larger [Off-Grid Solar Load Calculation Explained].
Factors Affecting Refrigerator Efficiency
A refrigerator’s energy efficiency isn’t just about its wattage rating; it’s a dynamic interplay of various factors. One of the biggest is insulation. Older fridges or cheaper models often have less effective insulation, causing them to lose cold air faster and requiring the compressor to cycle more frequently. Ambient temperature is another massive factor; a fridge in a 90°F kitchen will work much harder than one in a 60°F pantry. Even the cleanliness of the condenser coils on the back or bottom can affect efficiency – dusty coils make the compressor work harder.
Beyond these environmental factors, how you use the fridge makes a difference. Frequent door openings let cold air escape, forcing the compressor to kick on. Overstuffing the fridge can impede air circulation, while an almost empty fridge can also be less efficient. Consider purchasing an energy-efficient 12V DC refrigerator if you're building a new system for an RV or cabin, as these are often specifically designed for off-grid use and can significantly reduce your power consumption. Brands like Renogy offer a range of DC refrigerators that are incredibly efficient for solar setups. Understanding these factors can help you make lifestyle choices that reduce your overall power draw, ultimately requiring a smaller and less expensive solar system.
Using a Kill-A-Watt Meter for Accuracy
As mentioned, while estimates are a starting point, a Kill-A-Watt meter provides invaluable real-world data. It’s truly the gold standard for assessing an appliance’s actual energy appetite in your specific environment. When you get one, aim to monitor your refrigerator for at least 48 hours, but 72 hours is even better, especially if your usage patterns vary (e.g., more door openings on a weekend). This longer monitoring period smooths out any anomalies and provides a more reliable average.
Once you have the total kWh from the meter, simply divide it by the number of days you monitored to get your average daily kWh. Then, multiply by 1000 to convert it to watt-hours (Wh) for easier calculation with your solar panels and batteries. This precise data eliminates much of the guesswork, giving you confidence in your system's design. Without this kind of direct measurement, you're essentially designing your off-grid system blind, which rarely ends well when critical appliances like a refrigerator are involved.
Sizing Your Off-Grid Solar Panels for a Refrigerator
With your daily energy consumption for the refrigerator nailed down, it’s time to figure out how many solar panels you’ll need to generate that power. This isn’t just about matching watts; it’s about considering the variable nature of sunlight and ensuring you capture enough energy to recharge your batteries after a night of fridge duty.
Determining Peak Sun Hours
Solar panels produce their rated wattage under “standard test conditions” (STC), which means ideal sunlight. In the real world, you rarely get perfect sun for 24 hours a day. That’s where “peak sun hours” come in. Peak sun hours represent the equivalent number of hours per day when the sun’s intensity averages 1000 watts per square meter, which is roughly the output you get at noon on a clear day. For instance, if your location gets 5 peak sun hours, it means that over the course of the day, your panels will produce as much energy as if they were exposed to full, ideal sun for five hours.
The number of peak sun hours varies significantly by geographic location, season, and even local weather patterns. A desert climate like Arizona might see 6-7 peak sun hours, while a cloudy region like the Pacific Northwest might only get 3-4, especially in winter. You can find average peak sun hour data for your specific location online (NREL's PVWatts calculator is a great resource). Always size your system based on the lowest average peak sun hours for the time of year you need power the most (often winter for year-round living), or at least for the critical period you want your fridge to run reliably. This conservative approach helps prevent unexpected power shortages when the sun isn't shining as brightly.
Calculating Required Panel Wattage
Once you have your daily refrigerator energy consumption (in Wh) and your local peak sun hours, you can calculate the minimum solar panel wattage needed. The formula is:
Total Panel Watts = (Daily Watt-Hours Consumed) / (Peak Sun Hours) * 1.25
The "1.25" is a crucial efficiency factor. It accounts for various system losses, including temperature derating for panels, inefficiencies in wiring, dust, charge controller losses, and inverter losses. These losses can easily add up to 20-30% of your theoretical output, so aiming for 25% extra capacity is a smart move.
Let's use an example: if your refrigerator consumes 2000 Wh per day, and you get 5 peak sun hours:
Total Panel Watts = (2000 Wh / 5 hours) * 1.25 = 400 watts * 1.25 = 500 watts.
So, you'd need approximately 500 watts of solar panels. This could be two 250W panels, or five 100W panels, depending on what's available and fits your space. Remember, this is just for the refrigerator; you'll need to do this for all your appliances and sum them up for your total array size. You can find a good selection of panels from manufacturers like Renogy or through retailers on Amazon.
Considering Seasonal Variations and Shading
It’s tempting to size your system based on glorious summer days, but that’s a recipe for disaster in other seasons. For year-round off-grid living, you *must* size for your worst-case scenario, which is usually winter when days are shorter, sun angles are lower, and cloudy weather is more common. If your winter peak sun hours drop to 3, using our previous example, you’d need:
Total Panel Watts = (2000 Wh / 3 hours) * 1.25 = 667 watts * 1.25 = 834 watts.
That’s a significant jump from 500 watts! This highlights why [How Winter Affects Off-Grid Sizing] is such an important consideration.
Shading is another silent killer of solar production. Even a small shadow from a tree branch, antenna, or chimney can drastically reduce the output of an entire string of panels, especially if they are wired in series without bypass diodes. When planning your panel placement, meticulously scout for potential shading throughout the day and year. Trim trees, consider adjustable tilt mounts to optimize for seasonal sun angles, or use micro-inverters or optimizers (though less common in strictly off-grid setups) to mitigate partial shading effects. Ignoring shading means your panels will consistently underperform, leaving your batteries hungry and your refrigerator potentially without power.
Sizing Your Battery Bank for a Refrigerator
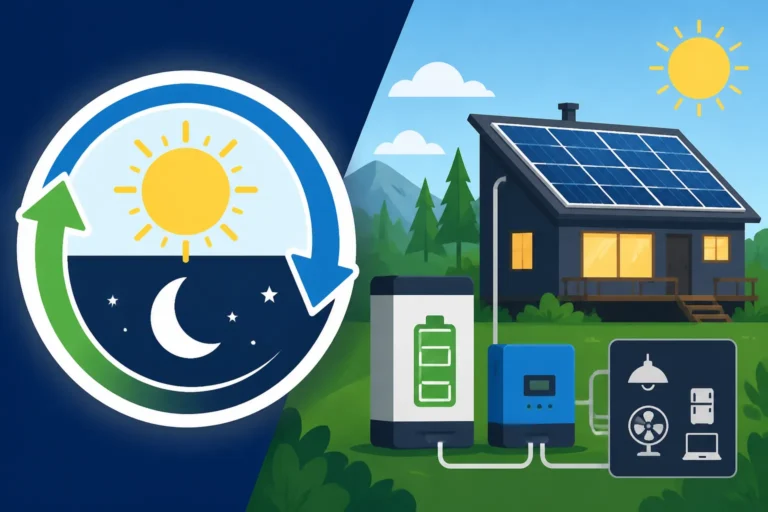
Your battery bank is the heart of your off-grid system, providing the stored energy to keep your refrigerator running when the sun isn’t shining. Sizing it correctly is just as critical as sizing your solar array, if not more so, to ensure consistent power availability and to protect your expensive battery investment.
Understanding Days of Autonomy
Days of autonomy refer to how long your battery bank can power your essential loads (like your refrigerator) without any new input from your solar panels. This is your safety net for cloudy days, storms, or prolonged periods of low sun. For a critical appliance like a refrigerator, having sufficient autonomy is non-negotiable. Most off-grid systems aim for at least 2-3 days of autonomy, but if you live in a particularly cloudy region or prefer extra peace of mind, 4-5 days might be more appropriate.
The number of days you choose depends on your risk tolerance, your local weather patterns, and your budget. More days of autonomy means a larger, more expensive battery bank. However, cutting corners here is a common mistake that leads to frustration and potential damage to your batteries from excessive deep cycling. If you only plan for one day of autonomy and then get two cloudy days in a row, your refrigerator will likely shut down. This concept is thoroughly explored in our guide on [How to Account for Cloudy Days].
Calculating Required Battery Capacity (Amp-Hours or Watt-Hours)
To calculate your battery bank size, you’ll use your daily refrigerator energy consumption (Wh) and your desired days of autonomy, along with a crucial factor called “depth of discharge” (DoD). DoD is the percentage of a battery’s capacity that has been discharged. For optimal battery lifespan, you should never fully drain your batteries.
Here's the calculation:
Required Battery Capacity (Wh) = (Daily Watt-Hours Consumed) * (Days of Autonomy) / (Maximum Depth of Discharge) / (Inverter Efficiency)
Let's break it down:
- Daily Watt-Hours Consumed: The number you calculated earlier (e.g., 2000 Wh for the fridge).
- Days of Autonomy: Your chosen safety margin (e.g., 3 days).
- Maximum Depth of Discharge (DoD): This depends on your battery chemistry:
- Lead-Acid (AGM/Gel): Typically 50% DoD. Discharging beyond this severely shortens their lifespan.
- Lithium Iron Phosphate (LiFePO4): Can safely be discharged to 80-90% DoD without significant impact on lifespan, making them more efficient for usable capacity.
- Inverter Efficiency: Your inverter isn't 100% efficient; it loses some power during conversion. Assume 85-90% efficiency (e.g., 0.85 or 0.90).
Using our example (2000 Wh/day, 3 days autonomy, 80% DoD for LiFePO4, 90% inverter efficiency):
Required Battery Capacity (Wh) = (2000 Wh * 3 days) / 0.80 / 0.90 = 6000 Wh / 0.80 / 0.90 = 6750 Wh / 0.90 = 7500 Wh.
So, you'd need a battery bank capable of providing 7500 Wh. If you have a 12V system, that's 7500 Wh / 12V = 625 Ah. If it's a 48V system, it's 7500 Wh / 48V = 156.25 Ah. This calculation is a fundamental part of [How Many Batteries for an Off-Grid System] and [Watts vs Watt-Hours vs Amp-Hours Explained].
Choosing the Right Battery Chemistry
The choice of battery chemistry profoundly impacts your system’s performance, cost, and longevity.
* **Lead-Acid Batteries (Flooded, AGM, Gel)**: These are generally cheaper upfront but have a shorter lifespan (3-7 years), are heavier, and are very sensitive to deep discharges. You effectively only get to use about 50% of their rated capacity if you want them to last. They also require more maintenance (especially flooded types) and can be less efficient in charging/discharging.
* **Lithium Iron Phosphate (LiFePO4) Batteries**: While more expensive initially, LiFePO4 batteries offer a significantly longer lifespan (10-15+ years), are lighter, allow for 80-90% usable depth of discharge, have faster charging capabilities, and are virtually maintenance-free. For a critical appliance like a refrigerator, their efficiency and longevity often make them the superior choice in the long run, despite the higher initial investment. Brands like Battle Born, EG4, and Victron offer robust LiFePO4 options.
Given the critical nature of a refrigerator and the desire for consistent power, many off-grid homeowners find that the benefits of LiFePO4 batteries outweigh their higher cost. They offer more usable energy from a smaller footprint and last much longer, reducing [Off-Grid Solar Maintenance Costs] over time. For a deeper dive, check out our comparison on [LiFePO4 vs Lead-Acid Battery Cost] and our recommendations for the [Best Off-Grid Solar Batteries].
Selecting the Right Inverter and Charge Controller
These two components are the unsung heroes of your off-grid solar system. The charge controller manages the power coming from your panels to your batteries, and the inverter converts that stored battery power into the usable AC electricity your refrigerator (and other appliances) needs. Getting their sizing right is critical for efficiency and safety.
Inverter Sizing for Peak Loads
As discussed earlier, your inverter must be capable of handling both the continuous running wattage of your refrigerator and its momentary surge (starting watts). If you plan to run only your refrigerator on this system, you’d look at its running watts and its absolute peak surge. If your fridge runs at 200W but surges to 1000W, you’d want an inverter with a continuous rating of at least 200W, but more importantly, a surge rating of at least 1000W, with some headroom. Many inverters are rated for continuous output and a higher peak output for a short duration (e.g., a 1500W inverter might have a 3000W surge rating for a few milliseconds).
However, remember that your refrigerator won't be your only load. You'll likely want to power lights, charge phones, and perhaps run a microwave occasionally. You need to sum up all the simultaneous running watts of everything you might want on at once, plus the highest surge wattage of any single appliance that could kick on while other things are running. If you're running a 200W fridge and a 50W fan, and then the fridge surges to 1000W, your inverter needs to handle 50W (fan) + 1000W (fridge surge) = 1050W. Always oversize your inverter a bit (e.g., 20-30% above your calculated peak simultaneous load) to prevent overloading and ensure reliable operation. For instance, a quality 2000W pure sine wave inverter is a common choice for smaller cabins or RVs that include a refrigerator.
Charge Controller Sizing and Type
The charge controller is the electrical intermediary between your solar panels and your batteries. Its job is to regulate the voltage and current coming from the panels to prevent overcharging your batteries, which can severely damage them. There are two main types:
- PWM (Pulse Width Modulation) Charge Controllers: These are simpler, less expensive, and less efficient. They effectively "clip" the voltage from the panels to match the battery voltage, meaning any excess voltage from the panels is wasted as heat. They are best suited for smaller, simpler systems where the panel voltage closely matches the battery voltage (e.g., a 12V panel charging a 12V battery).
- MPPT (Maximum Power Point Tracking) Charge Controllers: These are more sophisticated, more expensive, and significantly more efficient. MPPT controllers actively track the maximum power point of the solar array, converting excess panel voltage into additional current for the battery. This means they can take a higher voltage array (e.g., a 24V or 48V panel) and efficiently charge a lower voltage battery bank (e.g., 12V). For larger systems, or systems operating in varying temperatures and light conditions, MPPT controllers are almost always the better choice because they can extract 15-30% more power from your panels compared to PWM controllers.
To size your charge controller, you'll need to know your total panel wattage, the maximum open-circuit voltage (Voc) of your solar array, and your battery bank voltage. The charge controller's amp rating must be able to handle the maximum current (Amps = Watts / Volts) your solar array can produce. For example, for a 500W 12V array, max current might be around 500W / 12V = 41.6A. You'd want at least a 50A controller. Brands like Victron Energy and Renogy offer excellent MPPT charge controllers suitable for off-grid applications. A detailed breakdown can be found in our [How to Size a Charge Controller] guide.
| Refrigerator Type | Estimated Daily Wh (Avg.) | Recommended Solar Panels (Watts) for 5 Sun Hrs | Recommended LiFePO4 Battery (Ah @ 12V) for 3 Days Autonomy |
|---|---|---|---|
| Mini Fridge (Compact 1.7-4.5 cu ft) | 300 – 600 Wh | 75 – 150 W | 60 – 125 Ah |
| Energy-Efficient 12V/DC Fridge (4-7 cu ft) | 400 – 800 Wh | 100 – 200 W | 85 – 170 Ah |
| Standard Household Fridge (10-15 cu ft) | 1000 – 1800 Wh | 250 – 450 W | 210 – 375 Ah |
| Large Household Fridge (18-25 cu ft) | 1800 – 2500 Wh | 450 – 625 W | 375 – 520 Ah |
| Side-by-Side/French Door Fridge (20+ cu ft) | 2200 – 3500+ Wh | 550 – 875+ W | 460 – 730+ Ah |
| Notes: Estimates assume typical efficiency, 80% DoD for LiFePO4, 90% inverter efficiency, and 1.25x panel oversizing for losses. Actual needs vary. Consider a Kill-A-Watt meter for precise measurements. | |||
Practical Considerations and Real-World Tips
Beyond the math and component selection, there are many practical elements that can make or break your refrigerator’s performance in an off-grid solar system. These tips can help optimize your setup and prolong the life of your equipment.
Energy-Efficient Refrigerators
The single biggest impact you can have on your solar system’s size and cost for a refrigerator is to choose an energy-efficient model from the outset.
* **12V/DC Refrigerators**: These are often specifically designed for RVs, marine applications, and off-grid cabins. They run directly on DC power from your batteries, bypassing the inverter, which eliminates inverter inefficiency losses. They are typically much more energy-efficient than standard AC household refrigerators. Look for brands like Dometic, Alpicool, or Engel, or check out models offered by companies like Renogy, which are purpose-built for low power consumption.
* **Chest Freezers Converted to Fridges**: A popular hack among off-gridders is to use an energy-efficient chest freezer and convert it into a refrigerator using an external thermostat (like an Inkbird). Chest freezers are designed to hold cold air better because cold air sinks, so it doesn’t spill out when you open the lid. This “super-insulated” design means they run far less frequently than upright refrigerators, often cutting energy consumption by half or more.
* **Smaller and Modern Appliances**: Generally, smaller refrigerators use less power. Also, newer models are almost always more energy-efficient than older ones due to stricter energy standards. If you’re buying a used fridge for off-grid, make sure it’s not an ancient energy hog.
By minimizing the energy load of your refrigerator itself, you can significantly reduce the required size (and thus cost) of your solar panels, batteries, and inverter. This proactive approach saves money and reduces stress on your system in the long run.
Monitoring and Optimization
Installing a reliable battery monitor is a game-changer for understanding your off-grid system’s performance, especially how your refrigerator affects it. A good battery monitor (like those offered by Victron Energy) will show you the real-time state of charge, current draw, voltage, and historical data. This allows you to see exactly how much power your refrigerator is consuming throughout the day and how quickly your solar panels are replenishing that energy.
With this data, you can:
- Identify Anomalies: Notice if your fridge is suddenly drawing more power than usual, which could indicate a problem or a warm spell.
- Optimize Usage: Learn when your system has ample power to run additional loads, or when you need to be conservative with power consumption.
- Troubleshoot Issues: If your batteries are draining too quickly, the monitor can help pinpoint if the refrigerator is the culprit or if other factors are at play.
- Adjust Lifestyle: You might find that simply reducing door openings or cooling down groceries before putting them in the fridge makes a noticeable difference.
Optimizing also extends to where your fridge is placed. Keep it out of direct sunlight and away from heat-generating appliances. Ensure good airflow around the condenser coils. These small adjustments can add up to significant energy savings.
Future Expansion and System Redundancy
When you’re designing your initial off-grid solar system for a refrigerator, it’s wise to think about future needs. Will you want to add a freezer later? Perhaps an air conditioner? Planning for expansion from the start can save you a lot of hassle and expense down the line.
* **Oversize Components Slightly**: When choosing your charge controller and inverter, consider going one size up from your immediate needs if your budget allows. For example, if your calculations suggest a 1500W inverter, a 2000W model might give you headroom for a small microwave or more lights in the future.
* **Modular Design**: Consider a modular battery bank where you can easily add more batteries in parallel later. Many LiFePO4 batteries are designed for easy expansion. Similarly, design your solar array wiring to accommodate additional panels without having to completely re-do wiring.
* **Generator Backup**: Even the best solar system can struggle during extended periods of extremely bad weather. A backup generator can be a lifesaver, especially for critical loads like a refrigerator. Having one on hand ensures your food stays cold even if your solar production falls short for several days. This is a common strategy for [Off-Grid Solar for Emergency Preparedness].
By thinking ahead, you build a resilient system that can adapt to your evolving off-grid needs, providing peace of mind and long-term sustainability.
Disclaimer
Please remember that the information provided in this guide is for educational and informational purposes only. Off-grid solar system design and installation can be complex and involve electrical hazards. Always consult with a qualified electrician or solar professional before installing or modifying any electrical system. Local codes and regulations may apply.