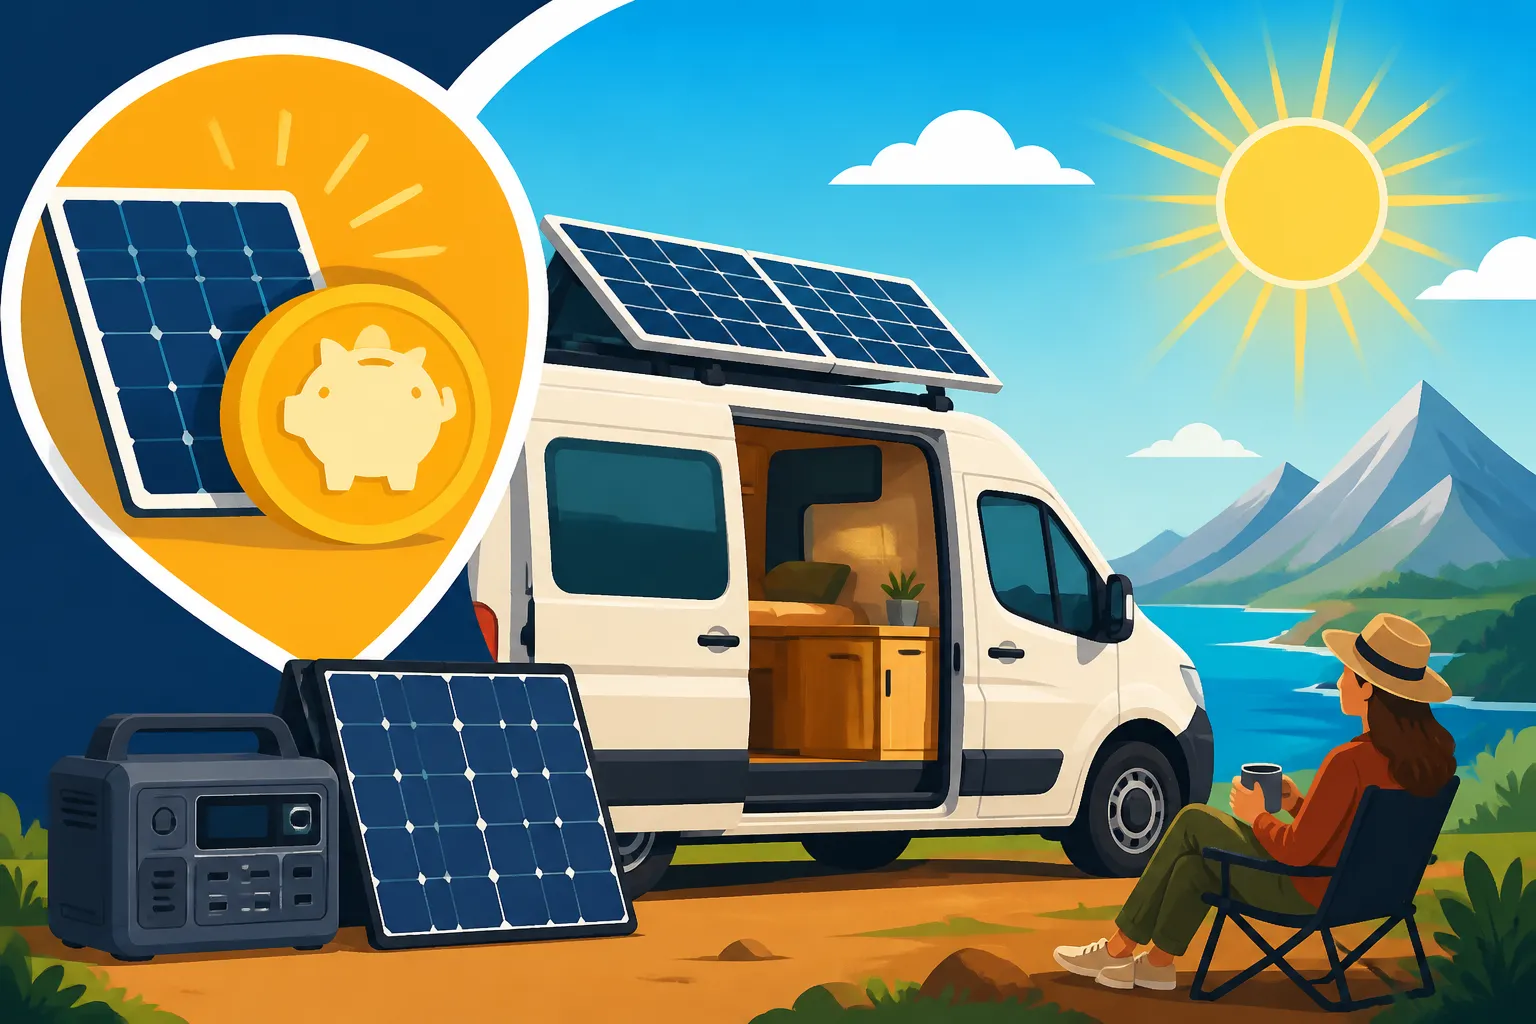
Off-Grid Solar Cost for Van Life
Embarking on the van life dream often conjures images of endless open roads, breathtaking vistas, and the ultimate freedom. But for many, the practical reality of powering that dream—specifically, the cost of off-grid solar for your home on wheels—can feel like a complex puzzle. Navigating solar panels, batteries, inverters, and all the bits in between, while keeping an eye on your budget, is a common frustration. This comprehensive guide is here to demystify the expenses involved, helping you understand where your money goes when setting up a reliable off-grid solar system for your van.
Understanding the Core Components of a Van Life Solar System
When you’re dreaming up your van life setup, it's easy to get lost in the aesthetics. But underneath all that cool decor lies the beating heart of your mobile home: the off-grid solar system. Before we dive into numbers, let’s get acquainted with the main players. Each component has a specific job, and understanding them helps you appreciate why they cost what they do.
Solar Panels: Your Energy Harvesters
Think of solar panels as your primary energy collectors. They sit on your van's roof, soaking up the sun's rays and converting that beautiful sunshine into usable electricity. For van life, space is at a premium, so you often see folks opting for either rigid monocrystalline panels or more flexible options.
Rigid panels, typically 100W to 200W each, are generally more efficient per square foot and more durable, but they require a sturdy mounting system. They’re a fantastic choice for a larger van or if you don't mind the permanent fixture. For instance, a couple of 100W Renogy panels can provide a decent daily charge for basic needs. On the other hand, flexible panels can conform to curved surfaces and are lighter, which is great for stealth or reducing overall vehicle weight. However, they can sometimes be less efficient and may degrade faster if not properly cooled. The choice between these two often comes down to your van's roof space, aesthetic preferences, and how much power you truly need. A good starting point for any system is figuring out How Many Solar Panels for Off-Grid Living, especially for the compact nature of a van.
The Battery Bank: Your Energy Reservoir
Once your solar panels convert sunlight into electricity, where does it go? Into your battery bank, of course! This is arguably the most crucial—and often most expensive—part of your off-grid system. The battery bank stores the energy generated by your panels so you can use it day and night, even when the sun isn't shining.
For van life, the two most common battery types are lead-acid (like AGM) and lithium-ion (specifically LiFePO4). Lead-acid batteries are cheaper upfront, but they're heavier, have a shorter lifespan, and you can only use about 50% of their stated capacity without damaging them. Imagine having a 100Ah AGM battery, but only being able to reliably draw 50Ah—it means you need more batteries (and more space) to get the same usable power. LiFePO4 batteries, like those from Battle Born or EG4, have revolutionized off-grid living. They’re significantly lighter, last much longer (thousands of cycles), and allow you to use 80-100% of their capacity. This means a single 100Ah LiFePO4 battery can outperform and outlast multiple AGM batteries, despite its higher initial cost. If you’re serious about full-time van life, the investment in lithium often pays off quickly in convenience, performance, and longevity. Learning How Much to Budget for Off-Grid Batteries is essential, as this component usually represents the largest portion of your overall cost.
Charge Controllers and Inverters: The Brains of the Operation
These two components are the unsung heroes, managing the flow of electricity to ensure everything runs smoothly and safely. Without them, you’d either overcharge your batteries or fry your electronics – neither is a good outcome!
A charge controller sits between your solar panels and your battery bank. Its job is to regulate the voltage and current coming from the panels, protecting your batteries from overcharging and optimizing the charging process. You'll typically find two types: PWM (Pulse Width Modulation) and MPPT (Maximum Power Point Tracking). MPPT controllers are more efficient, especially in varying light conditions or when your panel voltage is much higher than your battery voltage, making them a worthwhile upgrade for most van setups. Brands like Victron Energy are renowned for their high-quality MPPT controllers, offering advanced monitoring and efficiency.
An inverter, on the other hand, takes the DC (direct current) power stored in your batteries and converts it into AC (alternating current), which is what most household appliances use. If you plan to run anything like a laptop charger, a blender, or a coffee maker, you'll need an inverter. For sensitive electronics, a pure sine wave inverter is critical, as it produces clean power that mimics what you get from a wall outlet. Modified sine wave inverters are cheaper but can damage certain devices or cause them to run inefficiently. Choosing the right inverter size depends directly on How to Size an Off-Grid Inverter for your specific appliances. For many van lifers, an inverter in the 1000W-2000W range is sufficient, but those looking to power more robust items like a microwave or small air conditioner might need larger units.
Factors Influencing Your Van Life Solar Costs
The sticker price for an off-grid solar setup can vary wildly, from a few hundred dollars for a basic portable system to well over $10,000 for a robust, full-time living arrangement. This huge range often leaves people scratching their heads. The truth is, several key factors directly influence how much you’ll spend.
Your Daily Energy Consumption
This is the absolute cornerstone of your solar budget. Before you buy a single component, you need to realistically assess your energy needs. Think about every electrical device you use daily in your van: your fridge, lights, fan, phone charger, laptop, camera batteries, water pump, and any cooking appliances.
To get a clear picture, grab a piece of paper or a spreadsheet and list every item. Then, find out its wattage (W) or amperage (A) and estimate how many hours per day you'll use it. For example, a typical 12V camper fridge might draw 40-60W and run for 8-12 hours a day, while charging a laptop might pull 60W for 2 hours. This process, often called a load analysis, helps you calculate your total daily watt-hours (Wh) or amp-hours (Ah). This calculation is critical, because your total energy consumption dictates the size of your solar array (panels) and, more importantly, your battery bank. If you skimp on this step, you’ll either constantly run out of power or spend too much on an oversized system. For a deep dive, check out our guide on How to Calculate Daily Energy Usage.
System Size and Expandability
The size of your system directly correlates to your energy needs. A minimalist van lifer who only needs to charge a phone and run some LED lights will have a much smaller, cheaper system than someone who wants to run a refrigerator, a powerful blender, and work remotely with a laptop and multiple monitors.
- Small Systems (100-400W panels, 50-100Ah battery): These are ideal for weekend warriors or those with minimal power needs. Think charging small electronics and running basic lights. Costs generally range from $500-$1,500. A simple setup might involve a single 100W panel, a small charge controller, and a basic AGM battery. You can often find decent kits on sites like Amazon that get you started without breaking the bank.
- Medium Systems (400-800W panels, 200-400Ah battery): This is the sweet spot for many full-time van lifers. It allows for a fridge, lights, laptop charging, and occasional use of smaller appliances. Costs typically fall between $1,500 and $4,000. These systems often feature 2-4 quality solar panels and 2-4 LiFePO4 batteries, along with a robust MPPT charge controller and a pure sine wave inverter.
- Large Systems (800W+ panels, 400Ah+ battery): For those with high energy demands—perhaps running an air conditioner, a powerful induction cooktop, or multiple power-hungry devices—a larger system is necessary. These systems can easily exceed $4,000 and move into the $7,000-$10,000+ range, especially if you opt for high-end components. This might involve Cost of a 1000W Off-Grid Solar System or even larger arrays, multiple high-capacity lithium batteries, and powerful inverter chargers.
Consider whether you might want to expand your system down the line. Designing for expandability upfront can save you headaches and money later. For instance, selecting an MPPT charge controller that can handle more solar input than you initially install means you can add more panels later without replacing the controller.
DIY vs. Professional Installation Costs
This is a massive factor in the overall cost. Doing it yourself (DIY) can save you a significant amount on labor, but it requires research, patience, and a willingness to learn about electrical systems. If you're handy and enjoy tinkering, this can be a rewarding and cost-effective route. Many resources, including detailed wiring diagrams and online communities, exist to guide you through a DIY Off-Grid Solar Installation Step by Step.
However, if you're not comfortable with electrical work, wiring, or drilling holes in your brand new van, hiring a professional installer is definitely worth considering. While it adds to the overall expense, it ensures the system is installed correctly, safely, and often comes with warranties. Labor costs can range from a few hundred dollars for a simple installation to several thousand for a complex, integrated system. The peace of mind alone might justify the expense. Ultimately, when considering DIY vs Professional Off-Grid Solar Cost, weigh your skills against the complexity of your desired system.
Real-World Cost Scenarios and Budgeting Tips
Let's get down to brass tacks with some real-world examples. These scenarios are designed to give you a clearer picture of what different levels of off-grid power might cost for your van life adventure. Remember, these are estimates, and prices can fluctuate based on brands, sales, and your exact needs.
Budget-Friendly Starter Systems (Under $1,500)
This category is perfect for the weekend adventurer, the part-timer, or the minimalist who primarily wants to keep their phone charged, run some basic lights, and maybe a small fan. You're looking at a fundamental setup that prioritizes essential power over creature comforts.
A typical setup might include one or two 100W solar panels, often found in affordable kits on Amazon or from brands like Renogy. You'd pair these with a 10-20A PWM charge controller (less efficient but cheaper) and one or two 100Ah AGM batteries. These batteries are heavier and have a shorter lifespan, but they're a good entry point for lower usage. For instance, a basic 200W kit with an AGM battery, small inverter, and wiring can often be pieced together for around $800-$1,200. You might even consider an all-in-one portable power station, like a smaller Jackery Explorer model, which combines the battery, inverter, and charge controller into a single unit. These can be charged by a single portable solar panel and offer grab-and-go convenience, making them excellent for a simple Off-Grid Solar Cost for a Van. The main limitation here is capacity and run-time; you won't be powering a coffee maker or a high-draw microwave for long.
Mid-Range Comfort Systems ($1,500 – $4,000)
This is where many full-time van lifers find themselves. It's a balance of solid performance, reasonable capacity, and decent longevity without completely breaking the bank. You'll have enough power for daily essentials like a fridge, consistent laptop use for remote work, charging multiple devices, and running a fan or even a small blender.
A system in this range often features two to four 100W-200W solar panels (totaling 400W-800W), an efficient MPPT charge controller (like a Victron SmartSolar), and one or two 100Ah-200Ah LiFePO4 batteries. The jump to lithium batteries is a significant part of the cost increase here, but it's well worth it for the weight savings, increased usable capacity, and longer lifespan. You'll also integrate a pure sine wave inverter, typically in the 1000W-2000W range, to handle common AC appliances. For example, a 400W solar array with two 100Ah LiFePO4 batteries, a 30A MPPT charge controller, and a 1500W pure sine wave inverter, plus all the necessary wiring, fuses, and mounting hardware, could easily land you in the $2,500-$3,500 range. This system is robust enough for most full-time digital nomads or couples traveling extensively. You might even find comprehensive Off-Grid Solar Kit Price Ranges in this category that bundle components together for convenience.
High-Capacity Luxury Systems ($4,000+)
If you want all the comforts of home on the road—think air conditioning, an induction cooktop, a microwave, or a robust workshop setup—you're looking at a serious investment in a high-capacity system. This level of power means more panels, a much larger battery bank, and typically a powerful inverter charger.
You'll likely have 800W to 1200W (or more) of solar panels on your roof, potentially using more efficient, higher-wattage panels to maximize space. The battery bank will consist of multiple 100Ah or 200Ah LiFePO4 batteries, perhaps totaling 400Ah-600Ah or even more. A 400Ah LiFePO4 bank alone can cost $2,000-$3,000. Your inverter will be a high-power pure sine wave unit, possibly 3000W or even 5000W, to handle surge loads from appliances like microwaves or well pumps if you have a water system. This setup will also include advanced monitoring systems, heavy-gauge wiring, and potentially a shore power connection or a dedicated DC-DC charger from your alternator to quickly replenish batteries while driving. For example, a 1000W solar array with a 400Ah LiFePO4 battery bank, a 60A MPPT charge controller, and a 3000W inverter charger could easily push past the $6,000-$8,000 mark. Factor in quality brands like Victron Energy or Sol-Ark for crucial components, and you can see why Cost of a 2000W Off-Grid Solar System for a full-featured van life setup quickly adds up. These systems offer unparalleled energy independence but come with a significant price tag.
| System Type | Total Solar Watts | Battery Capacity (Usable) | Example Appliances | Estimated Cost Range |
|---|---|---|---|---|
| Budget/Minimalist | 100-200W | 50-100Ah AGM (25-50Ah usable) or Small LiFePO4 | Phone, laptop, LED lights, small fan | $500 – $1,500 |
| Mid-Range/Full-Time | 400-800W | 100-200Ah LiFePO4 | Fridge, laptop, lights, water pump, fan, blender | $1,500 – $4,000 |
| High-Capacity/Luxury | 800W+ | 400Ah+ LiFePO4 | AC, induction cooktop, microwave, large fridge, power tools | $4,000 – $10,000+ |
Budgeting Tips for Your Off-Grid Van Life Solar System
- Prioritize: What are your absolute must-haves? Powering a fridge is often non-negotiable, while an air fryer might be a luxury you can add later.
- Start Small, Expand Later: You don't have to build your dream system all at once. Start with enough power for your immediate needs and design it to be expandable. You can always add more solar panels or another battery down the road.
- DIY Where Possible: If you have the skills, doing the installation yourself can save a bundle on labor costs.
- Shop Around: Prices vary! Check different retailers, both online (like Amazon) and specialized solar stores. Keep an eye out for sales.
- Consider Used Equipment (with caution): Sometimes you can find good deals on used panels or even batteries. Just be very cautious and understand what you're buying.
- Don't Skimp on Safety: Fuses, breakers, proper wiring, and grounding are non-negotiable. These components are relatively inexpensive but crucial for preventing fires and electrical damage.
Hidden Costs and Long-Term Considerations
While the major components are where most of your money goes, it's easy to overlook the smaller, yet essential, items that quickly add up. Beyond the initial build, you also need to factor in the long-term commitment to keeping your system running smoothly. Neglecting these details can lead to unexpected expenses and frustrating downtime.
Wiring, Mounting, and Safety Components
You've got your panels, batteries, inverter, and charge controller—great! But they don't magically connect themselves. You'll need a myriad of smaller components that, individually, might seem minor, but collectively can add hundreds of dollars to your project.
- Cables and Wires: High-quality, appropriately-sized copper wiring is essential for safety and efficiency. This includes thick battery cables, solar panel wiring (MC4 connectors), and AC wiring. Voltage drop is a real concern in smaller systems like those in vans, so choosing the correct gauge wire based on current and length is vital. Don't cheap out here; undersized wires can overheat and cause fires.
- Fuses and Circuit Breakers: These are non-negotiable safety devices. They protect your components and, more importantly, you from overcurrents and short circuits. You'll need DC breakers for your solar array and battery bank, and AC breakers for your inverter's output. A proper fuse block or breaker panel ensures everything is protected.
- Mounting Hardware: How are those panels staying on your roof? Z-brackets, tilt mounts, or flexible panel adhesive kits all have their costs. Sealants like Dicor or Eternabond tape are also crucial for preventing leaks where cables enter your van.
- Distribution Blocks and Busbars: These organize your wiring, making your system cleaner, safer, and easier to troubleshoot. Rather than having a spaghetti mess of wires, busbars provide a neat point for multiple connections.
- Battery Monitoring: While not always included in basic kits, a good battery monitor (like a Victron SmartShunt) is invaluable. It gives you an accurate reading of your battery's state of charge, current draw, and total capacity, helping you avoid over-discharging and extending battery life. These can add $150-$300 but pay for themselves in battery longevity and peace of mind.
These "small stuff" costs can easily add an extra 10-20% to your total budget, so make sure to factor them in from the start.
Maintenance and Future Upgrades
An off-grid solar system isn't a "set it and forget it" kind of deal, especially for van life where vibrations, varied climates, and constant movement can take a toll. Regular maintenance is key to maximizing its lifespan and efficiency.
- Cleaning Panels: Dust, dirt, leaves, and bird droppings can significantly reduce your panels' output. A quick wipe-down with water and a soft cloth every few weeks or months, depending on your environment, is usually all that's needed. This is a free task, but it requires your time.
- Battery Health: If you have lead-acid batteries, you'll need to regularly check water levels and ensure good ventilation. Even with maintenance-free LiFePO4 batteries, monitoring their state of charge and avoiding deep discharges is important. Eventually, all batteries need to be replaced. For lithium batteries, this might be after 10-15 years, but for AGMs, it could be every 3-5 years. The Cost to Replace Off-Grid Solar Batteries is a significant long-term expense you must plan for.
- Wiring Inspections: Periodically check all connections for looseness or corrosion, especially after long, bumpy drives.
- Component Replacements: While solar panels can last 25+ years, inverters and charge controllers might have shorter lifespans, typically 5-10 years. Budgeting for potential replacements down the line is a wise move for long-term van lifers.
- Upgrades: As your energy needs change or new, more efficient technology becomes available, you might consider upgrading parts of your system. Maybe you started with AGM and want to switch to lithium, or perhaps you need more solar wattage to run a new appliance. Designing an Expandable Off-Grid Solar System from the outset can save you money and hassle in the long run.
Unexpected Expenses and Contingency Planning
Life on the road, especially off-grid, is full of surprises. While we try to plan for everything, sometimes things just happen. A tree branch might fall on a solar panel, a component might unexpectedly fail, or you might miscalculate your energy needs and find yourself needing more power than anticipated.
It’s always a good idea to set aside a contingency fund, perhaps 10-15% of your total solar budget, for unforeseen circumstances. This could cover a roadside emergency repair, a replacement part that suddenly gives up the ghost, or the cost of staying at an RV park for a few days to get shore power if your system isn't quite cutting it in cloudy weather. Having a reliable backup power source, such as a smaller solar generator like a Jackery for light loads, or a small gas generator for heavier tasks, can also be a lifesaver when your solar system isn't performing optimally. Consider the value of being able to charge up quickly when the sun refuses to cooperate, especially in regions known for less-than-ideal weather. This proactive approach ensures that minor setbacks don't derail your entire van life adventure, helping you maintain energy independence and peace of mind.
Disclaimer
The information provided in this guide is for general informational purposes only and does not constitute professional advice. Off-grid solar system design and installation can be complex and involve electrical hazards. Always consult with qualified professionals or refer to manufacturer guidelines and local codes for safe and effective installation and operation.