Off-Grid Solar for a Greenhouse
Many greenhouse enthusiasts dream of cultivating their perfect green sanctuary, only to hit a snag when it comes to powering it. Dealing with remote locations, the hassle of trenching for utility lines, or the constant noise and expense of a gas generator can quickly dim the dream. This guide is dedicated to helping you navigate the world of off-grid solar for your greenhouse, providing practical advice to ensure your plants get all the power they need, sustainably and efficiently.
Why Off-Grid Solar for a Greenhouse Makes Sense
Let's face it, keeping a greenhouse operating year-round can be a significant investment in time and money. Power is often one of the biggest sticking points, especially if your ideal growing spot isn't conveniently located next to a power pole. Off-grid solar solves a lot of these headaches, giving you freedom and control over your energy needs. It’s not just about cutting the cord; it's about optimizing your growing environment on your terms.
Benefits Beyond the Bill
Think about the tranquility of your greenhouse, powered silently by the sun. No more humming generators drowning out the birdsong or the gentle drip of your irrigation system. Beyond the peace and quiet, off-grid solar offers substantial long-term financial benefits. While the initial investment might seem daunting, the freedom from monthly utility bills and the rising costs of fossil fuels can lead to significant savings over the lifespan of your system. Plus, you're investing in energy independence, which is a powerful feeling. Imagine a power outage in your town, and your greenhouse lights are still shining brightly, keeping your seedlings warm and happy. This resilience is a huge draw for many growers.
Another often-overlooked benefit is the environmental impact. By harnessing solar energy, you're significantly reducing your carbon footprint, contributing to a healthier planet, and setting a fantastic example for sustainable living. It’s a tangible way to align your love for gardening with your commitment to ecological stewardship.
Common Greenhouse Power Challenges
Many growers face a similar set of frustrations. Perhaps your dream greenhouse location is far from any existing power lines, making the cost of utility extension astronomical. I’ve seen estimates for extending power lines into rural areas reach tens of thousands of dollars—money that could be better spent on, well, more plants! Or maybe you're in an area prone to frequent power outages, jeopardizing sensitive crops that need consistent light, heat, or humidity control.
Then there's the ongoing battle with fuel costs and the maintenance required for gas or diesel generators. They're noisy, they pollute, and they constantly demand fuel and oil changes. It's a never-ending cycle of expense and inconvenience. And let's not forget the sheer inefficiency of using a large, noisy generator to power just a few grow lights or a small fan. Off-grid solar offers a clean, quiet, and highly efficient alternative that directly addresses these common pain points, letting you focus on what truly matters: your thriving plants.
Understanding Your Greenhouse's Energy Needs
Before you even think about buying a solar panel, you need to understand your greenhouse's specific power appetite. This is arguably the most critical step in designing an effective off-grid system. Without accurately assessing your energy needs, you risk either overspending on an oversized system or, more commonly, under-powering your setup and facing frustrating blackouts. Don't fall into the trap of guessing; a little homework here saves a lot of headaches later.
Identifying Your Electrical Loads
Start by making a comprehensive list of every single electrical appliance you plan to use in your greenhouse. This isn't just grow lights; think about fans for circulation, exhaust fans for cooling, automatic vent openers, irrigation pumps, misting systems, small heaters for seedling starts, and even any monitoring equipment or charging stations for tools. Be honest with yourself about what you truly need versus what would be nice to have.
For each item on your list, you need to find its wattage. This is usually printed on a label on the appliance itself, in the user manual, or available on the manufacturer's website. Sometimes you'll see "amps" instead of "watts" – if so, you can multiply the amps by your system's voltage (e.g., 12V, 24V, 48V) to get the wattage. For instance, a 5-amp appliance on a 12V system is 60 watts. If you have an appliance with a motor, like a pump or a fan, remember that it will have a higher "starting wattage" (or surge wattage) for a brief moment when it kicks on, which is much higher than its "running wattage." This surge needs to be accounted for when sizing your inverter.
Calculating Daily Watt-Hours
Once you have the wattage for each appliance, the next step is to estimate how many hours per day you plan to run it. Be realistic and consider your growing cycles. Grow lights might run 12-16 hours a day, while a circulation fan might run continuously or only during certain periods. An automatic vent opener might only cycle a few times a day, but an irrigation pump could be critical for a short burst.
Multiply each appliance's wattage by its estimated daily run time to get its daily watt-hours (Wh). Then, sum up all these daily watt-hour figures to get your total daily energy consumption for the greenhouse. This number is your golden ticket! It tells you exactly how much energy your solar system needs to generate and store each day. For example, if you have a 100-watt LED grow light running 14 hours a day, that's 1400 Wh for that one light. Do this for everything. You might find it helpful to create a simple spreadsheet, like the table below, to keep track of your calculations. This is a fundamental step in knowing How to Calculate Off-Grid Solar Needs.
| Appliance | Typical Wattage (W) | Daily Use (Hours) | Daily Watt-Hours (Wh) |
|---|---|---|---|
| Small Fan | 10-25 | 8-12 | 80-300 |
| LED Grow Lights | 50-300 | 10-16 | 500-4800 |
| Circulation Pump | 20-100 | 6-10 | 120-1000 |
| Heater (Small) | 500-1500 | 2-4 (seasonal) | 1000-6000 |
| Automatic Vent Opener | 5-15 | Intermittent | 50-150 |
| Exhaust Fan | 50-200 | 4-8 | 200-1600 |
| Misting System | 30-80 | 1-2 | 30-160 |
| Total Daily (Example) | ~1000-8000+ | ||
| (Note: These are estimates. Always check your appliance labels!) |
Accounting for Seasonal Variations
A crucial aspect often overlooked by new off-grid solar users is how energy needs and solar availability change throughout the year. Your greenhouse's demands won't be static. In winter, you'll likely need more heating, and grow lights might run longer due to shorter daylight hours. Simultaneously, winter typically brings fewer peak sun hours and potentially more cloudy days, meaning your solar panels will produce less power.
Conversely, in summer, you might need less artificial lighting but significantly more power for cooling fans or misting systems. When planning your system, always design for your worst-case scenario – typically winter, when both demand is highest and solar input is lowest. This might mean having a slightly oversized system for summer, but it ensures your greenhouse remains powered through the leaner months. Considering these seasonal shifts is key to understanding How to Size an Off-Grid Solar System that provides reliable power year-round.
Key Components of a Greenhouse Off-Grid Solar System
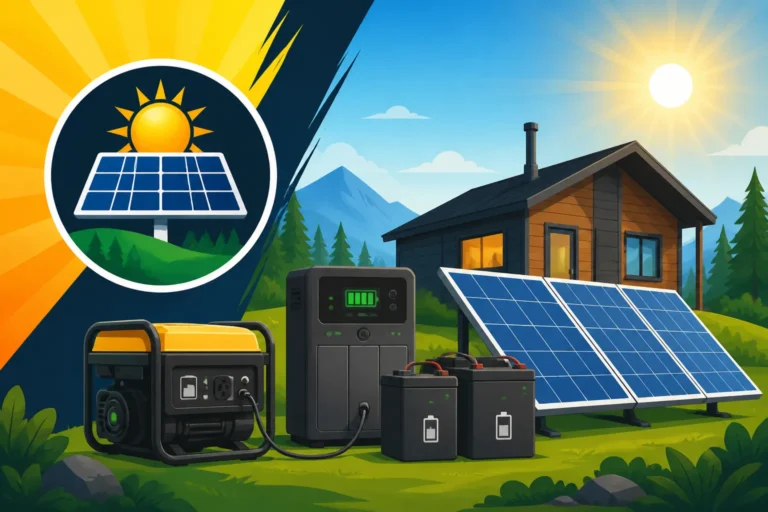
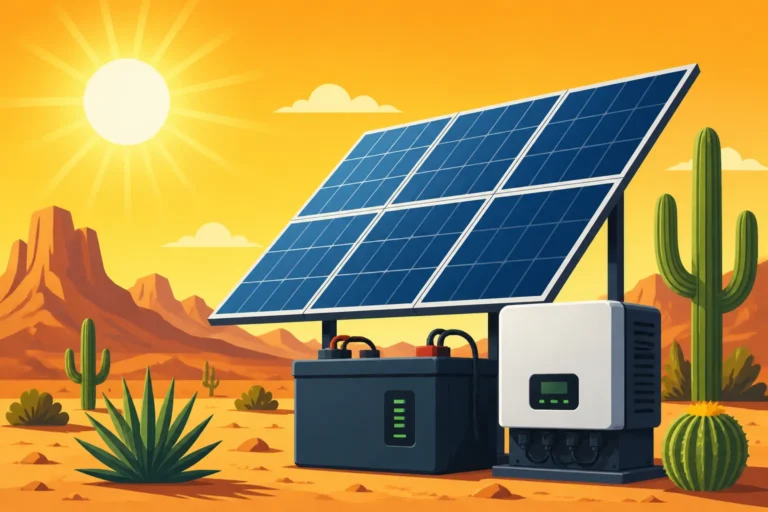
Building an off-grid solar system for your greenhouse is like assembling a team of specialists, each with a crucial role to play. Understanding these core components will not only help you make informed purchasing decisions but also give you confidence in how your system functions. You can buy individual components and build a custom setup, or you can opt for an all-in-one portable power station like a Jackery for smaller, simpler needs.
Solar Panels: The Energy Harvesters
These are the most recognizable parts of any solar setup, often affectionately called "PV panels" (photovoltaic). Their job is simple yet profound: convert sunlight directly into DC (direct current) electricity. For a greenhouse, you'll typically be looking at rigid monocrystalline or polycrystalline panels. Monocrystalline panels are generally more efficient and perform better in lower light conditions, making them a popular choice, especially if space is limited or if you live in an area with frequent cloudy days. Polycrystalline panels are a bit less efficient but often more affordable.
When choosing panels, consider not just the wattage but also their physical size, durability, and temperature coefficient (how well they perform in hot weather, which can be an issue inside or right next to a greenhouse). Look into reputable manufacturers known for quality and warranty. Panels from brands like Renogy or Rich Solar are widely available and well-regarded for DIY setups. Remember, more panels generally mean more power, but there's a balance to strike with space and budget. To delve deeper, check out our guide on the Best Off-Grid Solar Panels.
Battery Banks: The Power Storage Solution
Solar panels only produce electricity when the sun is shining, but your greenhouse needs power around the clock. That's where the battery bank comes in. It's the heart of your off-grid system, storing the excess energy generated during the day for use at night or on cloudy days. Without a robust battery bank, your greenhouse essentially goes dark when the sun sets.
The two main types of batteries you'll encounter for off-grid use are lead-acid (including flooded, AGM, and gel) and lithium iron phosphate (LiFePO4). Lead-acid batteries are typically more budget-friendly upfront but have a shorter lifespan, require more maintenance (especially flooded), and can only be discharged to about 50% of their capacity without causing damage. LiFePO4 batteries, while a higher initial investment, offer significantly longer lifespans (often 10+ years), can be discharged much deeper (80-100%), are maintenance-free, and are more efficient. They're also lighter and more compact. For critical greenhouse operations, the reliability and longevity of LiFePO4 batteries often make them the superior choice in the long run. Learn more about the Cost of an Off-Grid Solar Battery Bank and the Best Off-Grid Solar Batteries to help you decide.
Charge Controllers and Inverters: The Brains of the Operation
These two components work in tandem to manage the flow of power and make it usable for your appliances.
-
Charge Controller: This device sits between your solar panels and your battery bank. Its primary role is to regulate the voltage and current coming from the solar panels to prevent overcharging your batteries. Overcharging can severely damage or even destroy batteries, so this component is non-negotiable. There are two main types:
- PWM (Pulse Width Modulation) controllers: These are simpler and less expensive. They're suitable for smaller systems where efficiency isn't the absolute top priority.
- MPPT (Maximum Power Point Tracking) controllers: These are more advanced and significantly more efficient, especially in varying light conditions or when your panel voltage is much higher than your battery voltage. They can extract up to 30% more power from your panels compared to PWM, making them a worthwhile investment for most greenhouse setups, particularly larger ones.
-
Inverter: Most standard greenhouse appliances (grow lights, fans, pumps, small heaters) run on AC (alternating current) electricity, just like what comes out of your wall outlets at home. However, solar panels and batteries produce/store DC electricity. The inverter's job is to convert that DC power from your batteries into usable AC power. When selecting an inverter, you'll need to match its continuous wattage output to the total running wattage of all AC appliances you plan to use simultaneously, plus factor in any surge wattage for motor-driven devices. A pure sine wave inverter is highly recommended as it produces clean power, safe for sensitive electronics. For smaller, portable greenhouse needs, an all-in-one solar generator like a Jackery unit often integrates the inverter, charge controller, and battery into one convenient package. For dedicated installations, however, separate components offer greater flexibility and scalability. Explore the options for Best Off-Grid Solar Inverters when you're ready to choose.
Designing Your Greenhouse Solar System
Now that you understand the components and have a handle on your energy needs, it's time to put it all together and design a system that works cohesively. This phase involves matching your components to your calculated energy demands and ensuring they can handle the peaks and valleys of greenhouse operation.
Sizing Your Solar Array for Peak Production
Determining How Many Solar Panels for Off-Grid Living is a common question, and for a greenhouse, it means ensuring consistent plant growth. You've already calculated your total daily watt-hours. Now, you need to figure out how many solar panels (and what wattage) you'll need to generate that much power, keeping in mind that you'll also need to recharge your batteries. Solar panel output isn't constant; it varies with sunlight intensity, angle, and temperature. The key concept here is "peak sun hours" – the equivalent number of hours per day your panels receive direct, maximum sunlight. This value varies significantly by location and season.
You'll need to look up the average daily peak sun hours for your specific location. Websites like PVWatts can give you detailed data. Let's say your greenhouse needs 4000 Wh per day, and your location gets an average of 4 peak sun hours in winter. You'd divide your daily Wh by your peak sun hours (4000 Wh / 4 hours = 1000 W). This means you'd need a solar array capable of producing at least 1000 watts under ideal conditions. Then, you'll factor in system losses (like wiring, temperature, and dust, usually 15-25%) and add a buffer for cloudy days or increased demand. So, for a 1000W output, you might aim for 1200-1300 watts of actual panel capacity. For more details on panels, consider Cost of Off-Grid Solar Panels.
Choosing the Right Battery Capacity
Your battery bank needs to be large enough to store sufficient energy to power your greenhouse during periods of no sun (nighttime or cloudy days) and to withstand your deepest discharge cycles without damage. This is often referred to as "days of autonomy." For a greenhouse, especially if you have sensitive plants, aiming for 2-3 days of autonomy is a good starting point. This means your battery bank can power your greenhouse for 2-3 days without any new solar input.
To calculate the required battery capacity, take your total daily watt-hours and multiply it by your desired days of autonomy. Then, divide by the maximum usable depth of discharge (DoD) of your chosen battery chemistry. For instance, if you need 4000 Wh per day and want 2 days of autonomy with LiFePO4 batteries (which allow 80% DoD), the calculation would be (4000 Wh * 2 days) / 0.80 = 10,000 Wh. This 10,000 Wh is your target battery capacity. Convert this to amp-hours (Ah) if your batteries are rated that way (Wh / system voltage = Ah). For a 24V system, 10,000 Wh / 24V = 417 Ah. This guides you in understanding How Many Batteries for an Off-Grid System your setup needs.
Selecting Appropriate Inverter and Charge Controller Sizes
These components are sized based on your maximum instantaneous power draw and your solar array size, respectively.
-
Inverter Sizing: Recall that list of all your appliances? You need to sum up the continuous running wattage of all the AC appliances you might run simultaneously at any given time. This includes your biggest loads like heaters or larger grow lights. Then, identify the appliance with the highest surge wattage (e.g., a well pump or a powerful fan motor). Your inverter's continuous output rating must be greater than your total continuous load, and its surge rating must be able to handle that highest surge load. It’s often a good idea to slightly oversize your inverter (e.g., a 2000W inverter for a 1500W peak load) to give yourself some headroom and improve efficiency. This is a critical piece of the puzzle for How to Size an Off-Grid Inverter.
-
Charge Controller Sizing: The charge controller's job is to manage the power from your panels to your batteries. Its rating must be able to handle the maximum current (amps) that your solar array can produce. If you're using an MPPT controller, you'll take your total solar panel wattage and divide it by your battery bank voltage, then add a 25% safety margin. For example, a 1200W solar array feeding into a 24V battery bank: 1200W / 24V = 50 amps. Add 25% (50 * 1.25 = 62.5 amps). So, you'd need a charge controller rated for at least 60-65 amps. Always check the maximum input voltage rating of the charge controller to ensure it can handle your panel array's open-circuit voltage (Voc), especially if you're wiring panels in series.
Proper sizing of all these components is crucial for a reliable and efficient off-grid greenhouse system. Taking the time to do these calculations accurately will save you money and headaches down the road.
Installation Considerations for Greenhouse Solar
Once you have all your components ready, the next phase is putting it all together. Installing an off-grid solar system for a greenhouse involves practical considerations that differ slightly from a residential setup, primarily due to the unique structure and environment of a greenhouse. Safety, proper wiring, and protection from the elements are paramount. While a complete DIY Off-Grid Solar Installation Step by Step guide is extensive, here are some core considerations.
Mounting Panels: Roof vs. Ground
The placement of your solar panels is critical for maximizing their efficiency. You have two primary options for a greenhouse:
-
Greenhouse Roof Mounting: This can be tempting as it utilizes existing structure and keeps panels close to the load. However, there are significant drawbacks. Firstly, mounting panels on the greenhouse roof will shade your plants, reducing the natural light they receive, which is usually counterproductive for a greenhouse. Secondly, greenhouse roofs are often made of polycarbonate or glass, which may not be robust enough to support the weight of panels and withstand wind loads without significant structural reinforcement. Lastly, the hot and humid environment inside a greenhouse can also impact panel performance if they're too close to the heat. Generally, this option is only suitable for very specific greenhouse designs or supplemental power with minimal shading.
-
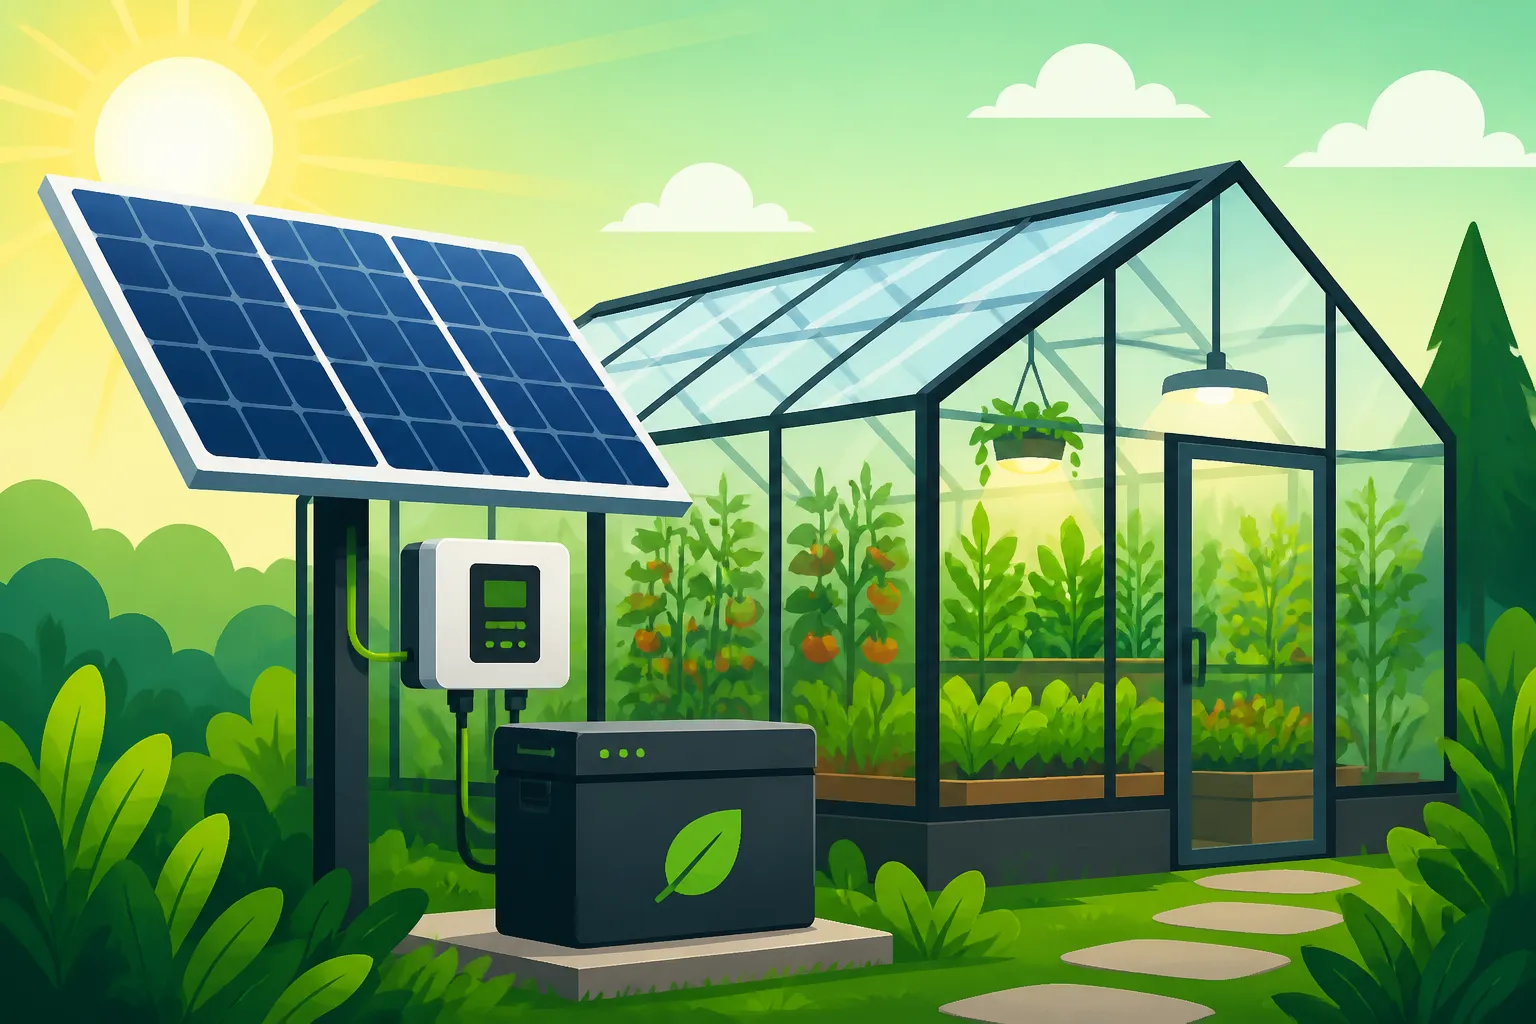
Ground Mounting: For most greenhouses, a ground mount adjacent to the structure is the superior choice. This allows you to orient your panels optimally for sunlight (typically south-facing in the Northern Hemisphere, at an angle matching your latitude for year-round sun, or a steeper angle for winter sun maximization). Ground mounts also make cleaning and maintenance much easier. You can build a fixed-tilt mount or invest in an adjustable tilt mount that allows you to change the angle seasonally, significantly boosting winter performance when sun angles are lower. While it requires a bit more space, the benefits of optimal sun exposure and structural integrity far outweigh the drawbacks of roof mounting directly on the greenhouse. This also allows for easier routing of cables without compromising the greenhouse structure.
Wiring and Safety Protocols
Wiring an off-grid solar system is not something to be taken lightly. Incorrect wiring can lead to system inefficiencies, component damage, or, most dangerously, fire hazards or electric shock. Even for a smaller greenhouse system, adhering to electrical safety protocols is crucial. All wiring should be properly sized for the current it will carry to prevent voltage drop and overheating. Use appropriate UV-resistant, outdoor-rated solar cables (typically 10 AWG or 12 AWG for panel runs, heavier gauge for battery cables).
Fuses and breakers are your safety nets. Install an inline fuse or breaker between your solar panels and your charge controller, another between your charge controller and your battery bank, and a main disconnect switch for your battery bank. Your inverter should also have its own protection. These devices will trip and interrupt the circuit if there's an overload or short circuit, protecting your valuable components and preventing hazards. All metal components, including panel frames and mounting racks, should be properly grounded to prevent electrical shock in case of a fault. If you're unsure about any aspect of the wiring, don't hesitate to consult a qualified electrician or someone experienced in off-grid solar. Looking at an Off-Grid Solar Wiring Diagram Explained can be incredibly helpful.
Weatherproofing and Protection
Your off-grid solar system will live outdoors, exposed to the elements. Protecting your components from rain, snow, extreme temperatures, and even pests is essential for longevity and reliability.
- Components Enclosure: Your charge controller, inverter, and battery bank should ideally be housed in a weatherproof enclosure. A dedicated battery box, often made of durable plastic or metal, is vital for protecting your batteries from temperature extremes and physical damage. If you're using lead-acid batteries, ensure the enclosure is well-ventilated to prevent the buildup of explosive hydrogen gas. LiFePO4 batteries are much safer in this regard. The inverter and charge controller should be in a sheltered, dry location, preferably one that is also relatively cool, as excessive heat can reduce their lifespan.
- Cable Management: All outdoor cables should be run in conduit where possible, especially if they are exposed to sunlight, foot traffic, or potential animal damage. This protects the cable insulation from UV degradation and physical abrasion. Ensure all cable entry points into enclosures are sealed to prevent water ingress.
- Environmental Considerations: In areas with heavy snow, ensure your panel mounting structure can withstand the weight. In high-wind areas, robust mounting is paramount. Consider shading from nearby trees or structures throughout the year and adjust panel placement accordingly. While portable power stations like a Jackery are great for flexibility, for permanent greenhouse power, robust, fixed installations with proper weatherproofing will offer the best long-term reliability.
Taking these installation steps seriously will ensure your off-grid greenhouse solar system operates safely and effectively for many years to come, keeping your green haven powered and thriving. For a broader perspective on setup, refer to How to Install an Off-Grid Solar System.
Maintenance and Longevity for Your Greenhouse System
Setting up your off-grid solar system is a fantastic achievement, but it's not a "set it and forget it" kind of deal. Just like tending to your plants, your solar system needs a little love and attention to ensure it performs optimally for years to come. Regular maintenance isn't just about preventing breakdowns; it's about maximizing your energy harvest and getting the most out of your investment. Plus, nobody wants to walk into a dark, cold greenhouse because of a preventable system failure.
Routine Checks and Cleaning
The most straightforward aspect of maintenance is keeping your solar panels clean. Dust, dirt, pollen, bird droppings, and even leaves can accumulate on the surface of your panels, significantly reducing their ability to convert sunlight into electricity. A simple rinse with water, perhaps with a soft brush or sponge for stubborn grime, can make a surprising difference. Do this periodically, especially after dry, dusty periods or heavy pollen seasons. Always clean them when they are cool, either early in the morning or late in the afternoon, to avoid thermal shock to the panels.
Beyond cleaning, make it a habit to visually inspect your entire system. Look for any loose connections, frayed wires, or signs of corrosion on terminals. Check your panel mounts for any shifting or damage. If you have lead-acid batteries, check their water levels and clean any corrosion from the terminals. For LiFePO4 batteries, a visual inspection is generally sufficient as they are sealed and require no water. Also, keep an eye on your charge controller and inverter displays; they often show error codes or warnings if something is amiss. Even simple portable power stations like a Jackery benefit from being kept clean and stored in appropriate conditions. Understanding these simple checks can minimize your Off-Grid Solar Maintenance Costs over time.
Troubleshooting Common Issues
Despite your best efforts, sometimes things go wrong. Knowing how to troubleshoot common issues can save you a service call and get your greenhouse back up and running quickly.
-
No Power/Low Power:
- Check Sunlight: Is it very cloudy, or are your panels shaded by new growth or debris?
- Check Fuses/Breakers: Have any fuses blown or breakers tripped? This is often the first thing to check if power suddenly goes out.
- Battery Voltage: Is your battery voltage very low? This could indicate a deeper issue with charging or excessive discharge.
- Connections: Are all wires securely connected? A loose connection can interrupt the flow of power.
- Charge Controller Status: Is your charge controller showing any error codes or indicating it's not charging?
-
Inverter Issues:
- Overload: Is your inverter beeping or showing an overload error? You might be trying to power too many appliances at once, or an appliance with a high surge current is causing it to trip.
- Low Battery Voltage: Many inverters will shut down if battery voltage drops too low to protect the batteries.
-
Panel Output Issues:
- Dirt/Debris: As mentioned, clean panels regularly.
- Shading: Has a new tree grown, or is there a new obstruction causing shade on part of your array? Even partial shading can drastically reduce overall output.
Documenting your system with an Off-Grid Solar Wiring Diagram Explained during installation can be invaluable for troubleshooting later on, allowing you to trace circuits and identify potential problem areas more easily.
Upgrading and Expanding Your System
Your greenhouse needs might evolve. Perhaps you’re expanding your growing area, adding more intensive grow lights, or introducing new climate control systems. One of the beautiful aspects of a well-designed off-grid solar system is its potential for scalability.
If you find your system is consistently struggling to meet demand, or you simply want to add more powerful equipment, consider upgrading in phases:
- Add More Panels: If your charge controller has capacity and your battery bank can handle more charging current, adding more solar panels is often the most straightforward way to increase power generation. Remember to ensure new panels are compatible with your existing array and charge controller voltage.
- Expand Battery Storage: If you frequently run out of power overnight or during cloudy stretches, increasing your battery bank capacity is the answer. This could involve adding more batteries of the same type and voltage, or if you started with lead-acid, considering an upgrade to LiFePO4 for better performance and lifespan.
- Upgrade Inverter/Charge Controller: If your new appliances have higher wattage demands, you might need to upgrade to a larger inverter. Similarly, if you add significantly more panels, you might need a charge controller with a higher amperage rating.
Planning for future expansion during the initial design phase can save you money and effort down the line. For example, installing slightly oversized wiring initially allows for easier panel additions later without having to re-wire. Keeping your system flexible means your off-grid greenhouse can grow and adapt right alongside your plants.
Disclaimer
The information provided in this guide is for general informational purposes only and does not constitute professional electrical or engineering advice. Off-grid solar system design and installation can be complex and involve significant electrical hazards. Always consult with qualified professionals and adhere to all local codes and regulations when planning or installing an off-grid solar system. Working with electricity can be dangerous, and improper installation can lead to property damage, injury, or death.