Best Budget Off-Grid Solar Kit
Embarking on the off-grid journey often comes with a hefty price tag, making many aspiring homesteaders, RVers, and cabin owners feel like their dream is out of reach. The sticker shock from comprehensive solar systems can be truly disheartening. But don't despair! This guide is all about demystifying the world of affordable solar, showing you how to find the best budget off-grid solar kit that won't require selling your firstborn, helping you achieve energy independence without draining your savings.
Understanding "Budget-Friendly" in Off-Grid Solar
When you hear "budget-friendly" in the context of off-grid solar, it's easy to picture flimsy, underpowered setups that barely charge your phone. That's a common misconception, and it's a valid frustration for many folks looking to dip their toes into solar without a massive upfront investment. The reality is far more nuanced, and finding a budget-conscious system means understanding where you can genuinely save money and where cutting corners might lead to bigger headaches down the road.
What "Budget" Truly Means for Off-Grid Living
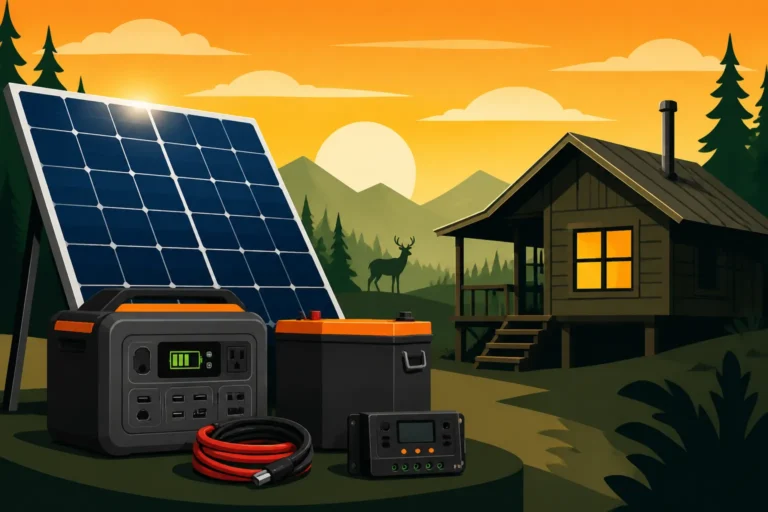
"Budget" doesn't necessarily mean "cheap" or "low quality" when it comes to off-grid solar; it's more about smart allocation of your funds and prioritizing your essential power needs. For many, a budget system aims to power critical loads like lighting, phone charging, a small refrigerator, or perhaps a water pump for a few hours a day. It's about getting the most bang for your buck in terms of functionality and reliability for specific, modest requirements, rather than trying to run an entire household with heavy-duty appliances. Think of it as building a strong foundation that you can always add to later. For example, a budget system for a remote hunting cabin might simply provide enough power for LED lights, a radio, and charging devices, allowing for comfortable, basic living without the expense of running a generator constantly.
The Trade-offs of Cost Savings
Let's be real: saving money almost always involves some trade-offs. In off-grid solar, this might mean opting for less advanced battery chemistry, choosing smaller panel arrays, or foregoing some of the high-tech monitoring features found in premium systems. For instance, while lithium iron phosphate (LiFePO4) batteries are amazing, their initial cost can be a barrier. A budget-conscious choice might lean towards high-quality absorbed glass mat (AGM) lead-acid batteries, which are cheaper upfront but have a shorter lifespan and require more careful management. You might also find yourself with a smaller power reserve, meaning you'll need to be more mindful of your daily energy consumption and potentially rely on a backup generator during extended cloudy periods. It’s crucial to understand these compromises to manage your expectations and ensure the system still meets your core needs. You might find our guide on Off-Grid Solar on a Tight Budget a helpful resource to navigate these choices.
Differentiating Between Cheap and Value-Driven
This is perhaps the most critical distinction. "Cheap" can imply products that are poorly made, unreliable, and will ultimately cost you more in replacements and repairs. Think of those no-name panels on discount sites with dubious warranties. "Value-driven," on the other hand, means finding reliable, functional components at a reasonable price point. This often involves researching reputable brands that offer entry-level products, checking reviews, and understanding the warranty. A value-driven budget kit might use slightly less efficient but durable solar panels, a reliable but basic charge controller, and perhaps an AGM battery from a known manufacturer rather than a cutting-edge LiFePO4 solution. It's about smart shopping for longevity and performance within your financial constraints, not just grabbing the lowest price.
Essential Components of a Budget Off-Grid Solar Kit
To build or buy an effective budget off-grid solar kit, you first need to understand the core components and how they contribute to both cost and performance. It’s like baking a cake; you need the right ingredients, even if you’re using store-brand flour and sugar. The individual components can really impact the overall cost when you're planning your system.
Solar Panels: Efficiency vs. Cost
Solar panels are often the first thing people think about, and their cost can vary widely. For a budget setup, you’ll typically be looking at monocrystalline or polycrystalline panels. While monocrystalline panels are generally more efficient, polycrystalline panels often come at a lower cost per watt and can be a fantastic value, especially if you have ample space for installation. You might sacrifice a tiny bit of power generation per square foot, but if your budget is tight, that extra square foot of panel might save you hundreds of dollars. For instance, rather than chasing the absolute highest efficiency panel from a premium brand, a budget approach might involve buying slightly older stock or panels from a lesser-known but still reputable manufacturer, like Renogy or Rich Solar, that offer good performance and a solid warranty for a fraction of the cost.
These panels are designed to convert sunlight into electricity, and their size and number directly correlate with how much power you can generate. When working with a budget, it’s often about finding the sweet spot where you have enough generation for your daily needs without overspending on excess capacity you might not use. Think about How Many Watts of Solar You Need to get a clearer picture of what you might need.
Batteries: The Heart of Your System
Batteries are arguably the most expensive single component in any off-grid solar system, and this is where budget decisions really come into play. As mentioned, LiFePO4 batteries offer excellent cycle life, depth of discharge, and lighter weight, but their initial cost is significant. For a budget-friendly option, deep-cycle lead-acid batteries (like AGM or flooded lead-acid) are often the go-to. They are heavier, require more maintenance (especially flooded), and have a shorter lifespan, but their upfront cost can be dramatically lower.
For example, a single 100Ah 12V LiFePO4 battery might cost $300-$500, while a comparable AGM battery could be $150-$250. If you need several batteries, these savings quickly multiply. When choosing lead-acid, invest in a reputable brand to ensure reliability. While the temptation might be to go for the absolute cheapest, a poorly made lead-acid battery can fail prematurely, costing you more in replacements over time. We have a dedicated guide on Lead-Acid Battery Brands for Off-Grid that goes into more detail about what to consider.
Charge Controllers and Inverters: The Brains of the Operation
These components manage the flow of electricity, and while they might not be as visually striking as panels or batteries, they are absolutely crucial.
Charge Controllers: Protecting Your Batteries
The charge controller is the unsung hero, regulating the voltage and current coming from your solar panels to charge your batteries safely and efficiently. For budget systems, you often have a choice between PWM (Pulse Width Modulation) and MPPT (Maximum Power Point Tracking) controllers.
- PWM Controllers: These are simpler, less efficient (typically 70-80% efficient), and significantly cheaper. They essentially act like a switch, slowly turning off the power as the battery fills up. They are best suited for smaller systems where the solar panel array voltage closely matches the battery bank voltage (e.g., a 12V panel charging a 12V battery).
- MPPT Controllers: These are more sophisticated, offering higher efficiency (90-99%) by constantly tracking the maximum power point of the solar array. They can also efficiently convert higher panel voltages down to battery voltage (e.g., a 24V or 36V panel charging a 12V battery). This means you can use fewer, larger panels or string panels together for higher voltage, which reduces wire size and power loss over distance.
For a true budget kit, especially a smaller one, a PWM controller can absolutely get the job done. However, for slightly larger budget systems where you want to maximize every bit of power from your panels, an MPPT controller might be a worthwhile upgrade if you can stretch the budget.
Inverters: Converting DC to AC Power
An inverter takes the DC (Direct Current) power from your batteries and converts it into AC (Alternating Current) power, which is what most household appliances use. For budget systems, the primary distinction is between modified sine wave and pure sine wave inverters.
- Modified Sine Wave Inverters: These are much cheaper and sufficient for basic resistive loads like lights, heating elements, and some older electronics. However, they can damage sensitive electronics (laptops, modern TVs, medical equipment like CPAP machines) and cause motors (refrigerators, pumps) to run less efficiently or hum loudly.
- Pure Sine Wave Inverters: These produce a cleaner, smoother waveform identical to grid power, making them safe for all electronics and appliances. They are more expensive but are essential if you plan to run anything sensitive or with an induction motor.
On a tight budget, if your power needs are extremely basic (e.g., just lights and charging simple devices), a modified sine wave inverter might work. However, if you plan to run a refrigerator, a laptop, or any modern appliance, a pure sine wave inverter is a non-negotiable investment, even if it pushes the budget slightly. It prevents appliance damage and ensures smooth operation, saving you money on repairs and replacements in the long run.
Top Considerations When Choosing a Budget Kit
Choosing a budget off-grid solar kit isn't just about finding the cheapest components; it's about making smart decisions that align with your actual needs and future aspirations. Many people dive in without a clear understanding of their power consumption, leading to systems that are either over-specced (wasting money) or, more commonly, under-specced (leading to frustration and eventual upgrades).
Your Actual Power Needs: Don't Oversize, Don't Undersize
This is probably the single most important factor. Before you even look at a single kit, you must perform a load analysis. This means listing every single appliance and device you plan to power, how many watts it consumes, and for how many hours a day.
For example:
| Appliance | Wattage | Hours/Day | Daily Watt-Hours |
|---|---|---|---|
| LED Lights (3 bulbs) | 9W each | 4 | 108 Wh |
| Laptop Charger | 60W | 2 | 120 Wh |
| Phone Charger | 10W | 3 | 30 Wh |
| Mini-Fridge (Energy Star) | 80W (running) | 8 (compressor) | 640 Wh |
| Water Pump (intermittent) | 200W | 0.5 | 100 Wh |
| Total Daily Need: | 998 Wh |
As you can see, even a seemingly small setup can quickly add up to significant daily watt-hours. A common pitfall for budget buyers is underestimating their needs, leading to constant battery depletion and frustration. Conversely, oversizing means buying more panels, bigger batteries, and a larger inverter than you genuinely require, which is a waste of precious budget funds.
Start small, focus on absolute essentials, and be realistic about what you can and can't run on a budget system. If you truly need to power an air conditioner or a well pump, a "budget" kit as we're discussing might not be sufficient, and you might need to adjust your budget or expectations. Our article on Off-Grid Solar Load Calculation Explained can help you crunch these numbers accurately.
Expandability and Future-Proofing
Even on a budget, thinking ahead can save you money in the long run. What if you want to add more lights, upgrade to a larger fridge, or power a new tool next year? A truly smart budget kit allows for future expansion. This often means choosing an inverter or charge controller that has a bit more capacity than your immediate needs.
For instance, if your current needs only require a 1000W inverter, but you anticipate adding a microwave that surges to 1500W, consider a 2000W inverter from the start. The initial cost difference might be a couple of hundred dollars, but it's far less than buying a whole new inverter later. Similarly, opting for a charge controller with slightly higher amperage limits or an MPPT controller can make it easier to add more solar panels down the line without replacing the entire unit. Many manufacturers, like Renogy and EcoFlow, offer modular systems or components designed to integrate easily with additions, which can be a huge benefit for phased budget builds. Planning for future growth ensures your initial investment remains useful.
Reputation and Support: Even on a Budget
It's tempting to grab the cheapest components you can find online, but a lack of warranty or customer support can turn a "deal" into a disaster. Even for budget kits, look for brands that offer:
- Clear Warranties: How long are the panels guaranteed? What's the cycle life for batteries? Are inverters covered for defects?
- Customer Service: Can you reach someone if you have questions or problems? Good support is invaluable, especially if you're doing a DIY installation.
- Positive Reviews: Look beyond just the star rating. Read comments about product longevity, ease of installation, and how the company handles issues.
Even budget-friendly brands like WindyNation or HQST have established reputations and provide customer support, which offers a level of confidence you won't get from no-name sellers. A product with a slightly higher price tag but a solid warranty and reliable support is almost always a better budget choice than the absolute cheapest option with no backup. Think about the peace of mind knowing you're not completely on your own if something goes wrong.
Recommended Budget Off-Grid Solar Kits and Components
Okay, so you understand the trade-offs and you've calculated your power needs. Now, let's talk about actual options for getting started with a budget-friendly off-grid solar setup. There's a spectrum of solutions, from compact all-in-one units to more flexible component-based systems.
Portable Solar Generators for Smaller Needs
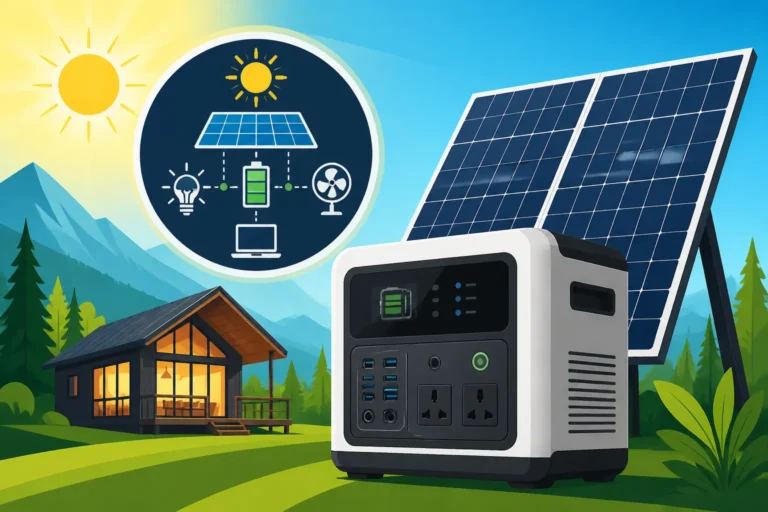
For those with minimal power requirements or who prioritize portability, a solar generator (also known as a portable power station) can be an excellent budget-friendly entry point. These are all-in-one units that combine a battery, inverter, and charge controller into a single, often suitcase-sized package. They are incredibly easy to set up – just plug in a solar panel, and you're good to go.
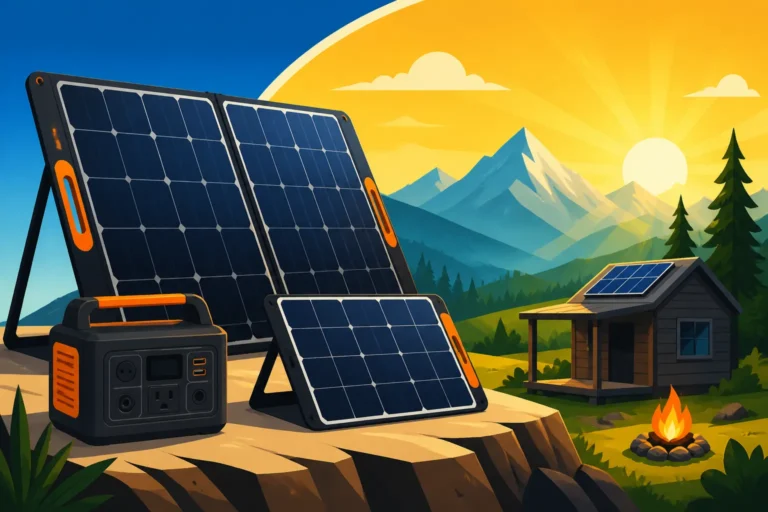
Brands like Jackery, EcoFlow, and Bluetti offer a range of sizes, from small units perfect for charging phones and laptops (e.g., a Jackery Explorer 300) to larger ones that can power a mini-fridge or some power tools for a few hours (e.g., a Jackery Explorer 1000).
Pros:
- Simplicity: Plug-and-play operation.
- Portability: Easy to move between a cabin, RV, or camping trip.
- Integrated: All components are pre-matched and housed together.
Cons:
- Limited Capacity: Generally smaller battery banks and inverter output compared to custom systems.
- Less Expandable: While some can link to additional batteries, they often aren't as modular as traditional setups.
- Higher Cost per Watt-hour: Often more expensive for their capacity than building a component-based system.
These are ideal for occasional use, emergencies, or very small, specific off-grid applications like a backyard shed or a temporary camp. For a modest budget, a reliable portable power station like a Jackery Explorer can quickly get you up and running.
Entry-Level All-in-One Kits
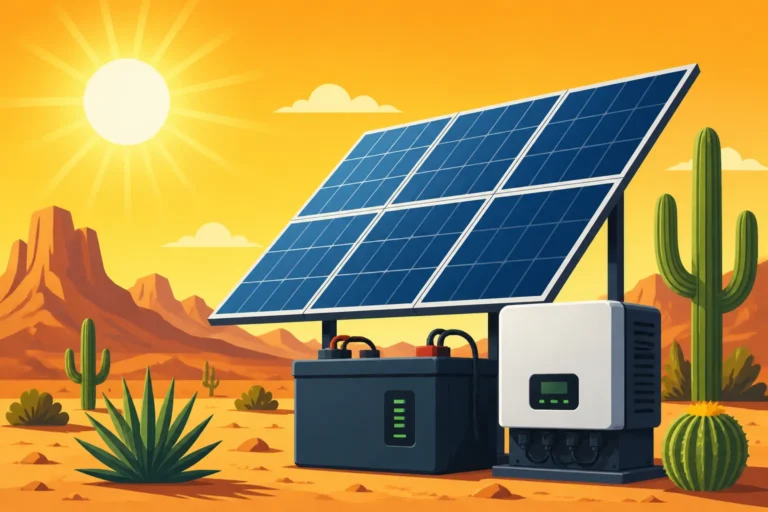
Moving up from portable solar generators, you'll find "all-in-one" off-grid solar kits designed for permanent or semi-permanent installations. These kits typically include solar panels, batteries (often lead-acid to keep costs down), a charge controller, and an inverter, along with some necessary cables and mounting hardware. They remove a lot of the guesswork for beginners and ensure component compatibility.
You'll often see these advertised with wattages like "400W Off-Grid Solar Kit" or "1000W Off-Grid Cabin Kit." Companies like Renogy, Grape Solar, and WindyNation offer various kits aimed at different budget levels and power needs. For example, a 400W kit with two 100Ah AGM batteries from Renogy might be perfect for a small shed or an RV with moderate power needs, providing enough juice for lights, charging, and a small fan.
Pros:
- Convenience: All major components are included and designed to work together.
- Simplified Shopping: No need to research individual components extensively.
- Good Starting Point: Provides a solid foundation that can often be expanded later.
Cons:
- Less Customization: You're limited to the components provided in the kit.
- May Include Lower-End Components: To meet price points, some kits might include less efficient panels or basic charge controllers.
- Installation Still Required: Unlike solar generators, these kits still need to be properly installed and wired.
For those looking for a relatively straightforward path to installing a small, dedicated off-grid system without the complexity of sourcing every piece individually, an entry-level kit offers fantastic value. Remember to always compare the specifications of components within the kit to ensure they meet your projected power demands. Our What to Look for in an Off-Grid Solar Kit guide offers more insights into picking the right kit.
Smart Component Sourcing for DIY Builds
For the truly budget-conscious and hands-on individuals, building your own system by sourcing individual components often yields the best value for money and allows for maximum customization. This approach requires more research and planning, but it can lead to a more robust and cost-effective system in the long run. Our comprehensive guide on Off-Grid Solar Cost Broken Down by Component breaks down the cost of each component.
Here's how to approach smart component sourcing:
- Panels: Look for bulk deals from solar distributors, especially on slightly older models or less-known brands with good warranties. Sometimes, local installers will have excess panels at a reduced cost. Checking places like Craigslist or Facebook Marketplace for used panels in good condition can also yield significant savings, but always exercise caution and inspect thoroughly.
- Batteries: As discussed, high-quality AGM batteries offer a significant cost saving over LiFePO4. Shop around for sales from reputable battery suppliers. If you're really savvy, some folks have even built DIY LiFePO4 battery banks using individual cells, which can be cheaper but carries higher risk and requires advanced electrical knowledge.
- Charge Controllers: For smaller arrays, a well-regarded PWM controller from brands like EPEVER or Morningstar can be very affordable. If you need MPPT, look for mid-range models that balance efficiency with cost.
- Inverters: Focus on pure sine wave inverters from brands like AIMS Power, Giandel, or smaller versions from Victron Energy if the budget allows. Prioritize the right wattage for your surge loads over fancy features.
- Wiring & Safety: Don't skimp on wire size, fuses, and breakers! These are non-negotiable for safety. However, you can save money by buying wire in bulk or looking for deals on essential safety components.
The DIY route allows you to fine-tune your expenses, putting money into the components that matter most to your specific situation while economizing on others. It's an empowering way to build exactly what you need.
Maximizing Value and Minimizing Hidden Costs
Getting the most out of your budget off-grid solar kit isn't just about the initial purchase price; it's also about understanding the broader picture of ownership, installation, and long-term costs. Many aspiring off-gridders get excited about the low upfront price of a kit only to be surprised by additional expenses or unforeseen challenges.
DIY Installation vs. Professional Help
This is a classic dilemma for budget builders, and it directly impacts your overall cost. Doing it yourself can save you thousands of dollars in labor fees, making a "budget kit" truly affordable. Our guide on DIY Off-Grid Solar Installation Step by Step outlines the steps for a successful DIY setup. However, it requires:
- Time and Effort: Installation can be complex and time-consuming, especially for larger systems or tricky mounting situations (like a metal roof or an irregularly shaped cabin).
- Technical Knowledge: You need a solid understanding of electrical wiring, safety protocols, and how to properly connect all components. Mistakes can be dangerous and costly.
- Tools: You'll need basic hand tools, electrical tools, and possibly specialized equipment like a multimeter, crimpers, and safety gear.
If you lack the skills or confidence, even a "budget" kit might warrant professional installation, which could add anywhere from a few hundred to several thousand dollars depending on the system size and complexity. For a small RV system, DIY is usually feasible, but for powering a whole house, bringing in a licensed electrician for certain parts of the wiring is often a wise investment, even if it adds to the total.
Maintenance and Longevity
A budget system, especially one using lead-acid batteries, will likely require more diligent maintenance than a premium LiFePO4-based system. Neglecting maintenance can dramatically shorten the lifespan of your components and lead to premature replacement costs, effectively erasing any initial savings.
- Lead-Acid Batteries: If you opt for flooded lead-acid, you'll need to regularly check and top off electrolyte levels with distilled water. Both flooded and AGM batteries need to be kept within their recommended depth of discharge and fully recharged regularly to maximize their lifespan. Ignoring these can lead to "sulfation" and permanent capacity loss.
- Solar Panels: Keeping your panels clean of dirt, dust, snow, and debris ensures they operate at peak efficiency. While this is simple, it's often overlooked.
- Wiring and Connections: Periodically inspect all wiring for corrosion, loose connections, or damage from pests. Secure connections prevent voltage drops and fire hazards.
Factor in the time and potential small costs for maintenance supplies when calculating the true long-term budget. A well-maintained budget system can serve you reliably for years, while a neglected one will quickly become a money pit. The long-term costs associated with maintenance are often overlooked.
Exploring Financing and Incentives
While a budget kit aims to minimize upfront costs, there are still avenues to explore that can further ease the financial burden or provide long-term savings.
- DIY Financing: Many people phase their off-grid solar build. They might start with panels and a charge controller, then add a small battery bank, and later upgrade to a larger inverter or more batteries. This allows you to spread the cost over time.
- Federal Tax Credits: The Investment Tax Credit (ITC) can apply to off-grid solar systems, offering a significant percentage (currently 30% through 2032) back on your total system cost. Even if your system is small, 30% of a few thousand dollars is a substantial saving. It’s important to research the specifics, as some requirements apply. Our guide on the 2026 Solar Tax Credit and Off-Grid Systems delves into this.
- State and Local Incentives: Some states or even local municipalities offer additional rebates, grants, or property tax exemptions for solar installations, including off-grid systems. These vary widely by location, so check with your state's energy office or a local solar installer for information relevant to your area.
Even for a budget system, these incentives can make a noticeable difference in the overall financial commitment and are definitely worth investigating to maximize your savings.
Real-World Scenarios and Practical Advice
Let's ground this a bit more. What does a "best budget off-grid solar kit" really look like in practice for different situations? It's not a one-size-fits-all solution, and understanding how these principles apply to specific use cases can help you tailor your budget without sacrificing practicality.
Powering a Small Cabin or Shed
Imagine a modest cabin out in the woods, or a workshop shed at the back of your property, where extending grid power is either impossible or prohibitively expensive. This is a prime candidate for a budget off-grid solar setup.
For such a scenario, you're likely aiming for basic comforts: a few LED lights, charging tools or devices, and perhaps a small radio or fan. A 400W to 800W solar panel array coupled with 200-400Ah of 12V AGM battery storage could be a sweet spot. You'd typically use an MPPT charge controller (since a cabin might have more panel space, allowing for higher voltage strings) and a 1000W-2000W pure sine wave inverter to handle small power tools or a mini-fridge if desired. Brands like Renogy or Grape Solar offer comprehensive starter kits in this range. For those with a very tight budget, a portable solar generator like a larger Jackery model, paired with one or two folding solar panels, could serve as a convenient, albeit smaller, system for truly minimal cabin needs, especially for seasonal use. The goal here is reliable, basic functionality without the complexity or cost of a full residential system. Many find the Best Off-Grid Solar Kit for a Cabin helpful for planning.
RV and Van Life on a Budget
RV and van life are synonymous with off-grid adventures, but space and weight are major constraints, especially for budget setups. Here, the "best budget kit" often leans towards compact, efficient solutions.
For weekend warriors or those with minimal power needs (lights, phone, laptop), a 200W-400W flexible or rigid panel array combined with 100-200Ah of AGM battery capacity would be a common starting point. A smaller pure sine wave inverter (e.g., 600W-1000W) would handle most portable electronics. Brands like BougeRV or HQST offer popular choices for RV-specific kits. In this application, a portable solar generator like the Jackery Explorer series often shines. Its grab-and-go nature, combined with foldable solar panels, offers immense flexibility for charging devices while on the move or parked at a campsite. You simply pull it out, unfold the panels, and you're charging. The ability to easily disconnect and move the power source is a huge advantage for smaller vehicles. Best Off-Grid Solar Kit for an RV is a great resource if you're hitting the road.
Table: Comparison of Budget Off-Grid Solar Solutions
| Feature/System Type | Portable Solar Generator (e.g., Jackery) | Entry-Level All-in-One Kit | DIY Component-Based System |
|---|---|---|---|
| Initial Cost | Low-Medium | Medium | Medium-High (can be phased) |
| Ease of Setup | Very Easy (Plug & Play) | Moderate (some wiring/mounting) | High (requires planning/skills) |
| Portability | Excellent | Low | Low |
| Expandability | Limited | Moderate | Excellent |
| Power Capacity | Small to Moderate (typically <2kWh) | Moderate (1-5kWh) | High (virtually unlimited) |
| Ideal Use Case | Camping, emergencies, light RV use, shed | Small cabin, RV, tiny home | Custom home, homestead |
| Key Advantage | Simplicity & quick deployment | Balanced value & convenience | Customization & long-term value |
| Common Battery | LiFePO4 (often) | AGM Lead-Acid (often) | AGM/LiFePO4 (choice) |
Emergency Backup Without Breaking the Bank
For many, off-grid solar isn't about full independence, but rather having reliable backup power when the grid inevitably fails. A budget-friendly emergency backup system focuses on keeping essential items running during outages.
Here, a portable solar generator is often the hero. A unit like the Jackery Explorer 500 or 1000, paired with a 100W or 200W portable solar panel, can keep your refrigerator running intermittently, charge phones, power a few lights, and even run a medical device like a CPAP machine through the night. The beauty is its simplicity: no complex installation, just charge it up from the wall when the power is on, and deploy the panels when the sun is out.
For a slightly more robust home backup, a 400W-600W panel array with 200-400Ah of AGM batteries and a dedicated 1500W-2000W pure sine wave inverter can be configured to power a critical loads sub-panel in your home. This requires more involved wiring and potentially a transfer switch, but it offers more sustained power than a portable unit. The key is to size it only for your absolute emergency essentials, keeping the cost down. Thinking about critical loads for these scenarios is critical.
The "best budget off-grid solar kit" isn't a single product; it's a strategic approach to power independence. By understanding your true needs, making smart component choices, considering expandability, and being diligent with maintenance, you can absolutely achieve your off-grid dreams without draining your wallet.
Disclaimer
The information provided in this guide is for general informational purposes only and does not constitute professional advice. Off-grid solar system design and installation can be complex and potentially dangerous if not performed correctly. Always consult with a qualified solar professional or licensed electrician for specific guidance related to your unique situation, local codes, and safety requirements. Prices and product availability are subject to change.