How to Program a Charge Controller
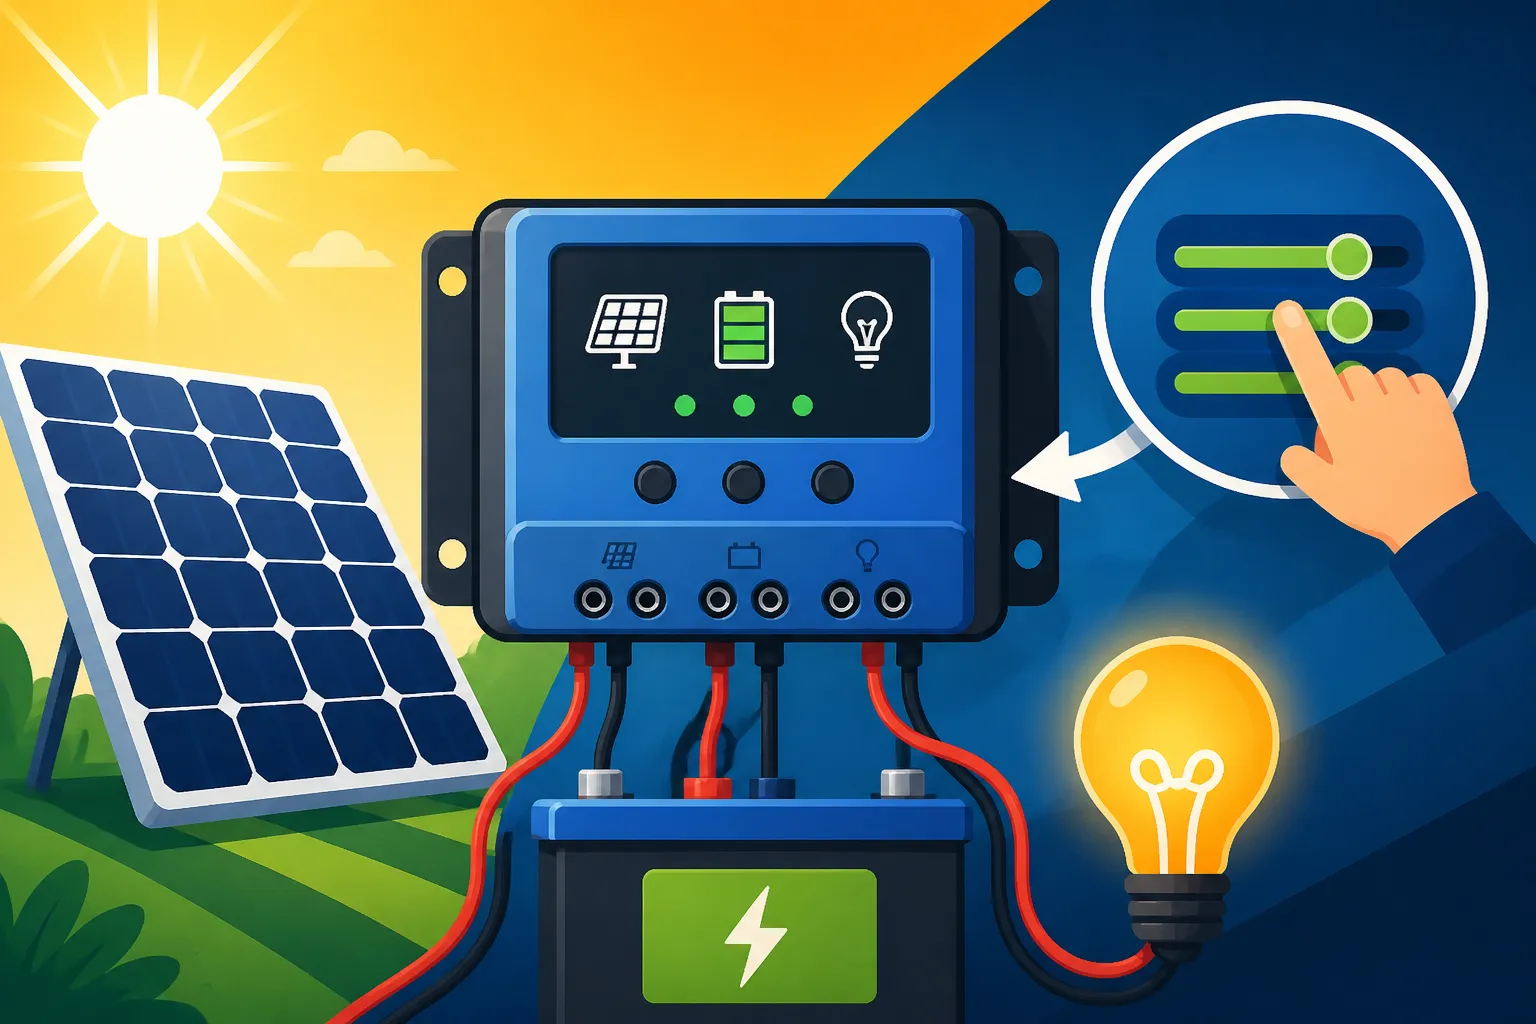
Setting up an off-grid solar system can feel like learning a new language, and sometimes, the charge controller is the most intimidating component in that conversation. Many folks get their panels up, batteries wired, and then stare blankly at a small screen or a cryptic manual, wondering how to tell this crucial device what to do without accidentally frying their expensive battery bank or missing out on precious solar energy. It's a common frustration, but getting your charge controller programmed correctly is absolutely vital for the health and efficiency of your entire off-grid setup, and this guide will walk you through it step by step.
Understanding Your Off-Grid Solar Charge Controller
Before we dive into the nitty-gritty of button presses and menu navigation, let's establish why this little box, the charge controller, is such a big deal. It's not just a fancy switch; it's the brain of your battery charging operation, and without proper instructions, even the smartest brain can make mistakes.
Why Programming is Crucial for System Health
Imagine your solar panels as a firehose of electricity, ready to douse your batteries with power. Now, imagine your batteries are like thirsty plants, but they can only drink so much, so fast, and only up to a certain point. If you blast them with too much water (or electricity) or keep watering them once they're full, you'll drown them. That's essentially what an unprogrammed or improperly programmed charge controller can do.
Its primary job is to regulate the voltage and current flowing from your solar panels to your battery bank. If it's not set up correctly, you risk both overcharging and undercharging your batteries, either of which can significantly shorten their lifespan and even create dangerous conditions. For example, overcharging a lead-acid battery can cause it to "boil" off electrolyte, requiring constant refilling and potentially damaging the plates. Undercharging, especially with lithium batteries, can trip the Battery Management System (BMS) or cause irreversible capacity loss over time. This is why understanding How Many Batteries for an Off-Grid System isn't just about capacity, but also about how they're managed.
Think about the different battery chemistries available today: LiFePO4 (lithium iron phosphate), AGM, Gel, and flooded lead-acid. Each of these has a unique "diet" when it comes to charging. LiFePO4 batteries, for instance, prefer a very specific charging profile with no float charge, while flooded lead-acid batteries benefit from periodic equalization. If your charge controller doesn't know what kind of battery it's connected to, it can't apply the right charging regimen, leading to premature battery failure and wasted money. Getting this right is fundamental to the overall Off-Grid Solar System Sizing Guide and ensuring your investment pays off.
Key Parameters You Will Be Programming
While charge controllers might look different from brand to brand – whether you're using a robust Victron Energy unit, a reliable Renogy controller, or something else you found on Amazon – they all share common, critical parameters that need setting. These settings dictate how your batteries are charged and protected.
First up, you'll encounter the core charging stages:
- Bulk Charge Voltage: This is the first and most aggressive stage, where the controller delivers as much current as the solar panels can produce, up to a set voltage. The goal here is to quickly bring the battery's state of charge up to about 80-90%.
- Absorption Charge Voltage & Duration: Once the battery reaches the bulk voltage, the controller switches to absorption. Here, it maintains a constant, slightly lower voltage while the current gradually tapers off. This stage slowly "absorbs" the remaining charge, bringing the battery to 100% without overheating it. The duration is key here – too short, and your batteries won't fully charge; too long, and you could stress them.
- Float Charge Voltage: After absorption, the controller drops to a lower float voltage. This stage is designed to maintain a full charge and compensate for self-discharge without overcharging. For LiFePO4 batteries, a "float" is often not recommended or set very low as they don't benefit from it the same way lead-acid batteries do.
- Equalization Voltage & Duration: This setting is only for flooded lead-acid batteries. Equalization involves intentionally overcharging the batteries at a higher voltage for a controlled period. This process helps to destratify the electrolyte (mix the acid) and remove sulfate crystals from the plates, extending battery life. It's a powerful tool, but dangerous if applied to AGM, Gel, or LiFePO4 batteries.
Beyond charging stages, you'll also set vital protection parameters:
- Low Voltage Disconnect (LVD): This is your battery's guardian angel. When the battery voltage drops below this threshold, the charge controller will automatically disconnect your loads (appliances, lights, etc.) to prevent over-discharge, which is incredibly damaging, especially to lithium batteries. Setting this correctly is crucial for maximizing your battery's cycle life.
- Low Voltage Reconnect (LVR): Once the battery voltage recovers (e.g., due to solar charging), this is the voltage at which the controller will automatically reconnect your loads.
- High Voltage Disconnect (HVD): This acts as a failsafe, disconnecting the solar array if the battery voltage climbs too high, preventing overcharging.
- Temperature Compensation: For lead-acid batteries, charging voltages need to be adjusted based on temperature (colder batteries need higher voltage, hotter batteries need lower). If your charge controller has a temperature sensor, enable this feature to optimize charging and prevent damage. LiFePO4 batteries are less sensitive to temperature variations during charging, but extreme cold (below freezing) requires specific precautions.
Charge controllers come in two main types: PWM (Pulse Width Modulation) and MPPT (Maximum Power Point Tracking). While both regulate charging, MPPT controllers are generally more efficient, especially in varied weather conditions, as they can convert excess voltage from your panels into usable current. This can affect how efficiently your system can meet your demands, tying into considerations like How Many Solar Panels for Off-Grid Living and your overall energy harvest. Programming principles remain similar, but MPPT controllers might offer more granular control over input/output parameters.
Step-by-Step Guide to Programming Your Charge Controller
Alright, now that you're armed with the "why," let's get into the "how." Programming a charge controller isn't as scary as it seems, especially when you break it down.
Initial Setup and Device Access
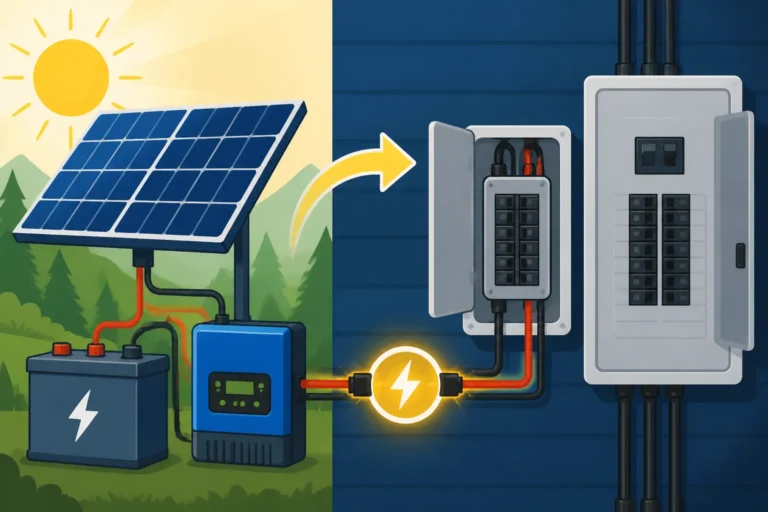
Before you even think about tapping buttons, make sure your charge controller is physically installed and wired correctly. This means solar panels connected to the PV input, batteries connected to the battery terminals, and any DC loads (if directly connected to the controller) to the load terminals. Always connect the battery first and disconnect it last to prevent damaging surges. For detailed wiring, you might want to review an Off-Grid Solar Installation Guide.
Accessing Your Controller's Settings:
This is where charge controllers differ most. You'll typically access settings in one of these ways:
- Onboard LCD Screen and Buttons: Many smaller or more basic controllers, like some Renogy models, have a small screen and a few buttons directly on the unit. You'll navigate through menus using these buttons to adjust parameters. This method is straightforward but can be tedious for many settings. Always have your specific user manual handy; it will show you the exact button sequences and menu trees.
- Remote Display: Some controllers offer an optional remote display panel that you can mount elsewhere in your cabin or RV. This connects to the main controller via a data cable and mirrors the onboard screen, often with more user-friendly buttons.
- PC Software or Smartphone App: This is often the most convenient and powerful method for modern controllers, especially MPPT units. Brands like Victron Energy and some advanced Renogy models offer dedicated apps (e.g., VictronConnect, Renogy BT) that connect via Bluetooth or a data cable to your computer. These apps provide a graphical interface, making it much easier to see all settings at once, input values, and even monitor real-time data. If you purchased your system from an online retailer like Amazon, check the product description for software or app compatibility.
Safety First: Before making any changes, ensure your solar panels are covered or disconnected from the charge controller (using a PV disconnect switch if you have one). While programming doesn't typically involve high voltage, it's good practice to minimize active power sources during configuration, especially when dealing with critical battery settings. Never attempt to reprogram while the system is under heavy load or actively experiencing issues without first taking appropriate safety measures.
Setting Up Battery Parameters
This is the most critical section. The longevity of your expensive battery bank hinges on these settings. Always, always refer to your battery manufacturer's specifications first. Generic settings are a starting point, but the specific voltages recommended by the manufacturer are gospel.
Here's a breakdown of how to approach each parameter:
-
Select Battery Type: This is usually the first setting you'll encounter. Choose the chemistry that matches your battery bank:
- LiFePO4/Lithium: Select this for lithium iron phosphate batteries.
- AGM: Absorbed Glass Mat lead-acid batteries.
- Gel: Gel Cell lead-acid batteries.
- Flooded/Wet Cell: Traditional lead-acid batteries that require maintenance.
- User/Custom: If your specific battery manufacturer provides unique voltages that don't fit the preset profiles, you'll select "User" and manually enter the values.
-
Bulk Charge Voltage (sometimes called "Charge Limit Voltage"):
- For 12V LiFePO4 batteries, a common bulk charge voltage is 14.2V to 14.6V.
- For 12V AGM batteries, typically 14.1V to 14.4V.
- For 12V Gel batteries, often 14.0V to 14.2V.
- For 12V Flooded Lead-Acid batteries, usually 14.4V to 14.8V.
- Multiply these values by 2 for 24V systems, and by 4 for 48V systems. This value is where the charge controller tries to hold the voltage during the bulk charging phase, pushing as much current as possible.
-
Absorption Charge Voltage & Duration:
- The voltage here is usually the same as, or very slightly lower than, the bulk charge voltage. The key difference is the duration.
- For LiFePO4, the absorption phase is often very short or combined with bulk, as they accept charge quickly. Some manufacturers recommend no absorption stage at all or a very brief one.
- For AGM, typical duration is 2-4 hours.
- For Gel, 2-6 hours.
- For Flooded Lead-Acid, 2-6 hours.
- Consult your battery manual for precise durations.
-
Float Charge Voltage:
- For LiFePO4, many manufacturers recommend no float charge or a very low "storage" voltage (e.g., 13.4V to 13.6V for a 12V battery) if the system will be idle for extended periods. Others suggest completely disconnecting panels once full to avoid parasitic drain on the controller.
- For 12V AGM, typically 13.6V to 13.8V.
- For 12V Gel, often 13.5V to 13.6V.
- For 12V Flooded Lead-Acid, usually 13.6V to 13.8V.
- The float stage is crucial for lead-acid batteries to prevent sulfation and keep them topped off.
-
Equalization Voltage & Duration (for Flooded Lead-Acid ONLY):
- If you have flooded lead-acid batteries, your manufacturer will specify an equalization voltage (often 15V-16V for 12V batteries) and a duration (typically 1-4 hours) or a frequency (e.g., every 30-90 days). Never enable this for other battery types.
-
Low Voltage Disconnect (LVD) / Cut-off Voltage:
- For 12V LiFePO4, set this no lower than 12.8V-13.0V to give the battery's internal BMS a buffer before it triggers. This helps prolong battery life.
- For 12V AGM/Gel/Flooded, a common LVD is 11.5V to 12.0V, but ideally, you don't want to discharge lead-acid batteries below 50% state of charge for maximum life, which is closer to 12.2V.
- The higher you set your LVD, the longer your batteries will last. This setting is crucial for your system's overall How to Size an Off-Grid Battery Bank.
-
Low Voltage Reconnect (LVR) / Recovery Voltage:
- This is typically 1V-2V higher than your LVD. For example, if your LVD is 12.0V, your LVR might be 12.8V-13.0V.
-
Temperature Compensation:
- If your charge controller has a temperature sensor (a small cable with a thermistor on the end that connects to the controller and attaches to the battery bank), enable this feature. For lead-acid batteries, the compensation factor is usually -3mV to -5mV per cell per degree Celsius. The controller automatically adjusts the charging voltages to prevent damage in extreme temperatures. LiFePO4 batteries usually do not require or use temperature compensation for charging above freezing, but a battery heater may be needed for charging below freezing.
Here's a handy table with typical settings. Always verify with your battery manufacturer's documentation!
| Battery Type (12V) | Bulk Voltage (V) | Absorption Voltage (V) | Absorption Duration (Hrs) | Float Voltage (V) | LVD (V) | Equalization (V) | Notes |
|---|---|---|---|---|---|---|---|
| LiFePO4 | 14.4 – 14.6 | 14.4 – 14.6 | 0.5 – 2 (or none) | 13.4 – 13.6 | 12.8 | N/A | No equalization. Some prefer no float or a low storage voltage. |
| AGM | 14.1 – 14.4 | 14.1 – 14.4 | 2 – 4 | 13.6 – 13.8 | 11.8 – 12.0 | N/A | No equalization. |
| Gel | 14.0 – 14.2 | 14.0 – 14.2 | 2 – 6 | 13.5 – 13.6 | 11.5 – 12.0 | N/A | No equalization. Sensitive to overcharge. |
| Flooded Lead-Acid | 14.4 – 14.8 | 14.4 – 14.8 | 2 – 6 | 13.6 – 13.8 | 11.5 – 11.8 | 15.0 – 16.2 | Requires periodic equalization. Monitor electrolyte levels. |
Remember to adjust voltages proportionally for 24V or 48V systems. For example, a 48V LiFePO4 system would have a bulk voltage of roughly 57.6V – 58.4V.
Advanced Considerations and Troubleshooting
Once your initial programming is done, you might think you're good to go. But like any living system, an off-grid setup benefits from ongoing attention and occasional tweaks.
Optimizing for Seasonal Changes and Specific Loads
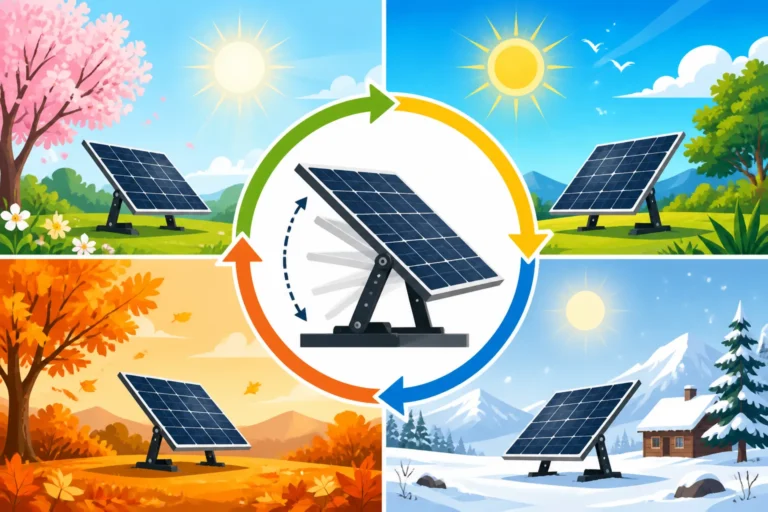
Living off-grid means adapting to nature's rhythms, and your solar system is no exception. Solar production varies wildly with the seasons – summer brings long, sunny days, while winter often means shorter days, lower sun angles, and more cloud cover. This variability might necessitate adjustments to your charge controller settings, especially concerning battery protection.
During winter in places like northern Montana or rural Maine, where daylight hours are significantly reduced and solar insolation is low, your panels simply won't produce as much power. If your battery bank is consistently running low, you might consider slightly raising your Low Voltage Disconnect (LVD) setting. While this means you'll have less usable capacity, it also ensures your batteries are protected from deep discharge, which can be particularly damaging in cold weather. It's a trade-off: less power usage now, but greater battery longevity in the long run. Conversely, in summer, with abundant sunshine, you might feel more comfortable letting your batteries discharge a bit more, or even setting a slightly longer absorption duration if your batteries require it, to ensure a full top-off. This flexibility is part of Designing an Off-Grid Solar System Step by Step for real-world conditions.
Consider specific heavy loads as well. If you're running a well pump every morning, or an air conditioner in the afternoon, these high-draw appliances can rapidly deplete your battery bank. If your LVD is set too low and a heavy load pulls the voltage down quickly, your controller might cut power even if there's still a decent charge remaining, just due to the voltage sag under load. You might need to adjust your LVD slightly higher to account for this instantaneous voltage drop, or, even better, ensure your battery bank is robust enough to handle the surge loads. Understanding your average Off-Grid Solar Load Calculation Explained is paramount here.
The concept of "days of autonomy" – how long your system can power your home without any solar input – directly impacts your LVD settings. If you design for three days of autonomy and regularly hit your LVD on the second day, it means your system is undersized or your settings are too aggressive for your usage. You might need to either reduce your consumption, increase your solar array size (which ties into How Many Solar Panels for Off-Grid Living), or consider adding more battery capacity, as detailed in How to Size an Off-Grid Battery Bank.
Common Programming Mistakes and How to Avoid Them
Even with the best intentions, it's easy to make mistakes when programming. Here are some of the most common pitfalls and how to steer clear of them:
- Incorrect Battery Type Selection: This is perhaps the most dangerous mistake. Charging a LiFePO4 battery with lead-acid settings (especially equalization) can lead to catastrophic failure, including thermal runaway. Similarly, using LiFePO4 settings on lead-acid batteries will lead to consistent undercharging and sulfation. Always double-check this setting against your actual battery chemistry. This is a primary reason why comparing LiFePO4 vs Lead-Acid Battery Cost isn't just about the purchase price, but also the proper care and maintenance that extends their lifespan.
- Setting LVD Too Low: While it's tempting to squeeze every last electron out of your batteries, consistently discharging them too deeply will severely shorten their lifespan, regardless of chemistry. For lead-acid, this means consistently dropping below 50% state of charge. For LiFePO4, while they tolerate deeper discharges, pushing them to their BMS cutout often indicates an undersized system or excessively low LVD. A slightly higher LVD is an investment in your battery's future.
- Forgetting Temperature Compensation (for lead-acid): If your controller has a temperature sensor and you have lead-acid batteries, but you don't enable or correctly install the sensor, your batteries will be either undercharged in cold weather or overcharged in hot weather. This subtle oversight can significantly reduce battery life.
- Not Checking for Firmware Updates: Many modern charge controllers, particularly those with smartphone app connectivity, receive firmware updates that can improve performance, fix bugs, or add new features. Regularly check your manufacturer's website (e.g., Renogy, Victron) for updates.
- Confusing Nominal Voltage with Charging Voltage: A 12V battery isn't actually 12V when fully charged; it's closer to 12.6V-12.8V at rest, and charging voltages are even higher (14V+). Don't try to set your charge voltages to 12V, or you'll never fully charge your batteries.
- Using Generic Settings Instead of Manufacturer-Specific Recommendations: While general guidelines are helpful, your battery manufacturer's datasheet is the definitive source for optimal charging parameters. These values are tailored to the specific internal chemistry and construction of your batteries. Disregarding them is like ignoring a car's owner's manual for oil changes. When you're looking for Best Off-Grid Solar Batteries, remember that their performance is highly dependent on how well they're managed by your charge controller.
Monitoring and Fine-Tuning Your System
Programming is not a "set it and forget it" task for off-grid living. Your system is a dynamic entity, constantly interacting with changing weather, varying loads, and the gradual aging of components. Regular monitoring and occasional fine-tuning are essential for peak performance and longevity.
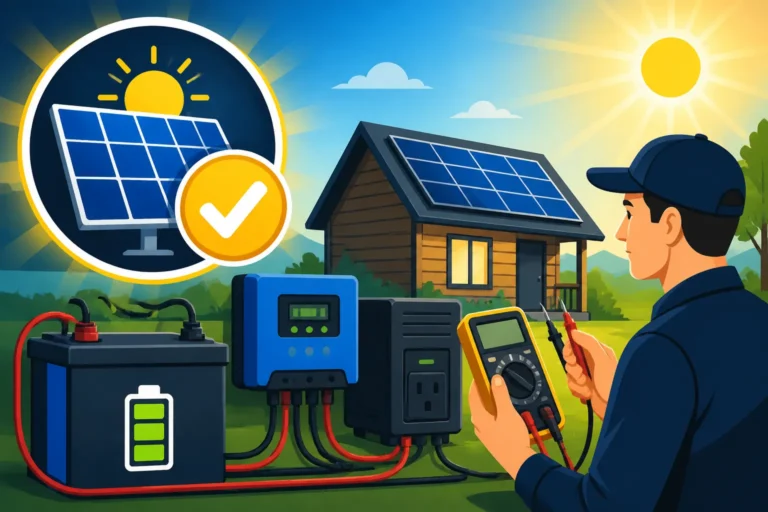
Most modern charge controllers, especially MPPT models, come with excellent monitoring capabilities. If you're using a system with a dedicated app, like VictronConnect, you can get real-time data on solar input, battery voltage, current flow, and even historical trends. For those using simpler controllers, a good battery monitor with a shunt is invaluable for accurately tracking your battery's state of charge and overall health. Observing how your battery voltage behaves during the day and night will tell you a lot. Are your batteries consistently reaching full charge? Are they dropping too quickly overnight? These observations are crucial for optimizing your setup.
For example, if you notice your batteries are consistently hitting float voltage by mid-day, even after heavy morning use, your absorption duration might be too long, potentially stressing the batteries unnecessarily. You could try slightly reducing the absorption time. Conversely, if your batteries never seem to reach 100% capacity, even after a full day of sun, your absorption voltage might be too low, or the duration too short. Tiny adjustments, like a 0.1V change in a voltage setting or a 30-minute change in absorption time, can make a noticeable difference.
Don't be afraid to experiment safely and incrementally. Always make one change at a time, observe its effects for a few days or a week, and then decide if further adjustments are needed. Keep a log of your settings and any changes you make, along with observations of system performance. This meticulous approach to system management, often overlooked, is key to truly mastering your off-grid power, ensuring your Off-Grid Solar Maintenance Costs remain manageable, and ultimately enjoying the peace of mind that comes with a reliable power source.
Disclaimer
The information provided in this guide is for general informational purposes only and does not constitute professional electrical or solar engineering advice. Off-grid solar systems involve high voltages and currents, which can be dangerous. Always consult with certified professionals and refer to your equipment manufacturer's manuals for specific installation and programming instructions. Improper installation or programming can result in equipment damage, personal injury, or fire.