How to Install Off-Grid Solar on a Remote Cabin
Living in a remote cabin brings an unparalleled sense of peace and independence, but it often comes with the frustrating challenge of limited or non-existent grid power. Relying on noisy, fuel-guzzling generators can quickly diminish the tranquility, leaving you constantly worried about fuel levels and maintenance. This guide is here to walk you through the entire process of setting up a reliable off-grid solar system for your remote cabin, helping you harness the sun's power for true energy independence.
Planning Your Remote Cabin Solar System
Before you start ordering panels and batteries, the most crucial step is thorough planning. Think of it like building the foundation for your cabin – you wouldn't just throw up walls without a solid blueprint, right? The same goes for your solar setup. Taking the time to understand your energy needs and the specifics of your cabin's location will save you headaches, and potentially a lot of money, down the line.
Assessing Your Energy Needs
This is where you become an energy detective. You need to identify every single appliance, light, and electronic device you plan to run in your cabin and figure out how much power it consumes and for how long. It's easy to underestimate, especially if you're used to unlimited grid power.
Start by making a comprehensive list. Don't forget those small but constant draws like phone chargers, LED lights, and even your well pump if you have one. For each item, find its wattage (usually on a sticker or in the manual) and estimate how many hours a day you'll use it. For instance, a small cabin might run a 100-watt refrigerator for 12 hours a day, a few 10-watt LED lights for 4 hours, and charge a laptop (say, 50 watts) for 2 hours. Multiply the watts by the hours to get watt-hours per day for each item, then sum them up for your total daily energy consumption. Remember that items like microwaves or power tools have high "surge" or "starting" watts that need to be accounted for, even if they only run for a few minutes. It's often helpful to use a kill-a-watt meter to precisely measure the actual consumption of your devices. Knowing your total daily watt-hours is the cornerstone of how to size an off-grid solar system.
Understanding Your Cabin's Location and Sun Exposure
Your cabin's geographical location and its immediate surroundings play a huge role in how much solar energy you can realistically collect. Solar panels need direct sunlight to perform optimally.
First, consider your latitude. This affects the sun's angle throughout the year. For most of the Northern Hemisphere, south-facing panels with an adjustable tilt are ideal to maximize year-round production, especially if you plan to use your cabin during winter. Second, look at potential shading. Are there tall trees, nearby hills, or even parts of your cabin itself that will cast shadows on your proposed panel location at different times of the day or year? Even partial shading on one panel can significantly reduce the output of an entire array if they're wired in series. You might need to trim trees or opt for a ground mount instead of a roof mount to avoid this. Finally, research the "peak sun hours" for your specific area. This isn't just how many hours the sun is out, but how many hours of effective full sunlight your panels will receive daily on average. These numbers can vary wildly by season; a sunny summer day in Montana will yield far more peak sun hours than a cloudy winter day in the Pacific Northwest. Accounting for cloudy days is also vital, as your system needs enough battery capacity to carry you through periods of low solar production.
Choosing System Voltage and Component Sizing
Once you have your energy consumption and sun exposure figured out, you can move on to sizing your core components and choosing your system voltage. This is where the numbers from your energy assessment truly come into play.
Most off-grid solar systems for cabins operate at 12V, 24V, or 48V. For smaller cabins with minimal power needs (think just a few lights, phone charging, and maybe a small fridge), a 12V system might suffice, keeping things simple. However, for a cabin with a well pump, refrigerator, lights, and other modern conveniences, a 24V or, more commonly, a 48V system is much more efficient. Higher voltage systems allow for thinner wires and less power loss over longer distances, which can be a real advantage on a larger cabin property. To determine how many solar panels for off-grid living you need, you'll divide your total daily watt-hours by your local peak sun hours. This gives you the total wattage your panels need to produce. For batteries, you'll need to calculate how many batteries for an off-grid system will provide enough reserve power for several days of autonomy (usually 2-5 days, depending on how remote you are and how much you want to rely on a backup generator). Your inverter size will be determined by the total wattage of all appliances you might run simultaneously, plus a buffer for surge loads. For instance, if your microwave is 1500 watts and your well pump is 1000 watts, and you might run them both briefly, your inverter needs to handle at least 2500 watts, ideally with a significant surge capacity.
Gathering Your Off-Grid Solar Equipment
With your detailed plan in hand, it's time for the exciting part: selecting the actual components that will power your cabin. Don't skimp on quality here; reliable equipment is key to a hassle-free off-grid experience. There are many reputable suppliers out there, and sometimes you can find great deals on platforms like Amazon for smaller accessories, while specialized solar retailers are better for core components.
Selecting Solar Panels for Cabin Use
Your solar panels are the workhorses of your system, converting sunlight into electricity. For remote cabins, rigid monocrystalline panels are generally the best choice due to their efficiency and durability. They are built to withstand harsh weather conditions, including snow loads and high winds, which are common challenges for cabins in isolated locations.
While flexible panels exist, they are usually less efficient and more prone to degradation over time, making them less suitable for a permanent, primary power source for a cabin. When choosing panels, look at their wattage output and their physical dimensions to ensure they fit your available mounting space. Consider reputable brands like Renogy, which offers a range of durable monocrystalline panels suitable for various off-grid applications. You might find it beneficial to read our guide on the best off-grid solar panels to help you make an informed decision.
Essential Components: Batteries, Inverter, and Charge Controller
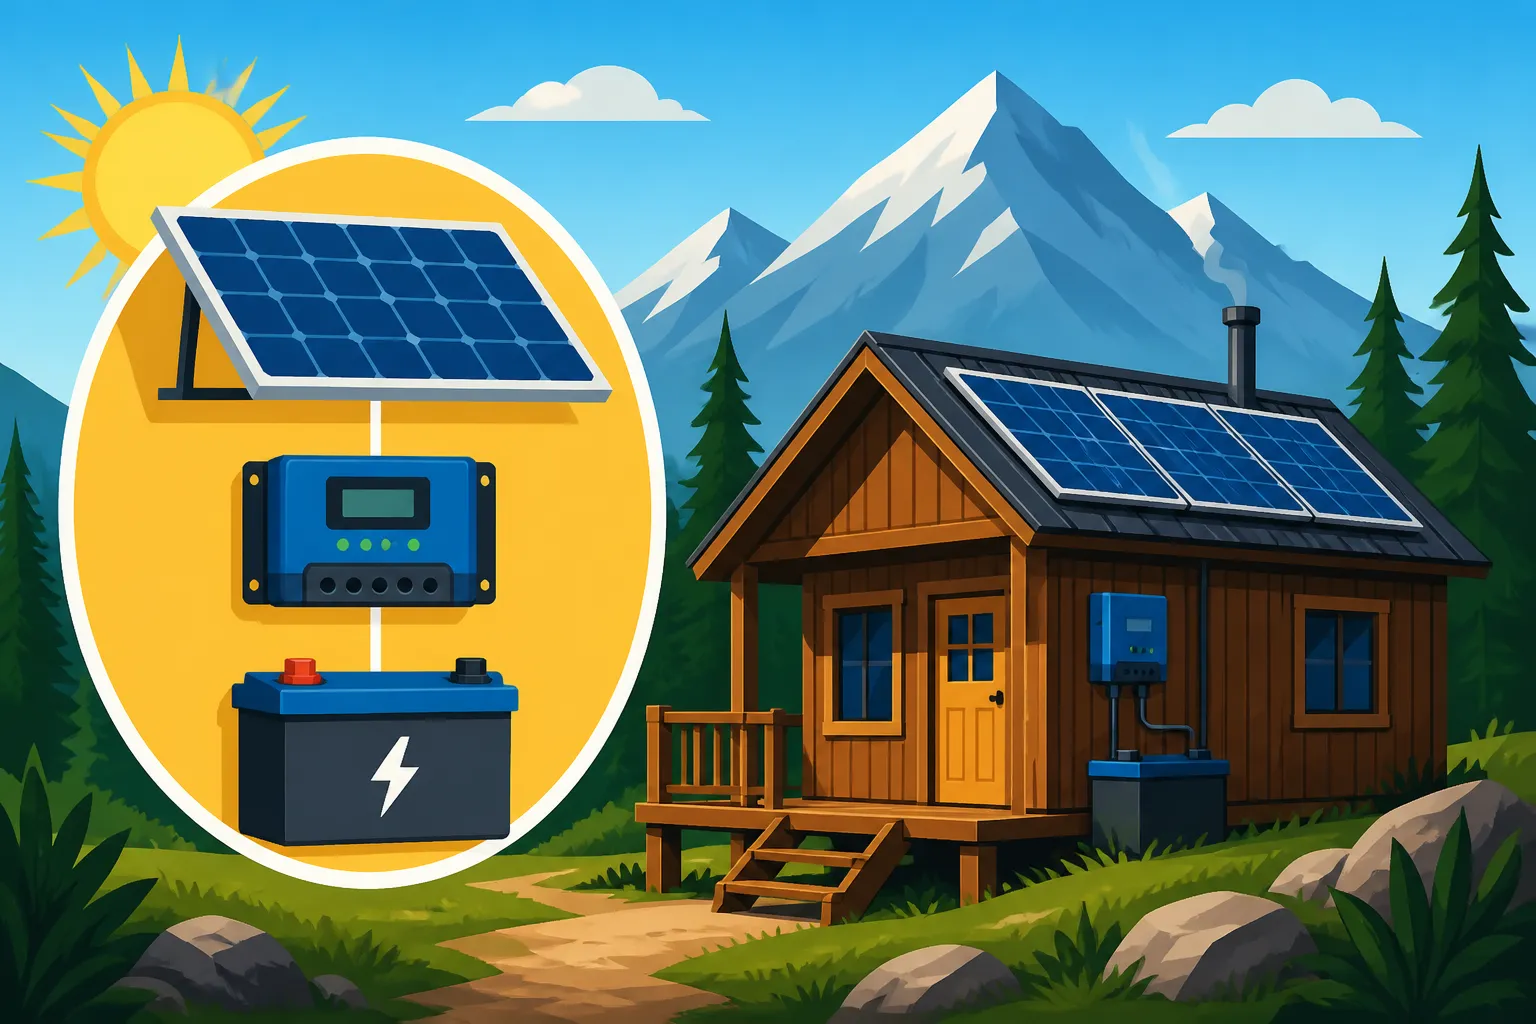
These three components form the heart of your off-grid system, working in harmony to store the energy produced by your panels and deliver usable power to your cabin.
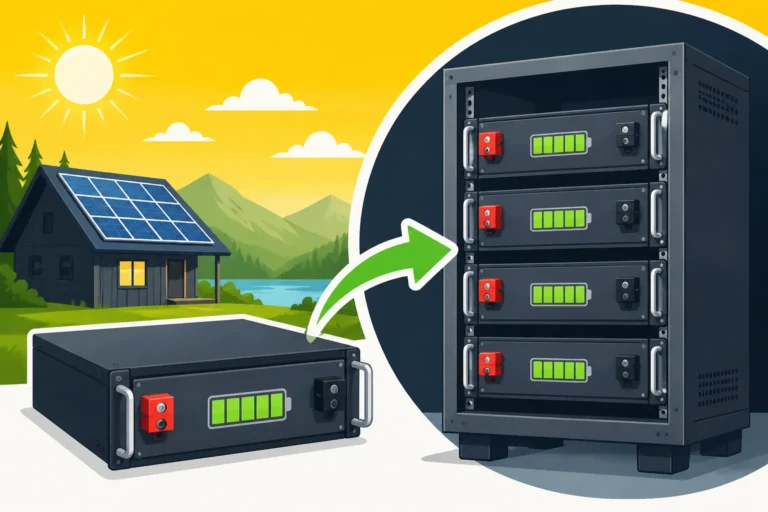
Batteries: The battery bank is arguably the most critical component, as it stores the energy for when the sun isn't shining. While traditional lead-acid batteries (like AGM or flooded lead-acid) are a cheaper upfront option, their limited lifespan, shallower depth of discharge, and maintenance requirements often make them less ideal for a permanent cabin setup. For long-term reliability and minimal fuss, many cabin owners are opting for LiFePO4 (Lithium Iron Phosphate) batteries. They offer a much longer lifespan, can be discharged deeper without damage, and are virtually maintenance-free. While they have a higher initial cost, their total cost of ownership is often lower over the life of the system. Learn more about the cost of an off-grid solar battery bank to understand the investment.
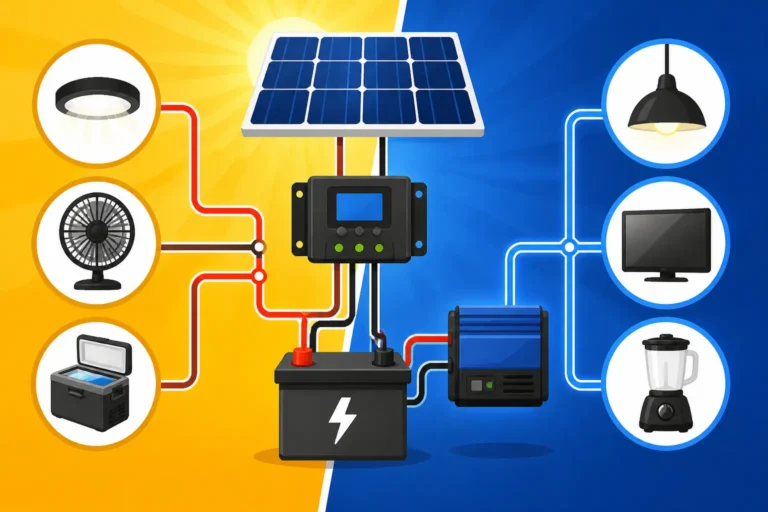
Inverter: Your inverter converts the DC (direct current) power stored in your batteries into AC (alternating current) power, which is what most of your household appliances use. For a cabin, you absolutely need a pure sine wave inverter. Modified sine wave inverters are cheaper but can damage sensitive electronics, make motors run inefficiently, and cause buzzing sounds. A pure sine wave inverter ensures clean, stable power, just like what you'd get from the grid. Ensure your inverter's continuous wattage rating is sufficient for your largest anticipated simultaneous load, plus a safety margin. Our guide on the best off-grid solar inverters offers excellent recommendations.
Charge Controller: This device acts as the brain between your solar panels and your battery bank. It regulates the voltage and current coming from your solar panels to prevent overcharging your batteries, which can severely damage them. There are two main types: PWM (Pulse Width Modulation) and MPPT (Maximum Power Point Tracking). For a robust cabin system, an MPPT charge controller is highly recommended. It's more efficient, especially in colder weather or when panel voltage significantly differs from battery voltage, extracting up to 30% more power from your panels compared to a PWM controller. You can find excellent MPPT charge controllers, sometimes bundled with larger kits, on platforms like Amazon or from specialized solar retailers.
| Component | Primary Function | Key Considerations for Cabin Use | Typical Lifespan (Years) |
|---|---|---|---|
| Solar Panels | Convert sunlight into electricity (DC). | Efficiency (monocrystalline), durability, weather resistance, mounting options. | 25-30+ |
| Batteries | Store excess solar energy. | Type (LiFePO4 recommended), capacity (Ah), depth of discharge, temperature range. | LiFePO4: 10-15+; Lead-Acid: 3-8 |
| Inverter | Convert DC battery power to AC for appliances. | Pure sine wave, continuous wattage, surge capacity, efficiency. | 10-15 |
| Charge Controller | Regulate power from panels to batteries. | MPPT for efficiency, voltage compatibility, current rating. | 10-15 |
Wiring, Safety Gear, and Mounting Hardware
You'll need a range of supporting components to safely and effectively connect your core system elements. Don't cut corners on safety equipment.
Wiring and Cables: Proper wire sizing is critical to prevent voltage drop and fire hazards. The gauge (thickness) of your wires will depend on the current they carry and the distance they travel. DC circuits (from panels to charge controller, and charge controller to batteries) typically require heavier gauge wire than AC circuits. Always use UV-rated cable for outdoor runs.
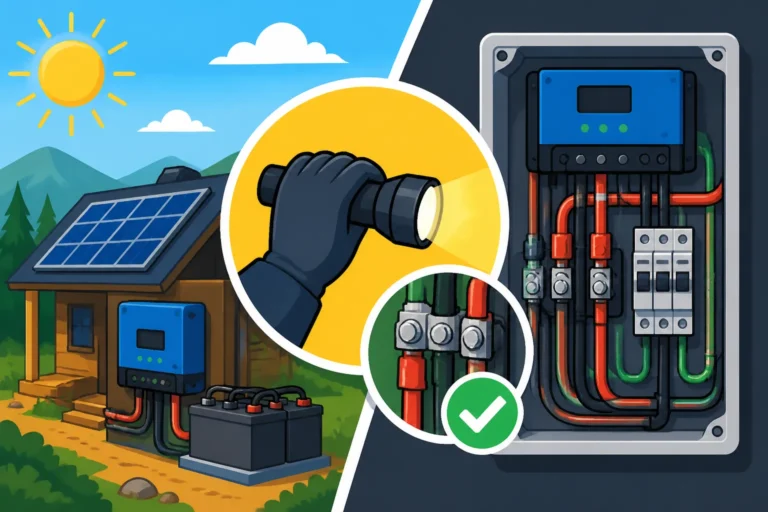
Fuses, Breakers, and Disconnects: These are your system's safety valves. DC-rated fuses or circuit breakers should be installed between your solar panels and charge controller, and between your charge controller and battery bank. A main battery disconnect switch is essential for safely isolating your battery bank for maintenance or emergencies. AC breakers protect your inverter's output circuits.
Mounting Hardware: Whether you choose a roof mount or a ground mount, you'll need sturdy racking and mounting hardware designed to withstand your local weather conditions. For ground mounts, consider constructing a robust frame that can be securely anchored. For roof mounts, ensure proper flashing and sealing to prevent leaks. Many kits from brands like Renogy include the necessary mounting hardware for basic installations, but you might need additional components for custom setups.
Step-by-Step Installation Process
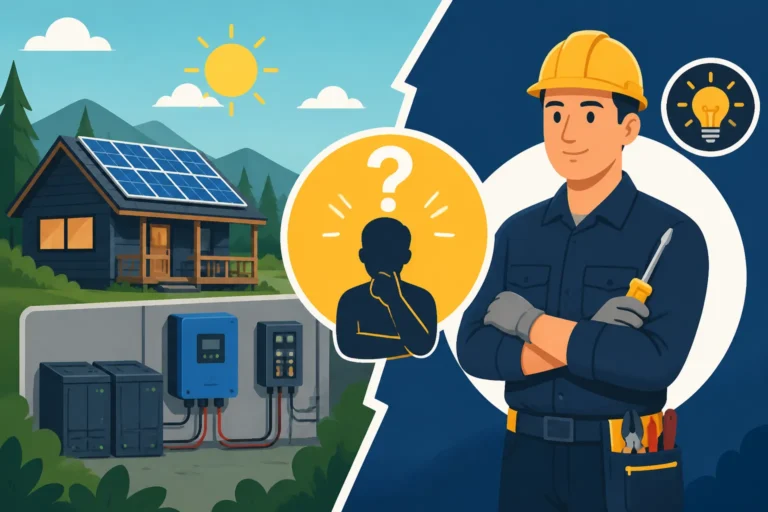
Installing an off-grid solar system for a remote cabin is a rewarding project, but it demands careful attention to detail and safety. If you're not comfortable with electrical work, it's always wise to consult or hire a qualified electrician for certain parts, especially AC wiring. Remember, safety first!
Mounting Your Solar Panels Securely
This is often the first physical step. Before you drill or dig, double-check your chosen location for optimal sun exposure throughout the day and year, and ensure it's free from shading.
Ground Mount: For many remote cabins, a ground mount offers greater flexibility in orientation and tilt, and easier access for cleaning and maintenance. You'll need to dig footings and set posts (often galvanized steel or treated lumber) into concrete to create a sturdy frame. The panels then attach to this frame using specialized mounting rails and clamps. Ensure the structure is strong enough to withstand high winds and heavy snow loads common in remote areas.
Roof Mount: If you opt for a roof mount, you'll attach rails directly to your cabin's roof rafters. This requires careful measurement and often some structural reinforcement, especially if your roof wasn't designed for the added weight. Crucially, every penetration point into the roof must be properly sealed with appropriate flashing and sealant to prevent leaks. This step is non-negotiable for protecting your cabin from water damage. Our guide on how to install roof-mounted solar panels offers more in-depth advice.
Wiring the Solar Array to the Charge Controller
Once your panels are securely mounted, it's time to connect them electrically. This involves stringing your panels together and running the wiring to your charge controller.
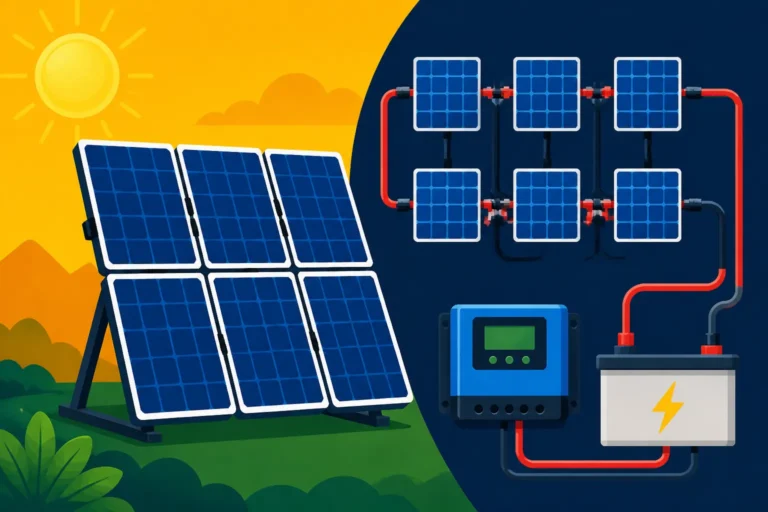
Series vs. Parallel Wiring: Panels can be wired in series to increase voltage or in parallel to increase current. The configuration depends on your system voltage and charge controller specifications. For higher voltage systems (like 24V or 48V), you'll often wire panels in series to meet the charge controller's minimum voltage requirements, then potentially combine multiple series strings in parallel. Always use MC4 connectors for weather-tight and secure connections between panels.
Cable Runs and Conduit: Route your DC solar cables from the panels to your charge controller. For outdoor runs, it's highly recommended to use UV-resistant conduit to protect the cables from physical damage and prolonged sun exposure. Ensure all cables are appropriately sized for the current and distance to minimize voltage drop. Before connecting to the charge controller, install a DC disconnect switch near the panels and/or near the charge controller for safety. When learning how to wire an off-grid solar system, pay special attention to these safety measures.
Connecting the Battery Bank and Inverter
This is where your stored energy is made ready for use. Proper wiring here is essential for performance and safety.
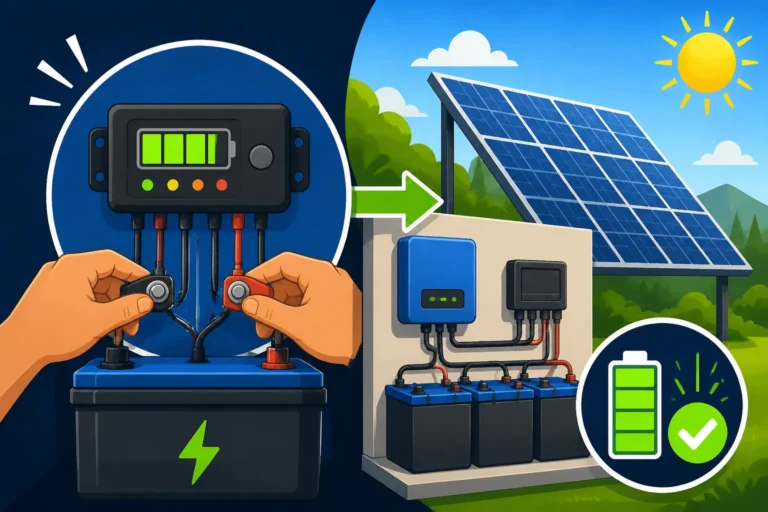
Battery Bank Assembly: If you have multiple batteries, you'll need to wire them together in series, parallel, or a combination of both to achieve your desired system voltage and capacity. For example, four 12V batteries wired in series will create a 48V bank. Always use appropriate battery cables and ensure all connections are clean and tight. Install a main DC battery disconnect switch and proper DC fuses between your battery bank and your inverter/charge controller. Place your battery bank in a protected, well-ventilated area, especially if using lead-acid batteries, as they can off-gas hydrogen. A robust battery box is usually a good idea, particularly for remote cabins where critters or extreme temperatures could be an issue.
Inverter Connection: Connect your inverter to your battery bank using correctly sized, heavy-gauge battery cables. Most inverters have specific terminals for DC input. Next, you'll connect the AC output of your inverter to your cabin's electrical panel (or a dedicated subpanel for your off-grid loads). This AC wiring should be done by someone familiar with electrical codes, as it directly relates to the safety of your cabin's inhabitants. Always ensure the main battery disconnect is open (off) during all wiring procedures.
Testing, Maintenance, and Expanding Your System
Once everything is wired up, you're not quite done. A methodical testing process and ongoing maintenance are crucial for ensuring your system operates reliably for years to come. Thinking about future needs from the start can also save you effort later on.
Initial System Testing and Commissioning
This is the moment of truth! Before you flip any switches, do a thorough visual inspection of all connections, ensuring everything is tight, correctly polarized, and safely routed.
First Power-Up: Start by connecting your batteries (if not already connected), then turn on your charge controller, and finally your inverter. Carefully monitor the displays on your charge controller and inverter. Do they show appropriate voltages? Are the batteries charging? Are there any error codes? Test individual loads by plugging in a light or a small appliance. Check voltages at various points with a multimeter to confirm everything is within expected parameters. Take your time with this step, ensuring each component initializes correctly before moving to the next.
Load Testing: Once the system is running, begin to gradually apply your typical loads. Turn on a few lights, then the refrigerator, and eventually your larger appliances. Monitor the system's response. Is the inverter handling the load without issues? Is the battery voltage dropping too quickly? This will confirm if your sizing calculations were accurate for your real-world usage. This initial testing phase is also an excellent opportunity to fine-tune any programmable settings on your charge controller or inverter, such as battery charging parameters.
Regular Maintenance for Longevity
Off-grid solar systems are designed for durability, but they aren't entirely set-it-and-forget-it. A little regular attention goes a long way in ensuring decades of reliable power.
Panel Cleaning: Over time, dust, pollen, bird droppings, and snow can accumulate on your solar panels, reducing their efficiency. Periodically clean your panels, especially after heavy weather or during dry spells. A soft brush and water are usually sufficient.
Battery Health: For LiFePO4 batteries, maintenance is minimal, but you should still monitor their State of Charge (SoC) regularly using a battery monitor. For lead-acid batteries, check electrolyte levels monthly (for flooded types) and ensure terminals are clean and free of corrosion. Regardless of battery type, ensure they are kept within their recommended operating temperature range, which can be challenging in a remote cabin that might not be heated 24/7. Consider a heated battery box if your cabin experiences extreme cold. If you are experiencing issues, check our guide on how to maintain an off-grid battery bank.
Component Checks: Once or twice a year, perform a visual inspection of all wiring, connections, fuses, and breakers. Look for any signs of wear, corrosion, or overheating. Listen for unusual noises from your inverter. Keeping an eye on your system's performance metrics (daily production, battery cycling) can also help you spot potential issues before they become major problems.
Planning for Future Expansion
Many cabin owners find their power needs grow over time as they add new appliances or spend more time off-grid. It's smart to build an off-grid solar system that allows for future expansion.
Modular Design: When you initially size your system, consider adding extra conduit runs for future solar panel additions or leaving space in your battery enclosure for more batteries. Choosing an inverter and charge controller that can handle more capacity than your current needs allows you to simply add more panels or batteries later without having to replace core components. If you started with a 24V system, for example, but envision heavy loads in the future, you might consider how to design an expandable system that can eventually accommodate a 48V upgrade, though this often means replacing the inverter.
Backup Generator Integration: While solar provides silent, renewable power, a backup generator can be a lifesaver during prolonged cloudy periods or unexpected high demands. Plan for a transfer switch and appropriate wiring to easily integrate a generator into your system. Many modern inverter-chargers can even automatically start and stop a generator to charge your batteries when they get low. This adds a layer of robustness to your off-grid setup and offers peace of mind. For those curious about the cost implications, explore the cost of adding a generator to off-grid solar.
Disclaimer
The information provided in this guide is for general informational purposes only and does not constitute professional advice. Off-grid solar system installation involves electrical work and potential hazards. Always exercise caution and consult with qualified professionals or licensed electricians for design, installation, and compliance with local codes and regulations, especially when dealing with AC wiring or high-voltage DC systems.