How to Install Off-Grid Solar on a Rv
There's nothing quite like the freedom of the open road in your RV, but that freedom can feel a bit constrained when you're always on the hunt for hookups. The idea of truly unplugging and enjoying remote campsites or boondocking without worrying about running out of power is incredibly appealing, yet for many, installing an off-grid solar system on their RV feels like a daunting, complex project. This guide is here to demystify the process, walking you through everything you need to know to get reliable, clean energy flowing to your home on wheels, allowing you to embrace true independence.
Understanding Your RV's Off-Grid Power Needs
Before you even think about buying a single component, the most crucial first step is to genuinely understand your RV's energy consumption. Guessing here is a recipe for frustration, either leaving you constantly short on power or vastly overspending on an oversized system.
Calculating Your Daily Energy Appetite
Imagine a typical day in your RV. What appliances do you use? How long do you use them for? This isn't just about big items like microwaves or air conditioners; it's also about your lights, phone chargers, water pump, and even that small fan you run at night. To accurately size your system, you need to conduct a "load analysis." This means listing every electrical device you use, finding its wattage (often on the appliance label or in its manual), and then estimating how many hours per day you run it.
For instance, a laptop charger might draw 60 watts for 4 hours, consuming 240 watt-hours (Wh) in a day. Your RV refrigerator, if it's a 12V compressor fridge, might draw 40 watts continuously for 24 hours, meaning 960 Wh. Adding all these up gives you your total daily watt-hour consumption. Don't forget parasitic loads — things that draw power even when "off," like a propane detector or stereo memory. It's often helpful to carry a watt-meter (available on sites like Amazon) to measure the actual draw of your devices. This methodical approach is the backbone of truly effective solar planning, and you can dive deeper into the specifics with our guide on How to Calculate Daily Energy Usage.
Choosing the Right System Voltage for Your Rig
When you're building an off-grid solar system for your RV, one of the fundamental decisions you'll make is the system voltage: 12V, 24V, or 48V. Most RVs come wired for 12V DC, which makes it the natural starting point for many. A 12V system is simple, widely compatible with existing RV appliances, and components are readily available. It's often sufficient for smaller RVs, vans, or those with lighter power demands (e.g., just lights, phone charging, and a small fridge).
However, as your power needs grow – say, you want to run an air conditioner, microwave, or a full-sized residential fridge – a 12V system can become less efficient. Higher power draws at 12V require much thicker, more expensive wiring to prevent voltage drop and overheating. This is where 24V or even 48V systems become attractive. These higher voltages allow you to transmit more power with thinner, less costly wires, and reduce overall system losses. While 24V is a good middle ground for moderate power users, 48V is increasingly popular for larger RVs or those aiming for true home-like power independence. The catch is that you'll need a different set of components (charge controller, inverter, and potentially batteries) designed for the higher voltage, and you might need step-down converters to power your existing 12V RV appliances. Making this choice carefully can significantly impact your system's efficiency and cost. For a comprehensive comparison, check out our article on 12V vs 24V vs 48V: Which to Choose.
Key Components for Your RV Solar Setup
Once you have a handle on your power needs and chosen a system voltage, it's time to gather the essential building blocks of your RV solar system. Each component plays a vital role in harvesting, storing, and delivering power to your rig.
Selecting the Best Solar Panels for Your RV Roof
The solar panels are your energy collectors, turning sunlight into electricity. For RVs, you generally have two main types to consider: rigid and flexible. Rigid panels, like those often offered by companies such as Renogy, are typically framed glass panels. They are robust, highly efficient, and generally offer the best watt-per-dollar value. They are great for RVs with ample, flat roof space that don't need to prioritize aerodynamics excessively. They usually require permanent mounting hardware.
Flexible solar panels, on the other hand, are lighter, can conform to slightly curved surfaces, and often adhere directly to the roof, reducing profile and wind resistance. They are fantastic for vans, pop-up campers, or RVs where weight and aesthetics are critical. However, they tend to be less efficient than rigid panels, can be more susceptible to heat degradation if not properly installed with an air gap, and often cost more per watt. The choice between them often comes down to your RV's roof type, available space, aesthetic preferences, and budget. Regardless of type, look for monocrystalline panels for their superior efficiency in limited space. Our guide on Best Off-Grid Solar Panels offers a deeper dive into panel selection.
| Feature | Rigid Solar Panels | Flexible Solar Panels |
|---|---|---|
| Efficiency | Generally higher (18-22%+) | Typically lower (15-18%) |
| Durability | Very durable, glass surface, aluminum frame | Less durable, prone to scratching, sensitive to heat |
| Weight | Heavier | Very lightweight |
| Installation | Requires mounting brackets, drilling | Adheres directly to roof, less drilling |
| Cost per Watt | Generally lower | Generally higher |
| Aerodynamics | Higher profile, more wind resistance | Low profile, excellent for aerodynamics |
| Heat Dissipation | Good air circulation under panels, less heat issue | Can suffer efficiency loss if not ventilated |
| Best For | Ample, flat roof space, maximizing power output | Curved roofs, limited weight capacity, sleek look |
The Importance of a Robust Battery Bank
Your battery bank is the unsung hero of your off-grid system; it's where all that glorious solar energy gets stored for use when the sun isn't shining. For RV applications, you have a few options, but for serious boondockers, lithium iron phosphate (LiFePO4) batteries are increasingly the go-to choice. While they have a higher upfront cost than traditional lead-acid or AGM batteries, their benefits for RVs are enormous. They are significantly lighter, can be discharged much deeper without damage (often 80-100% vs. 50% for lead-acid), last exponentially longer (thousands of cycles vs. hundreds), and maintain a consistent voltage output. This means you need less capacity for the same usable power, saving precious space and weight in your RV.
Sizing your battery bank correctly is paramount. You'll take your calculated daily watt-hour consumption and then add a buffer for cloudy days, lower solar input in winter, or unexpected higher usage. This "days of autonomy" calculation helps determine how much energy your batteries need to store. For example, if you use 1,500 Wh per day and want two days of autonomy, you'd need 3,000 Wh of usable battery capacity. Given LiFePO4's high usable capacity, this is much easier to achieve than with lead-acid. Considering how many batteries for an off-grid system requires careful calculation of your specific needs. Companies like Battle Born and EG4 are popular choices for reliable LiFePO4 batteries among RV enthusiasts, known for their robust build and integrated Battery Management Systems (BMS).
Inverters and Charge Controllers Explained
These two components are the brain and brawn of your electrical system, managing the flow of power from your panels to your batteries and then to your appliances.
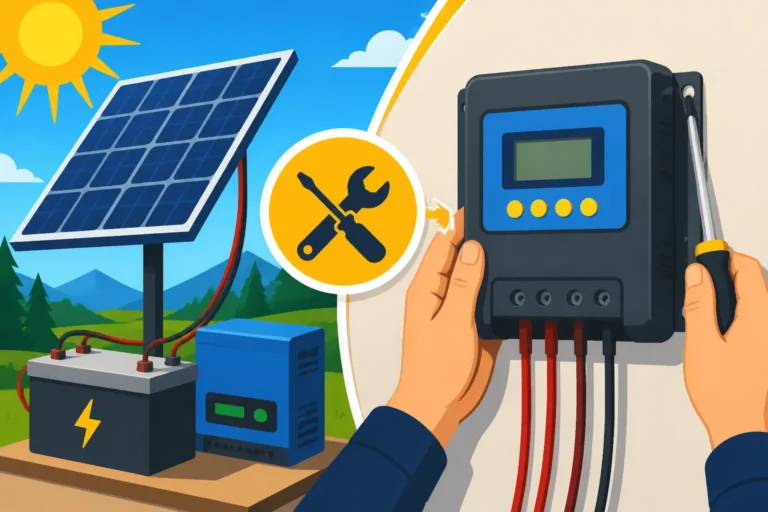
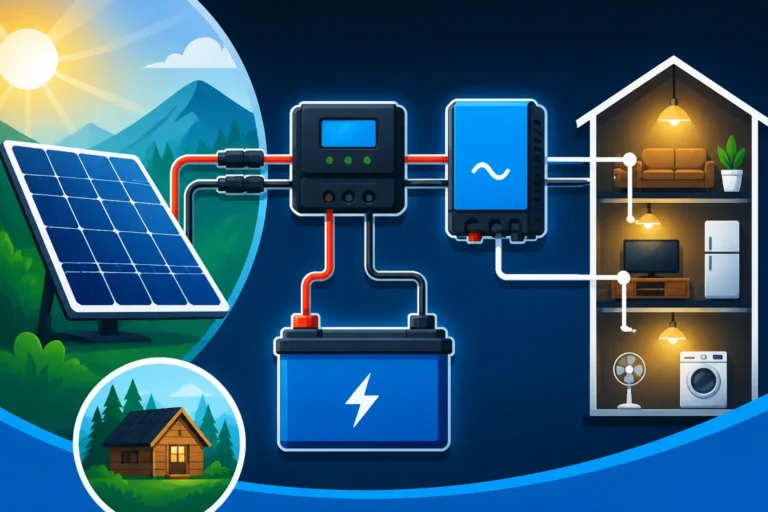
First, the charge controller. This device sits between your solar panels and your battery bank. Its primary job is to regulate the voltage and current coming from your solar panels to safely charge your batteries, preventing overcharging and extending battery life. There are two main types: PWM (Pulse Width Modulation) and MPPT (Maximum Power Point Tracking). For RV systems, especially those with more than a couple of panels, an MPPT charge controller is almost always recommended. MPPT controllers are significantly more efficient, especially in varying light conditions (partially cloudy days) or when your panel voltage is much higher than your battery bank voltage. They can extract up to 10-30% more power from your panels compared to PWM controllers, making them a wise investment. Our guide to Best MPPT Charge Controllers offers more insights into selection.
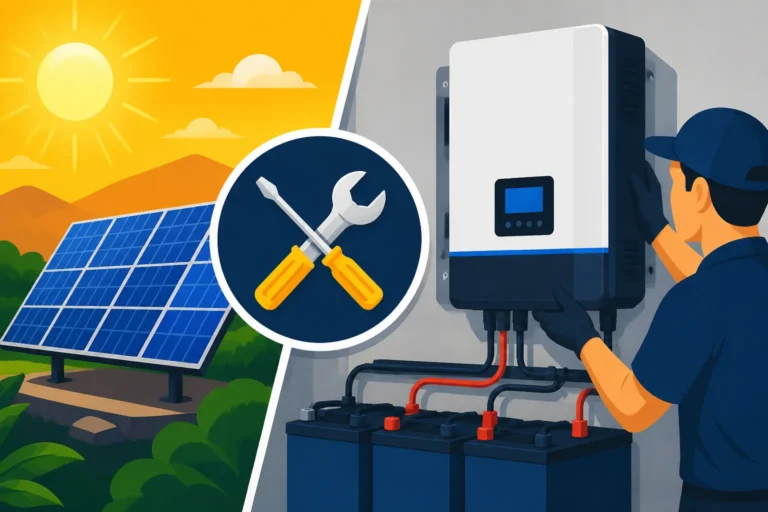
Second, the inverter. Most RV appliances (microwaves, TVs, coffee makers, outlets for laptops) run on AC (alternating current), just like in a house. Your solar panels and batteries, however, produce and store DC (direct current). The inverter's job is to convert that DC power from your batteries into usable AC power for your appliances. For any sensitive electronics, or if you want your RV's power to mimic household electricity as closely as possible, you absolutely need a pure sine wave inverter. Modified sine wave inverters are cheaper but can damage sensitive electronics and cause motors to run inefficiently or loudly. Size your inverter based on the maximum continuous wattage you expect to draw at any one time (e.g., running a microwave and a hair dryer simultaneously). Don't forget to account for "surge" wattage, which is the brief spike in power many motor-driven appliances need to start up. Brands like Victron Energy and Renogy offer excellent inverter options for RV applications. For more on this, check out our piece on Best Off-Grid Solar Inverters.
Step-by-Step Installation Process
Now for the exciting part: getting everything wired up! While the idea of drilling into your RV or tackling electrical work might feel intimidating, breaking it down into manageable steps makes it much less daunting. Always prioritize safety and double-check your work.
Securely Mounting Your Solar Panels
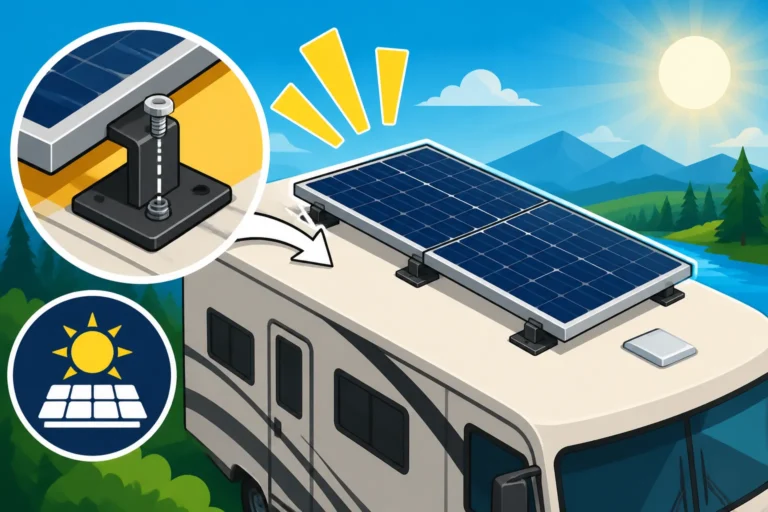
Mounting your solar panels securely to your RV roof is paramount. You don't want them flying off down the highway! For rigid panels, this usually involves mounting feet or Z-brackets that bolt through your RV roof. First, carefully plan your panel layout to maximize sun exposure and avoid shading from vents, AC units, or satellite dishes. Mark your mounting points, then pre-drill small pilot holes. Apply a generous amount of a high-quality, UV-resistant sealant (like Dicor Self-Leveling Lap Sealant for rubber roofs or SikaFlex 221 for fiberglass) into and around the holes before securing the mounting feet with stainless steel hardware. Once the feet are in place, attach your panels to the feet.
For flexible panels, installation is often simpler but still requires attention to detail. Many flexible panels come with adhesive backing or can be adhered using a strong, flexible adhesive specifically designed for marine or RV applications. Ensure the roof surface is meticulously cleaned and prepped according to the adhesive manufacturer's instructions. While flexible panels have a lower profile, consider adding a small air gap beneath them, especially in hot climates, to allow for cooling. This helps prevent heat buildup, which can significantly reduce their efficiency and lifespan. For a complete guide on how to safely attach your panels, refer to our article on How to Mount Off-Grid Solar Panels.
The Critical Wiring Connections
Wiring is where everything comes together, and it needs to be done meticulously and safely. Here's a simplified order of connections:
- Panels to Charge Controller: Connect your solar panels to a combiner box (if you have multiple panels) and then run heavy-gauge, UV-resistant solar cable (typically 10 AWG or 8 AWG, depending on your array size) to your charge controller. If you're running multiple panels, you'll need to decide whether to wire them in series, parallel, or a combination (series-parallel) to match the voltage requirements of your MPPT charge controller and optimize performance. Always use MC4 connectors for weather-tight and secure panel connections.
- Charge Controller to Battery Bank: Use appropriately sized battery cables (very thick, usually 4 AWG to 1/0 AWG, depending on system size) to connect your charge controller to your battery bank. Always include a properly rated DC breaker or fuse on this line, as close to the battery positive terminal as possible, to protect your system from shorts.
- Battery Bank to Inverter: Connect your inverter directly to your battery bank using extremely thick battery cables (often 2/0 AWG or larger for powerful inverters). Again, a correctly sized fuse or breaker is absolutely non-negotiable on the positive cable here, as close to the battery as possible, to protect the inverter and wiring from catastrophic overcurrent.
- Grounding: Properly grounding your entire system is critical for safety. This typically involves connecting the metal frames of your solar panels, the charge controller, and the inverter chassis to the RV's chassis ground. Use appropriate gauge wire for all grounding connections.
Remember, cable sizing is critical to prevent voltage drop and overheating. The longer the run and the higher the current, the thicker the cable needs to be. You can often find pre-made solar cables and connectors, as well as high-quality marine-grade wire, through retailers like Amazon or specialized solar suppliers like Renogy. Understanding How to Wire an Off-Grid Solar System will ensure you make safe and efficient connections.
Integrating with Your RV's Electrical System
Once your solar array, charge controller, and batteries are all connected, the final step is to integrate your inverter into your RV's existing AC electrical system. This is where you can start powering your AC appliances.
For most RV setups, you'll want to connect the AC output of your pure sine wave inverter to your RV's main electrical panel. This can be done by installing a transfer switch. A transfer switch allows you to safely switch between shore power (when hooked up at a campground or home) and inverter power (when off-grid). This prevents back-feeding power into the grid or damaging your inverter. If you don't have a transfer switch, you would typically run dedicated outlets from your inverter or manually plug appliances into the inverter's output. For permanent integration, an automatic transfer switch is the cleanest solution.
It's crucial to understand your RV's AC panel. Some RVs have a separate sub-panel for inverter loads, making integration easier. If not, you might need to hire a qualified electrician to safely wire your inverter into your main panel. Always ensure all AC wiring is properly sized, protected by breakers, and follows local electrical codes, even if it's in a mobile environment. A good understanding of How to Connect an Inverter to Batteries is fundamental before connecting to the AC side.
Ensuring Longevity and Safe Operation
Installing your RV solar system is a significant achievement, but it's not a "set it and forget it" situation. Regular checks and mindful operation will ensure your system performs optimally and safely for years to come.
Initial System Testing and Calibration
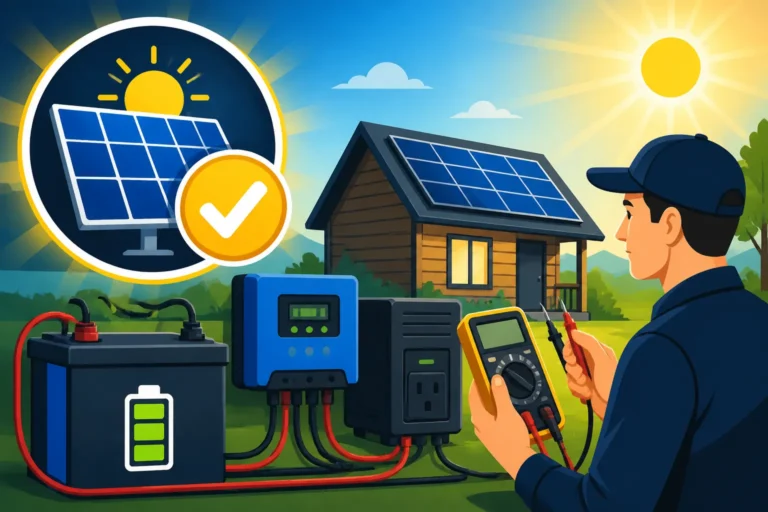
After all the connections are made and everything is mounted, it’s time for the moment of truth: testing. Before applying any load, carefully check all your connections one last time. Start by verifying voltages with a multimeter. Check the open-circuit voltage (Voc) of your solar array, then the voltage at the input of your charge controller. Next, check the battery voltage. Once everything appears correct, connect your panels to the charge controller, then connect the charge controller to the batteries. The charge controller should light up and indicate that it's charging.
Now, turn on your inverter and test a small AC appliance. Plug in a light or a phone charger and ensure it works. Monitor your battery voltage and the power draw as shown on your inverter or battery monitor (if installed). Many modern charge controllers and inverters, especially from brands like Victron or Renogy, come with smartphone apps or display screens that provide real-time data on charge status, voltage, current, and power consumption. Use these tools to confirm your system is functioning as expected and that your batteries are charging correctly from your panels. This initial testing phase is also an excellent opportunity to calibrate your battery monitor, if you have one, to ensure accurate state-of-charge readings.
Routine Maintenance for Peak Performance
Just like any other part of your RV, your solar system needs a little love and attention to keep performing its best. The good news is that solar systems are generally low-maintenance.
- Clean Panels: The most frequent task will be cleaning your solar panels. Dust, dirt, bird droppings, and leaves can significantly reduce panel efficiency. A soft brush or sponge, water, and mild soap are usually all you need. Do this regularly, especially after dusty travels or if your RV has been parked under trees.
- Check Connections: Periodically inspect all your wiring connections, especially before and after long trips. Ensure they are tight and free of corrosion. Look for any signs of wear on cables, especially those exposed to the elements.
- Monitor Battery Health: With LiFePO4 batteries, monitoring is relatively simple through their built-in Battery Management System (BMS) or a separate battery monitor. Keep an eye on the voltage and state of charge. For lead-acid batteries, you might need to check electrolyte levels and specific gravity if they are flooded cell types.
- Inspect Mounting Hardware: Ensure all panel mounting hardware is secure. Vibrations from travel can sometimes loosen bolts over time. Check your roof sealant around mounting points and cable entry points, repairing any cracks or lifting to prevent leaks.
Staying on top of these simple tasks, outlined further in our Off-Grid Solar Maintenance Guide, will help maximize the lifespan and efficiency of your off-grid RV solar system.
Navigating Safety and RV-Specific Regulations
Safety should always be your number one priority when working with electricity, especially high-current DC systems. Proper fusing and circuit breakers at every critical junction are non-negotiable. Always disconnect power at the battery before working on any part of the system. Wear appropriate personal protective equipment, like insulated gloves.
When it comes to regulations, RVs occupy a somewhat unique space. While typical residential solar installations require permits and adherence to the National Electrical Code (NEC), RVs generally have different, often less stringent, rules. However, it's not a free-for-all. Your RV's existing electrical system still conforms to RVIA (RV Industry Association) standards, which largely mirror parts of the NEC for mobile applications. When you're adding new electrical components, it's good practice to follow recognized electrical safety guidelines. For instance, proper grounding of your system to the RV chassis, using conduit for wire protection, and ensuring waterproof connections are all best practices that align with safety standards.
Some states or localities might have specific rules if your RV is stationary for an extended period or if you're doing major electrical overhauls that could be considered permanent dwelling modifications. It's always wise to briefly check with local authorities if you're unsure, especially for very large systems. Understanding Off-Grid Solar Safety and Grounding is fundamental for any installation.
Disclaimer
Please remember that installing an off-grid solar system involves working with electricity and potentially dangerous components. While this guide provides comprehensive information, it is intended for educational purposes only. If you are not comfortable with electrical work, it is strongly recommended to consult with a qualified electrician or RV solar professional. Incorrect installation can lead to equipment damage, fire, or serious injury. Always follow manufacturer instructions for all components.