How to Size an Off-Grid System for a Camper
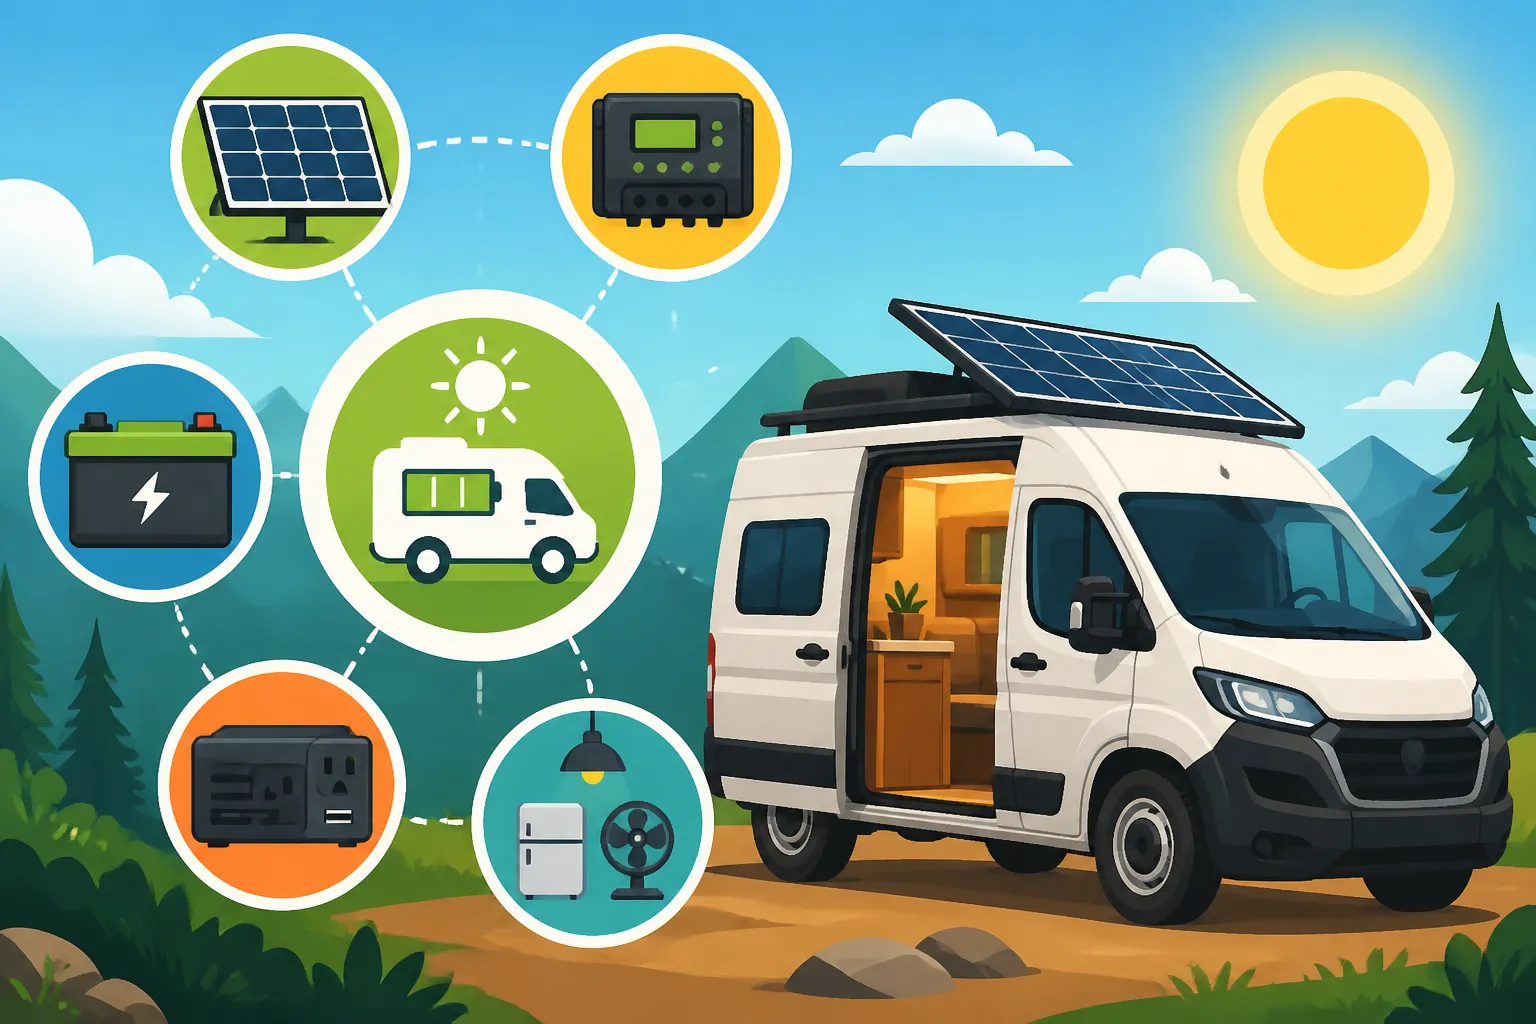
Ah, the dream of hitting the open road, parking wherever the view is best, and not having to worry about hookups! It’s a fantastic vision, but the reality of powering your life in a camper without grid connection can feel like a daunting puzzle. Figuring out how big your solar setup needs to be is often the first hurdle, leaving many folks scratching their heads. This guide is here to walk you through the entire process of sizing an off-grid solar system for your camper, from understanding your power appetite to picking the right components, ensuring you have reliable electricity no matter where your adventures take you.
Understanding Your Camper's Energy Needs with a Load Analysis
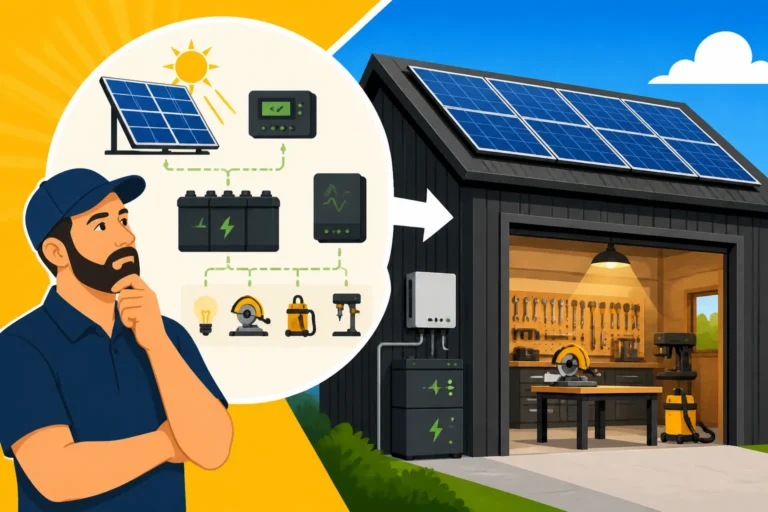
Before you even start looking at solar panels or batteries, the absolute first step is to get a handle on what you actually need to power. This is called a load analysis, and it's the bedrock of a well-designed off-grid system for your camper. Without it, you're essentially guessing, and that usually leads to an undersized (or needlessly oversized) system and a lot of frustration. Trust me, nobody wants to be halfway through a remote trip only to realize their coffee maker won't run, or worse, their fridge is losing power. If you want a deeper dive into this, you can check out our article on how to do an off-grid load analysis.
Identifying Your Appliances and Their Wattage
The journey begins with a meticulous inventory of every single electrical device you plan to use in your camper. Don't skip anything, no matter how small it seems. Think about your lights, phone chargers, water pump, fan, laptop, microwave, coffee maker, TV, and especially your refrigerator. For each item, you need to find its power consumption, typically measured in watts (W).
You can usually find this information on a label on the appliance itself, in its user manual, or by searching online. Sometimes, you'll see "amps" (A) instead of watts. If that's the case, you can generally multiply the amps by your system voltage (e.g., 12V for many camper systems) to get an estimate of the wattage (Watts = Volts x Amps). For example, a 5A device on a 12V system draws 60W. Remember that some appliances, like a microwave or a well pump, have a much higher "surge" wattage when they first start up, which is important for inverter sizing later on. List both the continuous running watts and any surge watts you can find.
Calculating Daily Watt-Hours
Once you have your list of appliances and their wattages, the next step is to estimate how long you'll use each one per day. This is where your personal habits come into play. Are you a minimalist who only charges a phone and runs LED lights for a few hours? Or do you work remotely, requiring a laptop for eight hours, a Starlink dish running constantly, and an electric kettle for your morning tea? Be realistic here. It’s better to slightly overestimate than to be constantly conserving power.
For each appliance, multiply its wattage by the number of hours you expect to use it daily. This gives you its daily watt-hour (Wh) consumption.
Example:
- LED Lights: 20W x 4 hours = 80 Wh
- Refrigerator (12V compressor type): 50W (running average) x 12 hours (it cycles on and off, so this is an average run time, not continuous) = 600 Wh
- Laptop: 60W x 3 hours = 180 Wh
- Phone Charger: 10W x 2 hours = 20 Wh
- Water Pump: 60W x 0.5 hours (30 minutes total on time throughout the day) = 30 Wh
- Fan: 25W x 6 hours = 150 Wh
Now, sum up all these daily watt-hour figures to get your total estimated daily energy usage. In our example, that would be 80 + 600 + 180 + 20 + 30 + 150 = 1060 Wh per day. This number is critical, and we'll use it to size your other components. Our guide on how to calculate daily energy usage offers even more detail on this process.
Here's a table with some common camper appliances and their typical power usage to help you get started:
| Appliance | Typical Running Watts (W) | Est. Daily Usage (Hours) | Daily Watt-Hours (Wh) | Notes |
|---|---|---|---|---|
| LED Lights | 5-20 | 4 | 20-80 | Depends on number of lights |
| 12V Compressor Fridge | 40-70 | 8-12 (cycling) | 320-840 | Most efficient fridge type for off-grid |
| Laptop Charging | 30-75 | 2-4 | 60-300 | Charging, not continuous use |
| Phone Charging | 5-15 | 1-2 | 5-30 | Fast chargers draw more |
| Water Pump | 50-100 | 0.2-0.5 | 10-50 | Short bursts throughout the day |
| Ceiling Fan | 10-40 | 6-10 | 60-400 | Varies by speed and size |
| RV TV (LED) | 20-60 | 2-4 | 40-240 | Modern TVs are quite efficient |
| Microwave | 600-1500 | 0.1-0.2 (6-12 min) | 60-300 | High surge, short duration |
| Coffee Maker | 800-1200 | 0.1-0.2 (6-12 min) | 80-240 | High surge, short duration |
| Starlink/Satellite Int. | 40-75 | 24 | 960-1800 | Significant continuous draw |
| CPAP Machine | 30-60 | 8 | 240-480 | Essential medical device |
Note: These are estimates. Always check the specific ratings on your appliances.
Sizing Your Solar Panel Array
With your daily energy needs calculated, it’s time to figure out how many solar panels you’ll need to generate that power. This is where "peak sun hours" become a critical factor, as they represent the effective sunlight your panels will receive.
Determining Peak Sun Hours
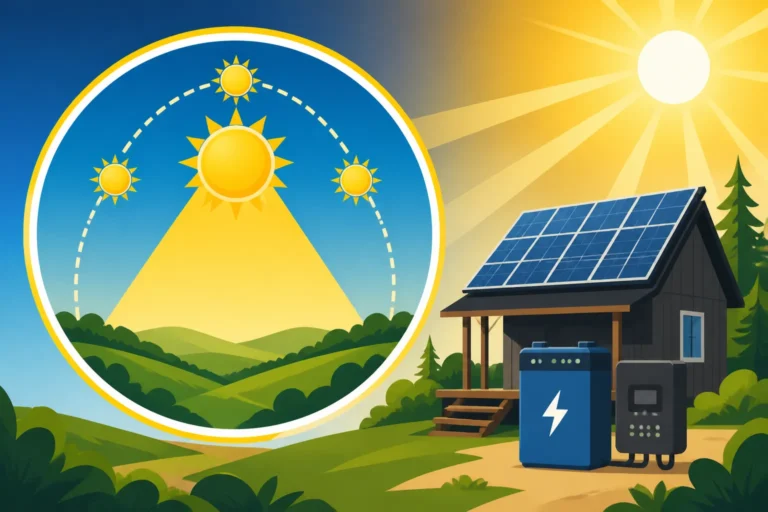
"Peak sun hours" isn't the same as how many hours the sun is visible in the sky. Instead, it’s the equivalent number of hours per day when the solar irradiance averages 1,000 watts per square meter (W/m²). This is the standard measurement used to rate solar panel output. A 100W panel in one peak sun hour will produce 100 Wh of energy.
The number of peak sun hours varies significantly by location, time of year, and even panel orientation. For a camper, you're usually thinking about "average" conditions across different seasons and locations. For example, a sunny day in Arizona might give you 6-7 peak sun hours, while a cloudy winter day in Oregon might only offer 2-3. Since campers often move, it’s wise to use a conservative estimate, especially if you plan to travel to less sunny areas or use your camper year-round. A good general rule of thumb for many parts of the US is to assume 4-5 peak sun hours per day. However, if you know your primary camping spots and seasons, you can look up more specific data from sources like the National Renewable Energy Laboratory (NREL) or various online calculators. We have a detailed article on how peak sun hours explained that can help you with this.
Calculating Required Panel Wattage
Now for the math! To determine your total required solar panel wattage, you’ll take your total daily watt-hour needs and divide them by your estimated peak sun hours.
Formula:
Required Panel Wattage (W) = (Total Daily Watt-Hours / Peak Sun Hours) x 1.25 (for system losses)
That 1.25 multiplier is important. It accounts for various system losses that reduce real-world output, such as wiring resistance, temperature effects on panels, dust/dirt on panels, and inverter inefficiency. It's an essential buffer to ensure your system can reliably meet your needs.
Let's use our example of 1060 Wh/day and assume a conservative 4 peak sun hours:
Required Panel Wattage = (1060 Wh / 4 hours) x 1.25 = 265 x 1.25 = 331.25 Watts
So, you would need approximately 330-350 watts of solar panels. If you're looking at 100-watt panels (a common size for campers due to space constraints), you'd need three to four panels (e.g., three 100W panels would give you 300W, four would give you 400W). It's always a good idea to round up to ensure you have enough power, especially if you plan to run a high-demand appliance like a microwave or an air conditioner. When choosing your panels, consider their physical size and how they'll fit on your camper's roof. Brands like Renogy offer a wide range of panels, from rigid to flexible, that are popular for RV and camper installations. You can learn more about the best off-grid solar panels in our comprehensive guide.
Sizing Your Battery Bank
Your solar panels generate power during the day, but you'll need electricity at night or on cloudy days. That's where your battery bank comes in – it stores the energy for when the sun isn't shining. This is often the most expensive component of an off-grid system, so sizing it correctly is paramount to avoid unnecessary costs or frustrating power shortages. Our guide on how many batteries for an off-grid system offers a deep dive into this topic.
Choosing Battery Chemistry and Voltage
For campers, you generally have two main battery chemistry choices:
-
Lead-Acid (Flooded, AGM, Gel): These are traditionally more affordable upfront.
- Flooded lead-acid requires maintenance (checking water levels) and ventilation. They are not typically ideal for mobile applications like campers due to these requirements.
- AGM (Absorbed Glass Mat) batteries are sealed, maintenance-free, and more resistant to vibration. They are a decent middle-ground option.
- Gel batteries are similar to AGM but perform slightly better in deep discharge cycles and high temperatures.
- The main drawback for all lead-acid types is their limited usable capacity (you shouldn't discharge them below 50% to prolong their life) and shorter cycle life compared to lithium.
-
LiFePO4 (Lithium Iron Phosphate): These have become incredibly popular for camper and RV applications despite a higher upfront cost.
- Higher Usable Capacity: You can safely discharge them much deeper (typically to 80-100%) without damaging them. This means a 100Ah LiFePO4 battery offers roughly twice the usable energy of a 100Ah lead-acid battery.
- Longer Lifespan: They last significantly longer, often 10-20 times more charge cycles than lead-acid.
- Lighter Weight: Crucial for campers where every pound matters.
- Faster Charging: They can accept a higher charge rate, meaning your panels can replenish them quicker.
- No Maintenance: They are sealed and require no upkeep.
- The primary downside is the higher initial investment, but over their lifespan, they often prove to be more cost-effective. We delve into this comparison in our article on LiFePO4 vs Lead-Acid Battery Cost.
System Voltage (12V, 24V, 48V):
For most smaller campers, a 12V system is standard because many RV appliances (lights, fans, water pumps) are designed for 12V DC. This keeps wiring simple. As your power needs grow, moving to 24V or 48V systems becomes more efficient. Higher voltage systems require thinner wires for the same amount of power, reducing voltage drop and material costs, and are generally more efficient for larger loads. However, they might require DC-DC converters for your 12V appliances. For our example camper, we'll assume a 12V system since it's most common.
Calculating Required Battery Capacity
Your battery bank needs to store enough energy to last you through periods without sun. We typically measure battery capacity in Amp-hours (Ah) or Watt-hours (Wh). Since we already calculated our daily energy needs in Wh, let's stick with that for consistency.
Formula:
Required Battery Capacity (Wh) = Total Daily Watt-Hours x Days of Autonomy / Max Depth of Discharge
Let's break down these factors:
- Total Daily Watt-Hours: This is the number you calculated earlier (1060 Wh in our example).
- Days of Autonomy: How many days do you want your batteries to power your camper without any solar input (e.g., due to cloudy weather or stationary use)? For most campers, 1-3 days is a reasonable goal. More days mean a larger (and more expensive) battery bank.
- Max Depth of Discharge (DoD): This is the percentage of the battery's capacity you can use without damaging it.
- For lead-acid batteries, aim for 50% (0.5).
- For LiFePO4 batteries, you can safely go to 80% (0.8) or even 100% if the battery management system (BMS) allows.
Let's calculate for our example (1060 Wh/day) assuming 2 days of autonomy.
Scenario 1: LiFePO4 Batteries (80% DoD)
Required Battery Capacity (Wh) = (1060 Wh/day x 2 days) / 0.80 = 2120 Wh / 0.80 = 2650 Wh
To convert this to Amp-hours (Ah) for a 12V system:
Required Ah = 2650 Wh / 12V = 220.83 Ah
So, you would need roughly 220-230 Ah of LiFePO4 battery capacity. A common LiFePO4 battery size is 100Ah, so you'd likely need two to three of these in parallel. Brands like Battle Born and EG4 offer excellent LiFePO4 options for off-grid use. Take a look at our guide to the best off-grid solar batteries for specific recommendations.
Scenario 2: Lead-Acid Batteries (50% DoD)
Required Battery Capacity (Wh) = (1060 Wh/day x 2 days) / 0.50 = 2120 Wh / 0.50 = 4240 Wh
To convert this to Amp-hours (Ah) for a 12V system:
Required Ah = 4240 Wh / 12V = 353.33 Ah
As you can see, you need significantly more lead-acid capacity to get the same usable energy, confirming why LiFePO4 is often preferred despite the higher upfront price for camper applications.
Accounting for Days of Autonomy
Choosing the right "days of autonomy" is a balance between cost, weight, and your comfort level with potential power interruptions. For a camper that moves frequently and seeks out sunny spots, 1-2 days might be perfectly adequate. This means if you have two cloudy days, your batteries can carry you through until the sun comes back. For those who park in one spot for extended periods or travel to notoriously cloudy regions, 3-4 days of autonomy might be more appropriate. Remember that more days of autonomy directly translate to a larger, heavier, and more expensive battery bank. Our article on how to account for cloudy days goes into this in more detail.
Selecting the Right Inverter and Charge Controller
With your solar panels sized to generate power and your battery bank sized to store it, the next critical pieces of the puzzle are the inverter and the charge controller. These components act as the brains and brawn of your electrical system, managing the flow of power.
Sizing Your Inverter
The inverter is what converts the DC (direct current) electricity from your batteries into AC (alternating current) electricity, which is what most standard household appliances run on.
Key considerations for inverter sizing:
- Continuous Wattage: This is the total wattage of all AC appliances you might run simultaneously. Go back to your load analysis and identify the AC devices. Add up the running wattage of everything you expect to use at the same time. For instance, if you're running a laptop (60W), charging a phone (10W), watching TV (50W), and perhaps making coffee (800W) all at once, your continuous draw could temporarily be around 920W.
- Surge Wattage: Many appliances, especially those with motors or heating elements (like microwaves, coffee makers, blenders, or small air conditioners), draw a much higher amount of power for a few seconds when they first start up. This is their "surge" wattage. Your inverter needs to be able to handle this brief, high draw. For example, a microwave that runs at 800W might surge to 1500W-2000W for a split second.
General Rule for Inverter Sizing:
Your inverter's continuous rating should be higher than your highest anticipated simultaneous continuous load. Its peak surge rating should be higher than the highest surge wattage of any single appliance you plan to use.
Let's go back to our camper example with a daily usage of 1060 Wh. If your highest simultaneous load includes a laptop (60W), TV (50W), and an instant pot (700W), your continuous draw is 810W. If your microwave surges at 1500W, your inverter needs to handle that. A 1000W pure sine wave inverter is often a good starting point for smaller campers, allowing you to run several smaller devices and one medium-sized appliance like an instant pot or small microwave. If you plan on running multiple heavy-draw appliances or things like an air conditioner, you might need a 2000W or even 3000W inverter.
Always opt for a pure sine wave inverter. While modified sine wave inverters are cheaper, they can damage sensitive electronics and run certain appliances inefficiently or noisily. For a camper with modern electronics, a pure sine wave is a non-negotiable. Many popular off-grid solar brands, including Victron and Renogy, offer reliable pure sine wave inverters suitable for various camper setups. To learn more, check out our guide on how to size an off-grid inverter.
Sizing Your Charge Controller
The charge controller is an essential component that sits between your solar panels and your battery bank. Its job is to regulate the voltage and current coming from your solar panels to ensure your batteries are charged efficiently and safely, preventing overcharging and extending battery life.
There are two main types of charge controllers:
- PWM (Pulse Width Modulation) Charge Controllers: These are simpler and less expensive. They essentially reduce the voltage from the panels to match the battery voltage, but they don't optimize for maximum power harvesting, especially in cooler conditions or when panel voltage significantly exceeds battery voltage.
- MPPT (Maximum Power Point Tracking) Charge Controllers: These are more advanced and efficient. They track the maximum power point of the solar array, converting excess voltage into additional current. This means they can extract significantly more power from your panels (10-30% more, especially in varied weather conditions) compared to PWM controllers. For off-grid camper systems, especially those where every watt counts, an MPPT controller is almost always the superior choice, despite its higher cost.
Sizing your Charge Controller:
The charge controller needs to be rated for the maximum current (amps) that your solar panels can produce. You'll calculate this based on your total panel wattage and your battery bank voltage.
Formula:
Charge Controller Amps = Total Panel Wattage / Battery Bank Voltage x 1.25 (safety factor)
The 1.25 safety factor (or sometimes 1.5, depending on local codes like NEC) accounts for unexpected increases in solar panel output due to very cold temperatures, which can temporarily increase panel voltage and current.
Let's use our example of 350W of solar panels and a 12V battery bank:
Charge Controller Amps = (350W / 12V) x 1.25 = 29.17A x 1.25 = 36.46 Amps
So, you would need a charge controller rated for at least 40 amps. Many good quality MPPT charge controllers are available, often ranging from 20A up to 60A or more. Brands like Victron Energy and Outback Power are known for their robust MPPT controllers. Renogy also offers excellent options that are popular with the camper and RV community. Choosing the right one ensures your battery bank is charged quickly and protected. You can dive deeper into this topic in our article, how to size a charge controller.
Disclaimer
The information provided in this guide is for general informational purposes only and does not constitute professional advice. Off-grid solar system design and installation can be complex and involve electrical hazards. Always consult with a qualified electrician or solar professional before designing or installing any solar power system. Ensure all installations comply with local electrical codes and regulations.