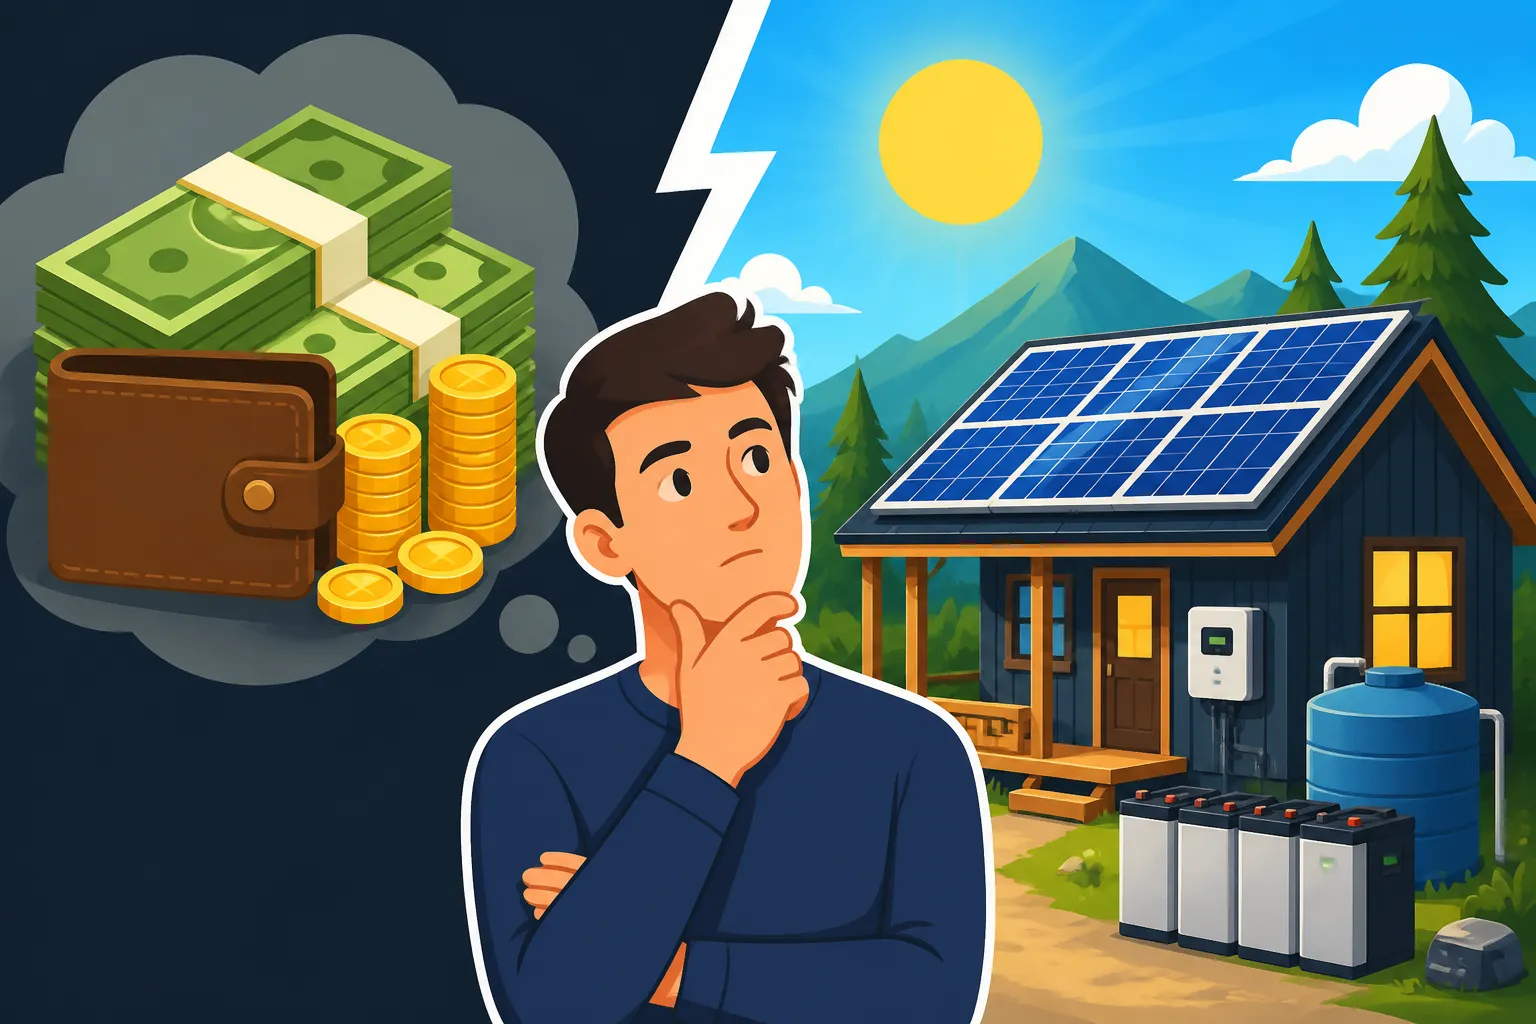
How Much I Spent Going Off-Grid
One of the biggest hurdles when you dream of cutting ties with the utility company and embracing off-grid living is the sheer unknown of the costs involved. It's easy to get lost in conflicting information or assume it's either incredibly cheap or astronomically expensive, leading to analysis paralysis. This guide is here to walk you through a realistic breakdown of what I personally spent getting my off-grid solar system up and running, hopefully demystifying the financial side of energy independence for you.
The Initial Dream vs. The Real-World Budget
When I first started looking into off-grid solar, I had visions of a simple, affordable setup. I'd read blog posts and watched YouTube videos that made it seem like a weekend project with a few hundred dollars. Oh, how quickly reality set in! The dream of energy freedom is powerful, but navigating the actual expenses can feel like trying to find your way through a dense forest without a map.
Dispelling the "Cheap" Myth: Why Initial Estimates Fall Short
It's a common misconception that going off-grid is inherently cheaper than staying connected to the grid. While it absolutely can save you money in the long run, especially if you live in a remote area where utility line extensions cost a fortune, the initial investment is significant. Many people, myself included, often underestimate the total price tag because they focus only on the big-ticket items like solar panels and batteries. They forget the myriad of smaller, but equally crucial, components, not to mention potential labor, permits, and the inevitable learning curve. A simple calculation of "X panels + Y batteries" rarely reflects the true cost of an off-grid solar system. You might find a great deal on panels, but then realize you need a specific type of inverter, thicker gauge wiring, or a robust mounting system, and suddenly that initial budget is out the window.
My Personal Journey: From Research to Reality
My own off-grid journey began with a small cabin in the mountains of northern Arizona. The nearest power pole was a mile away, and the utility company quoted me an astronomical sum to bring electricity to my property. That's when off-grid solar became not just a dream, but a necessity. I spent months poring over forums, watching installation videos, and devouring every article I could find. What quickly became clear was that there wasn't a single, straightforward "off-grid cost." It was a patchwork of decisions, unexpected expenses, and learning on the fly. I started with a modest budget, thinking I could get by, but as I dug deeper into the requirements for reliable, year-round power, I realized I needed to significantly adjust my expectations, and my wallet. It was a humbling experience to realize how much I didn't know, and how every choice, from battery chemistry to wire gauge, had a ripple effect on the overall cost.
Breaking Down My Off-Grid Solar System Costs
Let's get down to the nitty-gritty. What did I actually spend on the hardware? This is often where people focus, and rightly so, as these components form the backbone of your system. But remember, the details matter, and going too cheap on one part can compromise the entire setup.
The Core Components: Panels, Batteries, Inverter, and Charge Controller
These are the big four, the stars of the show in any off-grid solar system. Their selection heavily dictates your total spend.
-
Solar Panels: I opted for 12, 400-watt monocrystalline solar panels, totaling 4800 watts (or 4.8 kW) for my cabin. I found a local supplier in Flagstaff that gave me a decent bulk discount. Each panel cost me about $180, so that was $2,160 right there for the array. I could have gone for slightly cheaper panels from an online vendor on Amazon, but I preferred the peace of mind of buying locally with a warranty that was easier to claim if needed. These were rigid, standard panels designed for efficiency and durability, important for the intense Arizona sun. You can learn more about finding the right panels in a guide like Best Off-Grid Solar Panels.
-
Battery Bank: This was, hands down, the single largest expense, and it's where many people either undersize or try to cut too many corners. After much deliberation, I decided against lead-acid due to their shorter lifespan and maintenance requirements. I invested in a 48V LiFePO4 battery bank, totaling 20 kWh of usable capacity. This choice dramatically impacted my overall budget, but I knew it was crucial for long-term reliability and depth of discharge. I purchased four 5 kWh server rack batteries from a specialized vendor, costing roughly $2,500 each. So, my battery bank alone came to $10,000. It felt like a gut punch at the time, but understanding how batteries drive off-grid solar cost, I knew it was a necessary investment for the peace of mind I sought.
-
Inverter/Charge Controller: For my system, I went with an all-in-one inverter-charger-charge controller unit. This streamlined the wiring and integration significantly, although it meant a higher upfront cost for a single component. I chose a 48V, 8000W continuous pure sine wave inverter with a built-in MPPT charge controller. This powerful unit was capable of handling surge loads from my well pump and other appliances. It cost me around $3,500. This might seem steep, but it replaced three separate components and offered robust management features. If I had gone with separate units, the cost of an off-grid solar inverter and a separate high-quality MPPT charge controller would likely have been similar, or even higher, for comparable performance.
The "Hidden" but Essential Costs: Wiring, Mounting, and Safety
These are the components that often get overlooked in initial budget calculations, but they are absolutely non-negotiable for a safe, reliable, and functional system. Ignoring them can lead to serious hazards or system failures.
-
Mounting Hardware: My panels are ground-mounted, positioned in an open field to maximize sun exposure throughout the day, and designed with adjustable tilt for seasonal optimization. I purchased a heavy-duty aluminum ground mount racking system capable of holding all 12 panels. This structure, including the necessary concrete footings and hardware, ran me about $1,200. This was a critical investment to ensure my panels could withstand the intense winds and occasional heavy snowfall we get in the mountains. Had I opted for a simpler roof mount, it might have been slightly less, but the ground mount offered better flexibility and accessibility.
-
Wiring, Fuses, Breakers, Disconnects: This category covers all the electrical bits and pieces that connect everything safely.
- PV Wiring: Heavy-gauge (10 AWG) UV-resistant solar cable to connect the panels in series-parallel configurations to the combiner box, then thicker (6 AWG) cable to the charge controller. Cost: ~$300.
- Battery Cables: Extremely thick (2/0 AWG) battery cables to connect my battery bank to the inverter, ensuring minimal voltage drop and maximum safety. Cost: ~$250.
- Combiner Box: A weatherproof combiner box with surge protection and appropriate fuses for my solar array. Cost: ~$150.
- DC Disconnects: Essential safety devices to easily disconnect power from the solar array and the battery bank for maintenance or emergencies. Two main disconnects: ~$100 each.
- AC Breaker Panel & Breakers: A small sub-panel for the AC loads in the cabin, with various circuit breakers. Cost: ~$200.
- Grounding Equipment: Grounding rods, heavy-gauge bare copper wire, and clamps to properly ground the entire system for lightning protection and electrical safety. Cost: ~$100.
- The sum of these critical safety components added up to about $1,200. Neglecting these details would be a huge mistake, and understanding how to size wire and cables is crucial for safety and efficiency.
-
Tools and Miscellaneous: You can't install a system with just your bare hands! I had to acquire specific tools, and there were always those little things that added up.
- Specialized Tools: A good multimeter, solar cable crimpers, MC4 connector tool, conduit bender, and a high-quality torque wrench for mounting hardware were essential. If you don't already own these, they're an added cost. I probably spent around $400 on these specialized tools.
- Conduit and Fittings: To protect outdoor wiring from elements and critters, conduit is a must. A few hundred feet of PVC conduit and various fittings added another $150.
- Weatherproofing & Sealants: Silicone caulk, sealing tape, and other weather-resistant materials for penetrations and connections. ~$50.
- Consumables: Zip ties, electrical tape, labels, heat shrink tubing, cable management clips, etc. These small things amounted to about $100.
- In total, these miscellaneous items and tools added about $700 to my bill. While not directly "solar equipment," they are vital for a professional and safe installation. Sometimes, even small purchases on Amazon for these items can add up surprisingly quickly.
The Installation and Beyond: Labor, Permits, and Future Expansion
Once you have all the parts, you need to put them together. This phase of the project also comes with its own set of costs, whether it's your time and effort or paying a professional.
DIY vs. Professional Installation: My Experience
I chose the DIY route for my off-grid solar system. Part of it was the sheer satisfaction of building something myself, but a significant factor was the desire to save on labor costs. Professional off-grid solar installation cost can be substantial, often adding 20-30% or more to the equipment price. For my 4.8 kW system, hiring a professional installer could have easily added $5,000 to $10,000.
The trade-off for saving that money was my time and mental energy. I spent weeks, not just days, on the physical installation – digging trenches for conduit, assembling the ground mount, running hundreds of feet of wiring, carefully connecting components, and painstakingly programming the inverter. There were moments of frustration, mistakes, and trips back to the hardware store. For instance, realizing I needed longer battery cables after cutting them too short once was a memorable (and costly) lesson. If you're considering a similar path, make sure you really understand the commitment involved, as detailed in guides like DIY vs Professional Off-Grid Solar Cost. The learning process was invaluable, but it was certainly an investment of my personal resources.
Unexpected Expenses and Long-Term Considerations
Even with the best planning, life throws curveballs. Off-grid living is no different, and factoring in these potential extra costs is crucial for a robust system.
-
Permits and Inspections: This is an area that catches many off-gridders by surprise. Even for systems not connected to the grid, local jurisdictions often require permits and inspections for safety and code compliance, especially for fixed structures like ground mounts or cabin wiring. For my cabin, I still had to go through a permit process for the electrical wiring within the structure, even though my power source was solar. The permits, electrical plans, and associated fees cost me around $400. This is an important factor to research early on in your journey; ignoring off-grid solar permit requirements can lead to hefty fines or the need to tear out and redo work.
-
Backup Generator: While solar is fantastic, it's not always 100% reliable, especially during extended periods of cloudy weather or in the deep winter when sun hours are scarce. For true peace of mind, I decided to integrate a propane-powered backup generator into my system. It's a 7,000-watt inverter generator that can automatically kick on to charge my batteries when needed. The generator itself cost me about $1,200. Then there's the ongoing cost of propane fuel and regular maintenance. While it's an additional expense, the cost of adding a generator to off-grid solar is often justified by the comfort of knowing you'll always have power, no matter what the sun is doing. I also considered a portable Jackery solar generator for smaller, emergency needs, but ultimately wanted something that could integrate with my main system.
-
System Expansion/Upgrades: My initial system was sized to meet my current needs, but I know that as my family grows or I add new appliances, my energy consumption will likely increase. Off-grid systems are rarely "set it and forget it." I've already earmarked funds for potentially adding another 2-4 panels and a couple more battery modules in a few years. It's wise to consider the cost of expanding an off-grid system in your long-term budget. Technology also evolves, and newer, more efficient components might tempt you down the line.
The True Value: Was It Worth It?
After all the planning, spending, and sweat equity, the big question remains: was it worth it? For me, the answer is a resounding yes, but it’s important to look beyond just the dollar figures.
Weighing the Financial Investment Against the Benefits
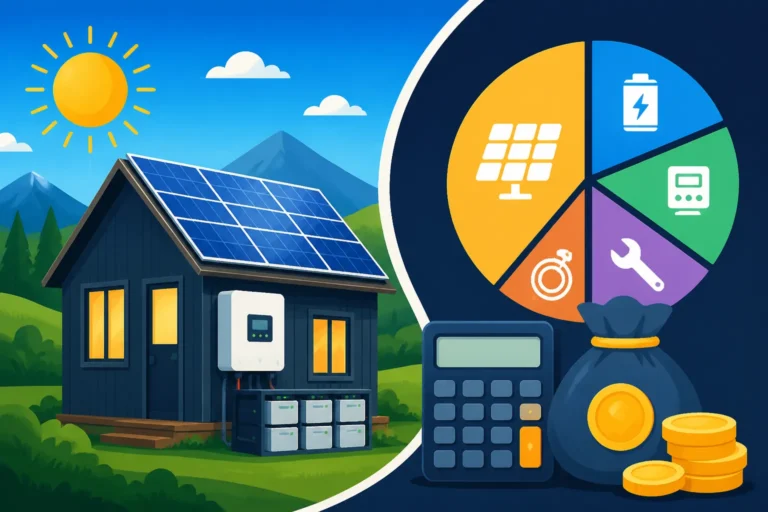
Let's do a quick tally of my major expenses:
| Component | Estimated Cost |
|---|---|
| Solar Panels (4.8 kW) | $2,160 |
| LiFePO4 Battery Bank (20 kWh) | $10,000 |
| All-in-One Inverter/Charge Controller | $3,500 |
| Mounting Hardware | $1,200 |
| Wiring, Fuses, Disconnects | $1,200 |
| Tools & Miscellaneous | $700 |
| Permits & Fees | $400 |
| Backup Generator | $1,200 |
| Total Initial Investment | $20,360 |
This is a significant amount of money, no doubt. But for me, it bought so much more than just electricity. It bought freedom from utility bills, which were steadily increasing. It bought peace of mind, knowing I wouldn't lose power during a grid outage or storm. And it bought the satisfaction of living sustainably and independently. When you consider how off-grid solar saves money long-term by eliminating monthly power bills, the payback period starts to look much more attractive, especially compared to the insane cost of grid-tie extension to my remote property.
Beyond the financial, there's an immense sense of accomplishment and resilience that comes with powering your own home. Being able to run my refrigerator, lights, and power tools using only the sun's energy is incredibly empowering.
Advice for Budgeting Your Off-Grid Journey
If you're thinking about going off-grid, here's some advice from someone who's been through it:
- Start with a Detailed Load Analysis: Before you buy anything, figure out exactly how much power you need. This is the single most important step. List every appliance, its wattage, and how many hours a day you'll run it. Overestimate slightly! A guide on how to do an off-grid load analysis will be your best friend here. This helps you right-size your system components and avoid unnecessary costs or, worse, an undersized system.
- Don't Skimp on Batteries: As you saw from my breakdown, batteries are the biggest expense. While it's tempting to go cheap, investing in quality LiFePO4 batteries will save you a lot of headache and money in the long run. They last longer and perform better than cheaper alternatives.
- Budget for the "Hidden" Costs: Seriously, add a line item for mounting hardware, wiring, fuses, breakers, and various electrical connectors. These are non-negotiable for safety and functionality.
- Consider Phased Implementation: If your budget is tight, you don't have to build the whole system at once. You can start with a smaller setup for essential loads and expand later. This allows you to spread out the cost over time. For example, you might begin with enough solar and battery power for basic lights and charging, then add more capacity for major appliances like a well pump or a mini-split as funds become available.
- Scout for Deals: Keep an eye out for sales. Many solar retailers, as well as general online marketplaces like Amazon, offer discounts on panels, inverters, and even full kits throughout the year. Sometimes you can find slightly used equipment in good condition, but proceed with caution and always verify its working order.
- Contingency Fund: Always, always, always budget an extra 10-15% for unexpected expenses. Something will inevitably go wrong, you'll need a different fitting, or a tool will break. Trust me on this one.
- Research Incentives: Don't forget to look into potential financial assistance. While specific incentives can vary, the 2026 solar tax credit and other local programs might offer some relief on your total investment, even for off-grid systems in many cases.
Going off-grid is a journey, not a destination. It requires planning, investment, and a willingness to learn. But the rewards of energy independence and a sustainable lifestyle are truly priceless.
Disclaimer
The information provided in this guide is for general informational purposes only and is based on personal experience. Off-grid solar system costs and requirements can vary significantly based on location, energy consumption, component choices, and local regulations. Always consult with qualified professionals and local authorities before designing or installing an off-grid solar system. Electrical work can be dangerous, and proper safety precautions are essential.