Cheapest Way to Set Up Off-Grid Solar
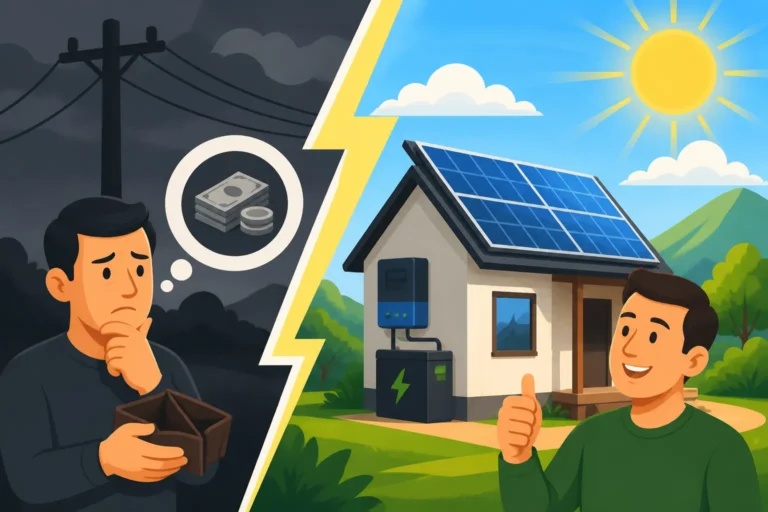
It's no secret that the dream of cutting ties with the utility company and living off the grid often comes with a hefty price tag that can feel completely out of reach. Many folks, myself included, have looked at the numbers and felt that initial shock, wondering if true energy independence is only for those with deep pockets. The reality is, setting up an off-grid solar system can be expensive, but it doesn't have to be. With some smart planning, a willingness to get your hands dirty, and a clear understanding of your actual needs, there are absolutely ways to significantly reduce the financial burden and make off-grid living a more attainable goal. This guide is all about peeling back the layers and showing you the cheapest, most practical paths to power your life with the sun.
Understanding the True Cost of Off-Grid Solar
Before we can talk about saving money, we need to understand where the money goes. It's easy to get overwhelmed by the sheer number of components and specifications when you're looking into off-grid solar. You might see figures thrown around online or from installers that make your jaw drop, but those numbers often represent comprehensive, high-capacity systems designed for full-sized homes with all the modern conveniences. Your situation might be vastly different, whether you're outfitting a small cabin, an RV, or just a shed for a workshop.
Breaking Down the Main Components
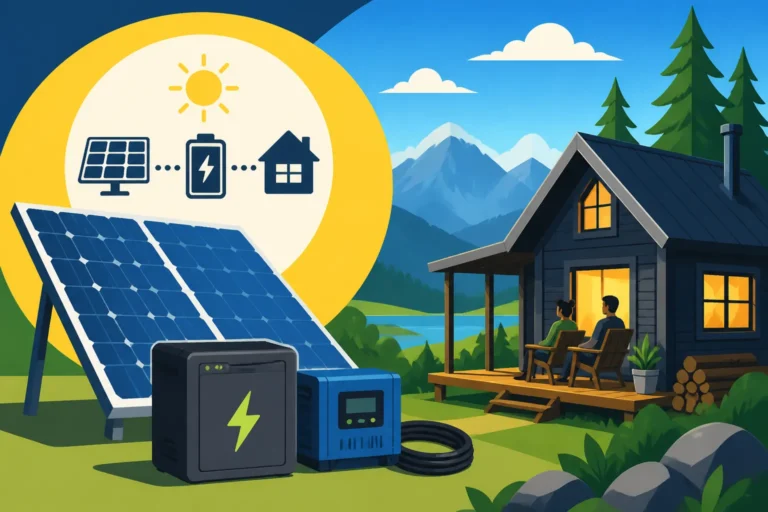
Every off-grid solar system, no matter how big or small, has a few core components, and each of these contributes to the overall cost. Knowing what each piece does helps you understand where you can potentially cut corners or opt for more budget-friendly alternatives without sacrificing functionality entirely.
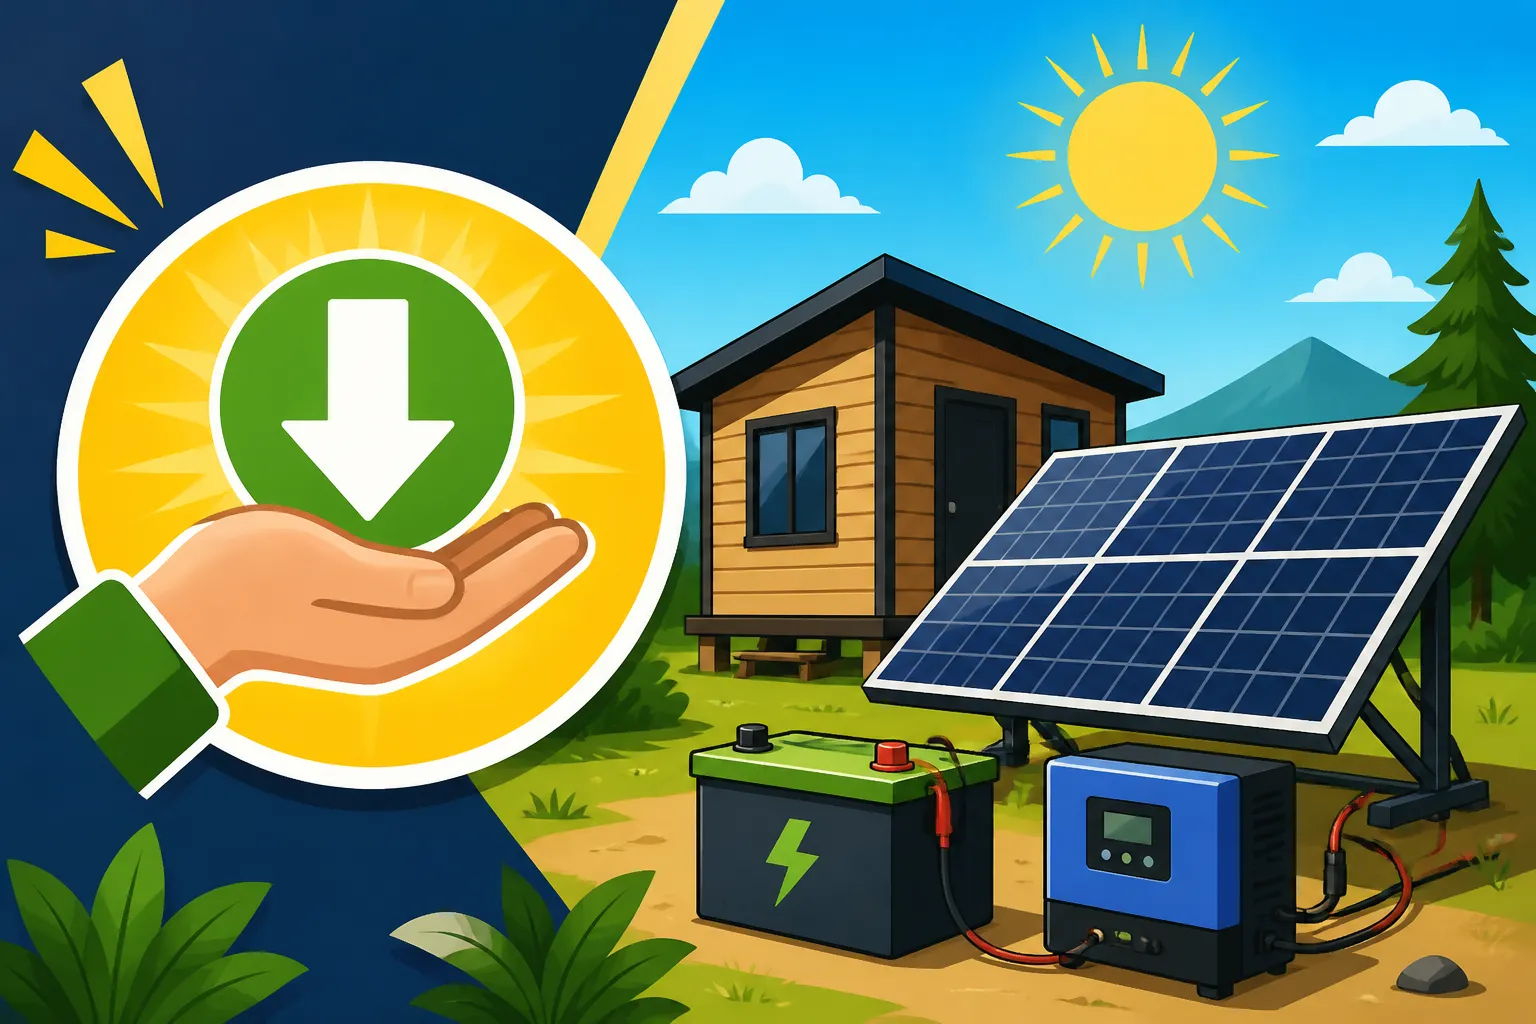
First up, you have the solar panels themselves. These are the workhorses, soaking up sunlight and converting it into electricity. Their cost is usually measured per watt, and prices have actually come down quite a bit over the years. But it's not just the panels; you also need racking or mounting hardware to secure them properly, which adds to the expense. Then there's the charge controller, a crucial piece of equipment that regulates the power flowing from your panels to your batteries, preventing overcharging and extending battery life. After that, you've got your battery bank. This is often the single most expensive part of an off-grid solar setup because batteries are complex chemical storage devices that need to hold enough juice to get you through cloudy days and nights. Finally, for most modern appliances, you'll need an inverter, which takes the DC power stored in your batteries and converts it into the AC power that your standard household outlets use. Every one of these elements is a point where decisions can dramatically impact your overall spending.
The DIY vs. Professional Installation Dilemma
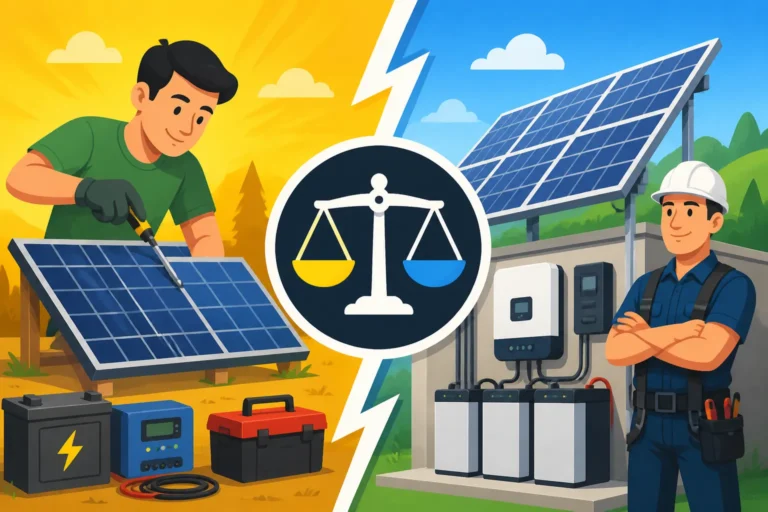
One of the biggest financial hurdles for many aspiring off-gridders is the cost of installation. Hiring a professional solar installer can easily add anywhere from 10% to 30% (or even more!) to the total price of your system. They handle everything from system design and permitting to the actual physical labor and electrical connections, and they bring expertise and peace of mind. For a complex, whole-home system, especially if you're not comfortable with electrical work, this cost can be well worth it.
However, if your goal is the absolute cheapest way to set up off-grid solar, then a DIY approach is almost certainly the way to go. Doing it yourself means you're investing your time and effort instead of paying someone else for theirs. This route requires a commitment to learning, careful planning, and a healthy respect for electrical safety, but the savings can be truly substantial. Many smaller systems, like those for an RV or a modest cabin, are quite manageable for a handy individual to install. You can find detailed guides on how to install an off-grid solar system and even specific instructions on how to wire an off-grid solar system, which can empower you to tackle the project yourself.
Hidden Costs to Watch Out For
When you're meticulously planning your budget, it's easy to focus on the big-ticket items like panels and batteries and forget about the smaller, but equally important, bits and pieces that can add up surprisingly fast. These "hidden costs" can sometimes derail a carefully planned budget if you're not aware of them upfront.
Think about things like wiring – you'll need various gauges and lengths of wire for your solar panels, batteries, and inverter, and quality electrical wire isn't cheap. Then there are fuses, breakers, disconnect switches, and conduit to protect your wiring, all essential for safety and code compliance. You might also need specific tools that you don't already own, like a crimper for MC4 connectors or a multimeter for testing voltages. Don't forget about potential permitting fees if your local jurisdiction requires them, even for off-grid setups, although this is often less of an issue for smaller, portable systems or those in very remote locations. Finally, consider future maintenance – while solar panels are generally low-maintenance, batteries will eventually need replacing, and that's a cost to factor into the long-term equation. Looking at something like the Off-Grid Solar Maintenance Costs can help you plan for these inevitable expenses.
Strategic Approaches to Slash Your Off-Grid Solar Budget
Okay, so we know where the money goes. Now let's talk about how to keep more of it in your pocket. The cheapest way to set up off-grid solar isn't about finding a magic bullet; it's about making smart choices at every stage of the process. It's a combination of being realistic about your needs, leveraging your own skills, and making informed decisions about the components you purchase.
Prioritizing Your Energy Needs
This is, hands down, the most critical step in building an affordable off-grid solar system. Many people go wrong by trying to power everything they're used to in a grid-tied home. Running an electric dryer, a central air conditioner, or an electric water heater off-grid requires a massive, incredibly expensive system. The first rule of cheap off-grid solar is conservation.
Start by conducting a thorough energy audit. Grab a pen and paper, or open a spreadsheet, and list every single appliance and device you intend to run. For each item, note its wattage (usually found on a label) and how many hours per day you plan to use it. This will give you your daily watt-hour consumption. Be honest and ruthless with this list! Can you live without a microwave, or use a propane stove instead of an electric one? Can you switch to LED lights exclusively? Do you really need a full-sized refrigerator, or would a smaller, more efficient chest fridge suffice? Understanding how to calculate daily energy usage is foundational. Once you have this number, you can then accurately determine how many solar panels for off-grid living and how many batteries for an off-grid system you'll truly need, preventing you from oversizing and overspending.
Embracing the DIY Spirit
As we touched on earlier, self-installation is one of the biggest opportunities for cost savings. While the thought of wiring up a solar system might seem daunting, many aspects are quite straightforward, especially for smaller setups. There's a wealth of information available online through tutorials, forums, and even YouTube channels dedicated to DIY off-grid builds.
You don't have to be a certified electrician to install a basic solar system for a camper, a shed, or even a tiny home. Many reputable solar component manufacturers, like Renogy or BougeRV, offer comprehensive kits designed for DIYers that include everything you need, often with clear instructions. Learning to wire a battery bank, connect a charge controller, or mount solar panels are all skills that can be acquired. Of course, safety should always be your top priority. If any part of the electrical work feels beyond your comfort level, consulting or hiring a qualified electrician for specific tasks, like connecting to a main breaker panel, is a smart move. But doing the bulk of the work yourself drastically reduces the overall installation cost. Exploring resources like How much cheaper is DIY off-grid solar will reinforce just how significant these savings can be.
Smart Component Selection for Savings
This is where you can really get strategic with your purchases. Not all solar components are created equal, and choosing the right combination for your budget and needs is key. It's a balancing act between initial cost, efficiency, and longevity.
- Solar Panels: Look for standard rigid monocrystalline panels. While flexible panels have their place (like on an RV roof), they often cost more per watt and generally have shorter lifespans and lower efficiency. Bulk buying from online retailers can sometimes yield better prices. You can often find decent deals on sites like Amazon for individual panels or small kits. The Cost of Off-Grid Solar Panels has steadily decreased, making them a more accessible part of the system.
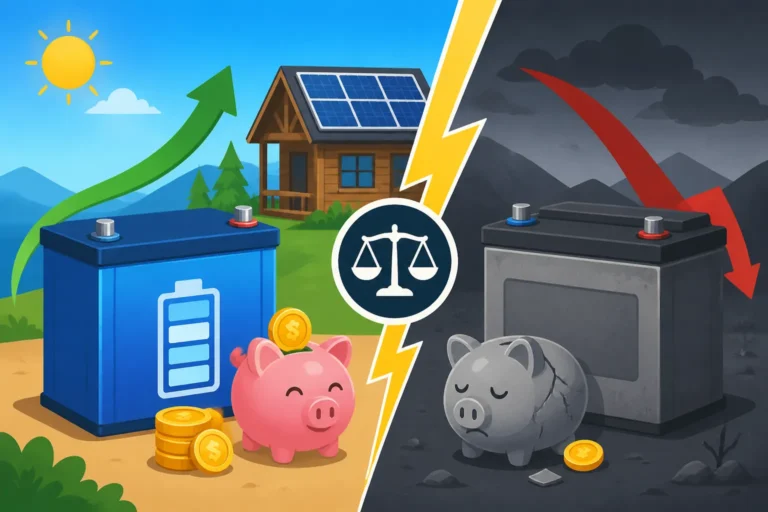
- Batteries: This is usually the biggest expense, so careful consideration here is vital. While LiFePO4 (lithium iron phosphate) batteries are fantastic for their longevity and performance, they come with a higher upfront cost. If you're on a super tight budget and your power needs are modest, traditional lead-acid batteries (like AGM or flooded lead-acid) can be a much cheaper initial investment. They require more maintenance and don't last as long, but for a basic, low-cost system, they can get you started. Understanding the LiFePO4 vs Lead-Acid Battery Cost is crucial here.
- Charge Controllers: MPPT (Maximum Power Point Tracking) charge controllers are more efficient, especially in varying light conditions, but PWM (Pulse Width Modulation) controllers are significantly cheaper. For smaller systems where every penny counts, a PWM controller might be perfectly adequate, especially if your panels are directly matched to your battery voltage (e.g., 12V panel to 12V battery bank).
- Inverters: Pure sine wave inverters are best for sensitive electronics, but modified sine wave inverters are much less expensive. If you're only powering basic resistive loads like lights, a toaster, or simple tools, a modified sine wave inverter might suffice. However, for anything with a motor (refrigerator, well pump) or delicate electronics (laptops, TVs), a pure sine wave inverter is highly recommended to prevent damage.
When looking for components, keep an eye out for sales, closeouts, or even quality used equipment if you know what to look for and how to test it.
Budget-Friendly Equipment Choices
When you're trying to set up off-grid solar on a shoestring budget, every component choice matters. It's about finding that sweet spot where affordability meets functionality and reliability. This doesn't mean buying the absolute cheapest, lowest-quality gear you can find, which can actually end up costing you more in replacements and headaches down the road. Instead, it means being a savvy shopper and understanding where you can genuinely save without compromising your system's core purpose.
Affordable Solar Panels and Mounting
The solar panels themselves are often the first thing people think about. To keep costs down, focus on standard, rigid monocrystalline or polycrystalline panels. You'll generally find the best value in panels ranging from 100W to 400W. When buying, look at the price per watt ($/W) to compare deals effectively. Websites like Amazon are great places to find competitive pricing on individual panels or small bundles. Brands like Renogy and Rich Solar often offer good value for panels that are durable and widely available. For example, a 100W solar panel might cost anywhere from $80-$150, but if you buy a 4-pack, the per-panel cost usually drops.
Mounting can also be a significant expense. For a truly cheap setup, consider simple, fixed-tilt ground mounts made from readily available materials like treated lumber or angle iron. These are often much cheaper than elaborate aluminum racking systems, though they may require more manual adjustment throughout the year to optimize sun exposure. If you're installing on a roof, simple Z-brackets or flat mounts can be very affordable for smaller panels, especially for an RV or shed. Just ensure whatever mounting solution you choose is robust enough to withstand local weather conditions and securely fastened. Remember, a fallen panel is a wasted panel!
Choosing the Right Battery Chemistry on a Budget
This is perhaps the most impactful decision for your budget. The Cost of an Off-Grid Solar Battery Bank can easily be the largest single expense. While everyone loves the idea of long-lasting, maintenance-free LiFePO4 batteries, their upfront cost is often a significant barrier for budget builds. For instance, a single 100Ah 12V LiFePO4 battery might run you $300-$500, whereas a similarly sized (though not equivalently performing) deep-cycle lead-acid battery could be $150-$250.
If your budget is truly constrained, deep-cycle lead-acid batteries – specifically absorbed glass mat (AGM) or even flooded lead-acid (FLA) – offer a much lower entry point. AGM batteries are sealed and require less maintenance than FLA, making them a popular choice for budget-conscious RVers or cabin owners. FLA batteries are the cheapest per Ah, but they require regular watering and good ventilation, making them more suitable for stationary installations where you can perform maintenance. The trade-offs are important: lead-acid batteries have shorter lifespans (typically 3-7 years vs. 10-15+ for LiFePO4), can only be discharged to about 50% without damaging them, and are heavier. But if your goal is just to get power now and you're willing to manage these drawbacks, they are the cheapest way to store energy. Brands like VMAXTANKS and Renogy offer reliable AGM batteries that can fit into a tighter budget.
| Battery Type | Pros | Cons | Typical Cost (100Ah 12V) |
|---|---|---|---|
| LiFePO4 | Long lifespan, lightweight, high depth of discharge, maintenance-free, efficient | High upfront cost, can struggle in cold without heating, more complex charging | $300 – $600+ |
| AGM Lead-Acid | Lower upfront cost than LiFePO4, sealed, low maintenance | Shorter lifespan, heavy, limited depth of discharge (50%), less efficient | $150 – $250 |
| Flooded Lead-Acid | Lowest upfront cost, easily recycled, common | Shorter lifespan, heavy, requires maintenance (watering), ventilation needed, limited depth of discharge (50%) | $100 – $200 |
Cost-Effective Inverters and Charge Controllers
Choosing the right inverter and charge controller also presents opportunities for savings. For charge controllers, as mentioned, PWM controllers are significantly cheaper than MPPT controllers. A decent PWM controller for a small 12V system might cost $30-$80, while an equivalent MPPT could be $100-$300. If your solar array is small (e.g., 100-300W) and your budget is tight, a PWM controller from brands like Renogy or EPEver can absolutely get the job done. Just make sure it's sized correctly for your panel wattage and battery voltage.
When it comes to inverters, the choice between pure sine wave and modified sine wave is a big one for cost. Modified sine wave inverters are much more affordable. You can find a 1000W modified sine wave inverter for $50-$150 on platforms like Amazon or from brands like Giandel. These are perfectly fine for things like incandescent lights, phone chargers, or basic tools. However, for anything with a motor (refrigerators, blenders, fans) or sensitive electronics (laptops, medical devices, modern TVs), a pure sine wave inverter is essential. They cost more, with a 1000W pure sine wave inverter typically running $150-$300+. Brands like AIMS Power or Go Power offer good mid-range pure sine wave options. If you prioritize budget and only have basic loads, a modified sine wave inverter can be a huge cost-saver. If you absolutely need pure sine wave for specific appliances, aim for just enough wattage to cover your largest simultaneous loads, as larger inverters cost more.
Phasing Your Off-Grid System for Gradual Savings
One of the smartest and cheapest ways to set up off-grid solar, especially if you're working with a limited budget, is to build your system in phases. This approach allows you to spread out the cost over time, invest in components as funds become available, and truly understand your energy needs as you live with your initial setup. It's like building your freedom one step at a time, rather than trying to pay for it all at once.
Starting Small with Essential Loads
Instead of trying to power your entire life from day one, identify your absolute critical energy needs. What are the non-negotiables? For many, this might be lighting, charging phones and laptops, running a small fan, or a low-power cooler. You might start with just a single 100W or 200W solar panel, a small battery, and a basic charge controller and inverter.
Consider a simple, portable power station like a Jackery Explorer 300 or a Bluetti EB3A. These are fantastic entry points into off-grid solar. They combine a battery, charge controller, and inverter into one compact unit, and you can often pair them with a single portable solar panel. This kind of setup allows you to power your most essential items right away for a relatively low upfront cost (often under $500-$800, including a panel). It’s perfect for a camping trip, a backyard shed, or even as a stepping stone for a larger cabin system. You can get a feel for how much power your critical items actually consume and how quickly your battery drains, which is invaluable real-world experience before you commit to a much larger, more expensive system. Think of it as a trial run to help you define your energy priorities and adjust your expectations. This is how many people learn how to budget for an off-grid solar system effectively.
Expanding Your System Over Time
Once you've mastered your basic system and saved up a bit more, you can begin to expand. This could mean adding more solar panels to increase your charging capacity, which directly helps in powering more appliances or recharging your batteries faster. Then, you might decide to add more battery storage, allowing you to go longer without sun or to power larger loads for extended periods.
For example, after starting with a 200W panel and a single 100Ah battery, you might realize you want to run a small RV refrigerator. This would likely necessitate adding another 200W panel and perhaps another 100Ah battery. You can upgrade your charge controller from a PWM to an MPPT if you've added enough panels to justify the efficiency boost. Eventually, you might replace your original basic inverter with a larger, pure sine wave model as your needs grow to include more sensitive electronics or powerful appliances. This phased approach allows you to iterate, learn, and adjust without the pressure of a massive initial investment. It truly is one of the most effective strategies for How to phase an off-grid solar build to spread cost and keep the journey to energy independence affordable and manageable.
Disclaimer
The information provided in this guide is for general informational purposes only and does not constitute professional advice. Off-grid solar system design and installation involve electrical components and can be dangerous if not handled properly. Always consult with qualified professionals and adhere to all local codes and safety regulations when planning or installing any electrical system. The author and publisher are not responsible for any actions taken based on the information in this article.