Best Off-Grid Solar Kit for a Camper
Trying to figure out the perfect off-grid solar setup for your camper can feel like navigating a maze blindfolded. You're dreaming of quiet nights under the stars, powered by the sun, but the sheer volume of options and technical jargon can quickly turn that dream into a headache. The frustration of not knowing where to start, or worrying about running out of power miles from civilization, is real. This comprehensive guide is here to cut through the noise, helping you understand what truly makes an off-grid solar kit ideal for your camper and how to choose the right one to keep your adventures bright and stress-free.
What Makes a Solar Kit the Best for Your Camper Adventure?
When you’re out on the open road, or nestled deep in a national forest, your camper isn’t just a vehicle; it’s your mobile home, your kitchen, your office, and your sanctuary. Relying on shore power or a noisy generator can really dampen the spirit of off-grid living. That’s why choosing the "best" solar kit isn't about finding the most expensive or largest system, but rather the one that perfectly aligns with your specific needs, your camper's limitations, and your budget. It’s about balance, reliability, and ease of use.
Understanding Camper-Specific Power Needs
Before you even glance at a solar panel, you need to get intimate with your power consumption. This is often the most overlooked, yet critical, step. Many people overestimate or underestimate their needs, leading to either an underpowered system that leaves them in the dark or an oversized one that’s a waste of money and space.
Think about what you absolutely need to run. Are you a minimalist, only needing to charge your phone, run some LED lights, and maybe a small fan? Or are you traveling with a family, needing to power a refrigerator, a laptop for remote work, a CPAP machine, and even a small microwave or air conditioner? Each appliance has a wattage and a duration of use. For instance, a small 12V RV refrigerator might pull around 50-70 watts continuously, while a hairdryer could spike to 1500 watts for just a few minutes. Over time, these add up to your daily watt-hour consumption. To truly nail this down, I highly recommend checking out our guide on how to calculate daily energy usage. Knowing these numbers is the bedrock of sizing your system correctly and ensures you won't be caught short on power when you need it most.
It’s not just about what you use, but when you use it. Do you need power consistently throughout the day and night, or mostly in the evenings? Understanding your peak usage times helps in selecting the right inverter size and battery capacity. Trying to run a coffee maker and a microwave at the same time on a small inverter is a recipe for tripped breakers and frustration.
Prioritizing Portability, Space, and Expandability
Campers, by their very nature, are space-constrained. This means every component of your solar kit needs to earn its place. Roof space is often at a premium, especially if you have an AC unit, vents, or other gear up there. This makes flexible solar panels or even portable solar panels an attractive option for many. Flexible panels can conform to slightly curved roofs, and portable ones can be set out in the sunniest spot while your camper remains parked in the shade – a huge advantage on hot days!
On the other hand, if you have ample, unobstructed roof space, rigid panels offer better efficiency and often a lower cost per watt. Consider the aesthetics too; some folks prefer a stealthy setup, while others don't mind the visible panels. Your storage space inside the camper is also a factor, especially for portable solar generators or additional batteries. Do you have a "garage" area, or is every nook and cranny already full?
It's also smart to think about expandability. Many campers start with a basic setup and realize later they want more power. Can your initial kit easily accommodate additional solar panels, a larger battery bank, or a more powerful inverter down the line? Some systems are designed with this in mind, making future upgrades a breeze, while others are more closed-off. Planning for how to design an expandable system from the get-go can save you a lot of headaches and money later on.
Durability and Weather Resistance for Life on the Road
Your camper solar system is going to face the elements head-on. Rain, sun, wind, dust, vibrations from bumpy roads, and extreme temperatures are all part of the package. This isn't a static rooftop installation; it's a mobile power plant.
Therefore, the durability and weather resistance of every component are paramount. Panels should have robust frames, strong glass (for rigid panels), and be rated for outdoor use (IP65 or higher). Wiring and connectors (like MC4 connectors) need to be UV-resistant and waterproof. Batteries, especially LiFePO4, perform well in a wide range of temperatures, but extreme cold can impact their charging capabilities, so consider protection or heating elements if you plan to camp in freezing conditions. Inverters and charge controllers should ideally be housed in a protected, well-ventilated area within your camper to shield them from moisture and extreme temperatures. Investing in quality components from reputable brands that specialize in mobile or marine solar applications will pay dividends in reliability and longevity.
Essential Components of a Camper Off-Grid Solar Kit
So, what exactly goes into an off-grid solar kit for a camper? While the specifics can vary based on your needs, there are four core components that every system, big or small, relies on. Understanding these will demystify the choices you need to make.
Solar Panels: Your Energy Harvesters
Solar panels are the workhorses, converting sunlight into usable electricity. For campers, you typically encounter a few types:
- Rigid Panels: These are the traditional glass-covered panels, often with aluminum frames. They are highly efficient, durable, and offer the best watt-per-dollar value. They are ideal for campers with ample, flat roof space that isn't already cluttered. If you're wondering how to install off-grid solar panels on your camper's roof, there are many robust mounting systems available.
- Flexible Panels: Lighter and thinner, these can be adhered directly to a curved RV roof or other surfaces without bulky mounting hardware. They're great for stealth setups or situations where weight is a critical factor. However, they can sometimes be less efficient and may degrade faster if not properly installed to allow for cooling underneath.
- Portable Panels: These are fantastic for those who want flexibility. They can be unfolded and positioned directly in the sun, even if your camper is parked in the shade. They come in various wattages and often include a built-in charge controller, making them super convenient for smaller setups or as an addition to a roof-mounted system. Brands like Jackery offer excellent portable solar panels that pair seamlessly with their power stations. Choosing the best off-grid solar panels will depend heavily on your specific camper setup and how you plan to use them.
When selecting panels, look at their wattage (how much power they can produce) and their efficiency rating. For a comprehensive overview, our guide on the Cost of Off-Grid Solar Panels provides a great breakdown of what to expect. Generally, for a full-time camper, you're looking at anywhere from 400W to 1000W or more, depending on your daily energy needs.
Batteries: The Heart of Your System
Batteries are arguably the most crucial component because they store the energy generated by your panels for use when the sun isn't shining. Without a robust battery bank, your solar system is essentially useless after dark.
- Lithium Iron Phosphate (LiFePO4) Batteries: These are the gold standard for camper solar systems today. They are lighter, more compact, offer a much deeper discharge cycle (meaning you can use more of their stored energy without damaging them), and have a significantly longer lifespan (thousands of cycles vs. hundreds for lead-acid). While their upfront cost is higher, their longevity and performance often make them more cost-effective in the long run. If you're on the fence, our deep dive into LiFePO4 vs Lead-Acid Battery Cost can help clarify the investment. Brands like Battle Born and EG4 offer highly respected LiFePO4 options.
- Lead-Acid Batteries (AGM, Gel, Flooded): These are traditionally more affordable upfront but are heavier, bulkier, and have shorter lifespans. They also shouldn't be discharged below 50% capacity, meaning a 100Ah lead-acid battery only provides 50Ah of usable power. While still viable for smaller, budget-conscious setups, most modern camper solar enthusiasts opt for lithium.
Determining how many batteries for an off-grid system you need involves knowing your daily watt-hour consumption and how many "days of autonomy" you want (how long your system can run without sun). This gives you your required amp-hour capacity.
Charge Controllers and Inverters: The Brains and Brawn
These two components act as the intelligence and power conversion units of your solar system.
- Charge Controller: This device sits between your solar panels and your batteries. Its primary job is to regulate the voltage and current coming from the panels to prevent overcharging and damaging your batteries. There are two main types:
- PWM (Pulse Width Modulation): Simpler and more affordable, but less efficient, especially in colder temperatures or when the panel voltage is significantly higher than the battery voltage.
- MPPT (Maximum Power Point Tracking): More advanced and efficient. MPPT controllers can convert excess voltage from the panels into additional current, maximizing the power harvested from your solar array. For larger systems or those aiming for maximum efficiency, an MPPT charge controller is almost always the better choice. We have a detailed guide on Best MPPT Charge Controllers if you want to dive deeper.
- Inverter: Your solar panels and batteries produce DC (Direct Current) power, but most of your common appliances (microwaves, laptops, blenders, etc.) run on AC (Alternating Current). The inverter converts DC power from your battery bank into AC power that your appliances can use.
- Pure Sine Wave Inverters: These produce a clean, stable AC waveform that is identical to grid power. This is crucial for sensitive electronics like laptops, medical devices, and many appliances with motors (refrigerators, microwaves) to ensure they run efficiently and don't get damaged.
- Modified Sine Wave Inverters: These are less expensive but produce a "choppier" waveform. They can be okay for simple resistive loads (like incandescent lights or heating elements), but can cause issues, reduce efficiency, and even damage sensitive electronics. For camper life, a pure sine wave inverter is highly recommended. Our article on Best Off-Grid Solar Inverters can help you select the right one. The size of your inverter (measured in watts) needs to match your maximum expected simultaneous AC load, including any surge power required for starting motors.
Understanding these core components is key to grasping how to size an off-grid solar system for your specific camper needs.
Top Off-Grid Solar Kit Types for Campers
Now that we've covered the individual components, let's talk about how they come together in practical kits. Not all kits are created equal, and what works for one RVer might not be ideal for another.
All-in-One Portable Solar Generators
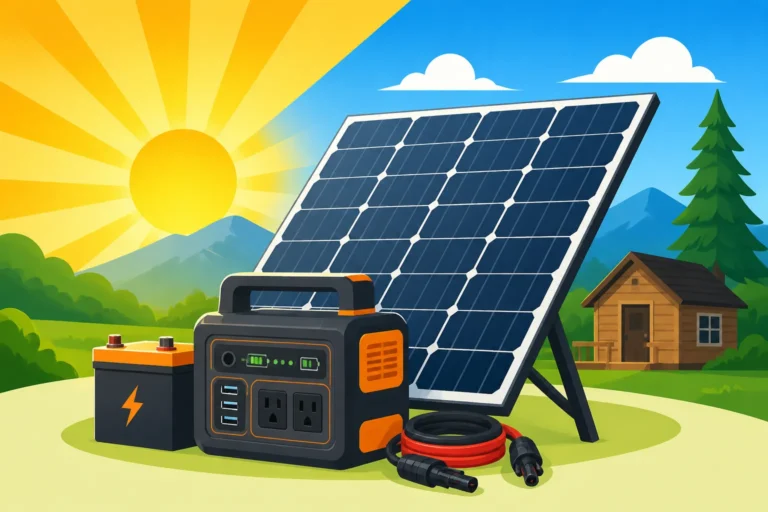
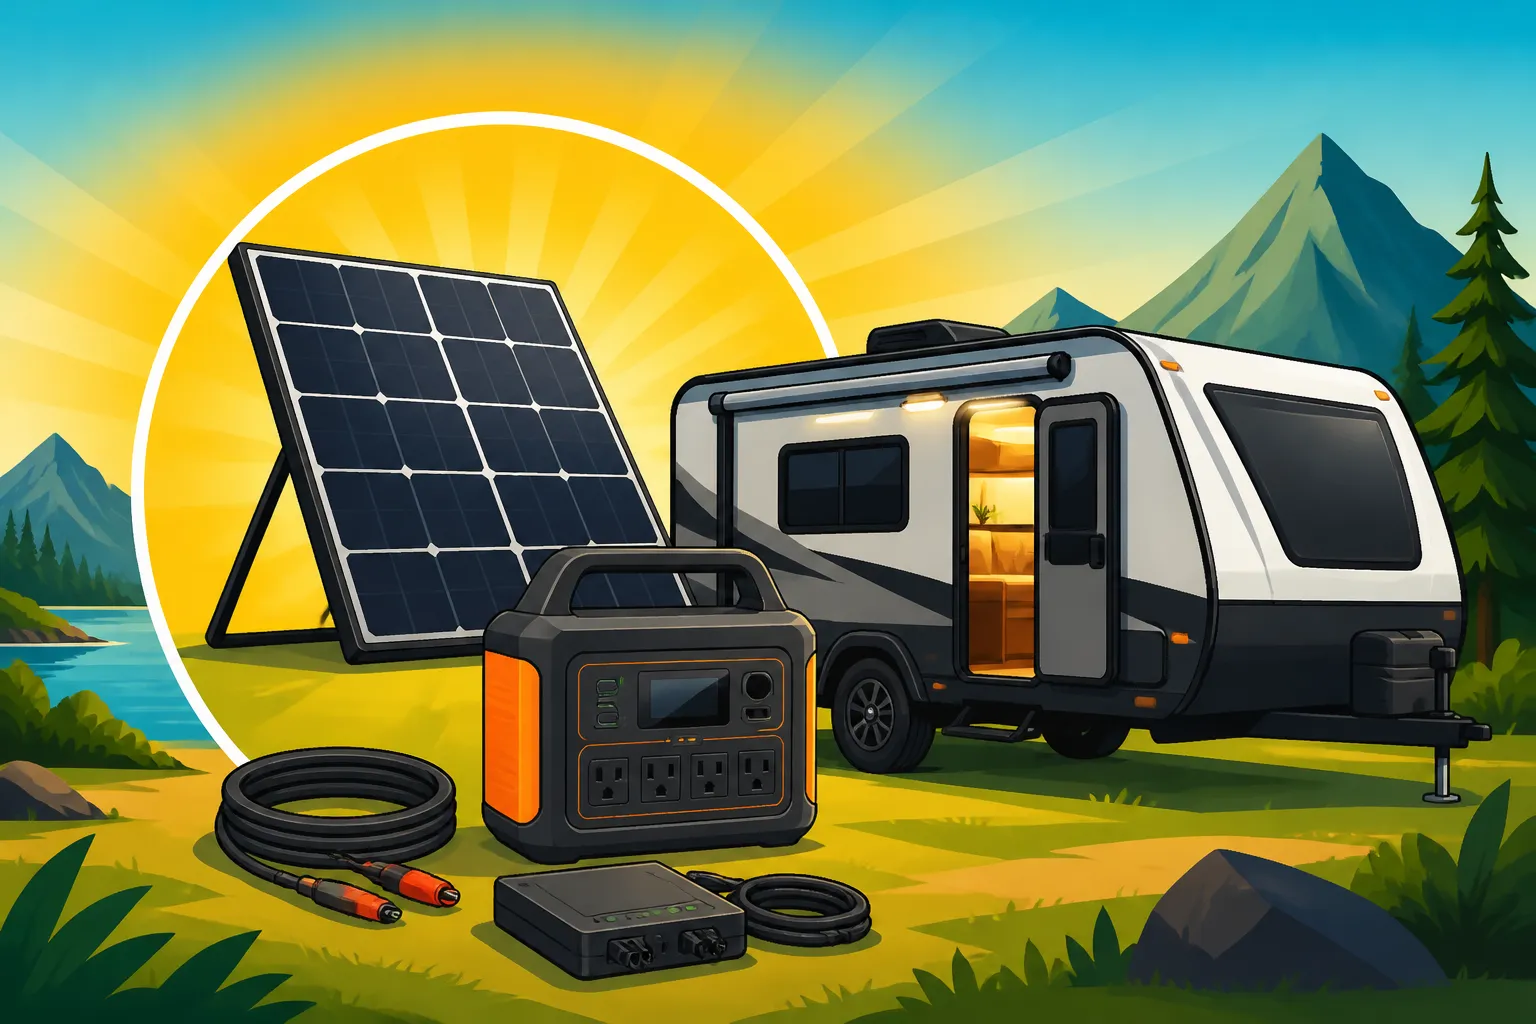
For many campers, especially those new to solar or who need a highly flexible solution, portable solar generators are an absolute game-changer. These compact units integrate the battery, inverter, and charge controller into a single, easy-to-use device. You simply plug in your solar panels (often sold separately or bundled), and you have power!
Pros:
- Simplicity: No complex wiring or installation expertise needed. It’s plug-and-play.
- Portability: You can move them wherever you need power, or easily take them out of the camper for other uses (tailgating, backyard power, emergency backup).
- Scalability: Many units allow you to add extra battery packs or connect multiple solar panels.
- Noise-Free: A silent alternative to traditional gas generators.
Cons:
- Capacity Limits: While capacities are growing, they generally don't match the continuous output or storage of a large custom-built system.
- Cost per Wh: Often a higher cost per watt-hour compared to building a custom system with individual components, though the convenience factor is huge.
- Charging Speed: While solar charging is an option, it can sometimes be slower than dedicated, larger charge controllers.
Brands like Jackery excel in this space, offering a range of portable power stations (like the Jackery Explorer series) that can be paired with their SolarSaga panels. These are perfect for weekend warriors, van lifers, or as a robust backup for any camper. They’re fantastic for running smaller refrigerators, charging drones, laptops, phones, and powering lights. If you're looking for flexibility and ease of use, these systems are definitely worth considering. You can learn more in our detailed guide on Best Solar Generators for Off-Grid Use.
DIY-Friendly Component Kits
If you're comfortable with a bit of wiring and want more customization, many manufacturers offer component kits that include panels, batteries, charge controllers, and inverters designed to work together. These are often labeled as "RV Solar Kits" and come in various sizes.
Pros:
- Customization: You can mix and match components if you want to upgrade one part (e.g., a larger battery bank) without replacing the whole system.
- Cost-Effectiveness: Often more affordable per watt-hour or per component compared to all-in-one units, especially for larger systems.
- Deep Integration: Allows for more permanent and robust installations within your camper's electrical system, often connecting directly to your existing fuse panel.
Cons:
- Installation Complexity: Requires more technical know-how for wiring, mounting, and system integration. You'll need to understand voltage, amperage, and safety protocols.
- Space Requirement: Individual components take up separate spaces within your camper.
- Troubleshooting: If something goes wrong, diagnosing the issue can be more challenging than with an all-in-one unit.
Brands like Renogy are popular for these types of kits, offering everything from 100W starter kits to powerful 1200W+ systems complete with LiFePO4 batteries, MPPT charge controllers, and pure sine wave inverters. These kits provide a good balance for those who want to be hands-on without having to source every single nut and bolt. It’s a great stepping stone for anyone interested in a more permanent and tailored solution for their camper.
Integrated Roof-Mounted Systems
For serious full-time RVers or those with larger campers and a significant power demand, a fully integrated, roof-mounted system often offers the most robust and seamless experience. These typically involve rigid solar panels permanently mounted to the roof, a dedicated battery bank (often LiFePO4) tucked away in a storage bay, and an inverter/charge controller system wired into the camper's main electrical panel.
Pros:
- Maximum Power Generation: Rigid panels generally offer higher efficiency and can be installed in larger arrays.
- Seamless Operation: Once installed, it's essentially invisible and automatic, powering your camper like it's connected to shore power.
- Long-Term Durability: Designed for permanent installation, these systems are built to withstand years of travel.
- Higher Capacity: Can be sized to power almost anything in your camper, including air conditioning units and well pumps, if you factor in the cost to run an air conditioner on off-grid solar.
Cons:
- Complex Installation: Requires significant expertise in electrical wiring, roof penetration, and system design. Often, professional installation is recommended, adding to the overall cost.
- Permanent Alterations: Involves drilling into your camper's roof and interior, which can affect resale value or warranty.
- Higher Upfront Cost: The components themselves, plus potential professional installation, make these the most expensive option.
When considering an integrated system, you'll need to think about how to connect batteries, inverter, and panels safely and efficiently. Our comprehensive Off-Grid Solar Installation Guide walks you through the entire process, highlighting best practices and safety measures. For those seeking true energy independence in their camper, this is the ultimate solution.
| Kit Type | Pros | Cons | Ideal User | Example Brands |
|---|---|---|---|---|
| All-in-One Portable Generator | Simple, plug-and-play, portable, minimal installation. | Limited capacity for heavy loads, higher cost per Wh, not fully integrated. | Weekend campers, occasional use, smaller power needs, renters. | Jackery, EcoFlow, Bluetti |
| DIY-Friendly Component Kit | Customizable, good balance of cost/performance, expandable. | Requires more installation knowledge, takes up separate spaces. | Enthusiastic DIYers, mid-range power needs, longer trips. | Renogy, Rich Solar |
| Integrated Roof-Mounted | Max power, seamless operation, highly durable, high capacity. | Complex installation, permanent alterations, highest upfront cost. | Full-time RVers, large campers, high power demand, permanent setups. | Victron Energy, Sol-Ark, Outback Power |
Important Considerations for Camper Solar Installation
Once you’ve chosen your ideal off-grid solar kit for your camper, the next big hurdle is installation and ensuring everything works safely and efficiently. This isn't just about bolting things down; it's about making smart choices for optimal performance and peace of mind.
Mounting and Placement Strategies for Panels
The physical installation of your solar panels is crucial for maximizing energy harvest and ensuring their longevity.
- Roof Mounts: For rigid panels, sturdy aluminum mounting feet or rails are typically bolted to the camper's roof. You’ll want to ensure these penetrations are properly sealed with a high-quality, UV-resistant sealant (like Dicor self-leveling sealant) to prevent leaks. Consider the tilt angle of your panels. While flat is easiest, a slight tilt can significantly improve output, especially during lower sun angles or in winter. Adjustable tilt mounts allow you to optimize for different seasons, though they do add height and potential wind resistance. Our guide on how to install roof-mounted solar panels offers detailed steps.
- Ground Mounts/Portable Placement: If using portable panels, the key is finding the sunniest spot, free from shade. This might mean moving them throughout the day as the sun shifts. For ground mounts, consider security – a good cable lock can deter theft. Also, make sure cables are protected from being tripped over or run over.
- Shading: This is the arch-nemesis of solar panels. Even partial shading on one part of a panel can drastically reduce the output of the entire array, especially if panels are wired in series. Vents, AC units, satellite dishes, or even tree branches can cause significant drops in power. Plan your panel layout carefully to minimize shading.
Wiring, Safety, and System Protection
Electrical wiring is not something to cut corners on. Proper sizing and installation are paramount for both efficiency and safety.
- Wire Sizing: Use appropriately sized wires for all connections. Undersized wires lead to voltage drop (loss of power) and can overheat, posing a fire risk. The longer the wire run, the thicker the gauge often needs to be. This applies to panel-to-charge controller, charge controller-to-battery, and battery-to-inverter connections. For more details, refer to our guide on how to size wire and cables.
- Fuses and Breakers: Every major component and circuit should be protected by fuses or circuit breakers. These devices are your system's safety net, preventing overcurrents that could damage components or start fires. Install fuses on both the positive lines coming from your solar panels (before the charge controller) and from your battery bank (before the inverter and DC loads).
- Grounding: Proper grounding of your solar array, components, and the camper chassis itself is essential for electrical safety, protecting against lightning strikes and fault conditions. Consult local electrical codes or RV-specific guidelines. Our article on Off-Grid Solar Safety and Grounding provides an in-depth look at these critical measures.
- Connections: All electrical connections must be secure and weatherproof. Loose connections can generate heat, lead to arcing, and cause system failures. Use high-quality connectors (like MC4 for solar panels) and ensure they are crimped correctly.
Remember, if you're uncomfortable with electrical work, it's always best to consult or hire a qualified RV electrician or solar installer. Many component kit providers also offer excellent support and wiring diagrams to guide you through the process, especially for those delving into a DIY off-grid solar installation step by step.
Budgeting for Your Off-Grid Adventure and Future Upgrades
The cost of going off-grid with solar for your camper can range dramatically, from a few hundred dollars for a basic portable setup to several thousand for a comprehensive, full-time system. Understanding what drives off-grid solar costs is crucial for effective budgeting.
- Initial Investment: This includes the cost of solar panels, batteries, charge controller, inverter, wiring, mounting hardware, fuses, and any specialized tools. LiFePO4 batteries, while more expensive upfront, often offer a better lifetime cost.
- Installation Costs: If you're going the DIY route, you save on labor, but you might need to invest in tools. If you hire a professional, labor costs will be a significant factor.
- Hidden Costs: Don't forget consumables like sealant, wire ties, conduit, and perhaps even some diagnostic tools like a multimeter.
- Future Expansion: It’s wise to factor in the potential for future upgrades. Maybe you start with a modest setup and later decide you want to add more panels or expand your battery bank. Choosing components that are compatible with future additions can save you from having to replace entire parts of your system down the line. For example, selecting a charge controller that can handle more wattage than your initial array provides headroom for additional panels. You can explore topics like the cost of expanding an off-grid system to help plan ahead.
By carefully considering your needs, the types of kits available, and the practicalities of installation, you can confidently choose the best off-grid solar kit for your camper, transforming your travels into truly boundless adventures.
Disclaimer
Please note that the information provided in this guide is for general informational purposes only and does not constitute professional advice. Off-grid solar system design and installation can be complex and involve electrical hazards. Always consult with qualified professionals and adhere to all local codes, regulations, and safety guidelines when designing, purchasing, or installing any solar power system.