How to Install a Server-Rack Battery
Choosing to power your off-grid life with server-rack batteries is a fantastic step towards a more robust and organized energy system. However, the thought of actually installing these powerful units can feel pretty daunting, like staring at a complex jigsaw puzzle with high voltage stakes. This comprehensive guide is designed to demystify the process, walking you through every critical step, from setting up the physical rack to safely connecting your battery bank, ensuring you feel confident and capable in bringing your off-grid power vision to life.
Why Server-Rack Batteries Are a Smart Choice for Off-Grid Living
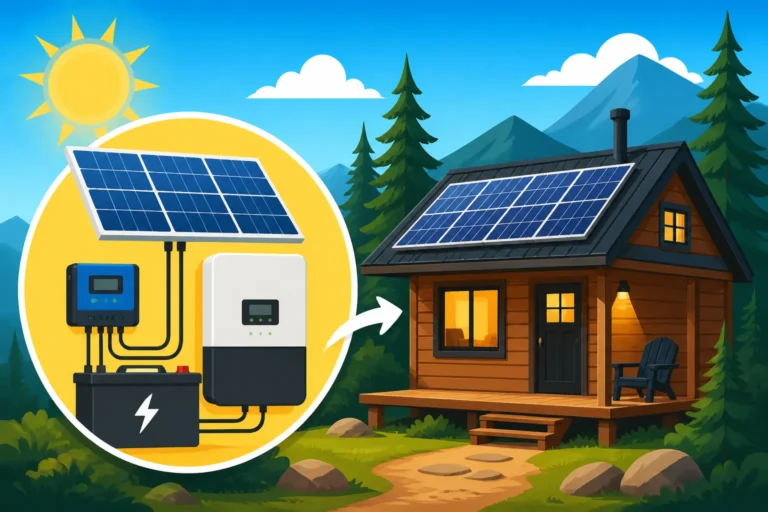
When you're building out an off-grid solar system, the battery bank is often the heart of it all. For many years, folks relied on big, heavy lead-acid batteries, often just stacked on the floor or in simple battery boxes. While they did the job, they weren't exactly elegant, nor were they always the easiest to scale or maintain. That's where server-rack batteries, particularly the LiFePO4 (lithium iron phosphate) variety, really shine and have become a game-changer for serious off-grid setups.
The Benefits of a Structured Battery Bank
One of the biggest frustrations with traditional battery setups is the sheer sprawl and disorganization. Cables everywhere, batteries taking up valuable floor space, and the constant worry about ventilation or accidental contact. Server-rack batteries address this head-on. They're designed to fit snugly into standard 19-inch server racks, creating a clean, modular, and incredibly organized system. This isn't just about aesthetics; it's about efficiency and safety. When your components are neatly arranged, it’s far easier to perform maintenance, troubleshoot issues, and expand your system down the line. Imagine adding another battery simply by sliding it into an available slot – no major rewiring headaches!
Moreover, these batteries often come with advanced Battery Management Systems (BMS) built right in. This means they're constantly monitoring cell voltage, temperature, and current, protecting against overcharge, over-discharge, and short circuits. This level of protection is a huge peace of mind for anyone relying on their off-grid system for daily living. You can learn more about how to design an expandable system for your evolving needs.
Scalability and Modularity at Its Best
The modular nature of server-rack batteries is truly a marvel for off-gridders. Unlike monolithic battery banks that can be tricky to expand, most server-rack batteries are designed for easy parallel connection. Need more capacity? Just add another battery module to your rack. This allows you to start with a smaller, more affordable setup and gradually increase your energy storage as your needs grow or your budget allows. It’s like building with high-tech Lego blocks for your power system! This approach is especially appealing if you're not sure exactly how much battery capacity you need from day one, or if you anticipate your energy demands increasing over time, perhaps as you add new appliances or guests to your cabin. This flexibility also makes it simpler when you eventually need to plan for future expansion.
Plus, many popular brands, including several you might find on Amazon, offer compatible rack systems, making it straightforward to build a cohesive and powerful battery setup. When you’re looking into something like a 48V system, this modularity becomes even more valuable for handling larger loads.
Essential Components and Pre-Installation Planning
Before you even think about lifting a server-rack battery, a solid plan and a thorough understanding of all your components are absolutely critical. Rushing this stage can lead to costly mistakes, dangerous situations, or a system that simply doesn't perform as expected. Think of it as laying the foundation for your off-grid independence – you want it to be strong and stable.
Gathering Your Off-Grid Arsenal
Beyond the server-rack batteries themselves, you'll need several other key components to get your system up and running safely and efficiently. It's not just about the batteries; it's about how they integrate into your overall power ecosystem.
- Server Rack: This is the physical structure that will house your batteries. Ensure it's sturdy, properly sized (most server-rack batteries are 3U or 4U in height, designed for 19-inch wide racks), and capable of supporting the significant weight of your battery bank. A good rack will also allow for proper airflow around the batteries.
- Battery Modules: These are the star of the show! Whether you're opting for a popular brand like EG4, SOK, or Victron, make sure you have the correct number of modules to achieve your desired capacity and voltage. Always check the voltage of individual batteries (e.g., 48V) and ensure they are compatible with your inverter and charge controller.
- Busbars and Cables: For connecting multiple batteries within the rack in parallel, you'll need high-quality copper busbars or thick gauge cables. The size of these cables is crucial; undersized cables can overheat, leading to inefficiency and fire hazards. Refer to your battery and inverter manuals for recommended cable gauges. You can find excellent quality cables and connectors on platforms like Renogy or Amazon.
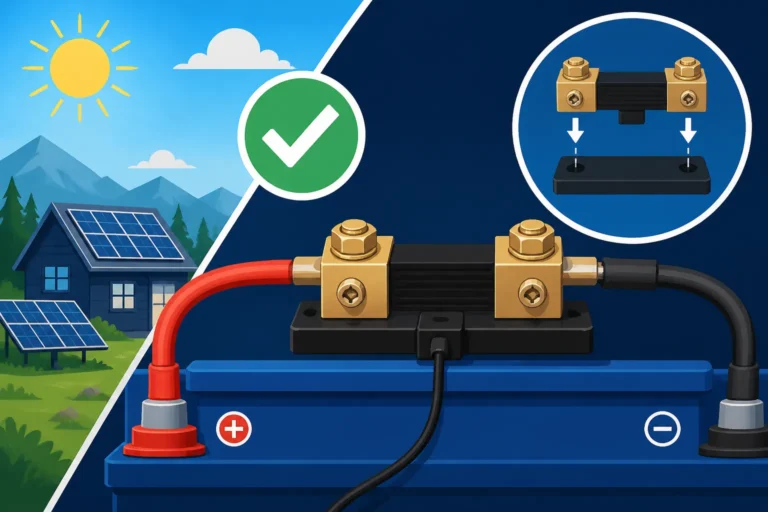
- Battery Disconnect Switch and Fuses/Breakers: Safety first! A high-current DC disconnect switch between your battery bank and the rest of your system allows you to completely isolate the batteries for maintenance or in an emergency. Each battery string should also have appropriately sized fuses or circuit breakers to protect against overcurrent. These are non-negotiable safety items.
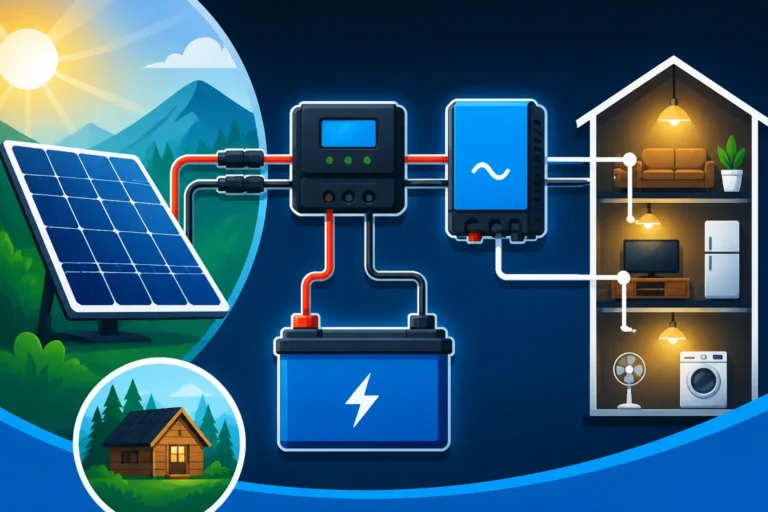
- Inverter/Charger: This critical component converts the DC power from your batteries into usable AC power for your appliances and often manages charging from your solar array. Ensure its voltage matches your battery bank's voltage (e.g., a 48V inverter for a 48V battery bank) and that its continuous and surge wattage ratings meet your peak power demands. Check out our guide on how to choose an off-grid inverter.
- Charge Controller: If your inverter doesn't have an integrated charge controller, you'll need a separate MPPT (Maximum Power Point Tracking) charge controller to manage the power flow from your solar panels to your batteries. Make sure its voltage and current ratings are compatible with both your solar array and your battery bank. We have a detailed guide on how to choose an off-grid charge controller.
- Battery Monitor (Optional but Recommended): A dedicated battery monitor, like those from Victron Energy, provides precise readings of your battery's state of charge, voltage, current, and energy consumed/produced. This allows you to keep a close eye on your system's health. You can read up on how to install a battery monitor for comprehensive insights.
- Tools: You’ll need a robust set of tools, including a multimeter, torque wrench (for proper cable lug tightness), wire crimpers, wire strippers, screwdrivers, wrenches, and personal protective equipment (PPE) such as insulated gloves and safety glasses.
The Importance of a Load Analysis
Before you buy anything, you absolutely must perform a thorough load analysis. This means figuring out exactly how much power your appliances will consume on a daily basis (watt-hours per day) and what your peak instantaneous power draw (watts) will be. Without this, you're just guessing at battery capacity and inverter size, which is a recipe for an underpowered or overly expensive system.
Imagine you're trying to run a well pump and a microwave simultaneously. Your inverter needs to handle the combined surge of both. If your battery bank isn't sized correctly for your daily usage, you'll find yourself running out of power on cloudy days. There are great resources like "How to Calculate Daily Energy Usage" that can walk you through this process. Overestimating can lead to unnecessary costs, but underestimating will lead to constant frustration and potential damage to your batteries if they're frequently run too low.
Here’s a simplified table of essential tools and materials you'll likely need:
| Category | Item | Purpose | Notes |
|---|---|---|---|
| Safety | Insulated Gloves | Protection from electrical shock | Rated for high voltage DC |
| Safety Glasses | Eye protection | ||
| Fire Extinguisher (Class C) | For electrical fires | Keep nearby during installation | |
| Measurement | Multimeter (True RMS) | Measuring voltage, current, continuity | Essential for testing and troubleshooting |
| Clamp Meter | Measuring DC current without breaking the circuit | Very useful for verifying current flow from individual batteries | |
| Wiring | Heavy-Duty Wire Crimpers | Securing lug terminals to cables | Ensure they are rated for the wire gauge you are using |
| Wire Strippers | Removing insulation from cables | Again, match to wire gauge | |
| Cable Lugs (Copper) | Connecting cables to batteries, busbars, and terminals | Various sizes (e.g., 3/8", 5/16") depending on terminals | |
| Heat Shrink Tubing | Insulating crimped connections | Ensures a clean, protected, and professional look | |
| Heat Gun | Applying heat shrink tubing | ||
| Torque Wrench | Tightening battery and busbar terminals to spec | Prevents loose connections (high resistance) or over-tightening (damage) | |
| Assembly | Socket/Wrench Set | General fastening of rack, busbars, terminals | |
| Screwdriver Set | For terminal screws, mounting equipment | ||
| Zip Ties/Cable Management | Organizing and securing cables | Keeps things neat and prevents snagging | |
| Components | Server Rack (19-inch, appropriate U) | Housing for batteries | Ensure adequate weight rating and ventilation |
| Server-Rack Batteries | The core energy storage units | Verify voltage (e.g., 48V) and capacity (Ah) | |
| Inter-Battery Cables/Busbars | Connecting batteries in parallel within the rack | Sized for maximum current; often come with the batteries or rack | |
| Main Battery Cables (to Inverter) | High-gauge cables connecting the battery bank to the inverter/charger | Crucial for minimizing voltage drop and handling high current | |
| DC Disconnect Switch | Isolating the battery bank | Rated for system voltage and maximum current | |
| Fuses/Circuit Breakers | Overcurrent protection for individual batteries or the entire bank | Properly sized for the battery and cable ratings |
Step-by-Step Server-Rack Battery Installation Process
Alright, you've done your homework, gathered your gear, and now it's time to get your hands dirty. Remember, patience and precision are your best friends during this stage. Don't rush, and double-check everything as you go. This process assumes you're installing multiple server-rack batteries into a dedicated rack system, forming a larger battery bank for your off-grid solar setup.
Physical Rack Assembly and Battery Placement
First things first, let's get that rack ready and the batteries safely inside.
- Assemble the Server Rack: If your server rack didn't come pre-assembled, follow the manufacturer's instructions carefully. Ensure it's level, stable, and in its final location. Consider mounting it to the floor or wall if it's a heavy-duty unit, especially if you're in an area prone to seismic activity or just want extra stability. Remember, these batteries are heavy, so a sturdy rack is paramount.
- Mount the Rack Rails: Most server-rack batteries slide onto rails within the rack. Install these rails according to your battery and rack manufacturer's specifications, ensuring they are perfectly level and spaced correctly. This will make sliding the batteries in and out much easier and prevent binding.
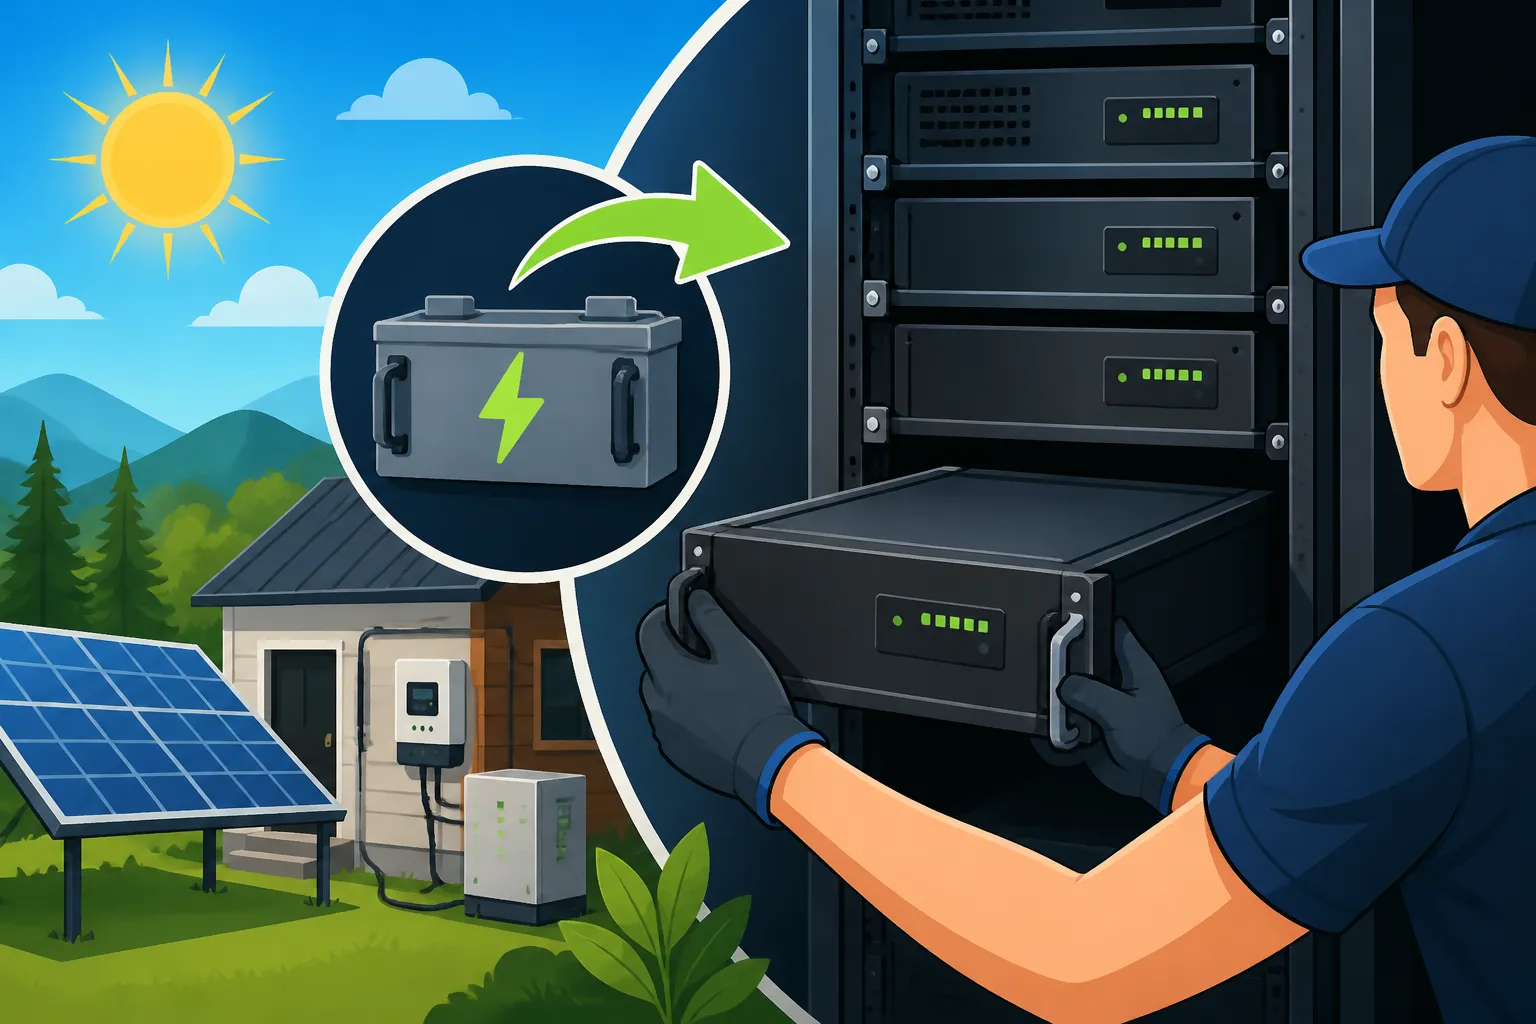
- Install the Batteries: Carefully lift each server-rack battery module and slide it onto its designated rails in the rack. Start from the bottom of the rack and work your way up if possible, as this keeps the center of gravity low and makes lifting subsequent batteries easier. Secure each battery module to the rack rails using the provided screws or locking mechanisms. Ensure the front of each battery is flush with the rack's front face for a neat appearance and proper cabinet closure.
- Consider Ventilation and Clearances: Server-rack batteries generate some heat, especially during heavy charging or discharging. Ensure your rack has adequate ventilation. If you're building an enclosed cabinet around your rack, consider adding fans for active cooling. Always refer to your battery manufacturer's guidelines for minimum clearance requirements around each module.
Wiring the Battery Bank within the Rack
This is where things get serious. Accurate and secure wiring is absolutely crucial for both performance and safety. We'll be focusing on parallel connections, as this is the most common configuration for server-rack LiFePO4 batteries to increase overall amp-hour capacity while maintaining the system voltage (e.g., keeping it at 48V).
- Prepare Cables/Busbars: If your batteries didn't come with pre-made interconnect cables or busbars, you'll need to create them. Cut high-gauge (e.g., 2/0 AWG or 4/0 AWG) copper cables to the appropriate lengths for connecting the positive terminals together and the negative terminals together. Crimp high-quality copper lugs onto each end of these cables. Use a heavy-duty crimper and ensure a solid, tight crimp.
- Insulate Connections: After crimping, slide heat shrink tubing over the lug and cable connection. Use a heat gun to shrink it tightly, providing excellent insulation and strain relief. This step is often overlooked but drastically improves safety and longevity.
- Connect Batteries in Parallel (Positive to Positive, Negative to Negative):
- Crucial Step: Verify Polarity! Before connecting anything, use your multimeter to double-check the positive and negative terminals on each battery. A mistake here can lead to severe damage or injury.
- Connect all positive terminals of the battery modules together using your prepared cables or busbars.
- Connect all negative terminals of the battery modules together using your prepared cables or busbars.
- Star Configuration (Recommended): For optimal current balancing across all batteries, aim for a "star" or "central point" connection. Instead of daisy-chaining (e.g., battery 1 positive to battery 2 positive, battery 2 positive to battery 3 positive), run separate positive cables from each battery to a central busbar, and then the main positive output cable from that central busbar. Do the same for the negative side. This ensures each battery has a similar path length to the main output, promoting balanced charge and discharge.
- Torque All Connections: This is non-negotiable. Use your torque wrench to tighten all cable lugs to the battery terminals and busbars according to the manufacturer's specified torque settings. Loose connections cause resistance, which leads to heat buildup, energy loss, and potential fire hazards. Over-tightening can strip threads or damage terminals.
Integrating with Your Off-Grid System
Once the battery bank within the rack is wired, it's time to connect it to your inverter/charger and charge controller.
- Install DC Disconnect and Fusing: Before connecting to your inverter, install your main DC disconnect switch and appropriately sized fuses or circuit breakers. This typically goes in line with the main positive cable coming from your battery bank, as close to the batteries as practically possible. These devices provide critical protection for your entire system. For larger systems, you might even consider a dedicated Off-Grid Solar Wiring Diagram Explained to ensure everything is laid out correctly.
- Connect to Inverter/Charger: Run your main positive and negative battery cables from your DC disconnect (positive side) and battery bank (negative side) to the designated battery terminals on your inverter/charger. Again, confirm polarity multiple times. These cables will be very thick (e.g., 4/0 AWG) to handle the high currents. Torque these connections to the inverter's specifications. A guide on how to install an off-grid inverter can offer more specific details.
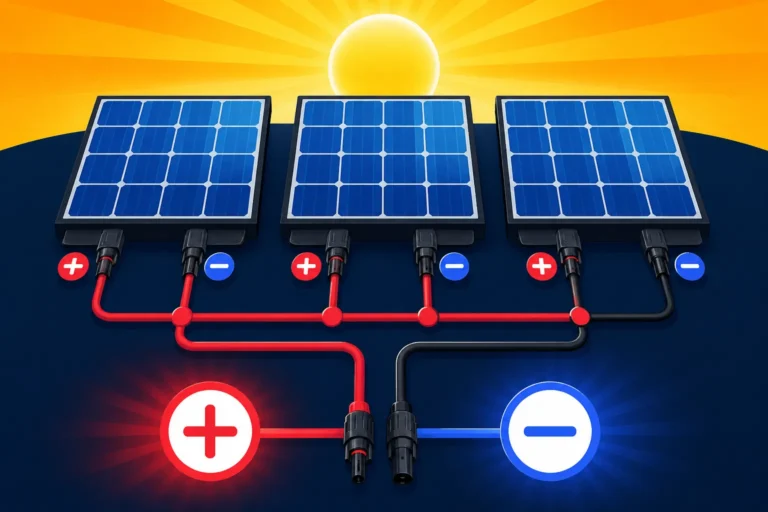
- Connect to Charge Controller (if separate): If you're using a standalone charge controller, connect the main battery cables (or a dedicated branch from your central busbar with its own fusing) to the battery terminals on the charge controller. Then, connect your solar array's PV input cables to the charge controller's solar input terminals. Ensure all wiring respects polarity and appropriate sizing.
- Connect Inverter to AC Distribution: Finally, connect your inverter's AC output to your home's main breaker panel or subpanel, typically through a dedicated breaker. This is where your off-grid house will draw its power. This step often requires an experienced electrician to ensure compliance with local electrical codes and safety standards. Our article on how to wire off-grid solar to a breaker panel offers more insights.
Initial Setup and Testing
You're almost there! Before you flip the switch, a few more critical steps.
- BMS Configuration (if applicable): Many server-rack batteries have a communication port (often RS485 or CAN bus) that allows them to "talk" to each other or to a central system controller (like a Victron Cerbo GX or an integrated inverter with advanced BMS features). If you have multiple batteries and a compatible inverter/charger, connect the communication cables between them. This allows for synchronized charging, discharging, and real-time monitoring of each battery's health. Refer to your battery and inverter manuals for specific setup instructions, as this can be unique to each brand. For instance, configuring a Victron system can involve specific software settings.
- Initial Power-Up and Verification:
- Before turning on the main battery disconnect, use your multimeter to check the voltage across the main battery cables before they connect to the inverter/charger terminals. It should match your nominal battery bank voltage (e.g., 48V).
- Carefully close the main DC disconnect switch.
- Power up your inverter/charger according to its manual. It should detect the battery bank.
- Monitor the inverter/charger's display or connected monitoring system. Check for any error codes.
- Verify battery voltage, current, and state of charge (if available) on your battery monitor or inverter display.
- If using solar panels, ensure your charge controller is receiving power from the panels and is actively charging the batteries.
- Load Testing: Once the system is stable, start introducing small loads to your AC outlets. Turn on a light, then a fan, then perhaps a small appliance. Monitor your battery voltage and inverter output to ensure everything is functioning correctly under load. Gradually increase the load to simulate typical usage.
Crucial Safety Measures and Post-Installation Best Practices
Installing a server-rack battery system is a significant undertaking, and safety should always be your top priority. Once installed, ongoing care ensures longevity and reliable performance.
Non-Negotiable Safety Protocols
Working with high-voltage DC systems, especially large battery banks, carries inherent risks. Never cut corners when it comes to safety.
- Always Wear PPE: Insulated gloves rated for DC voltage, safety glasses, and non-conductive footwear are mandatory. A single wrong move could result in serious injury or worse.
- Disconnect Before Working: Before performing any maintenance, adjustments, or troubleshooting on your battery bank or connected components, always open the main DC disconnect switch to isolate the batteries from the rest of the system. Then, verify with a multimeter that there's no voltage present on the circuits you're working on.
- Proper Tool Use: Use appropriate, well-maintained tools. A torque wrench is critical for ensuring connections are neither too loose (risk of arcing and fire) nor too tight (risk of damaging terminals).
- Short Circuit Prevention: Exercise extreme caution to prevent accidental short circuits. Even a wrench dropped across battery terminals can create a massive, dangerous spark and explosion risk, especially with powerful lithium batteries. Cover exposed terminals if you're working nearby.
- Ventilation: While LiFePO4 batteries are generally safer than lead-acid, proper ventilation is still important to dissipate any heat and prevent moisture buildup, which can affect electronics.
- Emergency Shut-Off: Ensure everyone who lives or works with the system knows the location of the main DC disconnect and how to operate it in an emergency.
Maximizing Your Battery Bank's Lifespan and Efficiency
Your server-rack batteries are an investment, and like any investment, they perform best with proper care and attention.
- Regular Monitoring: Consistently monitor your battery's state of charge, voltage, and temperature through your battery monitor or inverter's interface. Pay attention to trends. A sudden drop in voltage under light load, or consistent low state-of-charge warnings, could indicate an issue.
- Maintain Proper Charge Parameters: Ensure your charge controller and inverter/charger are configured with the correct charging parameters (bulk, absorption, float voltages, and equalize settings if applicable, though less common for LiFePO4). These settings are usually found in your battery manufacturer's manual and are vital for battery health.
- Keep it Clean: Periodically inspect your battery rack and modules. Dust and debris can accumulate and impede airflow or even cause electrical issues. Keep the area around the rack clean and tidy, ensuring no objects are obstructing ventilation.
- Tighten Connections Annually: Over time, thermal expansion and contraction, or even vibrations, can cause electrical connections to loosen. It’s a good practice to re-check the torque on all main battery connections (on the batteries, busbars, disconnect, and inverter) at least once a year.
- Software Updates: If your batteries or inverter have sophisticated Battery Management Systems (BMS) with firmware, periodically check for and install updates from the manufacturer (e.g., EG4 or Victron Energy). These updates often include performance enhancements or bug fixes.
- Consider a Generator Backup: Even the best solar setup can struggle during extended periods of bad weather. Integrating a backup generator can provide peace of mind and ensure your batteries don't get excessively discharged, prolonging their life. You can explore the cost of adding a generator to off-grid solar for more details.
By following these installation steps and adhering to rigorous safety and maintenance practices, you'll ensure your server-rack battery system provides reliable, efficient power for your off-grid adventures for many years to come.
Disclaimer
The information provided in this guide is for educational purposes only and is not a substitute for professional advice. Working with electrical systems, especially high-voltage DC, can be dangerous and poses risks including electric shock, fire, and property damage. Always consult with a qualified electrician or solar professional before installing or maintaining an off-grid solar system. Follow all local codes, regulations, and manufacturer instructions. The author and publisher are not responsible for any injury, damage, or loss resulting from the use or misuse of this information.