How to Series-Parallel Wire an Array
Trying to squeeze every last bit of power from your solar panels, especially when you're setting up an off-grid system, can feel like a complex puzzle. You've got these incredible panels, but how do you hook them up to truly maximize their output and efficiently charge your batteries without blowing a fuse or wasting precious solar energy? This guide will walk you through the ins and outs of series-parallel wiring, a robust method that optimizes your solar array for performance and reliability.
Why Series-Parallel Wiring is Your Best Friend
When you're diving into off-grid solar, you quickly learn that simply connecting panels isn't enough; it's about connecting them smartly. Many folks start by thinking they can just string everything together or run everything individually, only to find their system isn't performing as expected. Series-parallel wiring is often the "just right" solution, offering a perfect balance between high voltage and sufficient current to efficiently power your remote setup.
Understanding the Basics: Series vs. Parallel
Before we jump into combining them, let's quickly review the fundamental ways to connect solar panels, because understanding these building blocks is crucial. Imagine you have a few individual solar panels, each generating a certain voltage and current.
Series Wiring
When you wire panels in series, you connect the positive terminal of one panel to the negative terminal of the next, much like how batteries are arranged in a flashlight. The magic here is that the voltages of the panels add up, while the current (amperage) remains the same as that of a single panel. So, if you have three 12-volt panels, each producing 8 amps, wired in series, your total output will be 36 volts and 8 amps.
The primary benefit of series wiring is that higher voltage systems experience less power loss over longer wire runs. This is because higher voltage allows for lower current for the same amount of power, and current is what causes resistive losses in wires. So, if your solar array is a good distance from your charge controller and battery bank, series wiring can be a real game-changer. However, a major drawback is that if one panel in the series string is shaded or malfunctions, it can significantly reduce the output of the entire string, acting like a bottleneck.
Parallel Wiring
In contrast, parallel wiring connects all the positive terminals together and all the negative terminals together. Think of it like a power strip where multiple devices plug into the same voltage source. When panels are wired in parallel, the voltage remains the same as that of a single panel, but the currents add up. Using our previous example, three 12-volt panels, each producing 8 amps, wired in parallel would give you 12 volts and 24 amps.
Parallel wiring is fantastic for situations where you need to maintain a lower system voltage, perhaps for a small 12V RV system, or if you anticipate partial shading. If one panel is shaded in a parallel array, the others will continue to produce power unimpeded, unlike in a series string. The main downside is that higher currents require thicker, more expensive wiring to prevent voltage drop, especially over longer distances. This is a common consideration when you're looking into how to size wire and cables for your system.
The Goldilocks Zone: Combining for Efficiency
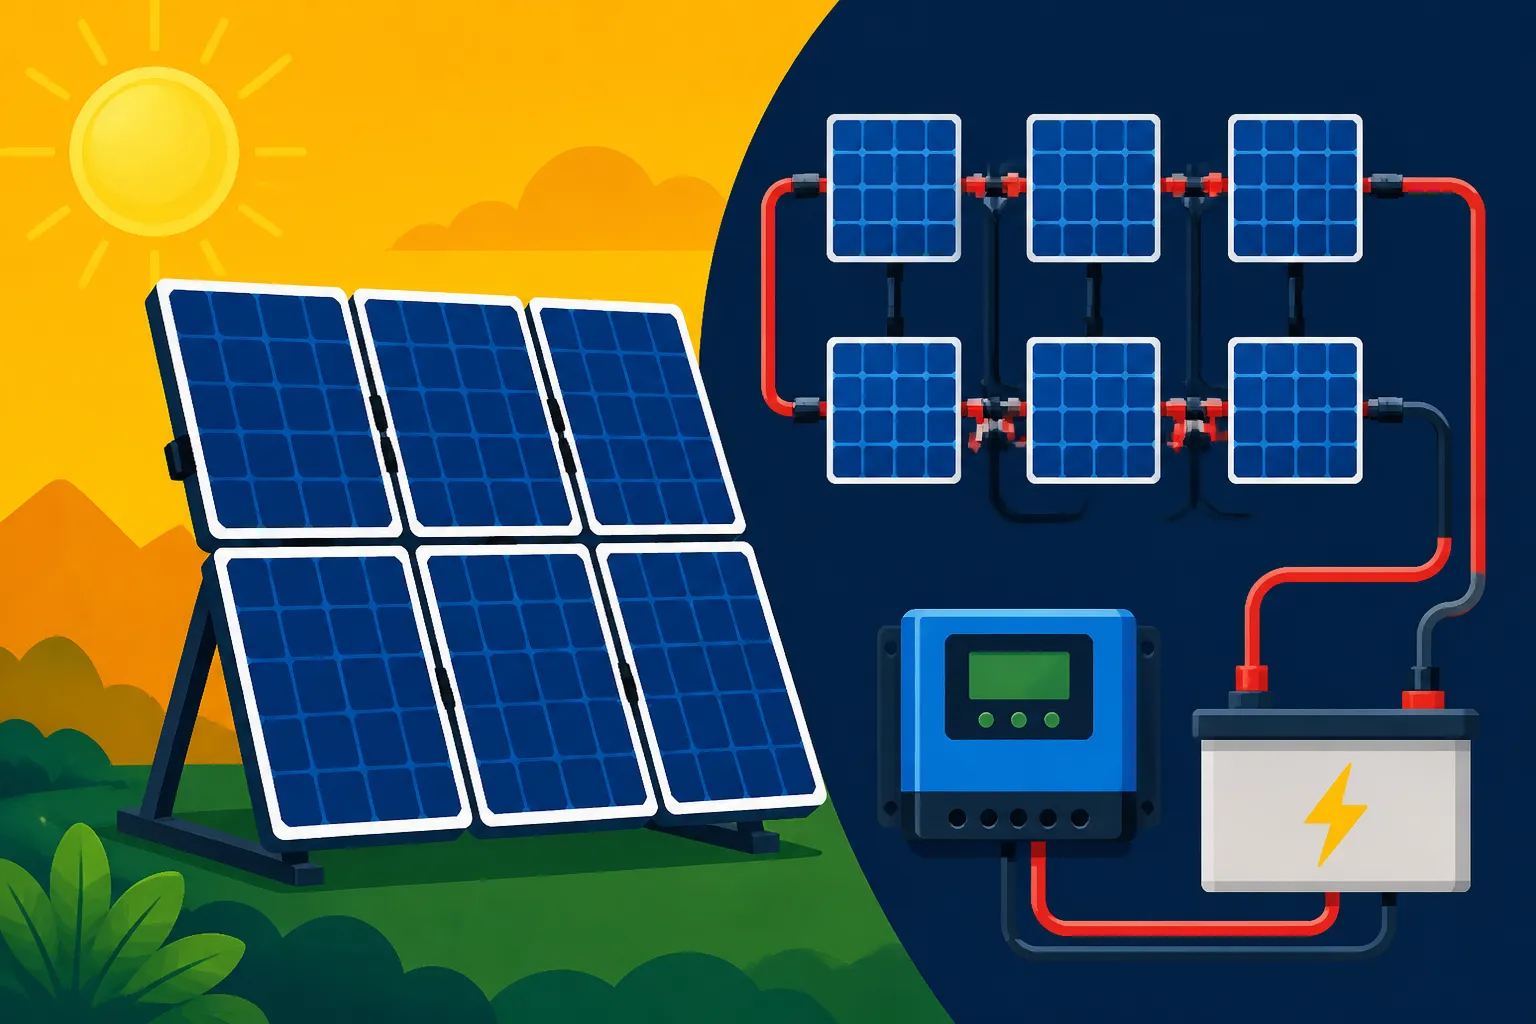
This is where series-parallel wiring shines – it's the "just right" solution for many off-grid setups, balancing the benefits of both series and parallel connections. Instead of just one long string or a single massive parallel connection, you create several smaller series strings, and then connect those strings together in parallel.
Why is this so effective? Let's say you have eight 12-volt panels. If you wired them all in series, you'd get 96 volts, which might be too high for your charge controller. If you wired them all in parallel, you'd get 12 volts but a very high amperage, requiring extremely thick and expensive cables. With a series-parallel configuration, you could, for instance, create two strings of four panels in series. Each string would produce 48 volts (4 x 12V). Then, you connect these two 48V strings in parallel. The result? You'd still have 48 volts, but the current would be the sum of the two strings' currents, effectively giving you a higher total current at a manageable, efficient voltage.
This approach offers several key advantages. It allows you to increase the overall voltage to a level that is optimal for your charge controller (like a 24V or 48V system), which in turn allows for thinner wiring and less power loss. At the same time, by having multiple parallel strings, the impact of partial shading on a single panel is localized to just that series string, rather than taking down the entire array. It’s about creating a robust, fault-tolerant system that can adapt to real-world conditions. Many detailed explanations, like those found in an off-grid solar wiring diagram explained article, emphasize this balance.
Essential Calculations Before You Start Wiring
Before you start connecting anything, it's absolutely crucial to do some homework and crunch some numbers. Skipping this step is one of the most common reasons people encounter problems with their off-grid solar systems. You need to understand what your equipment can handle and what your power needs are.
Determining Your System Voltage
The very first decision you need to make is your system voltage: 12V, 24V, or 48V. This choice dictates how you'll wire your panels and batteries and significantly impacts the efficiency and cost of your overall system. For smaller applications like a basic RV setup or a tiny shed, a 12V system might be sufficient. However, for anything larger – a cabin, a tiny home, or a full-time off-grid residence – 24V or, more commonly, 48V systems are far more efficient.
Why the move to higher voltage? As we discussed, higher voltage means lower current for the same amount of power. Lower current leads to less heat loss in your wires and allows you to use smaller gauge (thinner) and less expensive cabling. For example, a 5000-watt inverter running at 12V would draw over 400 amps, requiring massive battery cables. The same inverter at 48V would draw only about 100 amps, a much more manageable current. This drastically reduces the cost of an off-grid solar battery bank and the associated wiring. So, before you even think about panel wiring, nail down your desired system voltage.
Matching Panels to Your Charge Controller and Inverter
Once you know your system voltage, you need to ensure your solar panels and charge controller are compatible. This is where those often-overlooked specs on your solar panel's label become critically important:
- Vmp (Voltage at Maximum Power): This is the voltage at which the panel produces its maximum power under standard test conditions.
- Voc (Open Circuit Voltage): This is the maximum voltage the panel can produce when it's not connected to a load (i.e., open circuit). This value is crucial because it's the highest voltage your charge controller will ever see from that panel or string of panels.
- Imp (Current at Maximum Power): The current produced by the panel at its maximum power point.
- Isc (Short Circuit Current): The maximum current the panel can produce if its terminals are shorted. This helps in sizing fuses and breakers.
Your charge controller has maximum input voltage and current ratings. It's an absolute must that your solar array's Voc does not exceed the charge controller's maximum input voltage, especially in cold weather where panel voltage can temporarily increase. For instance, if you have a Renogy Rover 60A MPPT charge controller, it might have a maximum PV input voltage of 150VDC. This means the sum of your panels' Voc in a series string can't go over 150V. If you're wiring four panels with a Voc of 40V each in series, that's 160V, which would fry your charge controller. You'd need to reduce the number of panels in series or choose a charge controller with a higher voltage rating.
Similarly, the total Imp of your parallel strings should not exceed the charge controller's maximum input current. Most reputable brands, like Victron Energy or MidNite Solar, clearly list these specifications for their charge controllers. When you are learning how to connect a charge controller, you'll see just how critical these numbers are.
Step-by-Step Guide to Series-Parallel Wiring
Alright, it's time to get down to the actual wiring! This part requires careful attention to detail and a commitment to safety. Take your time, double-check everything, and if you're ever unsure, consult with an experienced electrician or solar professional.
Gathering Your Tools and Safety Gear
Before you begin, ensure you have all the necessary tools and safety equipment. This isn't just about convenience; it's about protecting yourself and your investment.
Essential Tools:
- MC4 Crimping Tool: For making secure connections on MC4 connectors.
- Wire Strippers: For safely stripping insulation from solar cables.
- Multimeter: Absolutely critical for checking voltage, current, and continuity. Do not skip this! You’ll use it to confirm your connections at every stage.
- Torque Wrench/Screwdriver Set: For securely tightening terminals.
- Cable Ties: For neatly organizing your wiring.
- Wire Cutters: For precise cable lengths.
Safety Gear:
- Insulated Gloves: To protect against electrical shock.
- Safety Glasses: To protect your eyes.
- Appropriate Footwear: Non-slip, closed-toe shoes are a must.
- Sun Protection: If working outdoors, hat and sunscreen are vital.
You'll also need appropriate cabling (like 10 AWG or 12 AWG solar PV cable, typically available on Amazon) and MC4 connectors. Don't cheap out on these components; quality wiring ensures efficiency and longevity. Investing in quality tools now will save you headaches and potential hazards later.
Wiring Panels in Series
This is the first step in creating your series-parallel array. You'll create individual strings where voltage adds up.
- Plan Your Strings: Based on your system voltage and charge controller limits, determine how many panels will go into each series string. For example, if you have 12V panels and a 48V system, you'll likely want four panels per string (12V x 4 = 48V). Remember to consider the Voc of your panels and the maximum input voltage of your charge controller.
- Connect Positives to Negatives: Take your first panel. Its positive terminal will connect to the negative terminal of your second panel. Then, the second panel's positive terminal connects to the third panel's negative, and so on. Continue this until you've formed a complete series string with the desired number of panels.
- Use MC4 Connectors: Solar panels come with MC4 connectors (or equivalent). Ensure these connections are tight and waterproof. If you're custom-cutting wires, you'll need your MC4 crimping tool to attach new connectors.
- Test Each String: Crucial step! Before going further, use your multimeter to measure the Voc of each series string. The reading should be approximately the sum of the individual panel Vocs. This confirms your series connections are correct. If you get a zero reading or a much lower voltage, you likely have a loose connection or a reverse polarity somewhere in that string. This step is a cornerstone of learning how to wire solar panels in series effectively.
Wiring Series Strings in Parallel
Once you have your individual series strings properly wired and tested, the next step is to combine them in parallel. This is how you'll increase your total current while maintaining your desired system voltage.
- Bring Strings Together: You'll have a positive and negative lead coming from each series string. You'll need an MC4 branch connector (often called a Y-connector) or a combiner box to connect these strings.
- Connect Positives to Positives: All the positive leads from your series strings will connect together at a central point (either a branch connector or a busbar within a combiner box).
- Connect Negatives to Negatives: Similarly, all the negative leads from your series strings will connect together.
- Confirm Polarity: Absolutely critical! Before making the final connections, double-check that you are indeed connecting positives to positives and negatives to negatives. Reversing polarity at this stage can cause serious damage to your equipment. Many experienced DIYers have made this mistake, resulting in burnt fuses or damaged charge controllers.
- Test the Combined Array: Once all series strings are wired in parallel, use your multimeter to measure the Voc of the entire array at the output leads. The voltage reading should be approximately the same as a single series string. Then, you can measure the Isc (short-circuit current) by temporarily shorting the positive and negative leads of the array through an appropriate shunt or multimeter setting (be very careful with this, as it can generate high current). The Isc should be the sum of the Iscs of each parallel string. This process is fully explained in guides like How to series-parallel wire an array, ensuring you get it right.
- Fusing and Disconnects: Before connecting to your charge controller, install appropriate fuses and a DC disconnect switch between your solar array and the charge controller. This is a vital safety measure for maintenance and in case of emergencies.
Connecting to the Charge Controller
With your series-parallel array configured and tested, it's time to connect it to the heart of your solar system: the charge controller.
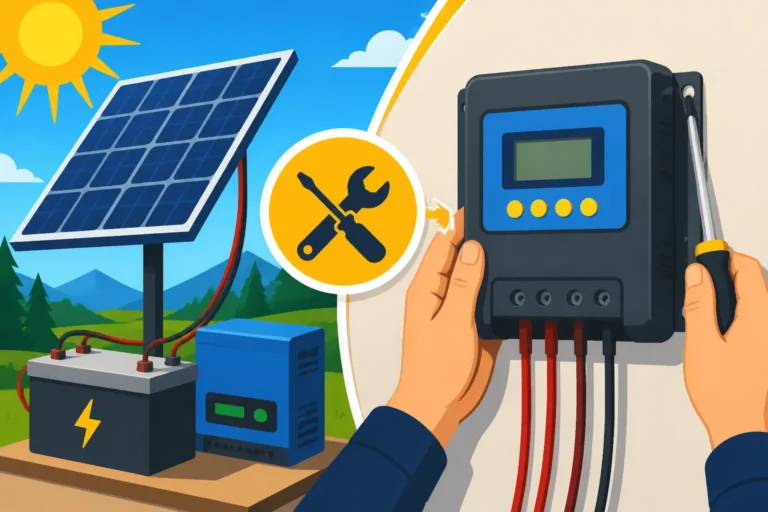
- Ensure Everything is Off: Before making any connections to your charge controller, ensure that both the solar array disconnect switch and your battery bank disconnect switch (if applicable) are in the OFF position. Safety first!
- Connect to Charge Controller's PV Input: Route the main positive and negative output cables from your solar array (which you just wired in series-parallel) to the "PV Input" or "Solar Input" terminals on your charge controller. Ensure these cables are correctly sized to handle the maximum current from your array. For larger systems, this often involves a dedicated PV combiner box with fuses or breakers for each string.
- Maintain Polarity: Again, double-check that the positive cable from the array goes to the positive PV input terminal on the charge controller, and the negative to the negative.
- Tighten Connections Securely: Loose connections can cause resistance, heat buildup, and power loss. Use the appropriate torque to tighten all terminal screws.
- Connect Batteries Last: Generally, you should connect your battery bank to the charge controller before connecting the solar array. This allows the charge controller to detect the battery voltage and properly initialize. Once the batteries are connected, and the charge controller recognizes them, then you can flip the solar array disconnect switch to ON. This sequence is critical for the proper functioning and longevity of your charge controller. You can find more specific instructions on how to connect a charge controller depending on its model.
Common Mistakes and Troubleshooting Tips
Even with the best planning, things can sometimes go awry. Knowing the most common pitfalls and how to address them can save you a lot of frustration and potential damage.
Mismatched Panels and Voltage Drop
One of the most frequent mistakes, especially when expanding an existing system, is mixing and matching panels with different voltage or current characteristics within the same series string. If you put a lower current panel in a series string with higher current panels, the entire string's current will be limited by the lowest-performing panel, much like a traffic jam. Similarly, panels with significantly different voltages can create inefficiencies. It's always best practice to use identical panels within a series string.
Another significant issue is voltage drop. This occurs when the wires connecting your solar panels to your charge controller are too long or too thin for the amount of current they are carrying. The resistance in the wire converts some of your precious solar energy into heat, meaning less power actually reaches your batteries. A good rule of thumb is to aim for a voltage drop of no more than 3% in your DC wiring. This is where higher system voltages (like 48V) and appropriately sized wire (refer to a guide on how to size wire and cables) become critical. If you notice significantly lower voltage at your charge controller than what your array is producing, voltage drop is a likely culprit. You can learn more about how to prevent voltage drop in off-grid wiring to ensure peak performance.
Ensuring Proper Connections and Polarity
Incorrect polarity is perhaps the most dangerous and common mistake in solar wiring. Connecting a positive lead to a negative terminal where it shouldn't be can lead to short circuits, blown fuses, damaged components (especially charge controllers and inverters), and even fires. Always, always, always double-check your polarity with a multimeter before making final connections.
- Color Coding: Use red for positive and black for negative wires consistently throughout your system. This simple visual cue can prevent many errors.
- Labeling: Label your wires clearly, especially if you have multiple strings or complex routing. A simple "PV String 1 +" or "PV Array -" can make a world of difference during troubleshooting.
- Audible Clicks: When using MC4 connectors, ensure you hear and feel them click securely into place. A loose connection is an open invitation for problems.
- Continuity Checks: Use your multimeter's continuity setting to verify that your wires are continuous from point A to point B and that there are no accidental short circuits.
- Read the Manuals: Seriously, read the installation manuals for your charge controller, inverter, and other components. They often have specific wiring diagrams and safety instructions unique to that equipment. Brands like Renogy provide detailed manuals with all their solar kits, making the process smoother for DIYers.
Troubleshooting often involves systematically checking each component. Start at the panels, check string voltages, then move to the combiner box, then the charge controller, and finally the batteries. A multimeter is your best friend here, allowing you to trace the flow of power and identify where the problem lies. Remember, many common off-grid wiring mistakes can be avoided with patience and thoroughness.
Series-Parallel Wiring Summary
Here's a quick overview of the characteristics of different wiring methods:
| Wiring Method | Voltage | Current | Advantages | Disadvantages | Best For |
|---|---|---|---|---|---|
| Series | Adds up | Stays the same | Higher voltage, less voltage drop over distance, thinner wires. | Shading on one panel affects the whole string; risk of exceeding max controller voltage. | Long cable runs, high-voltage systems (24V/48V), matching controller input. |
| Parallel | Stays the same | Adds up | Less impact from partial shading, lower voltage system. | Higher current requires thicker wires, more voltage drop over distance. | Small, low-voltage systems (12V), areas with frequent partial shading. |
| Series-Parallel | Series strings add voltage; parallel strings add current | Optimized for system voltage and current | Balances voltage and current for efficiency, mitigates shading impact, uses manageable wire sizes. | Slightly more complex wiring than pure series or parallel. | Most medium to large off-grid solar systems (cabins, homes, larger RVs). |
Disclaimer
This guide provides general information for educational purposes only. Working with electricity, especially high-voltage DC from solar arrays, can be extremely dangerous. Incorrect installation or wiring can lead to severe injury, electrocution, fire, and damage to equipment. Always prioritize safety, disconnect all power sources before working on your system, and consult with a qualified electrician or solar professional if you are unsure about any steps or calculations. Compliance with local electrical codes and permitting requirements is essential.