How to Install Off-Grid Solar on a Food Truck
Running a food truck is an incredibly rewarding venture, but it often comes with a constant headache: reliable power. You're trying to whip up delicious meals, serve a line of hungry customers, and suddenly your generator sputters out or you realize you're burning through expensive propane faster than you can keep it stocked. This guide is here to walk you through the process of installing an off-grid solar system on your food truck, giving you the freedom and peace of mind that comes with sustainable, independent power.
Understanding the Unique Power Needs of a Food Truck
Food trucks aren’t like stationary homes; they have a very specific and often demanding power profile. You’re dealing with commercial-grade appliances, limited space, and the constant movement of the vehicle. Before you even think about buying a single solar panel, you need to deeply understand exactly what your truck needs to run. This isn’t just about turning on a light; it’s about keeping food safe, cooking efficiently, and running your business smoothly.
Identifying Your Appliance Load
The first, and arguably most critical, step is to list every single electrical appliance and device you use in your food truck. Don’t skip anything, no matter how small. Think about everything from your refrigerators and freezers (which are absolute power hogs) to your griddles, fryers, coffee makers, microwaves, blenders, point-of-sale (POS) systems, lights, fans, and even your phone chargers. Each of these items draws a certain amount of power, and you need to know their wattage.
Look for the labels on your appliances; most will have a sticker indicating their wattage (W) or amperage (A) and voltage (V). If it only lists amps and volts, you can multiply them (Amps x Volts = Watts) to get the wattage. For instance, a commercial refrigerator might draw 500-1000 watts, while a small POS tablet might only be 20-30 watts. It’s important to distinguish between "running watts" (what it uses constantly) and "starting watts" or "surge watts" (the brief spike in power when a motor-driven appliance, like a refrigerator compressor, first kicks on). Your inverter will need to handle these surge loads.
Calculating Daily Energy Consumption
Once you have the wattage for each appliance, you need to estimate how long each one runs over a typical business day. This isn’t always straightforward. Your refrigerator runs 24/7, but its compressor cycles on and off. Your griddle might only be on for a few hours during peak service, while your lights might be on for your entire shift. For appliances that cycle, like refrigerators, assume they run for a certain percentage of the time (e.g., 50% for a fridge). For others, estimate actual usage hours.
To calculate daily energy consumption, you'll multiply the wattage of each appliance by the estimated hours it runs per day. This gives you Watt-hours (Wh) per day for each item. Then, add all these Watt-hour figures together to get your total daily Watt-hour consumption for the entire truck. This number is your baseline; it tells you exactly how much energy your solar system needs to generate and store. For a deep dive into this crucial step, check out our guide on how to calculate daily energy usage. Knowing this number is the foundation of properly sizing your system.
Key Components of a Food Truck Off-Grid Solar System
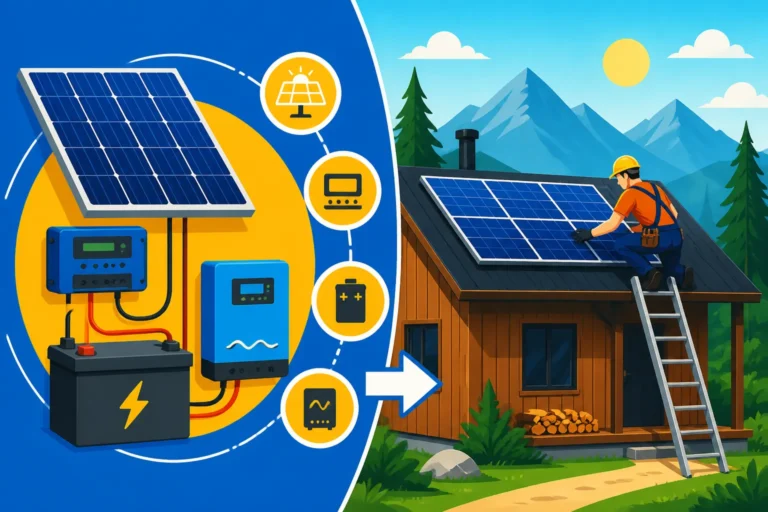
An off-grid solar system for a food truck isn is a series of interconnected components, each playing a vital role. Unlike a simple camping setup, a food truck system needs to be robust, reliable, and capable of handling significant loads. Understanding each component and its function will help you make informed decisions about your setup.
Solar Panels and Mounting Considerations
Solar panels are the energy collectors of your system, turning sunlight into usable electricity. For a food truck, you’ll generally be looking at rigid monocrystalline panels for their efficiency and durability, though flexible panels might be considered for curved roofs or lighter weight needs. The key is to maximize the panel surface area without creating excessive drag or exceeding your truck’s roof weight limits. You can learn more about how many solar panels for off-grid living your setup might need.
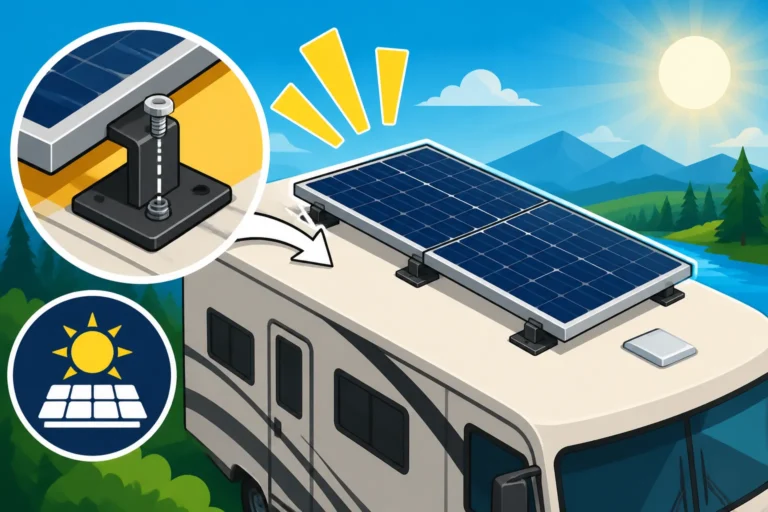
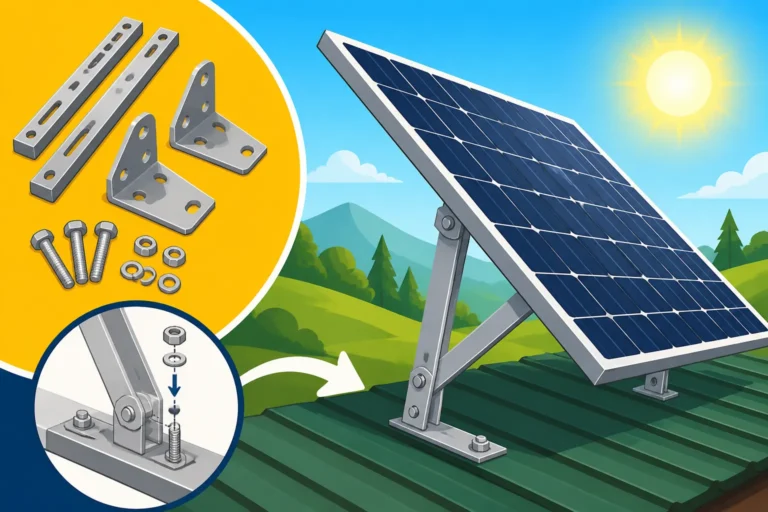
Mounting is a critical consideration. Food trucks are constantly on the move, facing vibrations, wind, and varying road conditions. Your panels need to be securely fastened to the roof using sturdy mounting brackets, often bolted directly through the roof with appropriate waterproofing measures. Some owners opt for tilt mounts to optimize sun exposure when parked, but these need to be incredibly robust to withstand driving speeds. Consideration for aerodynamics is also important to avoid creating too much drag and affecting fuel efficiency. Renogy, for example, offers various rigid solar panels and mounting kits that are popular among DIYers due to their accessibility and decent quality, often found on platforms like Amazon.
Batteries: The Heart of Your Mobile Power
The battery bank is arguably the most crucial component for a food truck, as it stores the energy captured by your solar panels for use when the sun isn’t shining or when your demand exceeds instantaneous solar production. For food trucks, Lithium Iron Phosphate (LiFePO4) batteries are highly recommended over traditional lead-acid batteries. LiFePO4 batteries offer a much longer lifespan, lighter weight (crucial for a vehicle), faster charging capabilities, and the ability to discharge deeply without damage. They might have a higher upfront cost, but their long-term value and performance far outweigh it for a commercial application.
Sizing your battery bank correctly is paramount to avoid running out of power during peak service or overnight. You need enough capacity to cover your daily energy consumption, plus a buffer for cloudy days or unexpected demand. Our article on how many batteries for an off-grid system delves into this in detail. For a food truck, having sufficient battery capacity means your refrigeration keeps running even if you're parked in the shade for hours, or if you have a sudden surge of customers requiring multiple appliances at once.
Inverter, Charge Controller, and Safety Gear
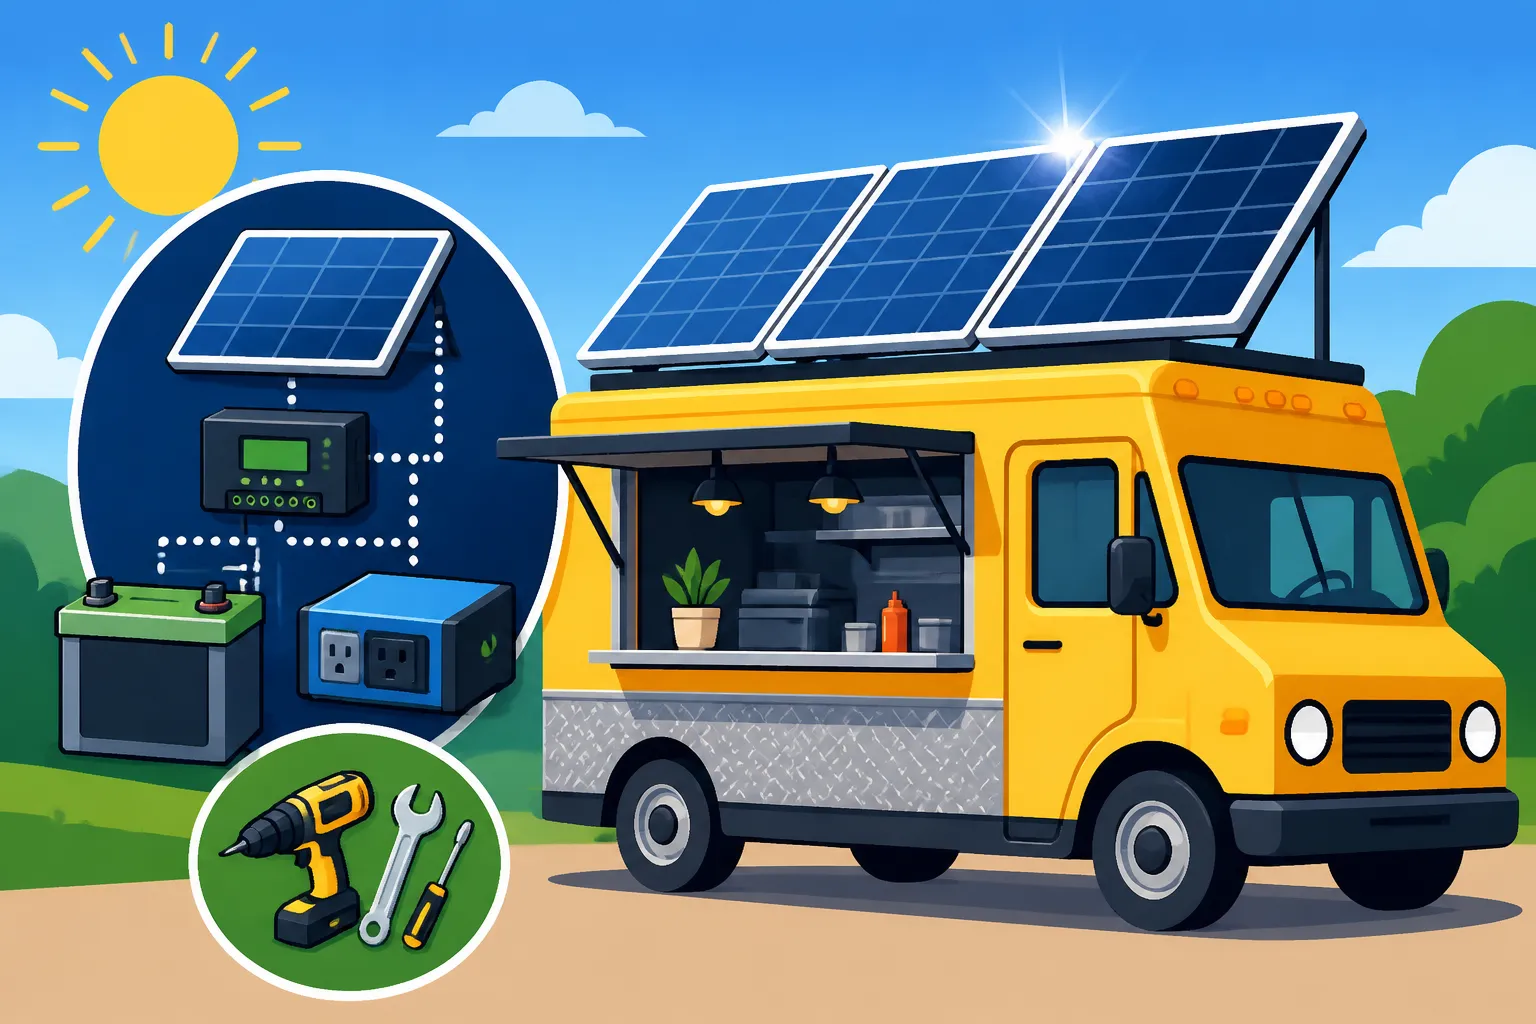
These components manage the flow of electricity and ensure your system operates safely and efficiently. The charge controller sits between your solar panels and your batteries, regulating the voltage and current coming from the panels to prevent overcharging and optimize battery health. MPPT (Maximum Power Point Tracking) charge controllers are highly recommended for their efficiency, especially in systems with varying light conditions, which is common for a mobile setup.
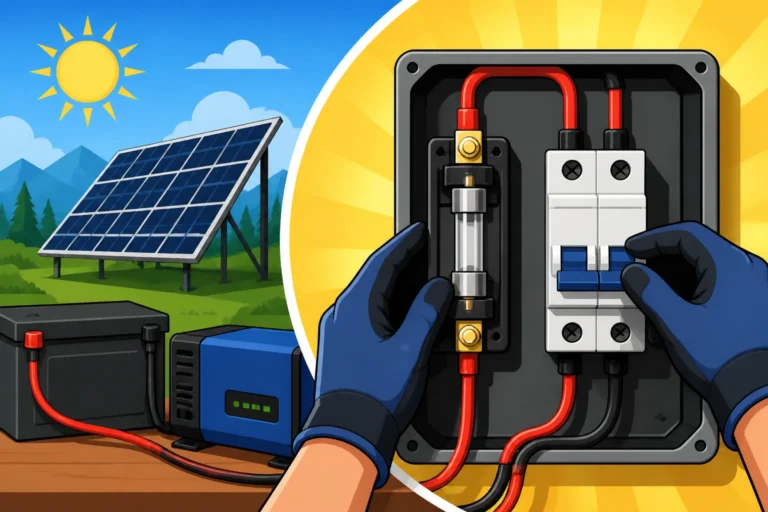
The inverter converts the DC (direct current) power stored in your batteries into AC (alternating current) power, which is what most of your standard food truck appliances use. You'll need a pure sine wave inverter to ensure smooth operation of sensitive electronics and motor-driven appliances. Sizing your inverter correctly means matching its continuous output rating to your total running wattage, and ensuring its surge rating can handle the starting loads of your largest appliances. To understand this better, read our guide on how to size an off-grid inverter. Finally, safety gear, including fuses, circuit breakers, and proper grounding, is non-negotiable. These protect your equipment and, more importantly, prevent electrical fires and ensure the safety of you and your customers.
Step-by-Step Installation Process
Installing an off-grid solar system on a food truck requires careful planning and execution. It’s not a task to be rushed, as mistakes can be costly or even dangerous. Breaking it down into manageable steps will help ensure a successful installation.
Planning and Design Phase
Before any tools come out, double-check all your calculations for daily energy consumption, solar panel wattage, and battery bank capacity. Make sure these align with your operational needs. Next, create a detailed wiring diagram. This diagram should show every component: solar panels, charge controller, battery bank, inverter, main breaker panel, and all your individual appliance circuits. A well-thought-out wiring diagram is your roadmap and is essential for troubleshooting down the line. We have a great resource on an off-grid solar wiring diagram explained that can help you with this.
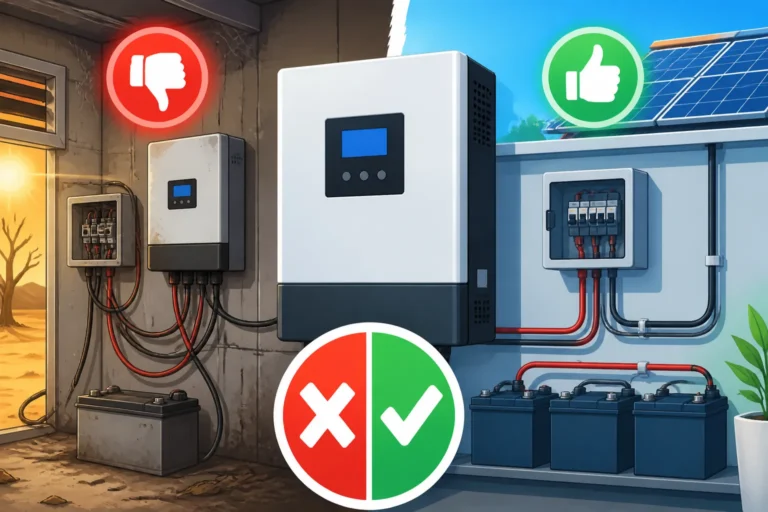
Consider the physical layout of your components within the truck. Batteries are heavy and need secure, well-ventilated locations, ideally close to the inverter to minimize voltage drop in the thick battery cables. The charge controller should be close to the batteries too. Panels, of course, go on the roof, but plan the cable runs carefully to minimize length and maximize protection. Think about access for maintenance and safety considerations like fire suppression near batteries.
Mounting Solar Panels Securely
Mounting panels on a moving vehicle presents unique challenges. You’ll need to secure them to withstand highway speeds, vibrations, and potential impacts from low-hanging branches or sudden stops. For most food trucks, rigid solar panels are typically bolted directly to the roof using heavy-duty aluminum mounting feet or brackets. Each mounting point should be sealed thoroughly with a marine-grade sealant like Dicor lap sealant to prevent water intrusion into the truck’s interior – a leak in a food truck is a serious problem.
Some food truck owners opt for tilt mounts to get more winter sun, but ensure these are incredibly robust and have secure locking mechanisms for when the truck is in motion. Run all wiring in UV-resistant conduit where possible to protect it from the elements and physical damage. Proper routing means avoiding sharp edges and areas prone to excessive heat or friction. For more specific mounting advice, refer to our guide on how to install off-grid solar panels.
Wiring the System Components
This is where all the components come together. Start by installing the charge controller, then connect the battery bank, ensuring proper polarity and secure connections. When learning how to wire a battery bank, remember that for higher voltage systems (like 24V or 48V, which are common for food trucks to reduce current and wire size), batteries will be wired in series, parallel, or a combination. Always use appropriately sized battery cables with crimped and heat-shrink sealed lugs.
Next, connect your inverter to the battery bank, following the manufacturer's instructions for cable gauge and fuse requirements. Our article on how to connect an inverter to batteries provides more details. After that, connect the solar panels to the charge controller. Finally, connect the AC output of your inverter to your truck's main AC breaker panel. All DC wiring from panels to charge controller and batteries should also be protected by appropriately sized fuses or circuit breakers. Remember, grounding the entire system is critical for safety, so review our guide on how to ground an off-grid solar system. Always double-check your wiring with a multimeter before connecting the final battery terminals or flipping any breakers.
Overcoming Common Challenges and Ensuring Reliability
Going off-grid with a food truck introduces its own set of hurdles, from unpredictable weather to the wear and tear of daily operation. Being prepared for these challenges and understanding how to maintain your system will ensure your food truck remains powered and profitable.
Dealing with Shading and Weather
One of the biggest adversaries for solar production on a food truck is shading. You might be parked under a tall building, a large tree, or even have equipment on your own roof casting shadows on your panels. Even partial shading can significantly reduce the output of an entire string of panels. To mitigate this, consider using micro-inverters or optimizers on individual panels, which allow each panel to operate independently, minimizing the impact of shade on the overall array. When choosing parking spots, always prioritize areas with full, unobstructed sun exposure, especially during peak solar hours.
Weather extremes are also a factor. High temperatures can decrease panel efficiency, while extreme cold can impact battery performance, especially if you're using lead-acid batteries (though LiFePO4 handle cold much better with internal heaters). Ensure your components are rated for the environmental conditions you expect to encounter. For heavy rain or snow, having a bit of extra panel capacity (oversizing your array) can help compensate for reduced production. Keeping panels clean is also critical; dirt, grease, and grime from cooking can accumulate quickly on a food truck roof, so regular cleaning is essential.
Maintenance and Troubleshooting Tips
Regular maintenance is key to the longevity and reliability of your food truck’s solar system. This isn’t a “set it and forget it” solution. Periodically inspect your solar panels for cracks, loose mounts, and dirt buildup. Clean them regularly with mild soap and water. Check all wiring connections for corrosion or looseness, particularly at battery terminals and inverter inputs. Examine cables for any signs of chafing or damage. Monitor your battery voltage and charge cycles using a battery monitor to ensure they are performing optimally. You can find more comprehensive details in our off-grid solar maintenance guide.
If your system isn't performing as expected, start with the basics. Is there shading on the panels? Are they dirty? Check all fuses and breakers for trips. Use a multimeter to test voltage at various points – from the panels to the charge controller, and from the charge controller to the batteries. Most modern charge controllers and inverters have diagnostic displays or apps that can provide error codes or status updates, which are invaluable for troubleshooting. Sometimes, a simple reset of a component can solve a minor glitch, but for persistent issues, it might be time to consult an electrician familiar with off-grid systems.
Essential Food Truck Appliance Power Consumption Chart
Understanding the power draw of your typical food truck appliances is crucial for sizing your system accurately. This table provides estimated wattage and daily amp-hour consumption for common appliances, assuming a 12V system. Remember, these are estimates and actual values may vary.
| Appliance | Average Running Watts (W) | Peak/Starting Watts (W) | Est. Daily Usage (Hours) | Est. Daily Consumption (Wh) | Est. Daily Consumption (Ah @ 12V) |
|---|---|---|---|---|---|
| Refrigerator (Small) | 50 – 150 | 300 – 600 | 24 (50% cycle) | 1200 – 3600 | 100 – 300 |
| Refrigerator (Large) | 150 – 300 | 700 – 1500 | 24 (50% cycle) | 3600 – 7200 | 300 – 600 |
| Freezer | 100 – 250 | 600 – 1200 | 24 (50% cycle) | 2400 – 6000 | 200 – 500 |
| Commercial Griddle | 1500 – 5000 | – | 2 – 4 | 3000 – 20000 | 250 – 1667 |
| Deep Fryer | 1500 – 3000 | – | 1 – 3 | 1500 – 9000 | 125 – 750 |
| Microwave Oven | 600 – 1500 | – | 0.5 – 1 | 300 – 1500 | 25 – 125 |
| Coffee Maker | 800 – 1200 | – | 0.5 – 1 | 400 – 1200 | 33 – 100 |
| Water Pump (on-demand) | 60 – 120 | 150 – 300 | 0.5 – 1 | 30 – 120 | 2.5 – 10 |
| LED Lights (total) | 50 – 200 | – | 6 – 8 | 300 – 1600 | 25 – 133 |
| POS System / Tablet | 20 – 50 | – | 8 – 10 | 160 – 500 | 13 – 42 |
| Exhaust Fan | 100 – 300 | – | 4 – 8 | 400 – 2400 | 33 – 200 |
| Blender | 300 – 1000 | – | 0.1 – 0.2 | 30 – 200 | 2.5 – 17 |
Note: Ah @ 12V is calculated by dividing Wh by 12V. For higher voltage systems (e.g., 24V or 48V), the amp-hour draw would be proportionately lower for the same wattage.
Disclaimer
Please be aware that while this guide provides comprehensive information, off-grid solar system installation can be complex and involves working with electricity. Improper installation can lead to property damage, injury, or fire. Always consult with a qualified electrician or solar professional, and ensure all installations comply with local electrical codes and safety regulations. This content is for informational purposes only and not a substitute for professional advice.