Off-Grid System Sizing for Beginners
The dream of off-grid living often comes with a heap of questions, and for many, the biggest head-scratcher is figuring out just how much solar power they actually need. It’s easy to feel lost in a sea of watts, amp-hours, and inverter sizes, constantly worrying you'll either under-size your system and be constantly in the dark, or wildly over-spend on components you don't need. This comprehensive guide is designed specifically for beginners, breaking down the often-intimidating process of off-grid system sizing into manageable, understandable steps, ensuring you can build a reliable and cost-effective power solution.
Understanding Your Energy Needs: The First Step
Before you even think about buying a single solar panel or battery, the absolute most critical step in designing any off-grid solar system is understanding your personal or household energy consumption. Skipping this part is like trying to pack for a trip without knowing where you're going – you'll inevitably bring the wrong things or forget something essential. This isn't just about guessing; it's about a systematic approach to quantifying your power habits.
Why a Load Analysis is Crucial
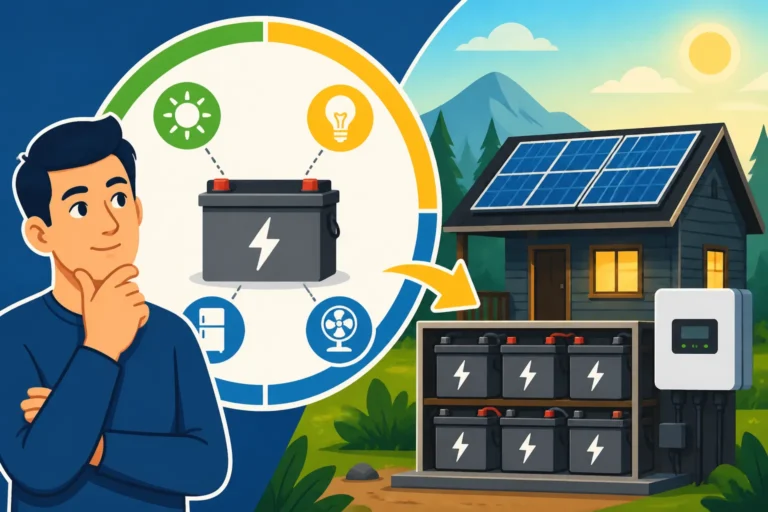
A load analysis is simply a fancy term for listing out every electrical appliance you plan to use, how many watts each one draws, and for how long you intend to use it each day. Many folks get excited about panels and batteries and jump straight into hardware, but without a clear picture of your energy appetite, you’re flying blind. This step helps you avoid the common pitfalls of either building a system that's too small and constantly leaving you wanting more power, or one that's vastly oversized, leading to unnecessary expenses on components you'll never fully utilize.
Imagine Sarah, who just bought a remote cabin in the Pacific Northwest. She initially thought, "I'll just need enough power for lights and a phone charger." But after a thorough load analysis, she realized she also wanted to run a small mini-fridge, her laptop for a few hours, and a well pump for 20 minutes daily. Each of these items, especially the fridge and well pump, dramatically changed her power requirements. Without this analysis, she would have ended up with a system that couldn’t even keep her food cold, let alone power her water supply. This crucial first step lays the groundwork for every subsequent decision, from the size of your solar array to the capacity of your battery bank.
Identifying Your Appliances
Now it's time to get specific. Grab a pen and paper, or open a spreadsheet, and make a detailed list of every single electrical device you foresee using in your off-grid setup. Don't forget the small things, as they add up! Think about everything from your coffee maker and microwave to your cell phone charger and electric toothbrush. For each item, you need to identify its wattage. This information is usually found on a label on the appliance itself, in the user manual, or by doing a quick online search for the specific model.
Consider the difference between a high-wattage appliance used for a short time and a low-wattage appliance used continuously. For example, a microwave might draw 1000-1500 watts, but you only use it for a few minutes a day. In contrast, an energy-efficient LED lightbulb might only draw 10 watts, but if it's on for 8 hours a day, its total daily energy consumption becomes significant. Pay close attention to appliances with motors, like refrigerators, well pumps, or power tools, as they often have a much higher "starting" or "surge" wattage compared to their "running" wattage. Your inverter will need to handle these momentary surges. For a deeper dive, check out our guide on how to calculate off-grid solar needs.
Calculating Your Daily Energy Consumption
Once you have your list of appliances and their wattages, the next step is to translate that raw data into a measurable daily energy requirement. This is where we move from understanding individual power draw to figuring out your total daily "energy budget" in watt-hours (Wh) or kilowatt-hours (kWh). This calculated number will be the foundation for sizing your entire off-grid system.
Watts, Watt-Hours, and Amps: Demystifying the Jargon
Let’s clear up some common terms that often confuse beginners.
- Watts (W): This is the instantaneous power draw of an appliance – how much power it uses at any given moment. Think of it like the speed of your car. A 100-watt light bulb draws 100 watts when it's on.
- Watt-hours (Wh): This measures energy over time – how much total power an appliance consumes over a specific duration. This is crucial for solar sizing. If your 100-watt light bulb is on for 5 hours, it consumes 500 watt-hours (100W x 5h = 500 Wh). This is like the total distance your car travels.
- Amp-hours (Ah): This is another measure of electrical charge, often used for battery capacity. It tells you how many amps a battery can deliver for one hour. To convert between watt-hours and amp-hours, you need to know the system voltage (V). Watt-hours = Amp-hours x Volts. So, a 100 Ah 12V battery can store 1200 Wh (100 Ah x 12V). Understanding these terms is fundamental to avoiding common off-grid sizing mistakes.
Let’s take an example: your laptop charger might say "65W." If you use your laptop for 4 hours a day, that's 65W x 4h = 260 Wh per day. A small, energy-efficient mini-fridge, on the other hand, might run intermittently throughout the day, drawing perhaps 60W when its compressor is on. If it runs for a total of 8 hours spread throughout the day, that's 60W x 8h = 480 Wh per day. This meticulous calculation for every item helps you get a precise figure for your total daily energy consumption, which is often expressed in Watt-hours per day (Wh/day). You can get even more detailed insights with a dedicated guide on how to calculate daily energy usage.
Estimating Usage Times
This is where the "realism check" comes in. For each appliance on your list, you need to realistically estimate how many hours per day you'll actually use it. Be honest with yourself! It’s better to slightly overestimate than underestimate and find yourself short on power. For continuously running items like refrigerators, remember they don't draw their full wattage 24/7; their compressors cycle on and off. You’ll need to estimate the total run time over a 24-hour period. Many modern appliances provide an estimated annual or daily kWh usage in their specifications, which can be a huge help.
For instance, if you have a well pump that draws 1000 watts, and you know you’ll need to pump water for about 15 minutes twice a day, your daily usage would be (1000W * 0.25 hours) * 2 = 500 Wh. Don't forget parasitic loads – devices that draw a tiny bit of power even when "off" or in standby mode, like TVs or microwaves with clocks. While individually small, they can add up over 24 hours. Creating a detailed table like the one below can make this process straightforward and easy to visualize.
| Appliance | Wattage (W) | Est. Hours Used/Day | Daily Watt-Hours (Wh) | Notes |
|---|---|---|---|---|
| LED Lights (total) | 50 | 6 | 300 | Evening use |
| Laptop | 65 | 4 | 260 | Work/Entertainment |
| Mini-Fridge | 60 | 12 (compressor run) | 720 | Energy Star rated |
| Phone Charger | 10 | 2 | 20 | Small, but adds up |
| Water Pump (well) | 1000 | 0.5 (30 mins total) | 500 | Essential, high surge |
| Daily Total | 1800 Wh | (Or 1.8 kWh) |
Factoring in Seasonal Changes
Your energy needs aren't static; they fluctuate throughout the year. This is particularly true for off-grid living, where environmental factors play a significant role. For example, during colder months, you might run more electric heaters (if you have them), use lights for longer periods due to shorter daylight hours, or power devices that combat cold like heating pads. Conversely, in warmer months, you might rely on fans or even small air conditioning units, which are notoriously power-hungry. If you live in a region with significant seasonal variations, your load analysis should reflect these differences.
Consider a cabin dweller in Colorado. In summer, they might use a small fan for 4 hours a day and keep their fridge stocked with cold drinks. In winter, however, they might use an electric blanket for 8 hours each night and have lights on for 8-10 hours instead of 6. This means their winter daily energy consumption could be significantly higher than their summer needs. When you design your system, it’s often best to size it for your peak usage period – usually winter – to ensure you have enough power year-round. Otherwise, you'll find yourself constantly conserving power during the toughest months.
Sizing Your Solar Panel Array
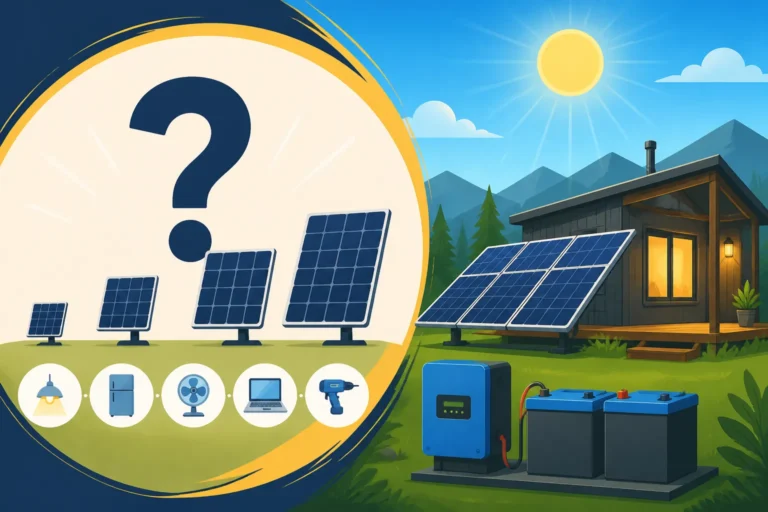
With a clear understanding of your daily energy consumption in watt-hours, you can now move on to the heart of your power generation: the solar panels. This step involves calculating how many panels, and what total wattage, you’ll need to replenish your battery bank each day, taking into account the available sunlight in your location.
Understanding Peak Sun Hours
"Peak sun hours" is a crucial concept for solar panel sizing. It's not about how many hours the sun is visibly in the sky, but rather the equivalent number of hours per day when the intensity of sunlight averages 1,000 watts per square meter (kW/m²). This is the standard measurement used to rate solar panel output. So, if your location gets 5 peak sun hours per day, it means you receive the same amount of solar energy as if the sun shone at its absolute peak intensity for 5 hours.
These peak sun hour figures vary significantly by geographical location and time of year. For example, Arizona might boast 6-7 peak sun hours daily, while a cloudy region like Seattle might only average 3-4. You can find average peak sun hour data for your specific location through various online resources, often provided by NOAA or local solar installers. When designing for year-round reliability, always use the lowest average peak sun hours for your least sunny month (typically winter) to ensure your system can still perform adequately during challenging periods. This foresight helps avoid frustrating power shortages when you need energy the most, especially if you're thinking about year-round living. To delve deeper into this concept, check out our article on Peak Sun Hours Explained.
Calculating Required Panel Watts
Now, let's put it all together to figure out your total required solar panel wattage.
Here's the basic formula:
Total Panel Watts (W) = (Daily Watt-Hours Needed x Safety Factor) / Peak Sun Hours
Let's break that down:
- Daily Watt-Hours Needed: This is the total you calculated in the previous section (e.g., 1800 Wh/day).
- Safety Factor: This is crucial! Solar panels rarely perform at 100% of their rated capacity due to factors like temperature, shading, dust, and losses in wiring. A common safety factor (or inefficiency factor) is 1.25 to 1.5. Using 1.3 means you're adding 30% more capacity to account for these real-world losses. So, if your daily need is 1800 Wh, multiply by 1.3 to get 2340 Wh.
- Peak Sun Hours: Use the figure for your worst-case month (e.g., 4 hours).
Using our example: (1800 Wh * 1.3) / 4 hours = 2340 Wh / 4 hours = 585 Watts.
This means you would need a minimum of 585 watts of solar panels. If you chose 200-watt panels, you'd need about three of them (585W / 200W per panel = 2.925, so round up to 3 panels). Many retailers, including Amazon, offer a wide variety of solar panels that can meet these specifications. Renogy, for example, has various wattage options suitable for off-grid applications. It's often wise to slightly oversize your array if your budget allows, offering a buffer against unexpectedly cloudy days or future energy needs. For more detailed calculations, explore our guide on how many solar panels for off-grid living.
Panel Placement and Orientation
The physical placement and orientation of your solar panels are just as important as their total wattage. Even the most powerful panels won't generate optimal power if they're not positioned correctly. The goal is to maximize the amount of direct sunlight they receive throughout the day and year. For most of the Northern Hemisphere, panels should face true south (not magnetic south) to capture the most sun. In the Southern Hemisphere, they should face true north.
The tilt angle is also critical. A good starting point is to set the tilt angle roughly equal to your latitude. However, for off-grid systems, you often need to consider seasonal adjustments. For winter power generation, which is typically when sunlight is weakest and demands are higher, tilting your panels steeper (latitude + 15 degrees) can significantly boost performance. In summer, you might flatten them out a bit (latitude – 15 degrees). If adjusting tilt isn't feasible, a compromise angle that balances year-round performance, usually close to your latitude, is a good choice. Avoid any shading from trees, buildings, or other obstructions at all costs, as even partial shading can drastically reduce the output of an entire string of panels. Remember, proper panel placement is key to optimizing your investment.
Determining Your Battery Bank Capacity
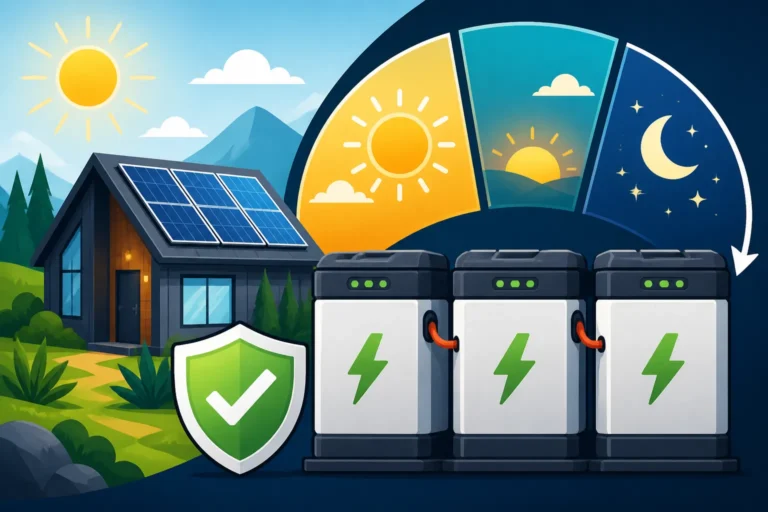
Your battery bank is the heart of your off-grid system, storing the energy generated by your solar panels for use when the sun isn't shining – at night, on cloudy days, or during peak usage. Sizing it correctly is paramount to enjoying consistent, reliable power.
Choosing Battery Chemistry: LiFePO4 vs. Lead-Acid
When it comes to off-grid batteries, you primarily have two main choices: lead-acid (including flooded, AGM, and Gel) and Lithium Iron Phosphate (LiFePO4). Your choice will significantly impact your system's performance, longevity, and initial cost.
- Lead-Acid Batteries: These are the traditional and generally more affordable option upfront. They come in various types:
- Flooded Lead-Acid (FLA): Requires regular maintenance (checking water levels, ventilation) and can only be discharged to about 50% of their capacity without significantly shortening their lifespan. They are heavy and less efficient.
- Sealed Lead-Acid (AGM/Gel): Maintenance-free, spill-proof, and can handle deeper discharges than FLAs (though 50% is still recommended for longevity). They are more expensive than FLAs but still cheaper than LiFePO4. They are also heavy.
- Lithium Iron Phosphate (LiFePO4) Batteries: These are becoming the gold standard for off-grid due to their numerous advantages:
- Can be discharged to 80-100% of their capacity regularly without significant damage.
- Have a much longer cycle life (thousands of cycles vs. hundreds for lead-acid).
- Are lighter and more compact.
- Are more efficient at charging and discharging.
- Require no maintenance.
- Perform better in a wider range of temperatures (though cold charging still requires care).
The primary drawback is their higher initial cost, but their longer lifespan and superior performance often make them more cost-effective over the long term. For a detailed comparison, explore our guide on LiFePO4 vs Lead-Acid Battery Cost. Many off-gridders find the extra investment in LiFePO4 batteries from brands like Battle Born or EG4 to be well worth it for the peace of mind and performance they offer.
Calculating Total Amp-Hours or Watt-Hours Needed
Once you've chosen your battery chemistry and system voltage (which we'll discuss next), you can calculate the required capacity. We'll typically work in Amp-hours (Ah) for DC systems or Watt-hours (Wh) for a more universal approach.
Let's stick with Watt-hours for consistency.
Total Battery Bank Capacity (Wh) = (Daily Watt-Hours Needed x Days of Autonomy) / Depth of Discharge (DoD)
- Daily Watt-Hours Needed: Your calculated daily usage (e.g., 1800 Wh).
- Days of Autonomy: This is how many days you want your batteries to power your home without any solar input (e.g., during prolonged cloudy weather). For robust off-grid systems, 2-3 days is a common target. If you're in a consistently sunny area, 1-2 days might suffice. For very remote or critical systems, you might aim for 5 or more days.
- Depth of Discharge (DoD): This refers to how much of the battery's total capacity you can safely use.
- For Lead-Acid, typically 50% (0.50). Discharging deeper drastically reduces their lifespan.
- For LiFePO4, typically 80% to 100% (0.80 to 1.0).
Let’s calculate for our 1800 Wh/day example, aiming for 2 days of autonomy:
- With LiFePO4 (80% DoD): (1800 Wh/day * 2 days) / 0.80 = 3600 Wh / 0.80 = 4500 Wh
- With Lead-Acid (50% DoD): (1800 Wh/day * 2 days) / 0.50 = 3600 Wh / 0.50 = 7200 Wh
As you can see, LiFePO4 batteries require less raw capacity to deliver the same usable energy. If your system voltage is 12V, then 4500 Wh / 12V = 375 Ah. If it's 48V, then 4500 Wh / 48V = 93.75 Ah. This demonstrates how many batteries for an off-grid system directly relates to both your usage and battery type.
Days of Autonomy: Planning for Cloudy Weather
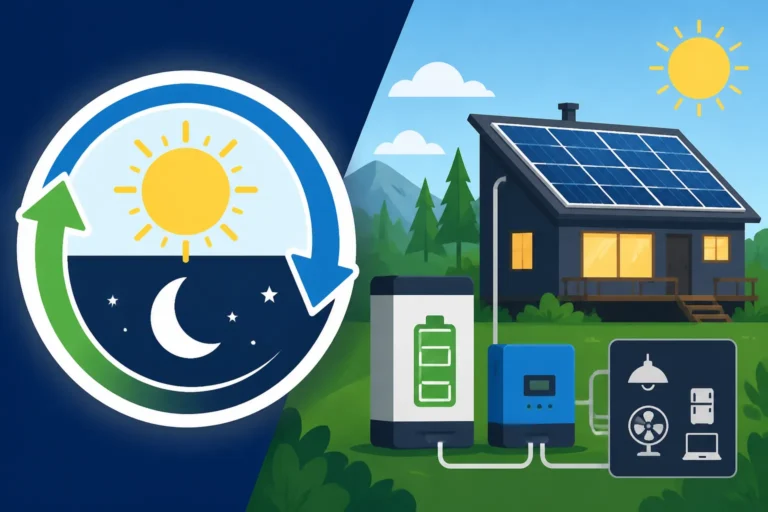
Days of autonomy refers to how long your battery bank can sustain your energy needs without any charging input from your solar panels. This is a critical factor for off-grid systems, particularly in regions prone to extended periods of bad weather, like consecutive cloudy or rainy days, or heavy snowfall that covers panels. Without adequate days of autonomy, you risk running out of power precisely when you need it most.
Imagine living in a cabin in Montana during winter. You’ve calculated your daily needs, but if a blizzard rolls in and obscures the sun for three days, your solar panels won't be generating much power. If your battery bank is only sized for one day of autonomy, you'll be without power on the second day. Most experienced off-gridders recommend aiming for at least 2 to 3 days of autonomy as a comfortable buffer. For critical loads or in regions with very unreliable sun, 5 days might be more appropriate. While increasing days of autonomy means a larger, more expensive battery bank, it provides invaluable peace of mind and reliability. This is also where a backup generator can play a vital role, kicking in to charge batteries when solar isn't available and autonomy days are running low. Understanding how to account for cloudy days is a key aspect of reliable system design.
Choosing the Right Inverter and Charge Controller
These two components are the unsung heroes of your off-grid system, responsible for managing the flow of power and converting it into a usable form for your appliances. Selecting the right size and type is vital for efficiency and reliability.
Inverter Sizing: Peak vs. Continuous Power
The inverter is what converts the DC (Direct Current) power stored in your batteries into AC (Alternating Current) power, which is what most household appliances use. When sizing an inverter, you need to consider two main ratings:
- Continuous Power Rating: This is the maximum wattage the inverter can continuously supply without overheating or shutting down. You'll need this to be equal to or greater than the sum of all the AC appliances you plan to run simultaneously. For example, if you want to run a microwave (1200W), a few lights (50W), and a TV (100W) at the same time, your continuous draw is 1350W. So, you'd need at least a 1500W inverter, but often rounding up to 2000W or 3000W provides a safer margin.
- Surge Power Rating: Many appliances, especially those with motors (refrigerators, pumps, power tools), draw a much higher amount of power for a very brief moment when they start up. This is called a "surge" or "starting" current. Your inverter must be capable of handling this surge, which can be 2-3 times its continuous rating, for a few milliseconds or seconds. If your well pump surges to 3000W, your inverter needs to be able to provide that burst, even if its continuous rating is lower.
It's common to choose an inverter that's slightly larger than your calculated continuous load, often by 20-30%, to give yourself a buffer for future needs or unexpected simultaneous loads. For a full breakdown, consult our guide on how to size an off-grid inverter. Brands like Victron Energy and Sol-Ark offer excellent inverter-chargers known for their reliability and advanced features, often integrating both inverter and charge controller functions into one unit.
Charge Controller Types: MPPT vs. PWM
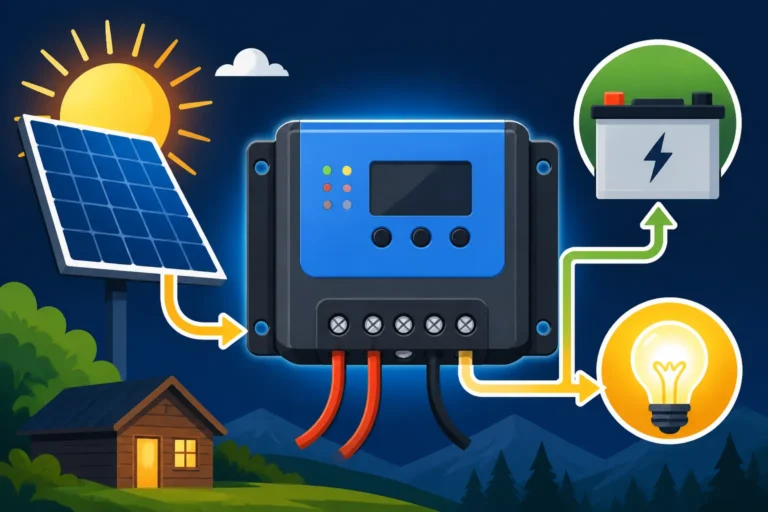
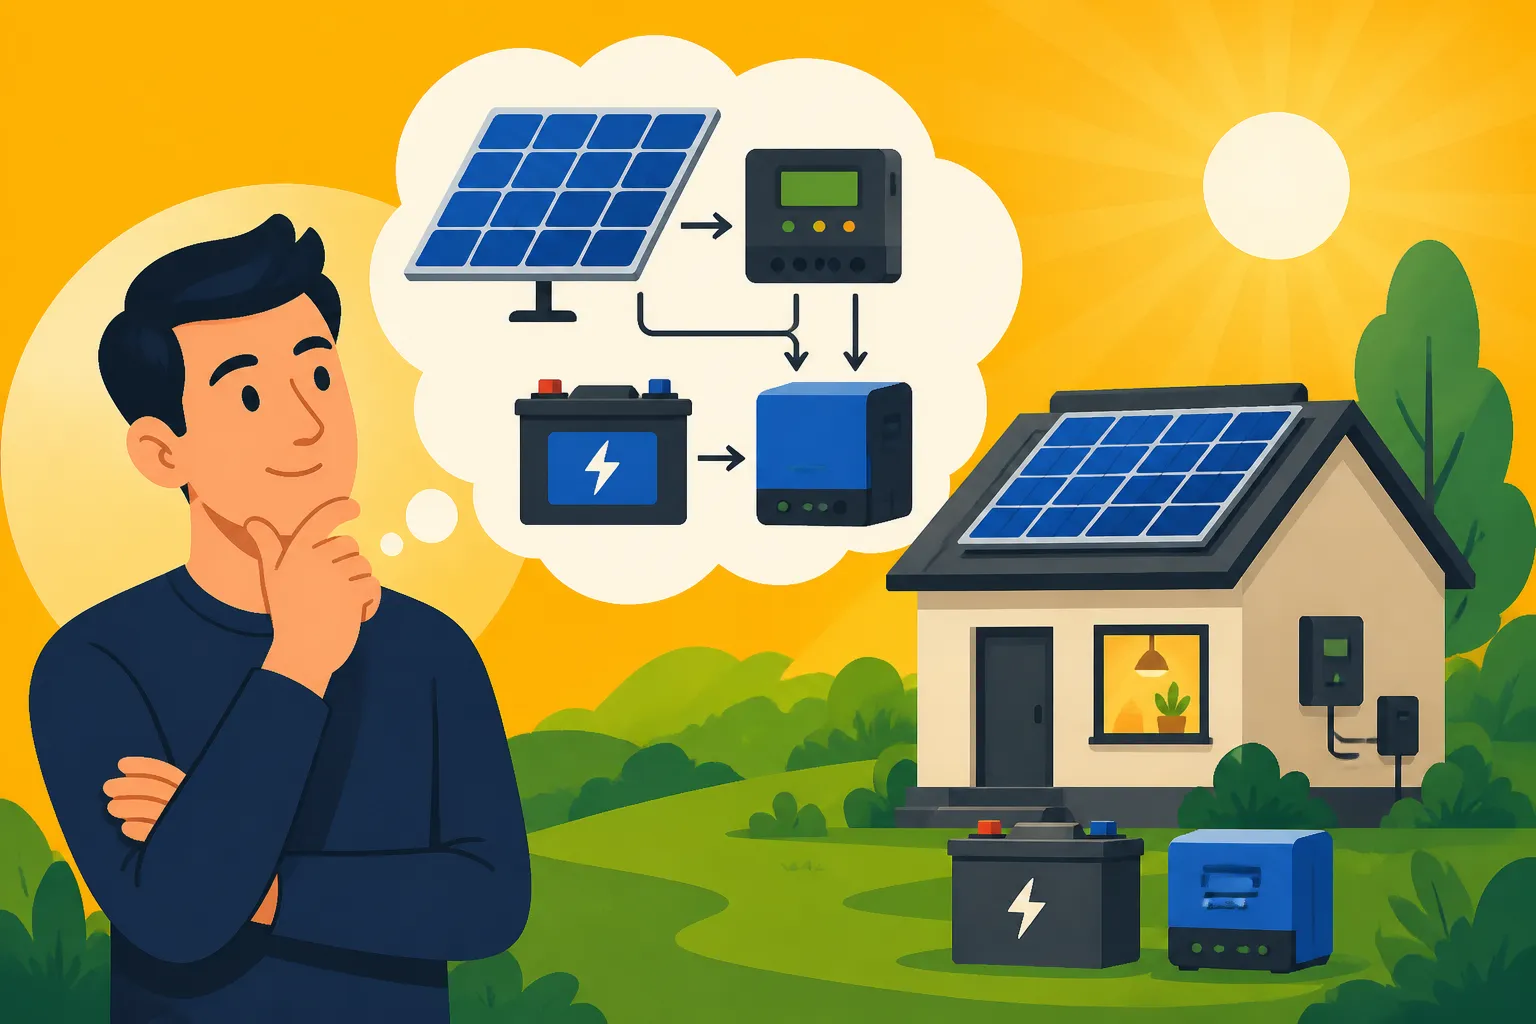
The charge controller is the "brain" that manages the power flowing from your solar panels to your batteries. It prevents overcharging, which can damage batteries, and ensures they receive the optimal charging profile. There are two primary types:
- PWM (Pulse Width Modulation) Charge Controllers: These are simpler, more affordable, and less efficient. They essentially "clip" the voltage from the solar panels to match the battery voltage, discarding any excess voltage as heat. They are best suited for smaller, simpler systems where the solar panel array voltage closely matches the battery bank voltage (e.g., a 12V panel charging a 12V battery).
- MPPT (Maximum Power Point Tracking) Charge Controllers: These are more sophisticated, more expensive, and significantly more efficient (typically 15-30% more efficient than PWM). MPPT controllers intelligently track the maximum power point of the solar array, converting excess voltage into additional current. This means they can take a higher voltage input from your panels (e.g., 24V or 48V panels) and efficiently convert it down to charge a lower voltage battery bank (e.g., 12V). This efficiency gain is particularly noticeable in cold weather or on cloudy days when panel voltage is higher.
For most modern off-grid systems, especially those of moderate to large size, an MPPT charge controller is the preferred choice due to its superior efficiency, which translates directly into more usable power from your solar panels. This is particularly true if you are running a larger system with a 24V or 48V battery bank. Renogy, for example, offers a range of MPPT controllers that are popular among DIYers for their robust performance and ease of use.
Matching Components for Efficiency
The magic of an efficient off-grid system lies in how well its components work together. It's not enough to just buy good individual parts; they must be correctly matched to each other.
For example, your solar panel array's voltage needs to be compatible with your charge controller. If you have a 48V battery bank, using a 12V PWM controller would be inefficient or impossible; you'd need an MPPT controller capable of handling a much higher input voltage from your panels (often 100-150V or more, depending on the model) and converting it down to 48V. Similarly, your inverter's input voltage must match your battery bank's voltage (e.g., a 48V inverter for a 48V battery bank). Trying to use a 12V inverter with a 48V battery bank won't work without additional conversion steps, which introduce inefficiencies.
This matching also extends to cable sizing (covered in the next section) and fuse ratings, ensuring that each component can safely handle the current it's expected to carry. A well-matched system runs smoothly, charges efficiently, and minimizes power losses, maximizing the return on your investment and the reliability of your off-grid power supply. Don't be afraid to read component specifications thoroughly or consult with experts at specialty solar retailers on platforms like Amazon if you're unsure about compatibility.
Considering System Voltage and Wiring
The voltage of your off-grid system (typically 12V, 24V, or 48V) is a foundational design choice that affects everything from component selection to wiring costs and overall system efficiency. Getting this right early on can save you headaches and money down the road.
12V, 24V, or 48V: Which is Right for You?
The choice of system voltage depends largely on the size of your energy needs and the power draw of your appliances.
- 12V Systems: These are common for very small systems, like those in RVs, vans, or small cabins with minimal power requirements. Many small DC appliances (like LED lights, phone chargers, and some fridges) are readily available in 12V. The main disadvantage is that for higher power draws, you need very thick, expensive cables to avoid significant voltage drop, and larger inverters become less efficient. Wiring 12V solar panels is often done in parallel to keep the voltage low, which can also be a consideration.
- 24V Systems: This is a good middle ground for moderate energy needs. You can run more appliances and use thinner, less expensive wiring than with a 12V system for the same amount of power. Many mid-sized off-grid setups, like those for a larger RV or a small home, opt for 24V. Inverters and charge controllers for 24V systems are widely available.
- 48V Systems: For larger homes, substantial energy demands, or systems with high-wattage appliances (like well pumps, air conditioners, or washing machines), 48V is often the most efficient choice. Higher voltage means lower current for the same power, which translates to significantly thinner, cheaper wiring, less voltage drop, and greater overall system efficiency. Large-scale inverters and MPPT charge controllers are typically designed for 48V systems, offering robust performance.
Generally, for systems over 2000 watts, moving to a 24V or ideally a 48V system becomes much more practical and efficient. It minimizes energy loss as heat in the wiring and allows for more economical cable runs. Our article on how to choose system voltage offers more guidance.
Sizing Wires and Fuses for Safety
This is not a step to be overlooked! Improperly sized wires are a major fire hazard and can lead to significant power losses due to voltage drop. Fuses and breakers are your system's safety net, protecting your components and preventing fires in case of a short circuit or overcurrent.
- Wire Sizing: The correct wire gauge (thickness) depends on three factors: the amount of current (amps) that will flow through it, the length of the wire run, and the acceptable voltage drop. Longer runs and higher currents require thicker wires. Always aim for a minimal voltage drop (typically less than 2-3%) to ensure maximum power delivery to your appliances and efficient charging of your batteries. When in doubt, go a size thicker. There are many online wire sizing calculators that can help you determine the appropriate gauge for your specific setup.
- Fuses and Breakers: These critical safety devices should be installed on both the DC (battery/panel) and AC (inverter output) sides of your system. Fuses protect against overcurrent by melting and breaking the circuit. Breakers do the same but can be reset. They must be sized appropriately for the specific wire gauge they are protecting and the maximum current draw of the circuit. For instance, a fuse protecting a circuit running at 20 amps might be rated for 25-30 amps, but never higher than the wire's maximum ampacity. Never bypass a fuse or breaker, and always use marine or automotive-grade components for DC circuits in harsh environments. Learning how to size wire and cables and how to size fuses and breakers are indispensable skills for a safe installation.
Future Expansion Considerations
One of the wisest things you can do when designing your initial off-grid solar system is to plan for future expansion. Life changes, and so do energy needs. You might start with a minimal setup for a cabin, but later decide to add a larger fridge, a washing machine, or even an electric vehicle charging station. Trying to retrofit an entirely new system can be much more costly and complex than planning for expansion from the outset.
Consider upsizing key components like your inverter or charge controller slightly beyond your immediate needs. For example, if your current calculations suggest a 3000W inverter is sufficient, investing in a 4000W or 5000W model might be a smart move if you anticipate adding more power-hungry appliances later. Similarly, choose a charge controller that can handle a higher wattage of solar panels than you initially install. If you initially install 600W of panels, a charge controller rated for 1000W-1500W could allow you to add more panels later without having to replace the controller. This forethought, while adding a small amount to your initial budget, can save you thousands in the long run and make the transition to greater energy independence much smoother. For those on a budget, considering how to phase an off-grid solar build to spread cost can be a great strategy.
Disclaimer
Please remember that while this guide provides comprehensive information, off-grid solar system design and installation can be complex and potentially dangerous if not executed correctly. Always consult with qualified professionals for specific advice tailored to your situation, and ensure all installations comply with local electrical codes and safety standards.