Off-Grid Solar System Sizing Guide
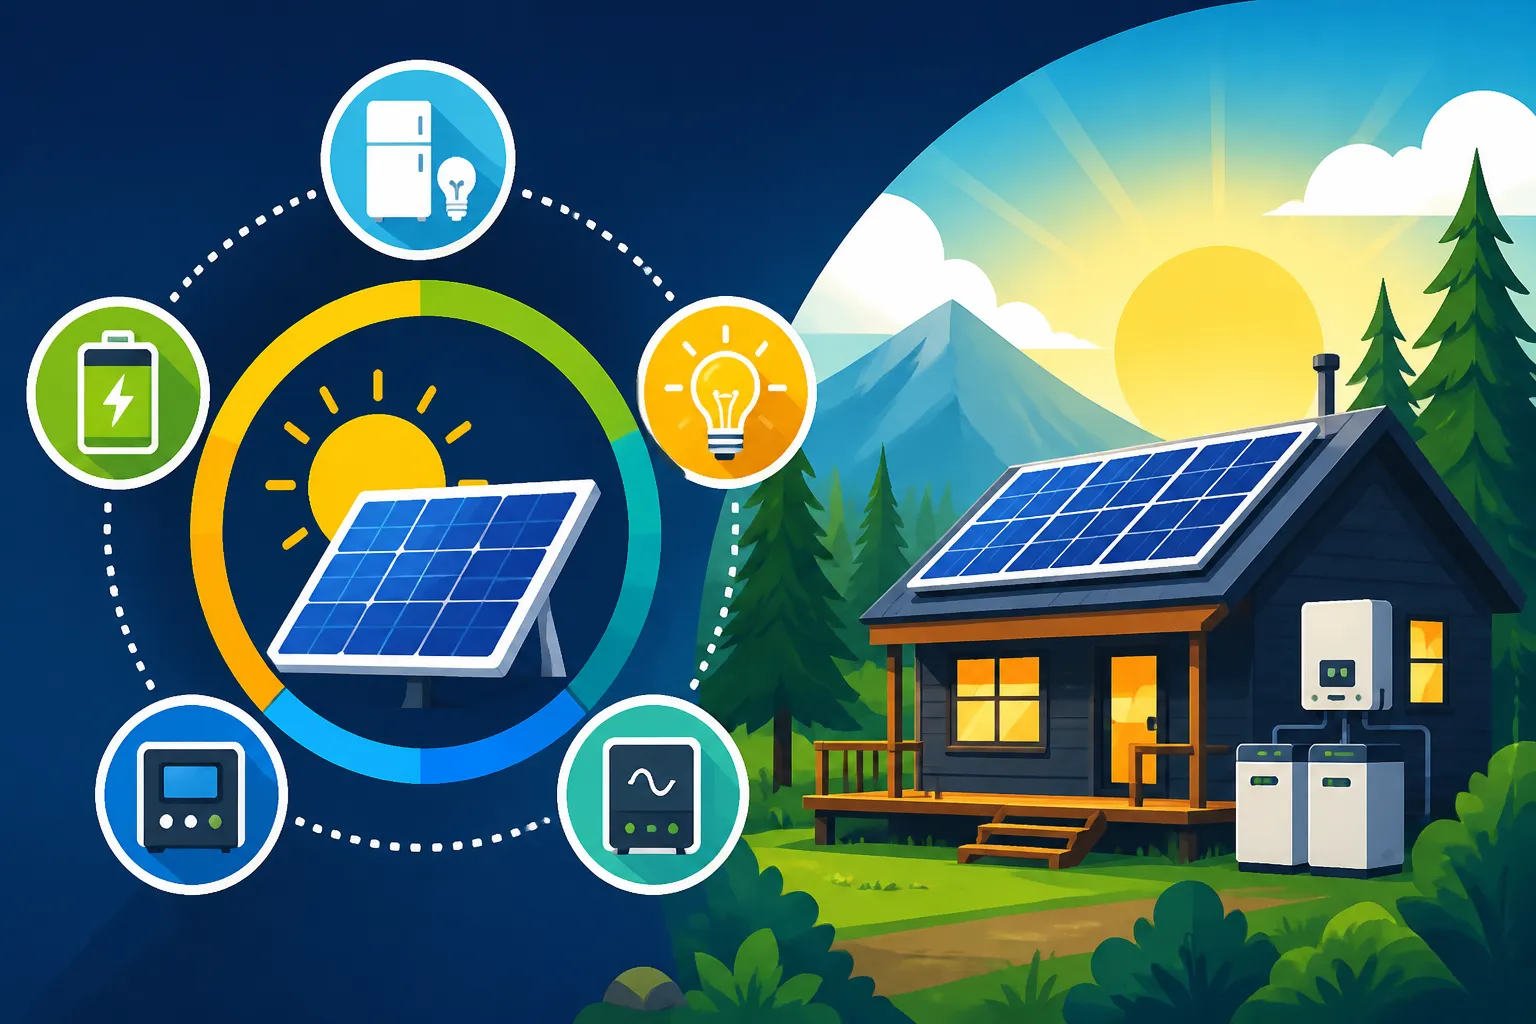
Figuring out the right size for an off-grid solar system can feel like trying to solve a giant puzzle with a lot of missing pieces, leaving many folks feeling overwhelmed and unsure where to even begin. It's a common frustration, especially when you're dreaming of energy independence but drowning in watts, amps, and obscure formulas. This comprehensive guide is here to demystify the process, walking you through each crucial step so you can confidently design a system that truly meets your unique power needs.
Understanding Your Energy Needs: The Essential Load Analysis
Before you even think about buying panels or batteries, the absolute first step—and arguably the most critical—is to understand what you actually need to power. This isn't just about guessing; it's about getting down to the nitty-gritty details of every single appliance and device you plan to use. Without a solid load analysis, you're essentially building a house without a blueprint, and that rarely ends well. It might seem tedious, but taking the time here will save you headaches, money, and potential power outages down the road.
Calculating Daily Energy Usage
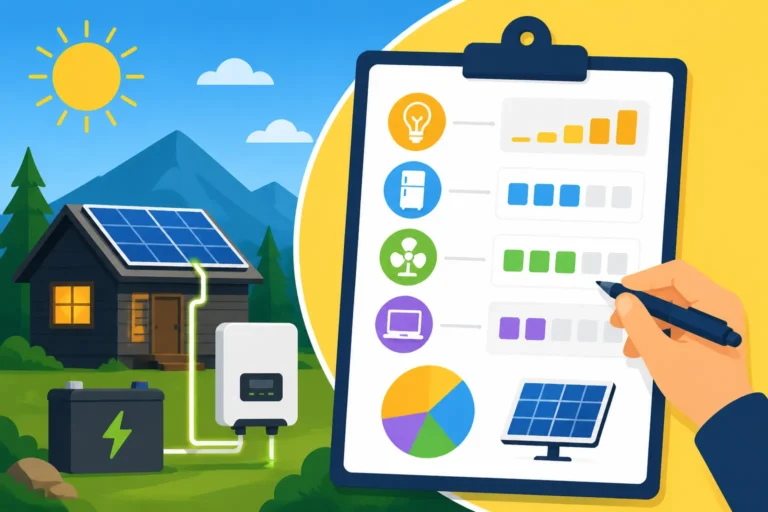
To truly grasp your energy footprint, you need to conduct a thorough inventory of every electrical item in your off-grid setup, whether it's a cozy cabin, a bustling RV, or a full-time homestead. For each item, you'll need two main pieces of information: its power consumption (measured in watts) and how long you plan to use it each day (in hours).
Let's break this down. Take your refrigerator, for example. It might draw 100 watts, but it doesn't run continuously for 24 hours. Instead, it cycles on and off throughout the day. You'd typically estimate its run time, perhaps 8-12 hours in a 24-hour period, depending on how often you open it and the ambient temperature. For items like a laptop charger, it might be 60 watts used for 4 hours a day. Lights are easier: a 10-watt LED bulb used for 5 hours. Once you have these two numbers, you multiply them together to get the daily watt-hours (Wh) for that specific appliance.
The goal here is to list everything. Don't forget those smaller, often overlooked items like phone chargers, electric toothbrushes, or even the brief power draw of a coffee grinder. Many appliances have their wattage listed on a label, often on the back or bottom. If not, a quick online search for the specific model number can usually give you a good estimate, or you can use a kill-a-watt meter to directly measure the consumption. Once you've done this for every single item, you simply add up all the individual daily watt-hours to get your total daily energy consumption. This final number is your target for what your solar system needs to generate and store every single day. For a deeper dive into this initial stage, you might find our guide on How to Calculate Daily Energy Usage particularly helpful.
Accounting for Peak and Surge Loads
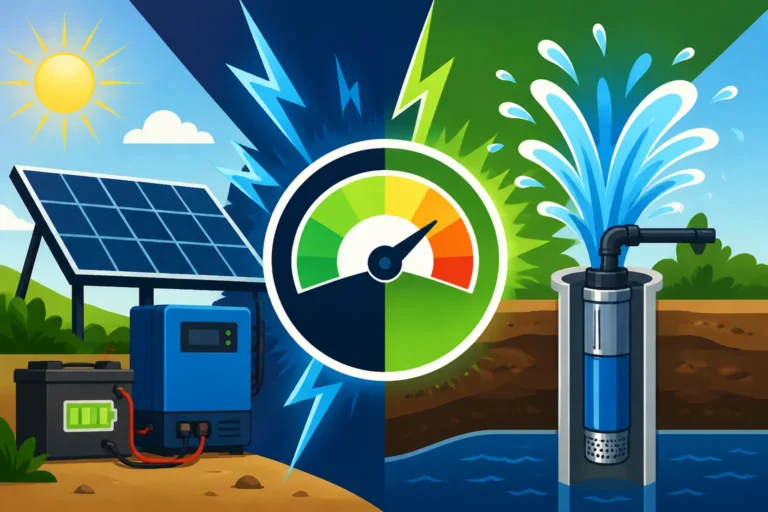
Beyond just the average daily energy, you also need to consider those moments when your system demands a sudden burst of power. This is where peak loads and surge loads come into play, and they are critical for correctly sizing your inverter. Many appliances, especially those with motors like refrigerators, well pumps, microwaves, or power tools, require a much higher wattage to start up than they do to run continuously. This initial, momentary draw is called the "surge" or "starting watt" requirement.
Imagine your well pump. It might only need 1,000 watts to run, but for the first second or two as the motor kicks on, it could demand 3,000 to 5,000 watts. If your inverter isn't capable of handling that brief surge, it will simply shut down, leaving you without water. The same applies to air conditioners or even a blender. Your load analysis needs to identify the highest simultaneous surge you anticipate. If you might turn on a microwave while the refrigerator compressor is starting, you need an inverter that can handle the combined surge of both. This is often the trickiest part of inverter sizing, as underestimating it can lead to frustrating system failures. You'll want to choose an inverter with a continuous wattage rating that comfortably handles your largest running load, and a surge rating that can handle your largest starting load, or the sum of multiple large loads if they could conceivably start at the same moment.
Determining Your Solar Panel Array Size
Once you have a clear picture of your daily energy needs, the next big piece of the puzzle is figuring out how many solar panels it will take to generate all that power. This isn't just about buying the biggest panels you can find; it involves understanding how much usable sunlight your location receives and designing an array that can consistently meet your demands, even on less-than-perfect days. If you're wondering How Many Solar Panels for Off-Grid Living, this section will give you a solid starting point.
Factoring in Peak Sun Hours
"Peak sun hours" is a concept that often confuses newcomers to off-grid solar, but it's absolutely fundamental to sizing your panel array. It's not simply the total number of hours the sun is visible in the sky. Instead, peak sun hours represent the equivalent number of hours per day when the sun's intensity averages 1,000 watts per square meter—which is essentially the optimal sunshine for solar panel production. Even if the sun is out for 10 hours, you might only have 4-6 peak sun hours, as the sun is weaker in the early morning and late afternoon.
The number of peak sun hours varies dramatically depending on your geographical location, the time of year, and even local weather patterns. A sunny desert location in Arizona will have significantly more peak sun hours than a cloudy, northern region in winter. You can find average peak sun hour data for your specific area through resources like the National Renewable Energy Laboratory (NREL) or various online solar calculators. When designing your system, it's generally best to use the lowest average peak sun hours for the time of year you want reliable power—often the winter months if you plan to live off-grid year-round. This ensures your system is robust enough for the most challenging conditions. Ignoring this crucial factor can lead to an undersized array that leaves you in the dark when you need power most. Understanding How Winter Affects Off-Grid Sizing is paramount here.
Calculating Required Panel Wattage
With your total daily watt-hours from the load analysis and your local peak sun hours in hand, you can now calculate the total wattage your solar panel array needs to produce. The basic formula is quite straightforward:
Total Daily Watt-Hours (from load analysis) / Peak Sun Hours (for your location/season) = Minimum Required Panel Wattage
Let's say your load analysis revealed you need 3,000 Wh per day, and your conservative estimate for winter peak sun hours is 4. In this scenario, you'd need a minimum of 750 watts of solar panels (3000 Wh / 4 hours = 750 W).
However, this is just the minimum. It's wise to build in a buffer, or "oversize" your array, for several reasons. Panels don't always perform at their rated capacity due to temperature, dust, or partial shading. You also need to account for system inefficiencies in your wiring, charge controller, and inverter, which can lead to a 10-20% loss. Most importantly, oversizing provides crucial power production on cloudy days, which are an inevitable part of off-grid living. Aiming for 20-30% more panel wattage than your minimum calculated value is a common best practice. If your calculations suggest 750 watts, you might aim for a 900W to 1000W array. When shopping for panels, you'll find various brands like Renogy offer a range of sizes, from small 100W panels ideal for a Cost of a 100W Off-Grid Solar System to much larger ones for whole-home systems, giving you flexibility to meet your target.
Sizing Your Off-Grid Battery Bank
The battery bank is the heart of any off-grid solar system. It's where all that precious solar energy is stored, ready to power your home when the sun isn't shining—at night, on cloudy days, or during extended periods of bad weather. Sizing it correctly is paramount to ensuring reliable, continuous power without constantly stressing your batteries, which can dramatically shorten their lifespan. This component often represents a significant portion of the overall Off-Grid Solar Cost: Complete Breakdown, so getting it right from the start is financially savvy.
Days of Autonomy and Depth of Discharge
When we talk about battery bank sizing, two terms are absolutely fundamental: "days of autonomy" and "depth of discharge" (DoD).
Days of Autonomy refers to how many days your fully charged battery bank can sustain your daily power needs without any additional input from your solar panels (i.e., during prolonged cloudy weather). For recreational use, like a weekend camping trip, 1-2 days of autonomy might be sufficient. For full-time off-grid living, especially in areas prone to extended periods of cloud cover, 3-5 days is a much safer bet. This buffer is critical for peace of mind and consistent power. If you live in a notoriously overcast region, you might even consider more.
Depth of Discharge (DoD) relates to how much of the battery's total capacity you can safely use before recharging. This is where battery chemistry makes a huge difference.
- Lead-acid batteries (like flooded lead-acid or AGM) typically shouldn't be discharged more than 50% to maximize their lifespan. Regularly discharging them past this point will severely reduce the number of cycles they can provide. So, if you have a 100 Ah lead-acid battery, you can only safely use about 50 Ah.
- Lithium Iron Phosphate (LiFePO4) batteries are much more forgiving. They can typically be discharged up to 80-100% without significant harm to their cycle life. This means a 100 Ah LiFePO4 battery can provide nearly 100 Ah of usable power, making them incredibly efficient for off-grid applications despite a higher upfront cost.
Understanding these concepts is vital because it means your usable battery capacity is often less than its rated capacity, especially with lead-acid systems.
Calculating Battery Capacity
To calculate your required battery capacity, you'll start with your total daily energy consumption (in Watt-hours) and factor in your desired days of autonomy and the battery's usable depth of discharge.
Here's the step-by-step process:
- Total Watt-hours Needed: Multiply your daily energy consumption (e.g., 3,000 Wh/day) by your desired days of autonomy (e.g., 3 days).
- Example: 3,000 Wh/day * 3 days = 9,000 Wh total.
- Account for Inverter Efficiency: Your inverter isn't 100% efficient at converting DC battery power to AC power for your appliances. Assume about 85-90% efficiency. Divide your total Watt-hours needed by this efficiency.
- Example: 9,000 Wh / 0.88 (for 88% efficiency) = 10,227 Wh. This is the amount of energy your batteries need to store.
- Account for Depth of Discharge (DoD): Divide the result by the usable DoD (e.g., 0.50 for lead-acid or 0.80 for LiFePO4).
- Example (LiFePO4): 10,227 Wh / 0.80 = 12,784 Wh total battery bank capacity.
- Example (Lead-Acid): 10,227 Wh / 0.50 = 20,454 Wh total battery bank capacity.
- Convert to Amp-hours (Ah) for a specific voltage: Most batteries are rated in Amp-hours. To convert Watt-hours to Amp-hours, you need to choose your system voltage (12V, 24V, or 48V). Divide your total required Watt-hours by your system voltage.
- Example (48V LiFePO4): 12,784 Wh / 48V = 266 Ah. So, you'd need a 48V battery bank with a nominal capacity of at least 266 Ah.
This calculation shows why a higher system voltage (like 48V) is often preferred for larger off-grid systems; it reduces the amperage, which means thinner wires and less voltage drop. For more details on system voltage, check out 12V vs 24V vs 48V: Which to Choose. Brands like EG4 and Battle Born are popular choices for high-performance LiFePO4 batteries, offering excellent cycle life and deep discharge capabilities that streamline these calculations.
Choosing Battery Chemistry and Type
The choice of battery chemistry is a monumental decision that impacts not only the upfront Cost of an Off-Grid Solar Battery Bank but also the long-term performance, maintenance, and overall lifespan of your off-grid system. The primary contenders are lead-acid (flooded, AGM, Gel) and Lithium Iron Phosphate (LiFePO4).
Lead-Acid Batteries: These have been the workhorse of off-grid systems for decades, largely due to their lower initial cost.
- Flooded Lead-Acid (FLA): These are the most traditional and often the cheapest upfront. They require regular maintenance (checking water levels, equalizing charges) and must be vented due to hydrogen gas production. Their DoD is typically 50%, and they are heavy.
- Absorbed Glass Mat (AGM): A sealed, maintenance-free version of lead-acid. They don't require venting and can be installed in more orientations, making them popular for RVs or smaller cabins. They still have a ~50% DoD and are more expensive than FLAs.
- Gel Batteries: Another sealed lead-acid option, similar to AGM but with a gelled electrolyte. They are very robust for deep discharges but have lower peak current capabilities and are sensitive to overcharging.
All lead-acid batteries are sensitive to temperature extremes and can experience significant performance degradation in cold weather. Their cycle life (how many times they can be charged and discharged) is generally much lower than lithium batteries.
Lithium Iron Phosphate (LiFePO4) Batteries: These are the modern champions of off-grid energy storage, rapidly gaining popularity despite a higher initial price tag.
- Advantages: They offer a much higher usable capacity (80-100% DoD), a significantly longer cycle life (often 10+ years or thousands of cycles), faster charging capabilities, lighter weight, and are virtually maintenance-free. They also perform better in varying temperatures, although some models have specific low-temperature charging cutoffs.
- Disadvantages: The upfront cost is higher, but when you factor in their lifespan and usable capacity, their LiFePO4 vs Lead-Acid Battery Cost often works out to be more economical over the long haul. Most LiFePO4 batteries come with an integrated Battery Management System (BMS) for safety and optimal performance.
For systems demanding high reliability, long life, and minimal maintenance, LiFePO4 is usually the preferred choice, especially for a full-time residence or year-round cabin. For smaller, intermittent use cases or on a very tight budget, lead-acid batteries can still be a viable option, provided you understand their limitations and commit to proper maintenance.
Selecting the Right Inverter
The inverter is the unsung hero of your off-grid system, quietly converting the DC (Direct Current) power stored in your batteries into usable AC (Alternating Current) power for most of your household appliances. Without the right inverter, even the most robust solar array and battery bank can't deliver the juice to your devices. This critical component needs to be sized not just for your average daily use, but for those peak moments of power demand. You can find out more by reading our article on How to Size an Off-Grid Inverter.
Continuous Power vs. Surge Rating
When you're looking at inverters, you'll notice two primary power ratings: continuous power and surge rating. Understanding the difference is vital for a smoothly functioning system.
Continuous Power Rating refers to the maximum wattage the inverter can supply on an ongoing basis, hour after hour. This rating needs to be equal to or greater than the sum of all the running watts of all the AC appliances you anticipate using at the same time. For example, if you plan to run your refrigerator (150W), a few lights (50W), your laptop (60W), and a TV (100W) all at once, your continuous load would be 360W. Your inverter's continuous rating should comfortably exceed this, perhaps 500W or even 1000W to give you some headroom. It’s always better to slightly overestimate your simultaneous continuous load than to undersize, as an overloaded inverter will typically shut down to protect itself.
Surge Rating, on the other hand, is the maximum wattage the inverter can provide for a very short duration, usually a few seconds. This is specifically designed to handle the momentary "starting surge" of motor-driven appliances we discussed earlier—think refrigerators, microwaves, well pumps, or power tools. A refrigerator might have a continuous draw of 150W, but its compressor could surge to 1000W or more for a split second when it kicks on. Your inverter's surge rating must be high enough to accommodate the highest surge of any single appliance, or the combined surge of multiple appliances that might start simultaneously. For instance, if your largest surge comes from a well pump at 3000W, your inverter should have a surge rating of at least 3000W, even if its continuous rating is much lower. Inverters from brands like Victron Energy or Sol-Ark are known for their robust surge capabilities, making them excellent choices for demanding off-grid setups.
Pure Sine Wave vs. Modified Sine Wave
The type of waveform an inverter produces is another critical consideration, impacting the compatibility and performance of your appliances.
Modified Sine Wave (MSW) Inverters: These are generally less expensive. They produce a "stepped" or "choppy" approximation of an AC sine wave. While they can power basic resistive loads like lights, heating elements, and some older electronics, they are not suitable for all devices. Many modern electronics, appliances with motors (like refrigerators, microwaves), medical equipment (like CPAP machines), and anything with sensitive circuitry can be damaged, run inefficiently, or simply not work with a modified sine wave inverter. You might experience buzzing noises from fans or motors, reduced efficiency, or even permanent damage to your delicate electronics. For a simple, budget-friendly setup powering only basic items, an MSW inverter might suffice, but it comes with significant limitations.
Pure Sine Wave (PSW) Inverters: These are the gold standard for off-grid power. They produce a clean, smooth, and consistent waveform that is identical to the power you get from the utility grid. This means they are compatible with all AC appliances, including sensitive electronics, motor-driven devices, and medical equipment. While they are typically more expensive than modified sine wave inverters, the benefits in terms of appliance compatibility, efficiency, and protection for your valuable electronics are well worth the investment for any serious off-grid system. For full-time off-grid living or powering anything beyond simple lights, a pure sine wave inverter is an absolute necessity.
Sizing Your Charge Controller
The charge controller is the brains of your solar charging system. Its job is crucial: it regulates the voltage and current coming from your solar panels to your battery bank, preventing overcharging and ensuring optimal battery health. Without a properly sized and functioning charge controller, you risk damaging your expensive batteries, shortening their lifespan, and compromising the reliability of your entire off-grid setup. Understanding How to Choose an Off-Grid Charge Controller is as important as any other component decision.
MPPT vs. PWM Technologies
There are two main types of charge controllers used in off-grid solar systems, each with its own advantages and ideal applications: Pulse Width Modulation (PWM) and Maximum Power Point Tracking (MPPT).
Pulse Width Modulation (PWM) Charge Controllers: These are generally simpler, less expensive, and less efficient than MPPT controllers. A PWM controller works by essentially connecting the solar array directly to the battery when charging, then rapidly switching it on and off to maintain the battery's voltage at a safe level. This means the panel voltage drops to match the battery voltage during charging. While effective for smaller systems, particularly those with a panel voltage that closely matches the battery bank voltage (e.g., a 12V panel charging a 12V battery), PWM controllers are less efficient at harvesting power, especially in colder temperatures or when there's a significant difference between the panel's open-circuit voltage (Voc) and the battery voltage. They can be a good budget-friendly option for small, simple systems, like a tiny shed setup or a backup power source for minimal loads.
Maximum Power Point Tracking (MPPT) Charge Controllers: These are more sophisticated, more expensive, and significantly more efficient. An MPPT controller constantly tracks the maximum power point (MPP) of the solar array, converting any excess panel voltage into additional amperage. This means it can take a higher voltage input from your solar panels (e.g., 60V panels) and efficiently convert it down to the appropriate voltage for your battery bank (e.g., 24V or 48V), all while maximizing the current output. This ability to down-convert voltage and boost current results in 15-30% more power harvest compared to PWM controllers, especially in varying weather conditions or when panel voltage is much higher than battery voltage. For medium to large off-grid systems, year-round living, or in locations with less-than-ideal sun conditions, an MPPT charge controller is almost always the superior choice, as the increased efficiency quickly offsets the higher upfront cost. Brands like Victron Energy and Outback Power are renowned for their high-quality MPPT controllers.
Calculating Charge Controller Amperage
Sizing your charge controller correctly involves ensuring it can handle the maximum current that your solar panel array can produce. If your controller is too small, it could overheat, fail, or limit the power production of your panels.
The calculation is relatively simple:
- Calculate Total Peak Solar Array Amperage:
- Find the "Maximum Power Current" (Imp or Isc, typically Imp for more accurate sizing) listed on your solar panel's specifications.
- If you have multiple panels in parallel, add their Imp values together.
- If you have panels in series, the Imp remains the same as a single panel, but the voltage adds up.
- A simpler way for many is to take your total calculated solar panel wattage (e.g., 1000W) and divide it by your battery bank voltage (e.g., 48V). This gives you the maximum theoretical charging current.
- Example: 1000W / 48V = 20.83 Amps.
- Add a Safety Factor: Electrical codes and best practices recommend adding a 25% safety margin to this calculated amperage to account for fluctuating conditions and ensure the controller isn't constantly running at its maximum limit.
- Example: 20.83 Amps * 1.25 = 26.04 Amps.
Therefore, for this example, you would need a charge controller rated for at least 26-30 Amps. It's always a good idea to round up to the next available size (e.g., a 30A or 40A controller). Remember that MPPT controllers generally allow for higher panel voltage inputs, which can mean running longer strings of panels in series, simplifying wiring and sometimes allowing for smaller gauge wire between the panels and the controller. However, the charge controller itself must be rated for the full output current it will send to the batteries. For more help with specific sizing, you can always refer to guides like How to Size a Charge Controller.
Wire, Fuses, and Breaker Sizing
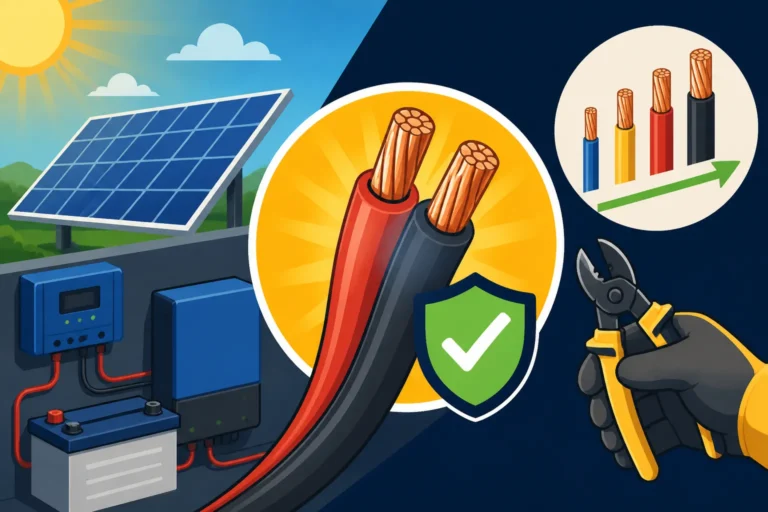
Once you have all your main components—panels, batteries, inverter, and charge controller—selected, you might think the hard part is over. But an off-grid solar system is only as strong and safe as its wiring and protective devices. Skimping on proper wire gauge, fuses, or breakers can lead to dangerous overheating, inefficient power delivery, and even catastrophic fires. This isn't just about functionality; it's about safety.
Understanding Wire Gauge and Voltage Drop
Choosing the correct wire gauge is critical for two main reasons: safety and efficiency.
Safety: Wires are rated to carry a certain amount of current (amperage) safely. If you run too much current through a wire that's too thin (higher gauge number means thinner wire, e.g., 14 AWG is thinner than 10 AWG), it will heat up. Excessive heat can melt the wire's insulation, potentially causing short circuits, fires, or damage to your equipment. The National Electrical Code (NEC) provides strict guidelines for wire sizing based on current, insulation type, and ambient temperature.
Efficiency (Voltage Drop): Electricity experiences "voltage drop" as it travels through a wire. The longer the wire run, and the thinner the wire, the more voltage is lost. In AC systems, a small voltage drop might not be a huge issue, but in DC (Direct Current) systems (like between your solar panels and charge controller, or between your batteries and inverter), even a small voltage drop can significantly impact performance. For example, a 3% voltage drop on a 12V system means you're losing nearly 0.4V, which is a substantial percentage of your usable power. This directly translates to less power reaching your batteries, reduced charging efficiency, and decreased battery lifespan.
To properly size wires, you need to consider:
- Current (Amperage): The maximum current that will flow through the wire (from your panel array, to your charge controller, to your batteries, and from your batteries to your inverter).
- Distance: The one-way length of the wire run.
- System Voltage: Higher voltages (e.g., 48V) can transmit the same amount of power at lower currents, reducing the need for very thick wires compared to a 12V system.
- Conductor Material: Copper is more conductive than aluminum.
Many online calculators and wiring charts can help you determine the appropriate wire gauge for different sections of your system, aiming for a voltage drop of no more than 1-3%. This ensures your system operates safely and efficiently. Remember, buying a high-quality wire from a reputable source, even if it costs a bit more, is a wise investment in your system's longevity and safety.
Protecting Your System with Fuses and Breakers
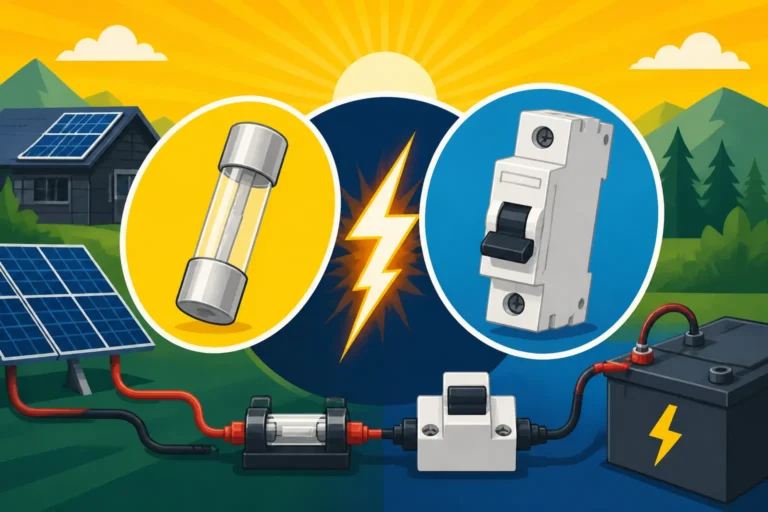
Fuses and circuit breakers are non-negotiable safety devices in any off-grid solar system. Their purpose is simple yet critical: to protect your valuable equipment and prevent electrical fires by interrupting the flow of current when it exceeds a safe level (an overcurrent event).
You'll need fuses or breakers at several key points:
- Between Solar Panels and Charge Controller: This protects the wiring and the charge controller from overcurrents that could originate from the solar array (e.g., if multiple panels are accidentally shorted or if there's an internal panel fault).
- Between Charge Controller and Battery Bank: This protects the charge controller and the battery wiring from overcurrents originating from the battery bank itself, which can supply extremely high currents.
- Between Battery Bank and Inverter: This is one of the most critical points. Batteries, especially large banks, can deliver massive amounts of current. If there's a short circuit in your inverter or the wiring to it, a fuse or breaker here will prevent the batteries from catastrophically overheating or catching fire. The fuse or breaker at this location needs to be robust, typically a DC-rated breaker or a large fuse like those available on Amazon or through specialized solar distributors.
- On the AC Output of the Inverter: This protects your AC wiring and appliances from overcurrents in your AC distribution panel. These are standard AC circuit breakers, similar to those found in grid-tied homes.
Sizing Fuses and Breakers: The general rule is to size the fuse or breaker to protect the smallest conductor in the circuit. For example, if your wire is rated for 60 amps, you'd typically use a 50-amp fuse or breaker. You'll need to check the maximum current ratings for all your components (panels, charge controller, inverter, battery bank) and ensure your overcurrent protection is correctly rated to protect each segment of the system. Never use a fuse or breaker with a higher rating than the wire it's protecting. It's also vital to use DC-rated breakers and fuses for the DC side of your system, as AC breakers are not designed to safely interrupt high-voltage DC arcs.
Planning for Real-World Conditions
Designing an off-grid solar system isn't just a theoretical exercise on paper; it's about creating a robust, reliable power source that can withstand the unpredictable nature of real-world conditions. Overlooking factors like seasonal changes or potential shading can quickly turn your dream of energy independence into a frustrating reality of power shortages.
Seasonal Variations and Shading
The sun doesn't shine with the same intensity or for the same duration every day, and your solar system's performance will fluctuate accordingly.
Seasonal Variations:
- Winter: This is often the most challenging season for off-grid solar. Days are shorter, the sun is lower in the sky (reducing effective insolation, even in sunny regions), and cloudy, snowy, or rainy weather is more frequent. Snow accumulation on panels can completely block production. You must size your system based on your worst-case scenario, which for most northern hemisphere locations, means accounting for the reduced sun hours and increased likelihood of cloudy days in winter. This often means significantly oversizing your solar array to compensate. If you only plan to use your system seasonally in summer, your sizing can be more lenient. Our guide on How to Design Off-Grid Solar for Winter delves deeper into these considerations.
- Summer: Longer days and a higher sun angle mean abundant solar production. Your panels will often generate more power than you need, which is a great opportunity to fully charge your batteries and potentially use that excess for higher loads.
Shading: This is an insidious enemy of solar production. Even partial shading on just one part of a panel, or one panel in a series string, can drastically reduce the output of the entire array. Things like tall trees, chimneys, dormers, utility poles, or even accumulated dust and bird droppings can cause shading.
- Mitigation: When planning your panel placement, meticulously observe the sun path throughout the day and year to identify potential shading sources. Trim trees if necessary. Use micro-inverters or optimizers on individual panels if partial shading is unavoidable (though these are more common in grid-tied setups, some hybrid off-grid systems use them). For traditional string arrays, ensure all panels in a series string receive equal sunlight. If you have significant shading concerns, you might need to install multiple, smaller strings with separate charge controllers, or consider an MPPT controller that can better handle varying input voltages. Planning around shading requires careful consideration of How to Plan Panel Placement and Angle.
Future Expansion and Redundancy
Thinking long-term when designing your off-grid system can save you considerable hassle and expense down the road. Your energy needs might change, or you might simply want more reliability.
Future Expansion:
- Modular Design: Try to design your system with modularity in mind. This means choosing components that allow for easy additions later. For instance, if you start with a 24V system, ensure your inverter and charge controller can accommodate future additions of panels or batteries. Many charge controllers can handle more panel wattage than you initially install. Look for inverters that can be stacked in parallel to increase power output. Using a busbar for battery connections also makes it easier to add more batteries.
- Wiring Capacity: Run slightly oversized conduit and wiring from the start, especially between your main components. It's far easier and cheaper to run thicker wire once than to tear everything apart to upgrade it later.
- Battery Management System (BMS): If using LiFePO4 batteries, ensure your BMS is compatible with adding more battery capacity later, or consider a system like the EcoFlow Power Kit which is designed for easy expansion.
Redundancy and Backup:
- Generator Integration: Even the most robust solar system can be challenged by extremely long periods of bad weather or unusually high consumption. Integrating a backup generator is a common and wise choice for full-time off-grid living. Your inverter-charger can often manage the generator automatically, starting it when battery levels are low and shutting it off when they're recharged. Consider how to add a generator to your design from the outset.
- Oversizing: As mentioned earlier, oversizing your solar array and battery bank provides a built-in level of redundancy. It gives you a larger buffer against unexpected energy demands or prolonged cloudy spells.
- Component Reliability: Invest in high-quality, reputable brands for your critical components. While tempting, choosing the cheapest options often leads to higher failure rates and more frustration. Checking reviews on platforms like Amazon can give you an idea of real-world performance for various brands.
By considering these real-world factors, you're not just building a solar system; you're creating a resilient and adaptable power solution that will serve you well for years to come, regardless of what Mother Nature throws your way.
Common Appliance Wattage and Daily Usage Estimates
To help you with your initial load analysis, here's a table of common appliances and their typical wattage and estimated daily usage. Remember, these are averages, and your specific appliance may vary. Always check the label if possible!
| Appliance | Typical Wattage (Running) | Estimated Daily Usage (Hours) | Daily Watt-Hours (Wh) (Example) |
|---|---|---|---|
| LED Light Bulb (10W) | 10W | 5 | 50 |
| Laptop Charger | 40-70W | 4 | 200 (for 50W) |
| Phone Charger | 5-10W | 2 | 10 (for 5W) |
| Refrigerator (Energy Star) | 50-150W | 8-12 (cycling) | 800-1800 |
| Microwave (Small) | 600-1000W | 0.25 (15 min) | 150-250 |
| TV (LED, 32-inch) | 30-60W | 4 | 120-240 |
| Toaster | 800-1500W | 0.1 (6 min) | 80-150 |
| Coffee Maker | 800-1200W | 0.25 (15 min) | 200-300 |
| Well Pump (1/2 HP) | 750-1500W | 0.5-2 (cycling) | 375-3000 |
| Washing Machine (HE) | 500-2000W | 0.5-1 | 250-2000 |
| Mini-Split AC (9000 BTU) | 500-1000W | 4-8 | 2000-8000 |
| Blender | 300-600W | 0.1 (6 min) | 30-60 |
| Hair Dryer | 1000-1800W | 0.1 (6 min) | 100-180 |
| CPAP Machine (w/ humidifier) | 30-60W | 8 | 240-480 |
| Starlink Satellite Internet | 50-75W | 24 | 1200-1800 |
Disclaimer
The information provided in this guide is intended for educational purposes only and should not be taken as professional electrical engineering advice. Off-grid solar system design and installation involve electrical work and potential hazards. Always consult with a qualified electrician or solar professional to ensure your system is safely and correctly designed, installed, and compliant with all local codes and regulations.