Best Solar Setup for Van Life
Embarking on van life promises unparalleled freedom, but the nagging question of reliable power can quickly turn that dream into a logistical headache. Running out of juice for your fridge, laptop, or even just lights when you're miles from the nearest outlet is a real frustration. This comprehensive guide will walk you through everything you need to know to design, choose, and understand the best solar setup for your van life adventures, ensuring you stay powered up no matter where the road takes you.
Understanding Your Van Life Power Needs
Before you even think about buying solar panels or batteries, the absolute first step is to accurately understand your daily power consumption. Many van lifers skip this, making assumptions, and then end up with an undersized or oversized system. An undersized system means constant stress about power, while an oversized one means you've spent more money and added unnecessary weight to your rig.
Conducting a Comprehensive Load Audit
This is the bedrock of your entire solar design. You need to list every single electrical device you plan to use in your van, from your mini-fridge to your phone charger, and estimate how long you'll use it each day. Don't forget about those intermittent loads like a water pump, a ceiling fan, or even the power draw from your inverter itself when it's on but not actively powering anything. Think of this as creating a detailed inventory of your electrical lifestyle on wheels.
For each item, try to find its wattage (W) or amperage (A) and voltage (V). Most appliances will have a label. If it's in amps, multiply by voltage to get watts (Watts = Amps x Volts). Then, multiply the wattage by the estimated hours of daily use to get Watt-hours (Wh) per day. This crucial number tells you your total daily energy consumption. For instance, a 50W mini-fridge running 12 hours a day consumes 600 Wh. A 10W phone charger used for 3 hours consumes 30 Wh. Adding these up gives you your baseline. This process is fully explained in our guide on How to Calculate Daily Energy Usage.
Considering Days of Autonomy and Peak Sun Hours
Once you have your total daily Watt-hours, you need to think about how many days you want to be able to run your system without any solar input – this is your "days of autonomy." For van life, where you might encounter several consecutive cloudy days or camp in shaded areas, aiming for 2-3 days of autonomy is a smart move. This means your battery bank needs to store enough energy to cover your daily needs for that many days. A deeper dive into this can be found in our post How to Calculate Days of Autonomy.
Another critical factor is your "peak sun hours." This isn't just how many hours the sun is out, but how many effective hours of full-intensity sunlight your panels receive. This varies significantly by location and time of year. For example, in sunny Arizona in July, you might get 6-7 peak sun hours, but in rainy Oregon in December, it could drop to 1-2. You need to design for your worst-case scenario or be prepared to supplement with a generator or shore power during those times. Online resources and apps can help you estimate peak sun hours for different regions.
| Appliance (Common Van Life) | Average Wattage (W) | Est. Daily Use (Hours) | Daily Watt-Hours (Wh) |
|---|---|---|---|
| Mini Fridge (DC) | 30-60 | 12-24 (intermittent) | 360-1440 |
| LED Lights (total) | 10-30 | 4 | 40-120 |
| Laptop Charging | 40-80 | 2 | 80-160 |
| Phone Charging | 5-10 | 2 | 10-20 |
| Water Pump | 50-70 | 0.5 | 25-35 |
| Ceiling Fan | 15-30 | 6 | 90-180 |
| Diesel Heater | 20-40 | 8 | 160-320 |
| Blender (AC) | 300-600 | 0.1 (6 min) | 30-60 |
| Starlink (active) | 50-75 | 4 | 200-300 |
Note: Wattage and usage are estimates and can vary widely by specific appliance model and individual habits.
Key Components of a Van Life Solar System
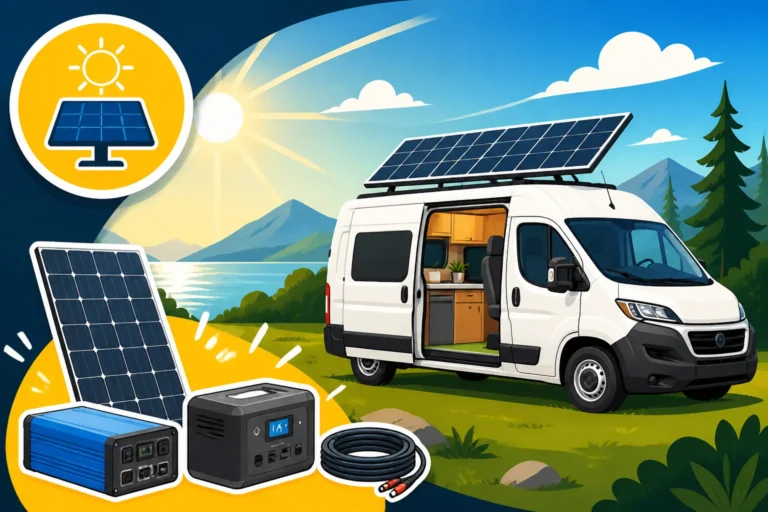
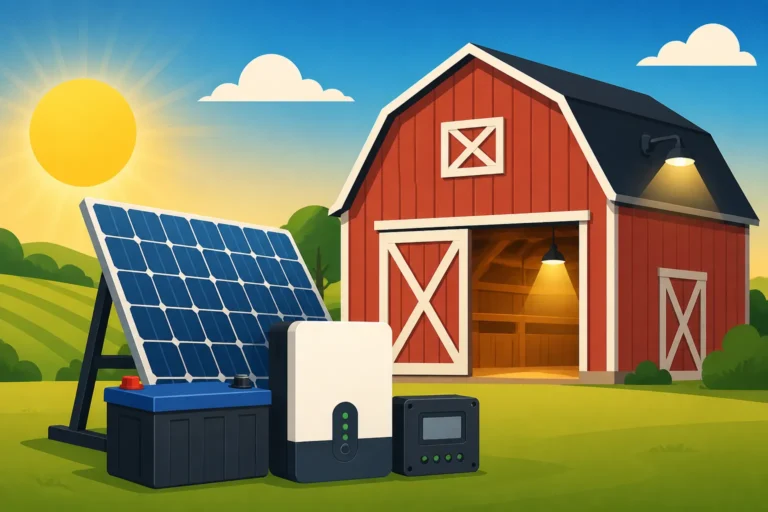
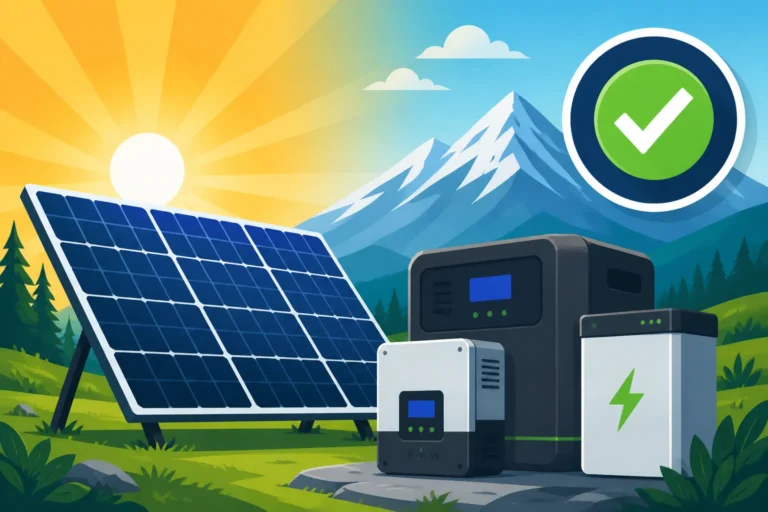
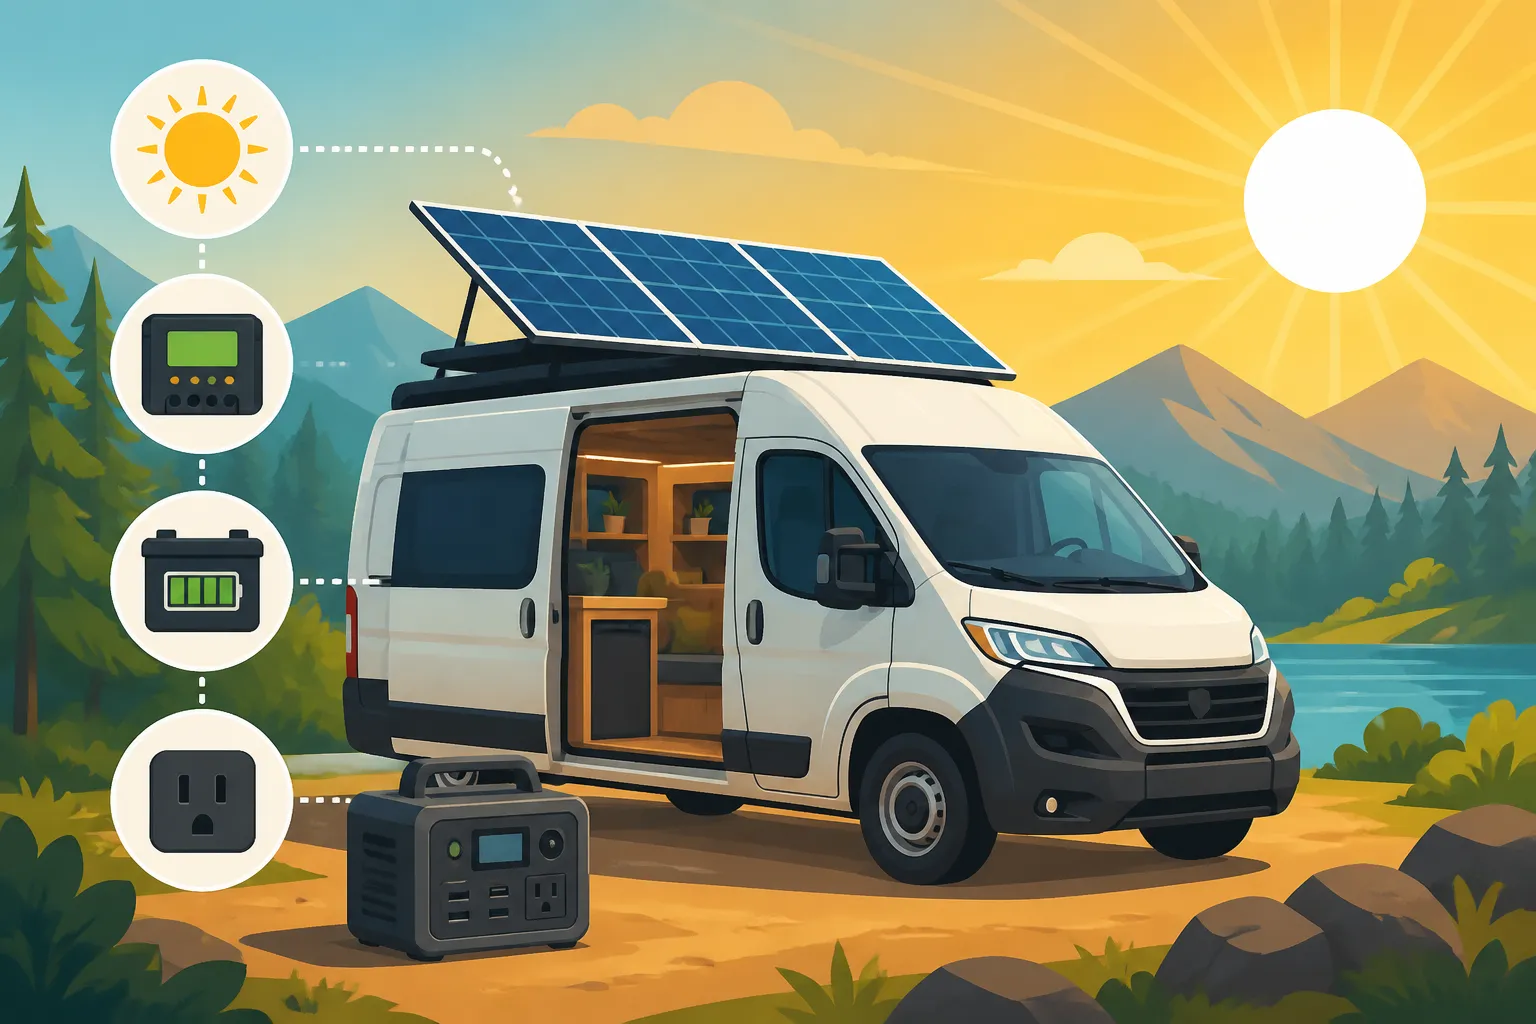
A complete off-grid solar system for your van isn't just solar panels; it's an intricate dance of several vital components working in harmony. Each piece plays a crucial role in converting sunlight into usable electricity and storing it for when you need it most.
Solar Panels: Your Energy Harvesters
For van life, space and mounting options are often limited, making the choice of solar panels particularly important. You're typically looking at three main types:
- Rigid Monocrystalline Panels: These are the most common and efficient, offering the best power output per square foot. They are durable, long-lasting, and generally cost-effective. The downside? They are bulky, require sturdy mounting, and their performance drops if even a small section is shaded. Most rooftop van setups use these.
- Flexible Solar Panels: Lighter and thinner, these can conform to curved surfaces, making them ideal for vans with contoured roofs or those where drilling is undesirable. However, they tend to be less efficient than rigid panels, can degrade faster due to heat buildup (especially if not properly mounted with airflow), and often come at a higher price per watt. They are good for adding supplemental power or for stealth builds where a low profile is key.
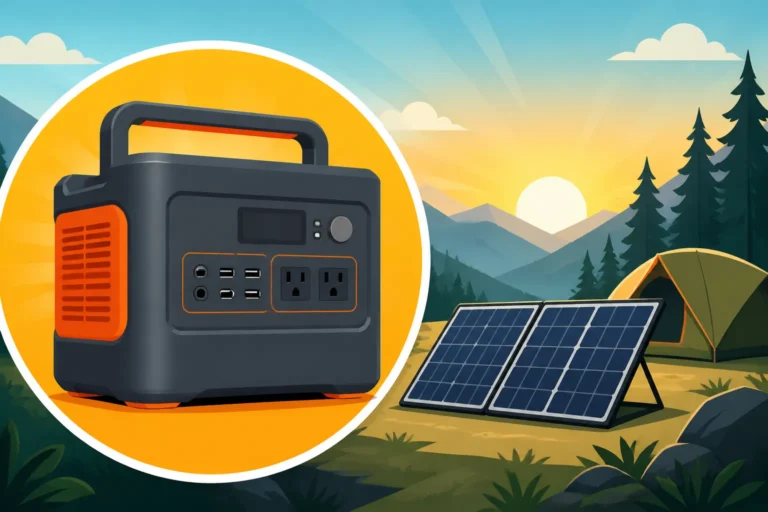
- Portable Solar Panels: Think foldable panels you set out when parked. These are fantastic for supplementing your main array or for smaller setups, allowing you to chase the sun even if your van is parked in the shade. Brands like Jackery offer excellent portable panels that integrate seamlessly with their power stations, providing a flexible solution for charging. They offer immense versatility but require daily setup and storage. Our guide on Best Portable Solar Panels has more details.
The number and wattage of panels you need will directly correlate to your daily Watt-hour usage and the peak sun hours in your typical travel areas. You can learn more in our detailed article on How Many Solar Panels for Off-Grid Living.
Batteries: Your Power Bank
This is arguably the most critical component of your off-grid van system. Batteries store the energy generated by your solar panels for use when the sun isn't shining. The two primary types suitable for van life are:
- Lithium Iron Phosphate (LiFePO4) Batteries: These are the gold standard for van life. They are incredibly efficient, lightweight, offer a much longer cycle life (thousands of cycles vs. hundreds for lead-acid), can be discharged deeper without damage (typically 80-100% vs. 50% for lead-acid), and maintain a stable voltage output until almost empty. While the initial cost is higher, their longevity and performance often make them more cost-effective over the system's lifetime. Brands like Battle Born and EG4 are very popular in the van life community for their robust and reliable LiFePO4 options.
- Absorbed Glass Mat (AGM) Batteries: A type of sealed lead-acid battery, AGMs are cheaper upfront and maintenance-free. They are heavier and bulkier than LiFePO4 batteries, have a shorter lifespan, and should ideally only be discharged to 50% capacity to maximize their life. They can also be susceptible to performance degradation in extremely cold temperatures. They are a decent budget option for smaller systems or those with lower power demands, but for serious van lifers, LiFePO4 is usually the preferred choice. For a detailed comparison, check out our article on LiFePO4 vs Lead-Acid Battery Cost.
Your battery bank size should be determined by your daily Watt-hour needs and your desired days of autonomy. You can read more about this calculation in our guide How Much Battery Capacity You Need.
Charge Controller: The Battery Protector
The charge controller acts as the brain between your solar panels and your batteries. Its primary job is to regulate the voltage and current coming from your solar panels, ensuring your batteries are charged efficiently and, more importantly, safely. Without a charge controller, your panels could overcharge and damage your batteries, leading to costly replacements or even dangerous situations.
There are two main types:
- PWM (Pulse Width Modulation) Charge Controllers: These are simpler and less expensive. They essentially reduce the panel voltage to match the battery voltage. They are generally less efficient, especially in colder temperatures or when the panel voltage significantly exceeds the battery voltage. They are suitable for smaller, budget-friendly systems where every watt of efficiency isn't critical.
- MPPT (Maximum Power Point Tracking) Charge Controllers: These are more advanced and significantly more efficient, especially in varying weather conditions and with higher voltage solar arrays. An MPPT controller can dynamically adjust its input to find the "sweet spot" where your panels produce maximum power, converting excess voltage into additional amperage for faster charging. For most serious van life setups, an MPPT controller is the way to go, maximizing the output from your valuable roof real estate. You can explore this further in our guide to MPPT vs PWM Charge Controllers.
Inverter: Converting DC to AC
Most of your devices in a van (lights, USB chargers, fridge if it's a 12V unit) run on DC (Direct Current) power directly from your battery bank. However, many common household appliances, like laptops, blenders, or coffee makers, require AC (Alternating Current) power, just like in a sticks-and-bricks home. That's where an inverter comes in.
An inverter takes the DC power from your batteries and converts it into AC power. For van life, you'll almost always want a pure sine wave inverter.
- Pure Sine Wave Inverters: These produce clean, stable AC power that mimics what you get from the grid. This is crucial for sensitive electronics like laptops, medical devices (CPAP machines), and anything with a motor, as it prevents damage and ensures optimal performance.
- Modified Sine Wave Inverters: These are cheaper but produce a "choppier" waveform. While they might power basic resistive loads like a toaster, they can cause buzzing, heat buildup, and even damage to sensitive electronics. Avoid them for anything beyond the most basic, non-electronic items.
The size of your inverter (rated in Watts) depends on the total simultaneous wattage of the AC appliances you plan to run. If you want to run a microwave (1000W) and a laptop (60W) at the same time, you'd need an inverter capable of at least 1060W, plus a buffer for surge capacity (e.g., a microwave's starting wattage can be much higher than its running wattage). This is a critical factor in How to Size an Off-Grid Inverter.
Designing Your Optimal Van Life Solar Setup
With an understanding of your power needs and the core components, it's time to put it all together. The "best" setup is subjective and depends entirely on your specific lifestyle, budget, and the kind of van adventures you're planning.
Sizing Your System for Maximum Efficiency
This is where all your calculations come into play.
-
Determine Battery Capacity: Based on your daily Watt-hour usage and desired days of autonomy, calculate the total Watt-hours needed for your battery bank. For example, if you use 1000 Wh/day and want 3 days of autonomy, you need 3000 Wh of usable battery capacity. If using LiFePO4, this means roughly a 3000 Wh battery. If using AGM and only discharging to 50%, you'd need 6000 Wh of stated capacity. Remember, you can usually connect multiple batteries in series or parallel to reach your desired capacity and voltage (12V, 24V, or even 48V for larger systems). Most van setups stick to 12V or 24V for simplicity. For comprehensive sizing, our guide on How to Size an Off-Grid Solar System is invaluable.
-
Size Your Solar Array: To determine how many watts of solar panels you need, divide your daily Watt-hour consumption by the number of peak sun hours you expect in your least sunny location/season. For instance, 1000 Wh/day / 4 peak sun hours = 250W of solar panels (assuming 100% efficiency, which is never the case). Always add a buffer, typically 20-30%, to account for system inefficiencies, panel degradation, shading, and less-than-ideal angles. So, for a 250W calculated need, you might aim for 300-350W of panels. This helps ensure your batteries recharge fully, even on slightly less-than-perfect days.
-
Choose Your Charge Controller: Select an MPPT charge controller that can handle the total open-circuit voltage (Voc) and short-circuit current (Isc) of your solar panel array. The controller's output current rating must also be sufficient to charge your battery bank safely. Always size up slightly to give yourself headroom for future expansion or unexpected surges.
-
Select Your Inverter: As discussed, match the inverter's continuous wattage rating to your highest simultaneous AC load, adding a buffer for surge capacity. If your microwave is 1000W and that's your largest draw, a 1500W or 2000W pure sine wave inverter is a good starting point.
All-in-One Power Stations vs. Component Systems
For van life, you have a distinct choice:
- All-in-One Power Stations: These compact units combine a battery, inverter, and charge controller into a single portable box. Brands like Jackery, EcoFlow, and Bluetti dominate this space. They are incredibly easy to set up (plug-and-play), require minimal wiring knowledge, and are fantastic for smaller setups, weekend warriors, or as a secondary power source. They are also highly portable, meaning you can take your power with you outside the van. The main drawbacks are typically higher cost per Watt-hour compared to building a custom system, limited expandability, and sometimes smaller battery capacity.
- Component Systems: This involves purchasing each component (panels, batteries, charge controller, inverter) separately and wiring them together. This path offers maximum customization, expandability, and often a better cost-to-capacity ratio for larger, full-time van life systems. It requires more technical knowledge and DIY effort, but gives you complete control over every aspect of your power system. Our article on Off-Grid Solar Kit vs Building Your Own dives into this decision.
The "best" choice hinges on your comfort level with electrical wiring, your budget, and the scale of your power needs. For many beginners, an all-in-one unit like a Jackery Explorer 1000 or EcoFlow Delta 2, paired with its compatible solar panels, can be a fantastic way to dip your toes into solar power without the complexity of a full custom build.
Installation Considerations and Tips
Installing a solar setup in your van requires careful planning, attention to detail, and a strong emphasis on safety. Even if you're going the DIY route, understanding the best practices will save you headaches down the road. You can find general guidance in our Off-Grid Solar Installation Guide.
Mounting Panels for Durability and Performance
Your solar panels need to be securely mounted to your van's roof to withstand highway speeds, vibrations, and various weather conditions.
- Rigid Panels: Typically mounted using Z-brackets or custom racks that lift the panels slightly off the roof. This gap is crucial for airflow, preventing heat buildup which can significantly reduce panel efficiency. Always use marine-grade sealants (like Dicor Self-Leveling Lap Sealant) for any penetrations into the roof. Consider the angle: while most van setups mount panels flat, tilt mounts can significantly boost winter or low-sun performance if you're willing to manually adjust them.
- Flexible Panels: If using flexible panels, proper installation is even more critical. Adhere them directly to the roof using strong adhesive (like VHB tape or Sikaflex 221). Ensure maximum surface contact and no air pockets. For optimal performance, some flexible panels benefit from being mounted on a thin, rigid substrate to create an air gap underneath, mitigating heat issues.
Wiring is also key. Use UV-resistant, appropriately gauged solar cables (like MC4 connectors for panels) and protect them from chafing and weather. Learn more about Off-Grid Solar Wiring Best Practices.
Safety and Wiring Best Practices
Electrical safety is paramount in a confined space like a van.
- Fuses and Breakers: Every major component and circuit needs appropriate fusing or circuit breakers to protect against overcurrents and short circuits. This includes between panels and charge controller, charge controller and batteries, and batteries and inverter.
- Cable Sizing: Undersized cables can overheat, leading to fire hazards and significant voltage drop, which reduces system efficiency. Always use appropriately gauged wires based on the current they will carry and the length of the run.
- Grounding: Properly ground your solar system components to the van's chassis. This provides a safe path for fault currents and is a critical safety measure.
- Ventilation: Batteries (especially lead-acid) can off-gas, and inverters generate heat. Ensure proper ventilation for your battery bank and inverter compartment to prevent dangerous gas buildup and overheating. LiFePO4 batteries are generally sealed and don't off-gas, but proper ventilation for cooling is still important.
- Professional Help: If you're unsure about any aspect of the wiring or installation, consult with a qualified RV electrician or off-grid solar professional. This isn't a place to cut corners.
Maximizing Efficiency and Longevity
Building your solar system is just the first step. To truly get the most out of your van life solar setup and ensure it lasts for years, ongoing care and smart usage habits are essential.
Smart Power Management
Even with a robust system, mindful power consumption will always extend your autonomy and reduce wear on your components.
- Prioritize DC Loads: Whenever possible, use 12V DC appliances directly from your battery bank. Every time you convert DC to AC with an inverter, you lose 10-20% of power due to conversion inefficiencies. Opt for 12V fridges, fans, and charge your devices directly via USB outlets if they support it.
- Energy-Efficient Appliances: Invest in energy-star rated appliances designed for RV or marine use, as these are typically much more efficient than standard household versions. This is especially true for refrigerators.
- Monitor Your System: Install a battery monitor (shunt-based monitors like those from Victron Energy are excellent) that gives you real-time data on your battery's state of charge, current draw, and power input. Knowing exactly how much power you're consuming and generating allows you to make informed decisions and prevent unexpected power outages.
- Seasonal Adjustments: In winter or cloudy seasons, you'll naturally have fewer peak sun hours. Be prepared to reduce your power consumption during these times, or supplement with alternative charging methods like a DC-to-DC charger from your alternator while driving, or a small portable generator. Some van lifers even consider a small, efficient diesel heater instead of relying solely on electric heat, especially in colder climates.
Maintenance and Troubleshooting
Just like your van itself, your solar system needs a little love and attention to keep running smoothly.
- Keep Panels Clean: Dust, dirt, pollen, and even bird droppings can significantly reduce your solar panel's output. Periodically clean your panels with water and a soft brush or cloth.
- Check Connections: Over time, vibrations and temperature changes can loosen electrical connections. Periodically inspect all wiring, terminals, and fuses for corrosion or loose connections. Secure any loose wires.
- Battery Care: For LiFePO4 batteries, maintenance is minimal, but keep an eye on their charge cycles and overall performance. For AGM batteries, ensure proper ventilation, and if they have removable caps, check electrolyte levels periodically (though most RV AGMs are sealed). Avoid consistently discharging them below 50%. Our guide on Off-Grid Solar Maintenance Costs covers this in more detail.
- Software Updates: If your charge controller or inverter has software, check for firmware updates from the manufacturer, as these can often improve performance and add new features. Brands like Victron Energy are known for their user-friendly monitoring apps and regular updates.
- Troubleshooting: Familiarize yourself with basic troubleshooting steps. Often, a power issue can be traced to a blown fuse, a loose connection, or a misconfigured setting on your charge controller or inverter. Many power stations, such as the Jackery models, have clear error codes that help diagnose issues quickly.
By taking a thoughtful approach to planning, selecting components, installing safely, and maintaining your system, you can build a reliable solar setup that truly enables the freedom and adventure of van life. It's an investment that pays off in independence and peace of mind on the open road.
Disclaimer
The information provided in this guide is for general informational purposes only and does not constitute professional advice. Off-grid solar system design and installation can be complex and involve electrical hazards. Always consult with qualified professionals for specific system design, installation, and compliance with local codes and regulations. Improper installation can lead to equipment damage, fire, or serious injury.