How to Choose Off-Grid Solar for a Workshop
Dreaming of a fully functional workshop out back, detached from the utility grid, where you can tinker and build without worrying about power bills or outages? It's a fantastic vision, but figuring out how to reliably power all your tools and lights with off-grid solar can feel like a massive puzzle, leaving many feeling overwhelmed before they even start. This guide is here to unravel that complexity, providing a clear, step-by-step approach to choosing the perfect off-grid solar system for your workshop, ensuring your projects never lose power.
Understanding Your Workshop's Power Needs
Before you even start thinking about panels or batteries, the absolute first step in choosing an off-grid solar system for your workshop is to deeply understand your specific power requirements. This isn't just about guessing; it's about doing a meticulous inventory of every single electrical item you plan to use, how much power it draws, and for how long. Many folks jump the gun, buy a generic kit, and then wonder why their drill dies halfway through a project or why their lights flicker when the air compressor kicks on. Don't fall into that trap! A precise load analysis is your foundation for success.
Identifying Essential Tools and Appliances
Your workshop is probably a treasure trove of various tools and gadgets, each with its own power appetite. Think about your daily routine in the workshop. Will you be running a table saw for hours, or just intermittently using a cordless drill charger? Do you need bright LED lighting for precision work, or just ambient light for storage? List everything: power tools like circular saws, miter saws, drills, sanders, air compressors, battery chargers, lighting fixtures, a mini-fridge for cold drinks, a radio, and even your smartphone charger. Don't forget any heating or cooling solutions you might want, such as a small space heater or a fan, as these can be huge power hogs.
Once you have your list, look for the wattage (W) or amperage (A) rating on each item's label. This is usually printed somewhere on the appliance itself or in its manual. If you only find amperage, multiply it by your system's voltage (e.g., 120V for standard US outlets) to get watts. Remember, some tools have different "starting" or "surge" watts compared to their "running" watts, which is crucial for inverter sizing, a topic we'll dive into shortly. Accurately listing these details helps paint a realistic picture of your workshop's true energy demands.
Calculating Daily Energy Consumption
With your list of tools and their wattages in hand, it's time to crunch some numbers to figure out your total daily energy consumption in watt-hours (Wh). This is where the rubber meets the road. For each item, estimate how many hours per day you'll realistically use it. Be honest with yourself here; overestimating means a larger, more expensive system, and underestimating means constant power shortages. For example, your LED lights might be on for 4 hours, a radio for 2 hours, and a circular saw for a total of 30 minutes (0.5 hours) spread throughout the day.
Multiply the wattage of each item by its estimated daily usage in hours. This gives you the watt-hours for that specific item. Sum all these individual watt-hour totals, and voilà, you have your total estimated daily watt-hour consumption. This number is paramount because it tells you exactly how much energy your solar panels need to generate and your battery bank needs to store to keep your workshop humming. If you want a more detailed breakdown, our guide on how to calculate daily energy usage can walk you through it.
Here’s a simple table to help you with your workshop load analysis:
| Appliance/Tool | Wattage (W) | Est. Daily Usage (Hours) | Daily Watt-Hours (Wh) | Surge/Starting Watts (W) |
|---|---|---|---|---|
| LED Lights (x4) | 40 W | 4 | 160 | N/A |
| Circular Saw | 1500 W | 0.5 | 750 | 3000 |
| Drill Charger | 50 W | 1 | 50 | N/A |
| Radio | 20 W | 2 | 40 | N/A |
| Mini-Fridge | 100 W | 8 (compressor cycle) | 800 | 500 |
| Air Compressor | 1800 W | 0.25 | 450 | 4000 |
| Daily Total | 2250 Wh | Max 4000 W |
Accounting for Surge and Starting Power
This is a critical point often overlooked, especially in workshops. Many electric motors – found in tools like circular saws, air compressors, and even some older refrigerators – require a significantly higher burst of power to start than they do to run. This initial kick, known as surge or starting power, can be 2 to 7 times their continuous running wattage. For instance, a drill that runs at 500 watts might momentarily draw 1500 watts when you first pull the trigger. If your inverter isn't sized to handle these surges, your tools simply won't start, or worse, your inverter could shut down or be damaged.
It’s not enough to just add up the running watts of everything you might use at once. You need to consider the highest possible surge demand if multiple high-draw tools might start simultaneously, even if briefly. Generally, you'll identify the single largest surge load in your workshop (often an air compressor or a large saw) and ensure your inverter can handle that peak. Factor this into your inverter selection to avoid frustrating trips to the electrical panel or dead workshop days. Our detailed guide on how to size an off-grid inverter goes into depth on this very topic, which can save you a lot of headaches and money.
Key Components of an Off-Grid Solar System for a Workshop
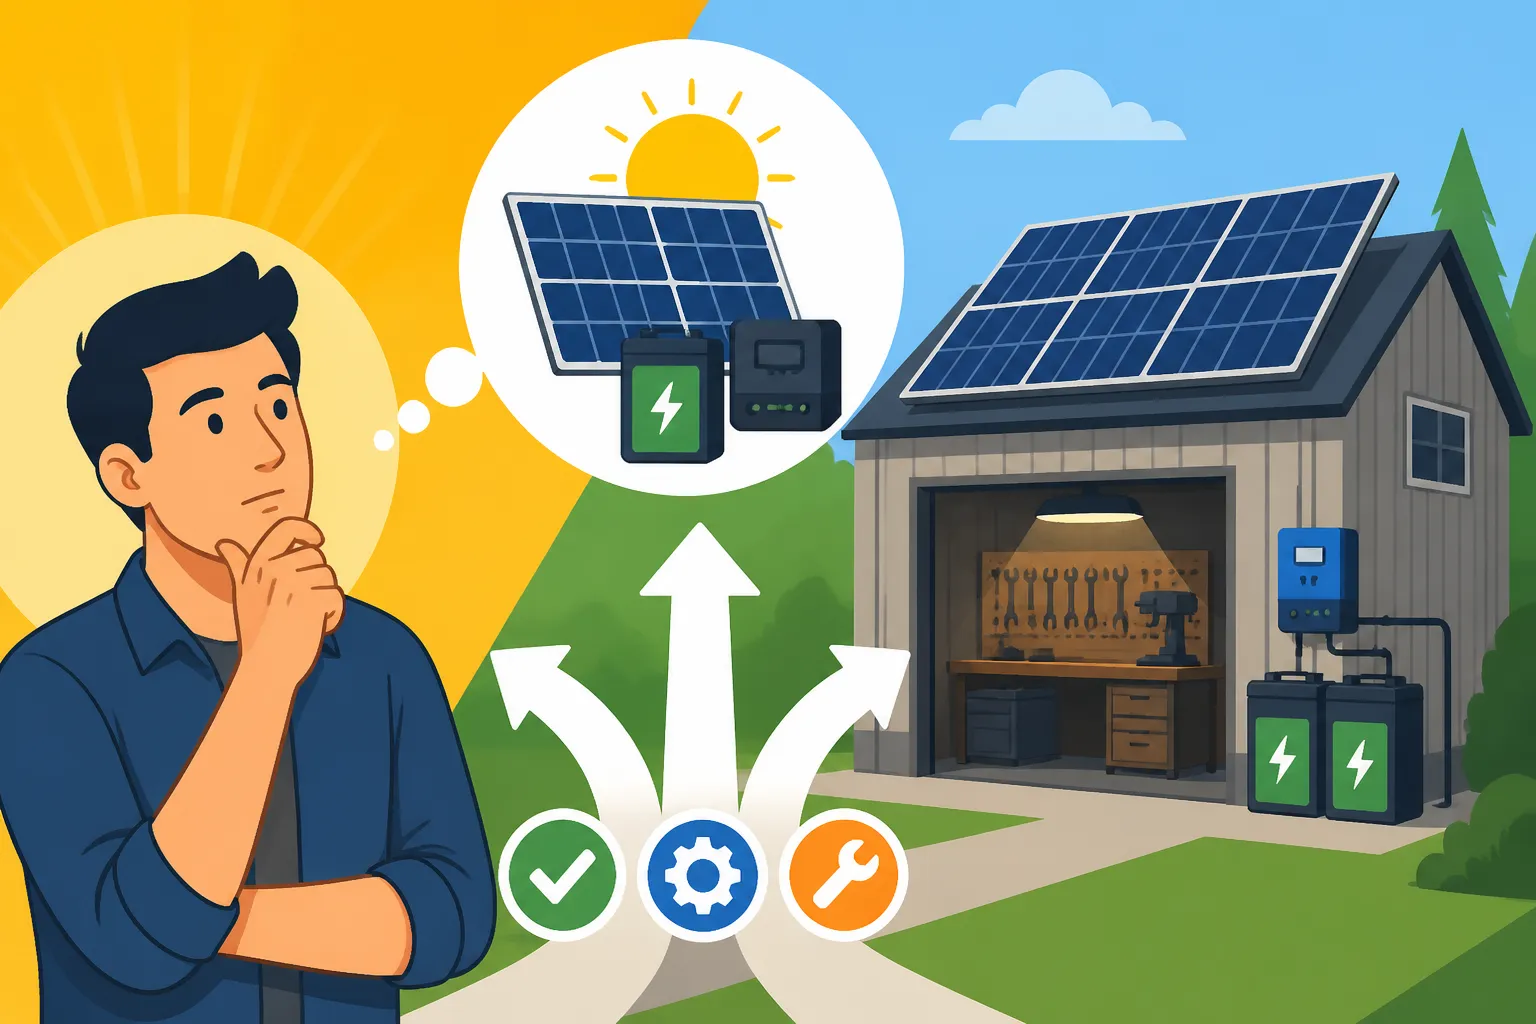
An off-grid solar system isn't just a collection of panels; it's a carefully balanced ecosystem of components working together to deliver reliable power. For your workshop, understanding each piece of the puzzle is essential for making informed decisions.
Solar Panels
These are the workhorses, converting sunlight into electricity. For a workshop, you'll typically be looking at rigid monocrystalline or polycrystalline panels. Monocrystalline panels are generally more efficient, meaning they can produce more power in a smaller footprint, which can be a real plus if your workshop roof or available ground space is limited. Polycrystalline panels are usually a bit more budget-friendly. The key is to choose panels with a good warranty and a strong performance rating in various temperatures.
When it comes to placement, think about maximum sun exposure throughout the day and year. South-facing (in the Northern Hemisphere) is ideal, with an angle that optimizes for winter sun if you use your workshop year-round. You might consider fixed mounts, tilt mounts (to adjust for seasons), or even ground mounts if your roof isn't suitable. Factors like shading from nearby trees or buildings also play a huge role in overall efficiency. For a deep dive into selecting the right panels, check out our guide on how to choose an off-grid solar panels.
Battery Bank
The battery bank is the heart of your off-grid system, storing the energy generated by your panels for use when the sun isn't shining. This is where a lot of the upfront cost lies, but it's also where reliability truly shines. For workshops, especially those needing significant power, two main types stand out:
- Lead-Acid Batteries (AGM or Gel): These are traditionally more affordable upfront. AGM (Absorbed Glass Mat) batteries are sealed, maintenance-free, and perform well, but they have a shallower depth of discharge (meaning you shouldn't regularly drain them below 50%) and a shorter lifespan compared to lithium. They're heavy, bulky, and can be sensitive to temperature extremes.
- Lithium Iron Phosphate (LiFePO4) Batteries: These are the modern champions for off-grid applications. While more expensive initially, they offer a significantly longer lifespan (often 10-15 years), can be discharged almost completely (up to 80-100%) without damage, are lighter, and require virtually no maintenance. They also perform better in varying temperatures, though extreme cold can affect charging performance without a heated battery management system (BMS). Brands like Battle Born and EG4 offer excellent LiFePO4 options known for their longevity and performance. For a busy workshop, the higher upfront cost of LiFePO4 often pays for itself in reliability and peace of mind over the long run.
The size of your battery bank will depend directly on your calculated daily watt-hour consumption and how many "days of autonomy" you want – meaning how many days your workshop can run on battery power alone without any sun. This provides a crucial buffer for cloudy weather. Our article on how much battery capacity you need offers comprehensive guidance on this vital calculation.
Inverter and Charge Controller
These two components are the brains and brawn of your system, ensuring your panels and batteries work harmoniously to deliver usable power to your tools.
-
Charge Controller: This device sits between your solar panels and your battery bank. Its job is to regulate the voltage and current coming from the solar panels to prevent overcharging your batteries, which can severely damage them. There are two main types:
- PWM (Pulse Width Modulation): Simpler, less expensive, and generally less efficient, especially for larger systems. They're fine for small, simple setups where cost is the primary concern.
- MPPT (Maximum Power Point Tracking): More advanced and efficient. MPPT controllers can optimize the voltage and current from your panels to maximize the power going into your batteries, especially beneficial in varying light conditions or when panel voltage is significantly different from battery voltage. For a workshop, especially if you plan to expand, an MPPT controller is almost always the better choice, even if the initial cost is higher.
-
Inverter: Your solar panels and batteries produce DC (Direct Current) electricity, but most of your workshop tools and appliances run on AC (Alternating Current). The inverter's job is to convert that DC power into AC power.
- Pure Sine Wave Inverters: These produce a clean, stable AC waveform, virtually identical to the power you get from the utility grid. This is essential for sensitive electronics, variable speed tools, and anything with a motor (like most power tools) to ensure they run efficiently and don't get damaged. For a workshop, a pure sine wave inverter is a non-negotiable requirement.
- Modified Sine Wave Inverters: Cheaper but produce a "choppier" waveform that can cause issues with motors, cause humming in audio equipment, and potentially damage sensitive electronics. Avoid these for a workshop.
When choosing an inverter, remember that surge power calculation we talked about earlier. Your inverter needs to be able to handle the highest starting wattage of any single tool, or combination of tools, you might operate simultaneously. Brands like Victron Energy and Sol-Ark offer robust inverter-chargers (combining inverter and charge controller functionality) that are popular for their reliability and advanced features, ideal for a workshop environment. Learn more about selecting the right inverter in our guide on how to choose an off-grid inverter.
Sizing Your Off-Grid Solar System for a Workshop
Now that you understand the components and your daily energy needs, it's time to put it all together and size your system properly. This is where your earlier calculations truly pay off. Getting this right is the difference between a workshop that's always ready for action and one that leaves you frustrated.
Determining Solar Array Size
Your solar array (the total wattage of your solar panels) needs to be large enough to not only cover your daily energy consumption but also to replenish your battery bank completely, especially during less-than-ideal sun conditions. To figure out how many watts of solar you need, you'll use your total daily watt-hours (from your load analysis) and factor in your local "peak sun hours." Peak sun hours refer to the average number of hours per day when the intensity of sunlight is equivalent to 1,000 watts per square meter. You can find this data for your specific location from various online resources or local weather stations.
Let's say your workshop consumes 2250 Wh per day, and you get an average of 5 peak sun hours in your least sunny month.
Daily Watt-hours / Peak Sun Hours = Required Panel Wattage (roughly)
2250 Wh / 5 hours = 450 W
However, you also need to account for system losses (due to temperature, wiring, inverter inefficiency, dust, etc.), which can typically be 20-30%. So, you'd multiply your required wattage by 1.25 to 1.4 to compensate.
450 W * 1.3 = 585 W (This is a more realistic panel array size).
So, you might need around 600 watts of solar panels. If each panel is 200W, you'd need three panels. This calculation is a starting point, and it's always wise to slightly oversize your array, especially if you anticipate heavy winter usage or want faster battery charging. Remember, it's about making sure you generate enough power to not just run your tools but also to recharge your batteries adequately for the next day.
Sizing the Battery Bank for Autonomy
Your battery bank needs to store enough energy to power your workshop for a certain number of days without sun, known as "days of autonomy." This is particularly important for locations with frequent cloudy spells or for critical workshop operations where downtime isn't an option. For a typical workshop, planning for 2-3 days of autonomy is a common and practical approach.
Using our example of 2250 Wh daily consumption, and aiming for 2 days of autonomy:
2250 Wh/day * 2 days = 4500 Wh of usable battery capacity.
If you choose LiFePO4 batteries, which can be discharged to 80-100%, you'll need approximately 4500 Wh of nominal capacity. If you opt for AGM batteries, which should only be discharged to 50%, you'd need double that nominal capacity (9000 Wh) to get the same 4500 Wh of usable energy. This huge difference in usable capacity often makes LiFePO4 batteries more cost-effective in the long run, despite their higher upfront price. Our guide on how many batteries for an off-grid system provides all the details you need to make this crucial choice.
Selecting the Right Inverter and Charge Controller
Once you've sized your panels and batteries, matching the inverter and charge controller is the next critical step.
-
Inverter Sizing: This goes back to your surge power calculation. If your air compressor has a 4000 W starting surge and is your largest single surge load, your inverter must be rated for at least 4000 W continuous output, with a surge rating significantly higher than that (many inverters can handle 2x their continuous rating for a few seconds). It's always safer to slightly oversize your inverter than to undersize it. An inverter like the Victron MultiPlus series or a capable unit from Renogy would be a strong contender for a workshop, offering reliable pure sine wave output and often integrated charge controller functions.
-
Charge Controller Sizing: The charge controller's job is to manage the power flow from your solar panels to your batteries. Its amperage rating needs to be sufficient for your solar array. For MPPT controllers, you'll need to consider the maximum output current of your solar array and the system voltage. A general rule of thumb is to take your total panel wattage, divide it by your battery bank voltage, and then add a 25% buffer for safety.
For example, a 600W array with a 24V battery bank: 600W / 24V = 25A. Add 25% buffer = 31.25A. So, a 30-40A MPPT charge controller would be appropriate. Brands like Victron and Renogy also offer excellent MPPT controllers designed for robust performance.
Matching these components correctly is vital for system efficiency and longevity. Investing in quality components from reputable brands ensures better performance and fewer headaches down the line.
Budgeting and Practical Considerations for Your Workshop System
Setting up an off-grid solar workshop isn't just about the technical aspects; it's also about managing your finances and making smart choices for the long haul.
Cost Breakdown and Budgeting Tips
The cost of an off-grid solar system for a workshop can vary wildly, from a few thousand dollars for a basic setup to tens of thousands for a robust, whole-workshop solution. The major cost drivers are the battery bank (often 30-50% of the total), followed by the inverter, solar panels, and then the balance of system components like wiring, mounting hardware, fuses, and disconnects.
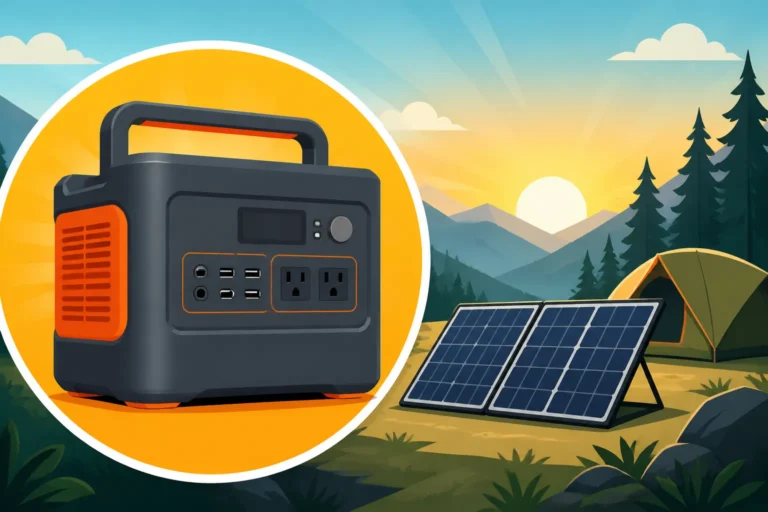
A small setup, perhaps just for lights and a few handheld tools, might run you in the range of $2,000-$5,000. This could involve a small Jackery portable power station with some foldable solar panels, which is a fantastic entry point for lighter usage or as a backup. For a workshop with heavier power tools and extended use, you're likely looking at $8,000-$20,000+, especially if you opt for high-capacity LiFePO4 batteries and a powerful pure sine wave inverter. To get a comprehensive understanding, our guide on how much an off-grid solar system cost provides a complete breakdown.
Budgeting tips:
- Prioritize: Start with the essentials. Can you initially get by with fewer panels or a slightly smaller battery bank, then expand later? Many systems are designed to be modular.
- DIY vs. Professional: As we'll discuss, DIY can save you significantly on labor costs.
- Shop Around: Prices for components like panels and batteries can fluctuate. Compare offerings from multiple reputable vendors.
- Look for Kits: Sometimes, pre-packaged off-grid solar kits can offer better value, bundling components together. Just ensure the kit's components meet your specific workshop needs and aren't undersized.
- Pace Yourself: If the upfront cost is daunting, consider phasing your build. Install the core components first, then add more panels or batteries as your budget allows. This is often the cheapest way to set up off-grid solar over time.
DIY vs. Professional Installation
This is a big decision for any off-grid project, and especially for a workshop.
-
DIY (Do It Yourself): Taking on the installation yourself can save you a significant amount on labor costs, potentially cutting your total expenditure by 30-50%. It also gives you an intimate understanding of your system, which can be invaluable for troubleshooting and maintenance. Many off-grid enthusiasts find deep satisfaction in building their own systems. However, DIY requires a good understanding of electrical principles, safety protocols, and the confidence to handle high-voltage DC wiring. Mistakes can be dangerous and costly. It's crucial to understand off-grid solar safety and grounding before you pick up a single tool. If you’re considering this route, a comprehensive guide to DIY Off-Grid Solar Installation Step by Step can be your best friend.
-
Professional Installation: Hiring a certified solar installer ensures the job is done safely, correctly, and up to code. Professionals have the expertise to optimize system performance, navigate complex wiring, and handle any necessary permitting (though permitting for off-grid workshops can often be simpler than for grid-tied homes). The downside, of course, is the added cost for labor. For larger, more complex systems or if you're not comfortable with electrical work, a professional is often worth the investment for peace of mind and long-term reliability.
For a workshop, a hybrid approach might be best: do the simpler tasks yourself (like mounting panels) and hire an electrician for the critical wiring connections (inverter to subpanel, battery bank, grounding).
Expandability and Future-Proofing
Workshops, by their nature, tend to grow. You might start with a few basic tools and later decide you need a larger air compressor, a dust collection system, or even an EV charger for your electric tractor. Designing your off-grid solar system with expandability in mind can save you a lot of hassle and expense down the road.
When you're first setting up, think about:
- Oversizing Key Components: Select a charge controller and inverter that have a bit of headroom beyond your immediate needs. It's far easier to add more solar panels or batteries later if your charge controller and inverter can already handle the increased capacity. For example, if you estimate needing 600W of panels, consider a charge controller that can handle 800W-1000W.
- Wiring: Run slightly larger gauge wiring than strictly necessary, or install conduit that can accommodate additional wires later. Thicker wires have less voltage drop and can handle more current if you expand your array.
- Battery Bay: Design your battery storage area to accommodate more batteries. If you start with two LiFePO4 batteries, ensure there’s space for two more if your needs grow.
- Panel Space: Dedicate ample space on your roof or for a ground mount for additional solar panels. Thinking ahead, like considering How to add panels to an existing system, can save you from having to completely redo your setup in a few years.
By planning for future growth, you ensure that your initial investment serves as a solid foundation, rather than a limiting factor, for your workshop's evolving power demands.
Conclusion
Choosing the right off-grid solar system for your workshop might seem like a lot to take in, but by breaking it down into manageable steps – from understanding your energy needs to carefully selecting and sizing each component – you can create a reliable, independent power source tailored specifically to your projects. It's an investment in freedom, resilience, and the satisfaction of knowing your workspace is powered by the sun. With careful planning and attention to detail, you'll be enjoying the hum of your tools and the glow of your lights, completely off the grid, for years to come.
Disclaimer
The information provided in this guide is for general informational purposes only and does not constitute professional electrical or solar engineering advice. Off-grid solar systems involve high voltages and currents, which can be dangerous. Always consult with a qualified electrician or solar professional and adhere to all local codes and regulations before installing or modifying any electrical system.