Best Off-Grid Solar Kit for a Greenhouse
Keeping your greenhouse thriving year-round, especially in remote locations or during power outages, can feel like a constant battle against the elements and an unpredictable grid. The frustration of trying to maintain optimal growing conditions without reliable power is very real, often leading to stunted plants or wasted effort. This comprehensive guide is here to walk you through everything you need to know to choose the best off-grid solar kit for your greenhouse, ensuring your green sanctuary stays powered, no matter what.
Understanding Your Greenhouse's Unique Power Demands
Before you even start looking at shiny solar panels, the most critical step is to truly understand what your greenhouse needs. It’s not just about turning on a light; it’s about creating a miniature ecosystem that can be surprisingly power-hungry, especially if you're aiming for year-round cultivation or growing sensitive plants. Overlooking these details is where many folks stumble, ending up with an undersized system that leaves them scrambling during critical moments.
Essential Greenhouse Appliances and Their Energy Draw
Greenhouses utilize a variety of electrical appliances, and knowing their individual power requirements (both continuous and surge) is absolutely vital for proper solar sizing. Think about everything from basic circulation to environmental controls.
- Circulation Fans: These are often crucial for preventing fungal diseases and ensuring even temperatures. Small exhaust fans might draw 10-30 watts, while larger commercial-grade circulation fans can easily consume 100-300 watts when running. Many folks assume a small fan is negligible, but if it runs for hours on end, those watts add up to significant watt-hours over a day.
- Supplemental Lighting: Depending on what you're growing and your natural light availability, supplemental grow lights can be a major energy consumer. LED grow lights are much more efficient than traditional HPS or MH lamps, but even a few powerful LED fixtures can draw several hundred watts. For example, a single 300-watt LED grow light running 12 hours a day will use 3600 watt-hours (3.6 kWh) daily – that’s a substantial portion of a small off-grid system's capacity.
- Heaters and Cooling Systems: This is often the biggest wildcard. Electric heaters, even small ones, are notorious power hogs. A small 1500-watt electric space heater will quickly drain most battery banks. Instead, off-grid greenhouses often rely on passive solar design, geothermal heat, or alternative heating methods like propane, wood stoves, or even rocket mass heaters. For cooling, exhaust fans are more common than full-blown air conditioners, which draw immense power. However, evaporative coolers or swamp coolers, while less demanding than AC, still use a few hundred watts and a water pump.
- Irrigation Pumps: If you have an automated watering system or a misting system, a small water pump will be needed. These usually draw moderate power, perhaps 50-200 watts, but their run time can vary widely based on your watering schedule. Consider a drip irrigation system with a small DC pump to minimize power consumption.
- Environmental Controllers: Thermostats, humidity sensors, and automated vent openers typically use very little power, often just a few watts. However, they are essential for regulating the greenhouse environment and need continuous, reliable power.
Understanding the wattage and projected run-time of each of these components is the first step in figuring out your total daily energy needs. You can learn more about how to calculate daily energy usage in our detailed guide.
Seasonal and Plant-Specific Energy Fluctuations
A greenhouse isn't a static environment; its power needs ebb and flow with the seasons and the specific plants you're nurturing. Ignoring these fluctuations is a surefire way to run out of power exactly when your delicate seedlings need it most.
- Winter Challenges: During the colder, darker months, your greenhouse will likely demand more heating and supplemental lighting. Shorter daylight hours mean less solar panel output, while lower ambient temperatures increase the need for warmth. This dual challenge often means sizing your system for your worst-case winter scenario, even if that means oversizing for the summer. For instance, if you're trying to grow tomatoes in Vermont in January, your energy demands for light and heat will be astronomical compared to growing hardy greens in April.
- Summer Demands: While winter focuses on heat and light, summer often brings the need for cooling and ventilation. Fans will run longer, and if you're in a very hot climate, you might even consider low-power evaporative coolers. Irrigation needs might also increase significantly as plants transpire more rapidly.
- Plant-Specific Needs: Are you growing orchids, which require very specific humidity and temperature controls? Or simple herbs that are more forgiving? High-value crops or sensitive plants will dictate a more robust and reliable solar system. A commercial cannabis grow, for example, would require a vastly larger and more precise off-grid solar setup than a hobbyist's vegetable greenhouse. Each type of plant has a unique light and temperature 'sweet spot' that your solar system must be able to maintain.
Factoring in these seasonal and plant-specific demands early in your planning ensures you build a resilient system. It's often better to slightly oversize your initial system, especially your battery bank, to provide a buffer against unexpected weather or increased energy needs.
Key Components of an Off-Grid Solar Kit for Greenhouses
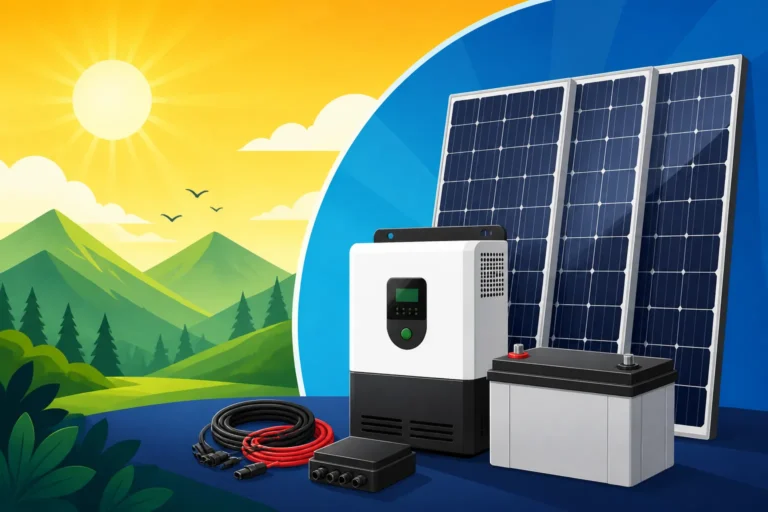
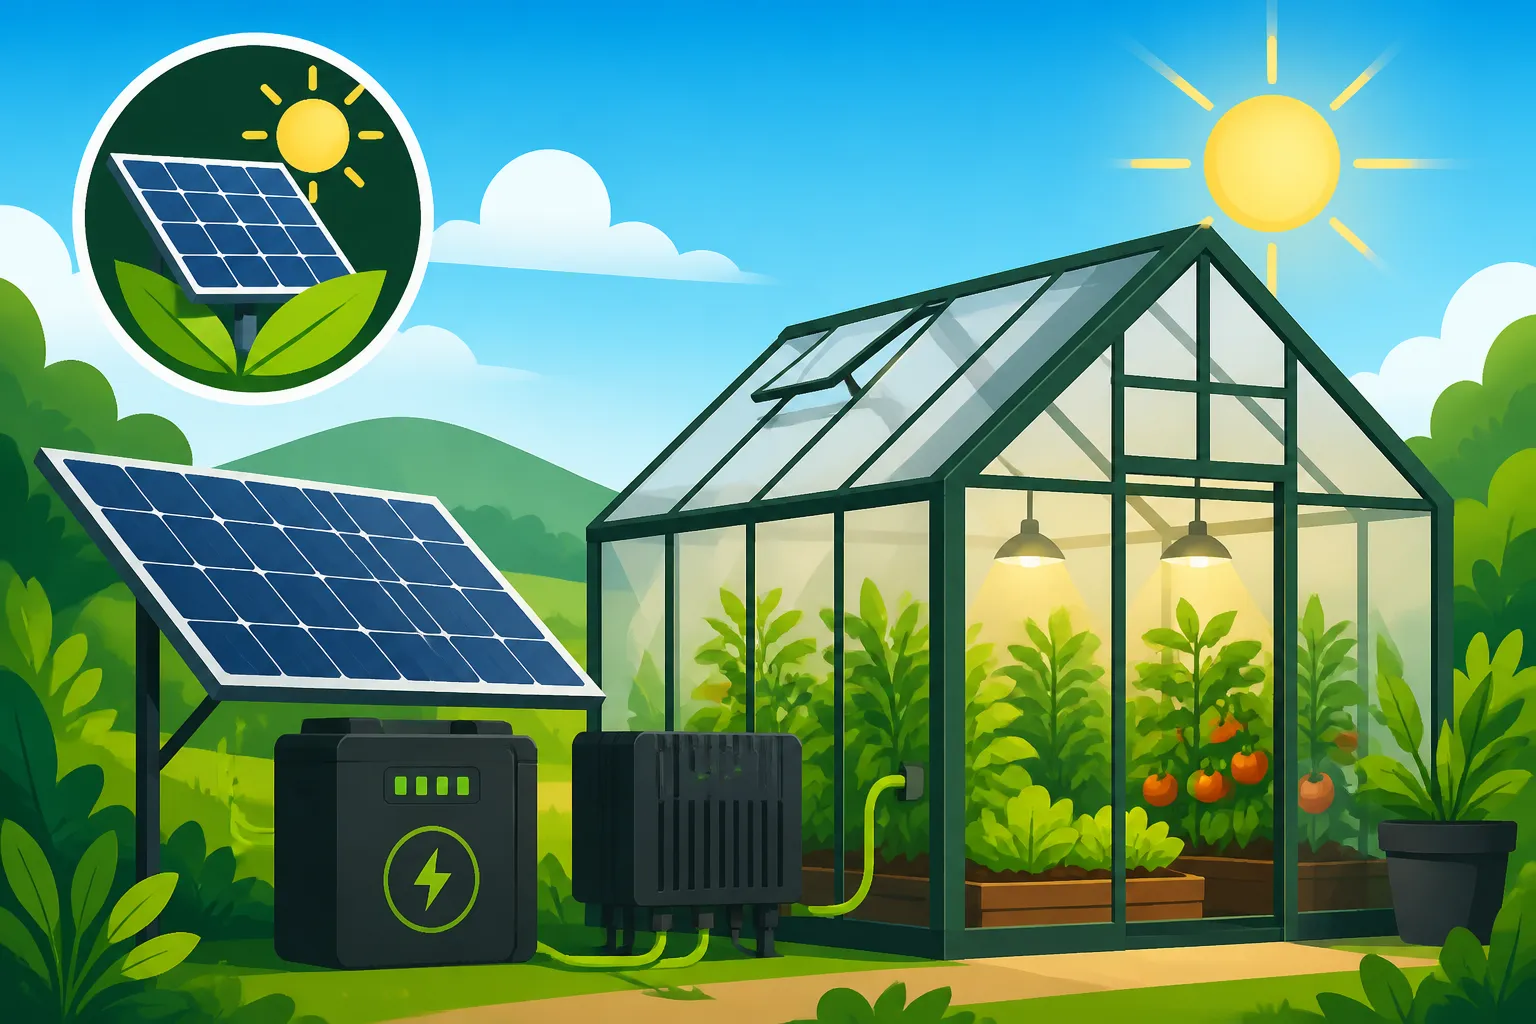
An off-grid solar system, whether for a cabin, an RV, or a greenhouse, is a collection of essential components working in harmony. Each piece plays a critical role in capturing the sun's energy, storing it, and converting it into usable power for your greenhouse. Understanding what each part does helps you make informed choices, ensuring you get a robust system that won't leave your plants in the dark. If you're looking for a general overview, our guide on Off-Grid Solar System Components Explained provides a great starting point.
Selecting the Right Solar Panels for Your Greenhouse
Solar panels are the heart of your off-grid system, soaking up those precious sunbeams. For a greenhouse, there are a few considerations beyond just wattage.
- Panel Type: Monocrystalline panels are generally the most efficient and are a great choice for greenhouses where space might be at a premium (e.g., mounting on a small adjacent shed or on the greenhouse roof itself, if structural integrity and light penetration allow). Polycrystalline panels are a bit less efficient but can be more budget-friendly. Flexible panels, while often less durable and efficient, might be an option for curved greenhouse roofs, but generally, rigid panels are preferred for their longevity and performance.
- Mounting Location: This is crucial. While it might seem intuitive to mount panels directly on the greenhouse roof, consider the shading effect on your plants. Panels will block sunlight, which is counterproductive for growing! Often, the best solution is to install panels on an adjacent shed, a pole mount nearby, or a ground mount system slightly removed from the greenhouse. This allows full sun exposure to both your panels and your plants. You can find more details in our guide on How to Install Off-Grid Solar Panels.
- Durability and Weather Resistance: Greenhouses are exposed to the elements. Your panels need to withstand rain, snow, hail, and strong winds. Look for panels with sturdy aluminum frames and tempered glass. Brands like Renogy and Rich Solar offer reliable panels that hold up well in various climates.
When deciding how many solar panels for off-grid living you'll need, remember that you're aiming for a balance between sufficient energy generation and avoiding unnecessary shading on your greenhouse.
Battery Bank Considerations for Consistent Power
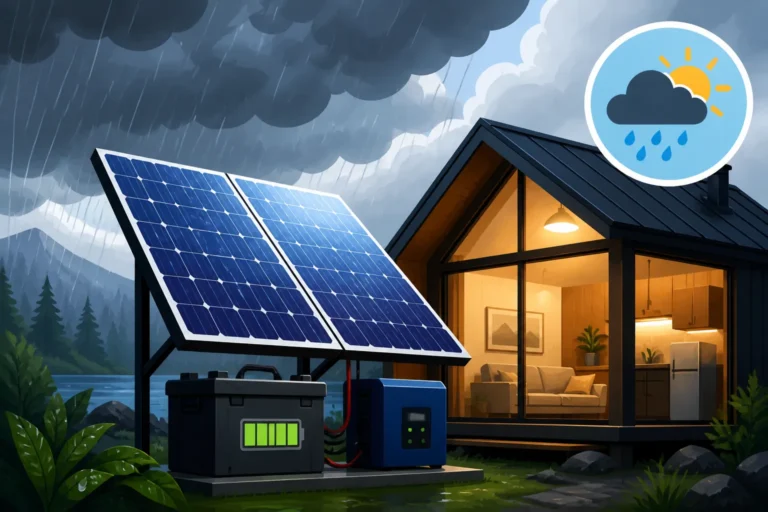
Batteries are the unsung heroes of any off-grid setup, storing the energy captured by your panels so you have power when the sun isn't shining. For a greenhouse, consistent, reliable power is non-negotiable, especially for critical systems like ventilation or heating.
- Lithium-ion (LiFePO4) vs. Lead-Acid: This is one of the most significant decisions.
- LiFePO4 batteries are fantastic for off-grid greenhouses. They offer a much longer lifespan (thousands of cycles), can be discharged deeper without damage (often 80-100% Depth of Discharge), are more compact and lighter, and perform better in a wider range of temperatures (though still need protection from extreme cold). Their upfront cost is higher, but their longevity often makes them more cost-effective over the long run. Many folks recommend brands like Battle Born or EG4 for their reliability and integrated battery management systems.
- Lead-acid batteries (like AGM or flooded lead-acid) are a cheaper upfront option. However, they have a shorter lifespan, can only be safely discharged to about 50% DoD, and require more maintenance (especially flooded types). They are also heavier and more sensitive to temperature extremes. For a critical application like a greenhouse, the consistent performance and minimal maintenance of LiFePO4 often outweigh the initial cost savings.
- Capacity (Amp-Hours/Kilowatt-Hours): This determines how long your greenhouse can run solely on stored battery power without solar input – often referred to as "days of autonomy." For a greenhouse, aiming for 2-3 days of autonomy is a good target, especially if you live in an area prone to cloudy weather or want a buffer for emergencies. You can dive deeper into how many batteries for an off-grid system you might need.
- Environmental Protection: Batteries, especially lead-acid, are sensitive to temperature. If your greenhouse can get very hot or very cold, you'll need to house your battery bank in a temperature-controlled environment, like an insulated battery box or an adjacent shed, to protect them and ensure optimal performance.
Inverters and Charge Controllers: The Brains of Your System
These two components manage the flow of electricity, ensuring your panels charge your batteries efficiently and that your appliances receive the correct type of power.
- Charge Controller: This device regulates the voltage and current from your solar panels to prevent overcharging your batteries.
- MPPT (Maximum Power Point Tracking) controllers are highly recommended for most off-grid systems, especially larger ones. They are significantly more efficient than PWM controllers, extracting up to 10-30% more power from your panels, particularly in varying light conditions. This extra efficiency can be critical during cloudy days or in winter.
- PWM (Pulse Width Modulation) controllers are simpler and less expensive, suitable for very small systems where cost is the absolute priority, but their efficiency loss can be noticeable over time.
- Inverter: Your solar panels and batteries produce DC (Direct Current) power. Most greenhouse appliances (fans, lights, controllers) run on AC (Alternating Current) power, just like in your home. The inverter's job is to convert DC power from your batteries into usable AC power.
- Pure Sine Wave Inverters are essential for any electronics with motors (like fans, pumps) or sensitive electronics. They produce clean, stable AC power, just like the grid. This is what you want for maximum reliability and to protect your appliances.
- Modified Sine Wave Inverters are cheaper but produce a "choppier" waveform that can damage sensitive electronics or cause motors to run inefficiently or overheat. Avoid these for most greenhouse applications.
- System Voltage (12V, 24V, 48V): Smaller greenhouse systems might operate on 12V, but as your power needs grow, moving to 24V or 48V becomes more efficient. Higher voltage systems require thinner wires (reducing cost and voltage drop) and handle more power. For a greenhouse with multiple appliances, a 24V or 48V system is often more practical and scalable.
Sizing and Choosing Your Greenhouse Off-Grid Solar Kit
Once you've wrapped your head around the components, the next hurdle is putting it all together into a cohesive system that actually meets your greenhouse's specific needs. This isn't a one-size-fits-all situation; it requires careful calculation and consideration of various kit options. For a more general overview, check out our guide on how to size an off-grid solar system.
Calculating Your Greenhouse's Daily Energy Consumption
This is the cornerstone of effective solar sizing. You need to know exactly how much energy your greenhouse will use in a 24-hour period. It's not just about adding up the watts; it's about adding up the watt-hours.
- List Every Appliance: Go through every single electrical device in your greenhouse – fans, lights, pumps, controllers, even small sensors.
- Find Wattage (Running Watts): Look for the wattage rating on each appliance's label. If it's only in amps, multiply amps by voltage (e.g., 120V) to get watts.
- Estimate Daily Run Time: How many hours per day will each appliance operate? Be realistic, especially considering seasonal changes. For instance, a fan might run 12 hours a day in summer, but only 2 in spring.
- Calculate Watt-Hours Per Day: Multiply each appliance's wattage by its daily run time. Sum these up for your total daily watt-hours.
- Example: A 100-watt fan running 10 hours a day uses 100W * 10h = 1000 Wh (1 kWh) per day. A 60-watt LED grow light running 16 hours uses 60W * 16h = 960 Wh per day.
- Factor in Inverter Efficiency: Inverters aren't 100% efficient. Account for about a 10-15% energy loss in the conversion from DC to AC. So, if your appliances need 2000 Wh, your battery needs to provide around 2200-2300 Wh.
- Consider Surge Watts: Some appliances, especially pumps or older motors, have a much higher "starting watt" or "surge watt" requirement for a brief moment when they kick on. Your inverter needs to be able to handle this momentary surge, or it will trip.
Creating a detailed spreadsheet of your greenhouse's load analysis is immensely helpful. This deep dive into your specific needs will prevent the frustration of an underpowered system.
Pre-Configured Kits vs. Custom Builds
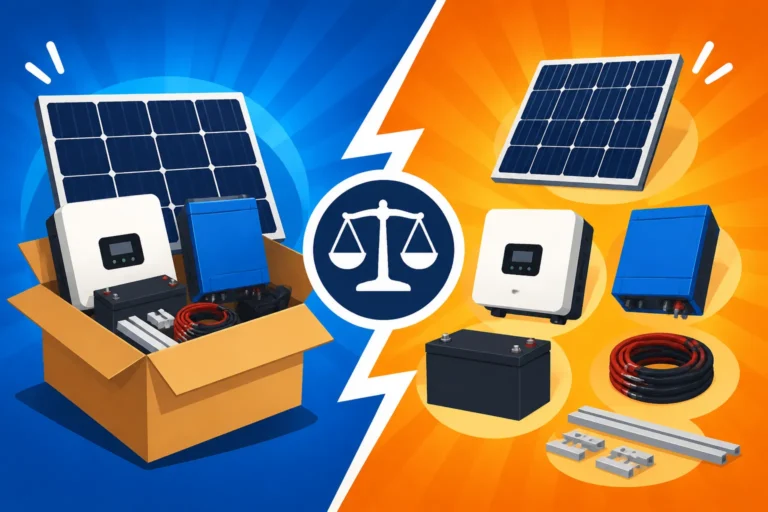
You generally have two main paths when setting up an off-grid solar system for your greenhouse: buying a pre-configured kit or piecing together individual components for a custom build. Each has its pros and cons.
- Pre-Configured Kits: These kits, offered by companies like Renogy, EcoFlow, or Jackery, are designed for simplicity. They typically include panels, a charge controller, an inverter, and sometimes batteries, all designed to work together.
- Pros: Ease of purchase, often includes wiring diagrams, compatibility is generally assured, good for beginners. Brands like Jackery offer integrated solar generators that combine a battery, inverter, and charge controller into one portable unit, which can be fantastic for smaller greenhouses or experimental setups.
- Cons: Less flexibility to customize to your exact needs, might include components you don't prefer, potentially not optimized for maximum efficiency in every unique greenhouse scenario. They might also be slightly more expensive than buying components separately, though the convenience often balances this out.
- Best for: Smaller greenhouses, hobbyists, those wanting a simpler setup, or systems primarily for lights and small fans. A Jackery Explorer 1000 or similar portable power station, paired with their solar panels, could be a great plug-and-play solution for basic lighting and a small circulation fan.
- Custom Builds: This involves researching and purchasing each component (panels, charge controller, batteries, inverter, wiring, safety gear) separately.
- Pros: Maximum customization, ability to choose best-in-class components for each part of the system, potential for better long-term scalability and repairability. This path allows you to truly optimize for your specific greenhouse environment.
- Cons: Requires more technical knowledge and research, greater risk of compatibility issues if you're not careful, potentially more complex installation.
- Best for: Larger greenhouses, those with specific power demands (e.g., high-power pumps or grow lights), experienced DIYers, or those planning to expand their system over time.
For a greenhouse, especially if you're new to off-grid solar, a well-regarded pre-configured kit can be a fantastic entry point. However, as your system grows, understanding the individual components becomes invaluable. Check out our guide on Off-Grid Solar Kits: What to Buy for more comparisons.
Budgeting for Your Off-Grid Greenhouse Solar System
Let's be real, the cost of going off-grid can be a bit of a sticker shock if you're not prepared. But viewing it as an investment in your greenhouse's future and independence helps put things into perspective. Understanding the cost to power a greenhouse with solar is about more than just the panels.
- Initial Component Costs:
- Solar Panels: These vary by wattage and brand, but typically range from $0.70 to $1.50 per watt.
- Batteries: Often the most expensive component. LiFePO4 batteries can range from $800 to $2000+ per 100Ah (12V equivalent), depending on the brand and features. Lead-acid is cheaper, but remember the shorter lifespan. For example, a quality 200Ah LiFePO4 battery might run you over $1,500.
- Inverter: A pure sine wave inverter can range from $150 for a small 1000W unit to $1000+ for a powerful 3000W or 5000W model capable of handling surge loads.
- Charge Controller: MPPT controllers typically cost between $100 and $500, depending on their amperage capacity.
- Balance of System (BOS) Costs: Don't forget these "hidden" costs!
- Wiring and Connectors: Quality, appropriately sized wiring, MC4 connectors, and busbars are crucial for safety and efficiency. This can add a few hundred dollars.
- Mounting Hardware: Roof mounts, ground mounts, or pole mounts can range from a few hundred to over a thousand dollars, depending on the complexity.
- Safety Equipment: Fuses, breakers, disconnects, and grounding equipment are non-negotiable for system safety and compliance.
- Enclosures: A weather-resistant, ventilated enclosure for your batteries and electronics is often necessary.
- Installation Costs (DIY vs. Professional):
- DIY: If you're handy, you can save a lot on labor. However, factor in your time, potential learning curve, and the cost of any specialized tools you might need. The "Cost of a DIY Off-Grid Solar Build" can be significantly lower than hiring help.
- Professional Installation: Hiring an electrician or solar installer ensures everything is done correctly and safely, but it adds substantial labor costs, potentially doubling your overall expenditure. This might be a good option for larger, more complex greenhouse setups or if you're not comfortable with electrical work.
- Long-Term Costs:
- Maintenance: While minimal, panels might need occasional cleaning. Batteries, especially lead-acid, will require more upkeep.
- Replacement: Batteries have a lifespan, and you'll eventually need to replace them. This is a significant factor in the lifetime cost of an off-grid solar system.
It's tempting to cut corners, but remember that reliability is key for a greenhouse. A cheap component failure could mean losing your entire crop. Budget for quality components from reputable brands. You can learn more about how to budget for an off-grid solar system in our in-depth article.
| Greenhouse Appliance | Typical Running Watts | Est. Daily Run Time (Hrs) | Daily Watt-Hours (Wh) |
|---|---|---|---|
| Small Circulation Fan | 20-50 W | 12-24 | 240-1200 Wh |
| Large Exhaust Fan | 100-300 W | 8-16 | 800-4800 Wh |
| LED Grow Light (1 ft²) | 30-75 W | 12-18 | 360-1350 Wh |
| LED Grow Light (4 ft²) | 150-300 W | 12-18 | 1800-5400 Wh |
| Small Water Pump | 50-150 W | 0.5-2 | 25-300 Wh |
| Thermostat/Controller | 2-10 W | 24 | 48-240 Wh |
| Electric Heater | 500-1500 W | 2-8 | 1000-12000 Wh |
| Evaporative Cooler | 100-300 W | 4-10 | 400-3000 Wh |
Note: These are estimates. Always check specific appliance labels for accurate wattage.
Installation and Maintenance Tips for Greenhouse Solar
You've meticulously planned, budgeted, and acquired your off-grid solar kit. Now comes the exciting part: installation! But remember, a well-installed system isn't just about putting pieces together; it's about optimizing for efficiency and ensuring longevity, especially in the unique environment of a greenhouse. And once it's up, a little routine care goes a long way in protecting your investment and your precious plants. If you're doing a DIY project, our comprehensive Off-Grid Solar Installation Guide is an invaluable resource.
Optimal Panel Placement and Mounting for Greenhouses
Where you put your solar panels matters immensely for their performance and, crucially, for your greenhouse's function.
- Avoid Shading Your Greenhouse: As we discussed, directly mounting panels on your greenhouse roof can reduce the sunlight available to your plants. While transparent or semi-transparent solar panels exist, they are less efficient and often more expensive than traditional panels. The primary goal of a greenhouse is to maximize sunlight, so blocking it with opaque solar panels is usually counterproductive.
- Consider Nearby Structures: An adjacent shed, barn, or even your main home can be an ideal location for solar panel mounting. This keeps the panels separate from the greenhouse, preventing shading, and often provides a stable structure for installation.
- Ground Mounts and Pole Mounts: If no suitable structure is nearby, a ground mount or pole mount system is an excellent alternative. These allow you to optimize the panel's tilt and azimuth (direction) for maximum sun exposure throughout the year. For areas with heavy snow, a pole mount can lift panels above the snow line, preventing accumulation. They also make it easier to adjust the angle of your panels seasonally to capture more sunlight, especially important for maximizing power during the low sun angles of winter.
- Orientation and Tilt: In the Northern Hemisphere, panels should face true south (not magnetic south) for optimal year-round production. The tilt angle is also important; a steeper angle (closer to your latitude plus 15 degrees for winter optimization) helps shed snow and capture low winter sun, while a shallower angle is better for summer. Some ground mounts allow for seasonal tilt adjustments, which can significantly boost your output.
Routing wiring cleanly and safely from your panels to your charge controller and battery bank, usually located in a protected area away from the humid greenhouse interior, is also a critical step in the overall Off-Grid Solar Wiring Diagram Explained.
Keeping Your System Healthy Year-Round
An off-grid solar system for a greenhouse is a significant investment that needs a bit of tender loving care to ensure it performs reliably for years to come. Neglecting maintenance can lead to reduced efficiency, premature component failure, and unexpected power outages – precisely what you're trying to avoid!
- Panel Cleaning: Dust, pollen, bird droppings, and accumulated grime can significantly reduce your solar panel's efficiency. Depending on your location, a simple rinse with a hose a few times a year might suffice. In dusty areas or during dry spells, a soft brush and soapy water might be necessary. Avoid abrasive cleaners or harsh scrubbing. Regularly checking your panels for obstructions like leaves or snow, especially in winter, is also crucial. For more details, see our article on How to Maintain Off-Grid Solar Panels.
- Battery Health Checks:
- LiFePO4: These batteries require minimal maintenance. Periodically check terminals for corrosion and ensure connections are tight. The internal Battery Management System (BMS) handles most of the heavy lifting. Monitor your battery's State of Charge (SoC) via your battery monitor.
- Lead-Acid (AGM/Flooded): AGM batteries are sealed and relatively maintenance-free beyond terminal checks. Flooded lead-acid batteries, however, require regular checks of electrolyte levels, which need to be topped up with distilled water. Both types benefit from periodic equalization charges (if your charge controller supports it and your battery manufacturer recommends it) to balance cell voltages.
- Temperature: Ensure your battery bank remains within its optimal operating temperature range. Extreme heat or cold can severely impact battery performance and lifespan.
- Wiring and Connection Inspections: Over time, vibrations or weather can loosen connections. Periodically inspect all wiring, terminals, and connections for tightness, corrosion, or signs of damage. This includes connections at the panels, charge controller, inverter, and battery bank. Loose connections can lead to resistance, heat buildup, and power loss.
- Monitoring System Performance: If your charge controller or inverter has a display or app, keep an eye on your system's output (panel wattage), battery voltage, and current draw. Deviations from normal can indicate a problem developing, allowing you to address it before it becomes critical. Many modern systems, including some from brands like Victron, offer sophisticated monitoring solutions that can be accessed remotely, providing invaluable insights into your system's health.
- Seasonal Adjustments: Adjusting your panel tilt (if using an adjustable mount) for winter and summer can dramatically increase your energy harvest. In winter, a steeper angle helps catch lower sun and shed snow. In summer, a shallower angle is often better. This simple adjustment ensures your system is always working its hardest for your greenhouse.
By incorporating these routine checks and adjustments, you can ensure your off-grid solar kit continues to provide reliable, consistent power to your greenhouse, allowing your plants to thrive without interruption.
Disclaimer
Please remember that the information provided in this guide is for educational and informational purposes only and should not be considered professional advice. Off-grid solar system design and installation involve electrical work that can be dangerous if not performed correctly. Always consult with a qualified electrician or solar professional before undertaking any installation or major system modifications. Local codes and regulations regarding solar installations vary, and it is your responsibility to ensure compliance.