How to Install Off-Grid Solar on a Hunting Cabin
There's nothing quite like the dream of a remote hunting cabin, a true escape from the daily grind. But let's be real, the thought of relying solely on a noisy, gas-guzzling generator for power can quickly dampen that vision, not to mention the constant fuel runs. This guide is here to walk you through the process of installing a reliable off-grid solar system for your hunting cabin, freeing you from those frustrations and empowering your wilderness retreat with clean, silent energy.
Assessing Your Hunting Cabin's Power Needs
Before you even think about buying equipment, the absolute first step is to understand what you actually need to power. Many folks jump straight to looking at panels or batteries, only to find they've either undersized their system and are constantly running out of juice, or vastly oversized it and spent a fortune unnecessarily. Your hunting cabin might be simple, but every light bulb, phone charger, and coffee maker adds up!
Understanding Your Appliance Load
Think about every single electrical item you plan to use in your cabin, and be honest with yourself about how often you'll use it. Are you just running a few LED lights and charging your phone? Or do you dream of a mini-fridge, a microwave for quick meals, and maybe even a small water pump for a basic sink? Make a comprehensive list. Don't forget the "hidden" loads like carbon monoxide detectors, small fans, or even the power draw from your inverter itself when it's just sitting there waiting to convert power. It’s easy to underestimate, especially when you’re used to the endless supply of grid power.
For instance, a typical LED bulb might only draw 7-10 watts, but if you have five of them running for a few hours each night, that becomes a significant chunk of your daily energy. A small mini-fridge, while not constantly running, will cycle on and off throughout the day and night, consuming a surprising amount over 24 hours. Even critical items like a well pump can have a massive surge draw when they first kick on, which your inverter needs to be able to handle.
Calculating Daily Energy Consumption
Once you have your list of appliances, the next crucial step is to calculate their individual energy consumption and then add it all up to get your total daily watt-hour (Wh) requirement. This isn't just about how many watts an appliance draws, but for how long it draws them. A microwave might draw 1000 watts, but if you only use it for 5 minutes a day, its overall energy contribution is far less than a 50-watt fan running for 8 hours.
Here’s a simple formula: Watts (W) x Hours per day (H) = Watt-hours per day (Wh/day). Do this for every item on your list. If an appliance has a range of wattage (like a laptop charger that might draw anywhere from 20W to 60W depending on usage), always err on the higher side to be safe. For items with intermittent usage, like a water pump, estimate how many minutes it will run in an hour and then how many hours a day you expect to need water. This calculation is the cornerstone of how to size an off-grid solar system. Many online resources and even some product listings on places like Amazon will provide average wattage ratings if you can't find them directly on your appliances.
| Appliance | Typical Wattage (W) | Est. Hours/Day (H) | Daily Watt-Hours (Wh) |
|---|---|---|---|
| LED Light Bulb | 7 | 4 | 28 |
| Phone Charger | 10 | 2 | 20 |
| Small Mini-Fridge | 50 (running) | 8 (cycling) | 400 |
| Laptop Charging | 45 | 3 | 135 |
| Radio/Bluetooth Speaker | 15 | 3 | 45 |
| Coffee Maker | 800 | 0.25 (15 min) | 200 |
| Small Water Pump | 150 | 0.5 (30 min) | 75 |
| Total Daily Estimate | 903 Wh |
Keep in mind this table is just an example. Your actual needs will vary greatly. Once you have this total, you're better equipped to determine your battery bank size and how many solar panels you'll need.
Accounting for Seasonal Use and Weather
A hunting cabin isn't typically a year-round residence, but its seasonal use is paramount to your solar calculations. Are you mainly using it in the bright, long days of summer and early fall? Or are those crisp, short, often cloudy days of late fall and winter your prime hunting season? This makes a huge difference.
Solar panels produce significantly less power on cloudy days, and the sun is lower in the sky and present for fewer hours in winter. For optimal performance, you need to calculate your daily energy usage based on the worst-case scenario – typically the shortest, darkest, and potentially cloudiest days of your primary usage season. This is where understanding Peak Sun Hours Explained becomes vital. You might get 5-6 peak sun hours in June, but only 2-3 in December. If you plan to be out there in the deep winter, you’ll need to significantly over-panel your system or have a robust battery bank with several days of autonomy to carry you through stretches of bad weather.
Essential Components for a Hunting Cabin Solar System
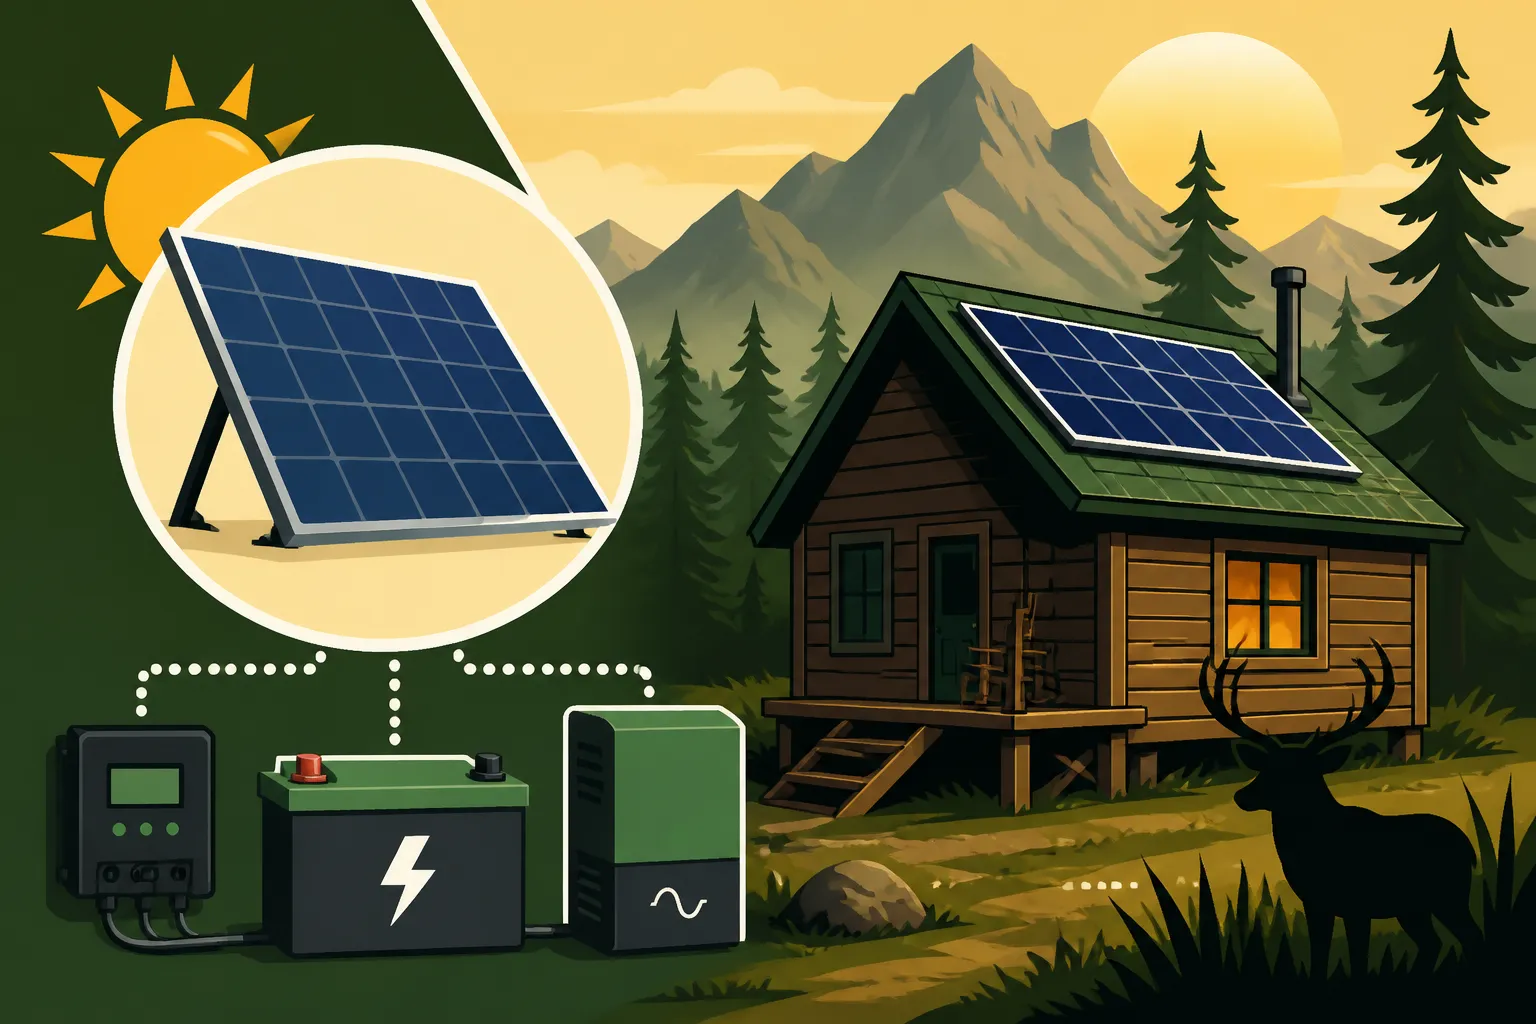
Now that you know how much power you need, it's time to dive into the core components that will bring your off-grid dream to life. Each part plays a critical role, and understanding their function helps in making informed choices, even for a simple cabin setup.
Solar Panels: Placement and Type
The solar panels are the workhorses, converting sunlight into electricity. For a hunting cabin, you have a few practical options for how to install off-grid solar panels.
Panel Type: Monocrystalline panels are generally more efficient and perform better in low-light conditions, making them a popular choice. Polycrystalline panels are a bit less efficient but can be more budget-friendly. Given the often-limited roof space or desire for a compact setup at a cabin, higher efficiency monocrystalline panels often make more sense, even if they cost a little more upfront. Brands like Renogy offer a wide range of reliable monocrystalline panels that are quite durable for outdoor use.
Placement:
- Roof Mount: This is a common and usually secure option if your cabin has a sturdy roof. Panels are out of the way, less prone to theft, and generally provide good sun exposure. You'll need appropriate racking that can withstand local wind and snow loads.
- Ground Mount: If your cabin roof isn't suitable, or if you want to optimize for sun angle (which changes seasonally), a ground mount is an excellent alternative. You can place the panels in a clear, south-facing spot, free from shade. This also makes cleaning snow off them easier. However, ground-mounted panels might be more visible and potentially more vulnerable to theft, something to consider for a remote cabin that might be unattended for long periods. You can find robust ground mount kits on Amazon.
- Portable Panels: For very light usage or as an auxiliary option, portable folding solar panels are incredibly convenient. You can set them up when you arrive and pack them away when you leave, minimizing permanent installation and security concerns. They won't power a whole cabin, but they're great for charging smaller devices or topping up a small battery bank.
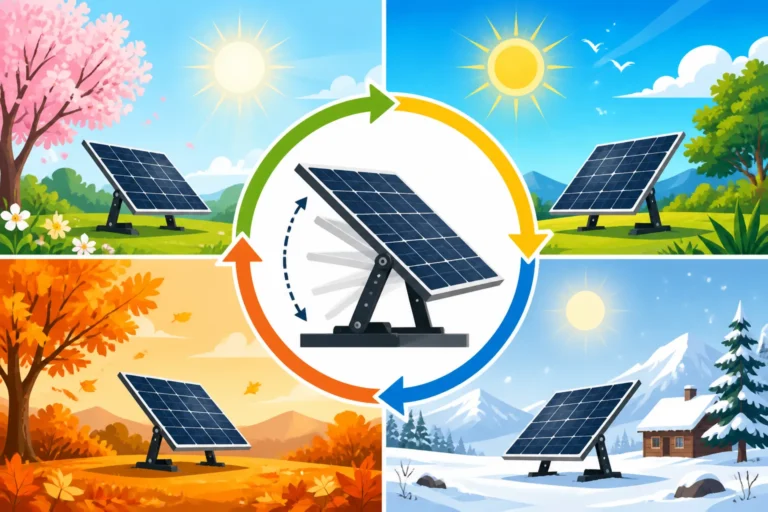
Regardless of type or placement, always ensure your panels are oriented for maximum sun exposure, usually facing south in the Northern Hemisphere, and tilted at an angle that is appropriate for your latitude and season of use.
Batteries: The Heart of Your Off-Grid System
Your battery bank is arguably the most critical component, storing the energy your panels generate for use when the sun isn't shining. Without it, you’d only have power during daylight hours! When considering how many batteries for an off-grid system you need, the type and capacity are key factors.
Battery Chemistry:
- Lead-Acid Batteries (Flooded, AGM, Gel): These are traditionally more affordable upfront but require more maintenance (especially flooded ones) and have a shorter lifespan compared to lithium. They also have a lower usable depth of discharge (DoD), meaning you can only safely use about 50% of their rated capacity without damaging them. AGM and Gel are sealed and maintenance-free, a big plus for a remote cabin.
- Lithium Iron Phosphate (LiFePO4) Batteries: While they have a higher initial cost, LiFePO4 batteries offer significantly longer lifespans (often 10+ years), higher usable DoD (typically 80-100%), faster charging, and are much lighter. For a hunting cabin, their low-maintenance nature and durability, especially in fluctuating temperatures, can make them an excellent long-term investment. They are quickly becoming the preferred choice for reliable off-grid power, despite the higher LiFePO4 vs Lead-Acid Battery Cost. Many high-quality LiFePO4 batteries are readily available from brands like Renogy.
Sizing Your Battery Bank: Your battery bank's capacity should be able to cover your daily energy consumption for at least 2-3 days without any sun (your "days of autonomy"). This provides a crucial buffer against cloudy weather. If your total daily consumption is 903 Wh, you'd want at least 1800-2700 Wh of usable battery capacity. Remember the usable DoD when doing these calculations! For a hunting cabin that might only be used a few weekends a month, you might opt for a smaller bank if you're prepared to conserve power on cloudy days.
Charge Controller and Inverter Selection
These two components are the brains and brawn of your off-grid electrical system.
Charge Controller: This device regulates the voltage and current coming from your solar panels, ensuring your batteries are charged safely and efficiently without overcharging. There are two main types:
- PWM (Pulse Width Modulation): These are simpler, less expensive, and generally suitable for smaller systems where the solar panel voltage closely matches the battery bank voltage (e.g., 12V panel charging a 12V battery).
- MPPT (Maximum Power Point Tracking): MPPT controllers are more advanced and efficient, especially for larger systems or when panel voltage is significantly higher than battery voltage. They can extract up to 10-30% more power from your panels compared to PWM, which can be a game-changer on cloudy days or during winter. Given the potential for less-than-ideal sun conditions at a cabin, an MPPT charge controller is often a worthwhile upgrade. You can find excellent MPPT controllers from brands like Victron Energy or Midnite Solar on Amazon.
Inverter: The inverter takes the direct current (DC) power stored in your batteries and converts it into alternating current (AC) power, which is what most standard household appliances use.
- Pure Sine Wave Inverters: These produce clean, stable AC power, identical to what you get from the grid. They are essential for sensitive electronics (laptops, TVs, medical devices) and inductive loads (motors in fridges, pumps). While more expensive, they are generally recommended for any cabin that will power more than just basic lights.
- Modified Sine Wave Inverters: These are cheaper but produce a "choppier" waveform that can damage sensitive electronics or cause motors to run less efficiently or loudly. Avoid these if you have anything more than simple resistive loads (like incandescent light bulbs, which you probably won't use anyway).
When choosing an inverter, make sure its continuous wattage rating can handle all the AC appliances you plan to run simultaneously, plus a bit of headroom. Also, pay close attention to its "surge" rating. Appliances with motors (refrigerators, pumps) can draw significantly more power for a few seconds when they first start up. Your inverter needs to be able to handle this momentary surge without shutting down.
Step-by-Step Installation Process for Your Cabin
Alright, we’ve planned, we’ve purchased, and now it’s time to get hands-on! While a professional installation is always an option, many cabin owners opt for a DIY approach, especially for smaller systems. Remember, safety first! If you’re ever unsure, consult with a qualified electrician or solar installer.
Mounting Solar Panels Securely
The physical installation of your solar panels is where the rubber meets the road. Whether you're opting for a roof mount or a ground mount, secureness is paramount. High winds, snow loads, and even curious wildlife can be problematic in a remote cabin setting.
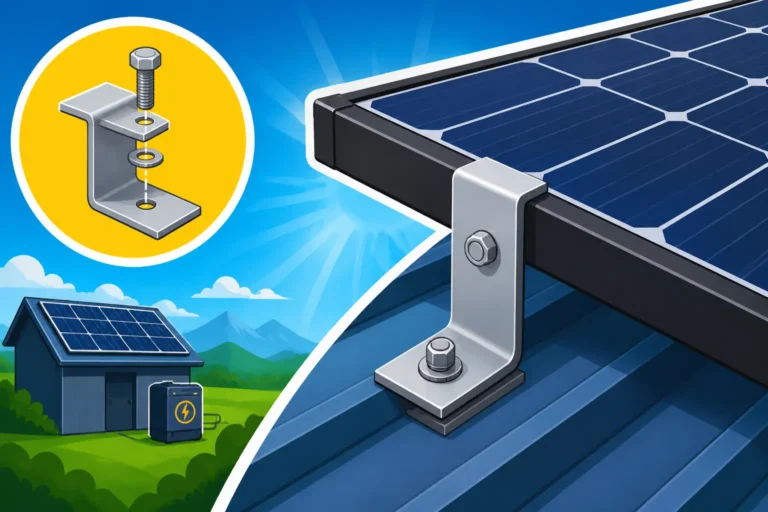
For a roof mount, you'll need a robust racking system appropriate for your roof type (e.g., asphalt shingles, metal roof, standing seam). The rails need to be securely attached to the cabin's structural rafters, not just the sheathing. This usually involves drilling through the roofing material and sealing the penetrations meticulously to prevent leaks. Kits like those from Renogy often come with all the necessary mounting hardware, including Z-brackets for smaller systems, but for larger roof arrays, more extensive rail systems are required. Once the rails are in place, the panels are clamped to them, and all electrical connections are made with weather-resistant MC4 connectors.
If you’re going with a ground mount, you have more flexibility in choosing the ideal, unshaded location and angling the panels perfectly. You'll typically build a frame out of treated lumber or metal piping, set into concrete footings for stability. Ensure the frame is strong enough to hold the weight of the panels and resist environmental forces. Once the frame is ready, attach the panels to it using the appropriate hardware. No matter the method, consult local building codes if applicable, even for remote areas, to ensure your installation meets safety standards. You'd be surprised what permits and codes might still apply, even to a simple hunting cabin.
Wiring the System Components
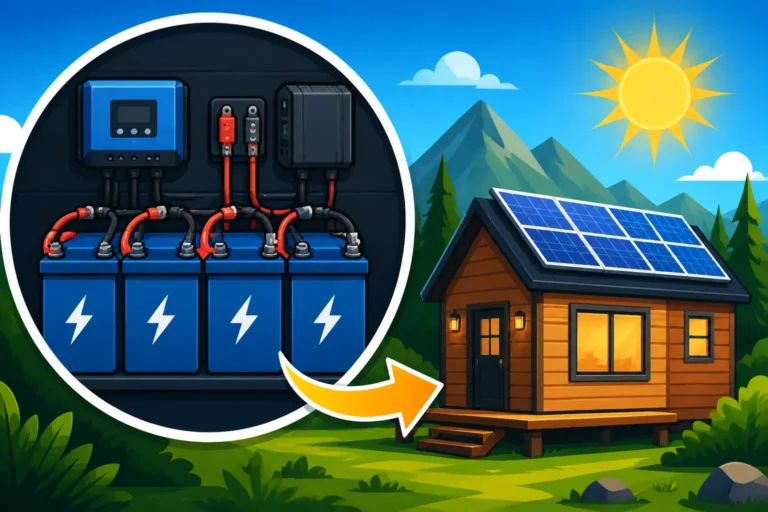
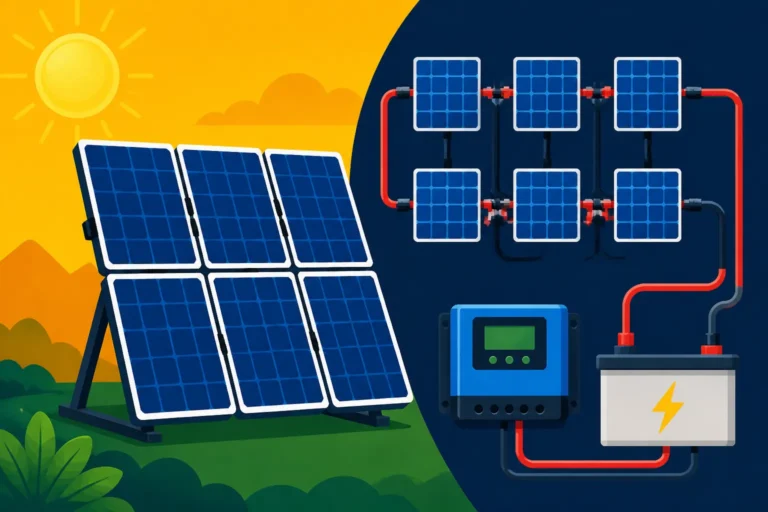
This is where things get a bit more technical, and attention to detail is crucial. A properly wired system is efficient and, most importantly, safe. When learning how to wire an off-grid solar system, it's about connecting your panels to your charge controller, the controller to your batteries, and the batteries to your inverter.
-
Panels to Charge Controller (DC Side):
- Connect your solar panels. If you have multiple panels, you'll need to decide whether to wire them in series, parallel, or a combination. Series wiring increases voltage, while parallel wiring increases current. The best configuration depends on your panel specifications and charge controller's input limits. Always use appropriately sized, UV-resistant solar cable (typically 10 AWG or 12 AWG, but check calculations based on distance and current).
- Route these cables from your panels to your charge controller, ideally through conduit to protect them from physical damage and UV degradation.
-
Charge Controller to Battery Bank (DC Side):
- Connect the output terminals of your charge controller directly to your battery bank. Use heavy-gauge battery cables (e.g., 2 AWG or 4 AWG, depending on current) and keep them as short as possible to minimize voltage drop.
- Crucially, install an appropriate DC-rated fuse or circuit breaker on the positive cable between the charge controller and the battery, as close to the battery as possible. This protects your system from overcurrent in case of a fault.
-
Battery Bank to Inverter (DC Side):
- Connect the battery bank to the DC input terminals of your inverter using very heavy-gauge cables (e.g., 2/0 AWG or 4/0 AWG, depending on inverter size and battery voltage). Again, fuses or circuit breakers are mandatory on both positive and negative lines here, close to the battery.
- For your battery bank itself, if you have multiple batteries, you'll connect them in series, parallel, or a series-parallel combination to achieve your desired voltage (e.g., 12V, 24V, or 48V) and capacity. Remember, 48V systems are generally more efficient for larger loads as they require thinner wiring for the same power.
-
Inverter to AC Loads (AC Side):
- From the AC output of your inverter, you'll typically run wiring to a small AC breaker panel within your cabin. This panel will then distribute power to your outlets and lights, just like a standard home electrical system.
- Always use appropriate Romex or similar AC wiring, sized according to the breakers in your panel and the expected loads.
Remember that a clean, organized wiring job not only looks better but is also safer and easier to troubleshoot. Label everything!
Safety Considerations and System Testing
Electrical work, especially with battery banks capable of high current, carries significant risks. Don't take shortcuts when it comes to off-grid solar safety and grounding.
Safety First:
- Disconnects: Install DC disconnects on your solar array and battery bank so you can completely de-energize sections of your system for maintenance or in an emergency.
- Fuses and Breakers: We’ve mentioned them already, but they're worth reiterating. Fuses protect components from overcurrents, preventing fires and damage. Size them correctly for each circuit.
- Grounding: Your entire solar system (panels, racking, inverter, charge controller) must be properly grounded to earth. This involves running a ground wire from the system's ground bus to a grounding rod driven deep into the earth. This protects against lightning strikes and electrical faults.
- Ventilation: If you're using flooded lead-acid batteries, they produce hydrogen gas when charging, which is highly explosive. Ensure your battery enclosure is well-ventilated to prevent gas buildup. LiFePO4 batteries are generally sealed and don't off-gas.
- Tools and PPE: Use insulated tools, wear safety glasses, and remove all jewelry when working with batteries.
System Testing:
Once everything is wired, it's time to bring your system online.
- Double-check all connections: Ensure they are tight and correct.
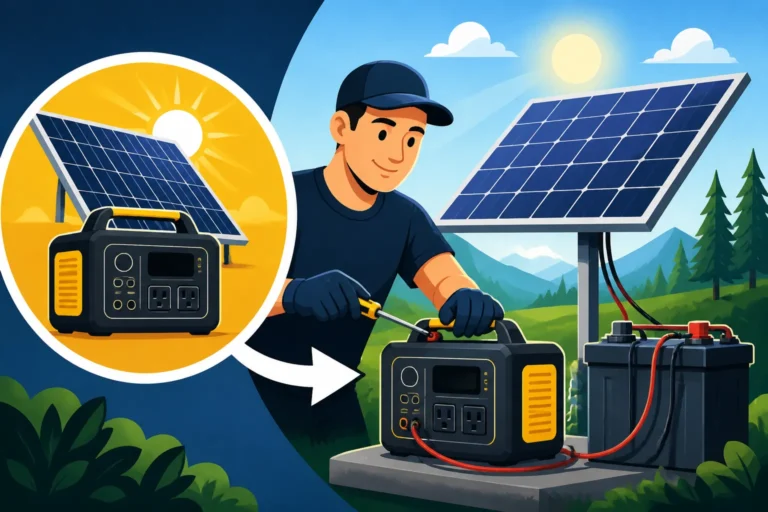
- Connect batteries first: Connect the positive and negative leads from your battery bank to your charge controller. The charge controller should power up.
- Connect solar panels: Connect your solar array to the charge controller. The controller should now show that it’s receiving power from the panels and charging the batteries.
- Power up the inverter: Turn on your inverter. It should indicate that it's receiving DC power from the batteries.
- Test AC outlets: Plug in a simple appliance, like a lamp, to an AC outlet in your cabin to confirm you have power.
- Monitor: For the first few days, closely monitor your system's performance. Check battery voltage, charging current, and inverter output to ensure everything is operating as expected. A battery monitor is invaluable for keeping tabs on your system's health.
For those just starting, considering an all-in-one unit or one of the Best Off-Grid Solar Kits for Beginners, can simplify much of this wiring and component matching, making the process less daunting.
Maintaining Your Off-Grid Cabin System
An off-grid solar system for your hunting cabin, while generally robust, isn't a "set it and forget it" solution. Just like any other critical piece of infrastructure, a little routine maintenance goes a long way in ensuring longevity and reliable power generation. Ignoring maintenance can lead to reduced efficiency, costly repairs, and ultimately, a loss of power when you need it most.
Routine Checks and Cleaning
Regular, albeit simple, checks can prevent small issues from becoming big problems. Think of it as a preventative health check for your power system.
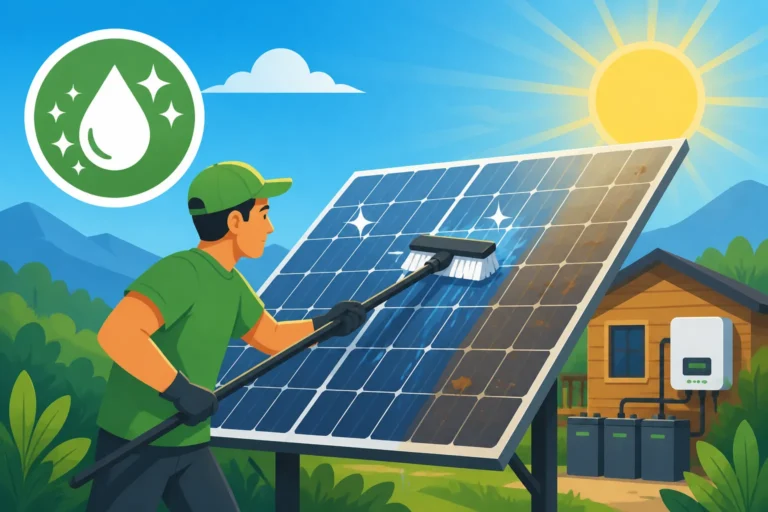
- Panel Cleaning: Dust, dirt, pollen, leaves, and bird droppings can accumulate on your solar panels, significantly reducing their efficiency. During your visits to the cabin, give your panels a quick visual inspection. If they look dirty, clean them with water and a soft brush or sponge. Avoid harsh chemicals or abrasive materials that could scratch the glass. For cabins in snowy regions, you'll also want to clear snow off the panels, especially if you plan to use the cabin during winter months.
- Wiring Inspection: Periodically check all visible wiring connections. Look for any signs of fraying, cracking, or damage to insulation, particularly from rodents or UV exposure. Ensure all connections are tight; loose connections can lead to resistance, heat buildup, and inefficient power transfer. This is also a good time to check your grounding connections to make sure they're still solid.
- Battery Terminal Maintenance: For lead-acid batteries, inspect the terminals for corrosion. If present, clean them with a wire brush and a baking soda-water solution. Ensure battery caps are secure. Even maintenance-free AGM or LiFePO4 batteries benefit from ensuring their terminals are clean and tight.
- Ventilation Check: If you have a battery enclosure, ensure that vents are clear and unobstructed to allow for proper airflow, especially if you have lead-acid batteries that can off-gas.
- Monitor Readings: Get in the habit of checking your system's monitoring readouts (if you have a dedicated battery monitor or an inverter with a display). Pay attention to battery voltage, charge/discharge currents, and panel output. Any significant deviations from normal operating parameters could indicate an issue. Keeping tabs on your system's health can also help you anticipate when it might be time for a Cost to Replace Off-Grid Solar Batteries.
Most of these checks can be done quickly and easily during each visit, ensuring your system remains in top shape.
Winterizing and Seasonal Adjustments
Hunting season often extends into colder months, and winter brings its own set of challenges for off-grid solar systems. Proper preparation can prevent damage and ensure continued functionality.
- Panel Angle Adjustment: In winter, the sun is much lower in the sky. If your panels are on adjustable mounts, tilting them to a steeper angle can significantly improve their performance by catching more direct sunlight and helping snow slide off more easily. This is a crucial seasonal adjustment to maximize power generation during shorter, darker days.
- Battery Protection: Batteries, especially lead-acid types, perform less efficiently and can be damaged by extreme cold if they are not fully charged. While LiFePO4 batteries are more resilient, many have low-temperature charging cut-offs to prevent damage. If your cabin experiences extreme freezing temperatures and your battery bank isn't in a heated space, consider insulating the battery box or ensuring the batteries are fully charged before prolonged periods of disuse in winter. For long periods of unoccupancy, some owners might even consider removing smaller battery banks and bringing them to a warmer location for storage.
- Load Management: During winter, sun exposure is reduced, and you might naturally use more power for things like lights in the darker hours. Be extra mindful of your power consumption. Prioritize essential loads and conserve energy where possible. This might mean shortening shower times if you have an electric water pump or using a propane heater instead of an electric one.
- System Shutdown (if applicable): If you plan to leave your cabin completely unattended for the entire winter and want to ensure maximum safety, you might consider performing a controlled shutdown of your system. This would involve disconnecting the solar panels and then disconnecting the battery bank, effectively de-energizing the entire system. Just ensure your batteries are at a good storage charge (typically 50-70% for LiFePO4 and fully charged for lead-acid) before doing so to prevent self-discharge damage. This approach drastically reduces the risk of any issues occurring while you’re away.
Understanding these maintenance routines and seasonal adjustments can dramatically extend the life of your off-grid system and save you from unexpected frustrations or Off-Grid Solar Maintenance Costs down the line. It ensures that your hunting cabin remains that peaceful, self-sufficient retreat you envisioned, powered reliably by the sun.
Disclaimer
Please be aware that the information provided in this guide is for general informational purposes only. While we strive to offer accurate and helpful advice, off-grid solar installations involve electrical work that can be dangerous if not performed correctly. Always consult with qualified professionals, such as licensed electricians or certified solar installers, to ensure your system is safely designed, installed, and complies with all applicable local codes and regulations. Your specific energy needs and local environmental conditions may require different approaches and equipment than those generally discussed here.