How to Wire a 12V Off-Grid System
It’s completely understandable to feel a little overwhelmed when you first dive into the world of off-grid solar, especially when you start looking at wiring diagrams and all those different components. Many of us just want to achieve that sense of independence and reliable power without a massive headache. This comprehensive guide is here to walk you through the process of wiring a 12V off-grid solar system, simplifying the steps and helping you avoid common pitfalls so you can power your adventures or small cabin with confidence.
Understanding the Basics of a 12V Off-Grid System
Before you even pick up a wire stripper, it’s really helpful to get a solid grasp of what a 12V system entails and why it might be the perfect fit for your specific needs. It’s all about creating a reliable power source that’s completely separate from the traditional utility grid, giving you freedom wherever you roam or settle down.
Why Choose 12V for Your Off-Grid Setup
The 12-volt system is often considered the entry point into the off-grid solar world, and for good reason. It’s incredibly common in vehicles like RVs, vans, and boats, as well as smaller cabins, sheds, and even for emergency backup power. The main advantage of 12V is its simplicity and the wide availability of 12V appliances and components. You can find everything from LED lights and water pumps to USB chargers and even small refrigerators designed to run directly on 12V DC power.
This widespread availability means you often don't need to convert your power as much, which can reduce complexity and efficiency losses compared to higher voltage systems. Think about it: if your lights and phone charger are already 12V, you can bypass the inverter entirely for those specific loads, drawing power directly from your battery bank. This makes it a great choice for those just starting out or for applications where power demands are moderate, allowing you to gradually expand if needed. While bigger systems might move towards 24V or 48V for efficiency over longer wire runs and for higher power demands, 12V remains king for smaller, more portable, or less power-intensive setups. For a deeper dive into choosing your system's voltage, you might want to read about how to choose system voltage.
Essential Components of a 12V System
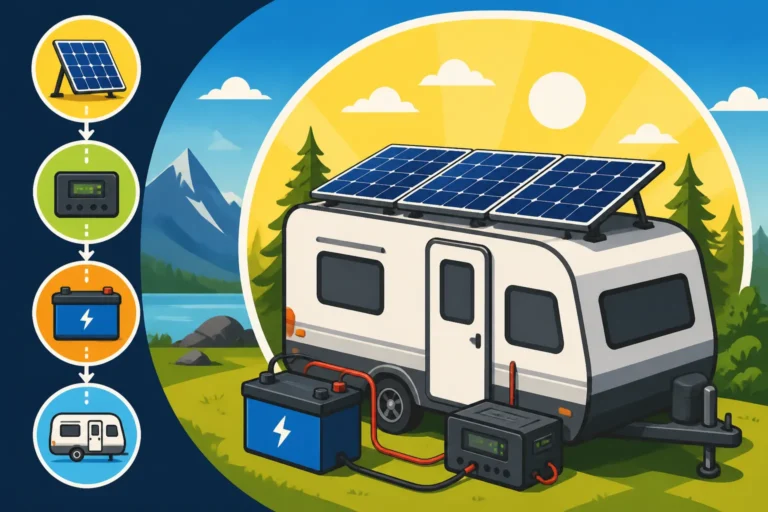
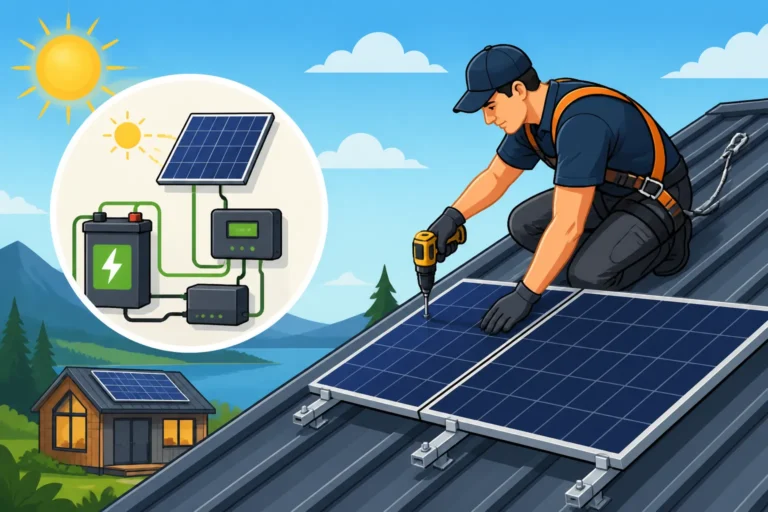
Every off-grid solar system, regardless of its voltage, relies on a few core components working in harmony to capture, store, and deliver power. Understanding each piece of the puzzle is key to successful wiring. First up, you have your solar panels. These are the workhorses that convert sunlight into electrical energy. For a 12V system, you’ll typically use panels that have a nominal output voltage suitable for charging a 12V battery bank, often around 18-20V at their peak.
Next, you'll need a charge controller. This is like the brain of your charging system, regulating the power flow from your solar panels to your batteries. It prevents overcharging, which can severely damage your batteries, and also ensures that power is drawn from the panels efficiently. There are two main types: PWM (Pulse Width Modulation) and MPPT (Maximum Power Point Tracking). MPPT controllers are generally more efficient, especially in varying light conditions or when your panel voltage is significantly higher than your battery voltage, maximizing the energy harvest. Many reliable options from brands like Renogy are readily available. You can learn more about finding the best MPPT charge controllers.
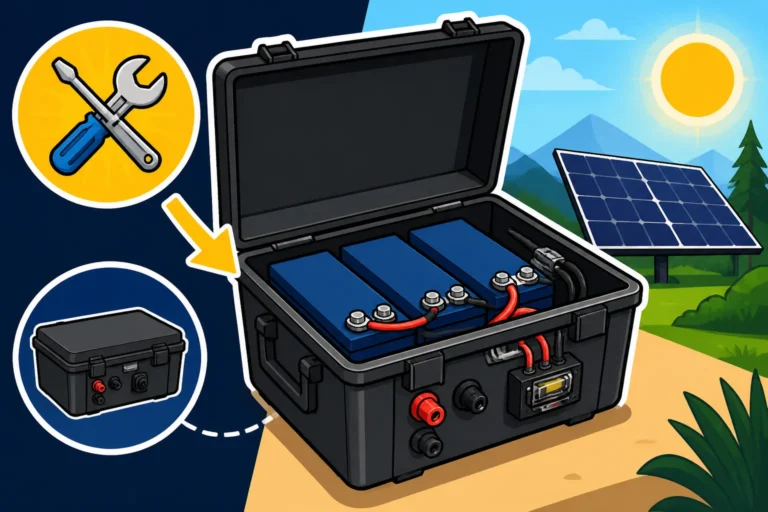
Then comes the battery bank, the heart of your off-grid system. This is where the solar energy is stored for use when the sun isn't shining. For a 12V system, you'll have one or more 12V batteries wired together. Lithium iron phosphate (LiFePO4) batteries are incredibly popular these days due to their long lifespan, high efficiency, and deep discharge capabilities, though lead-acid (AGM or flooded) are also viable, often more budget-friendly options. The number and type of batteries you choose will directly impact how many batteries for an off-grid system you'll need and how long your power will last during cloudy days or overnight.
Finally, for most modern setups, you'll need an inverter. This magical device transforms the DC (Direct Current) power from your batteries into AC (Alternating Current) power, which is what most standard household appliances use. Without an inverter, you'd be limited to only 12V DC devices. The size of your inverter will depend on the total wattage of the AC appliances you plan to run simultaneously. When selecting an inverter, make sure it’s a pure sine wave inverter, especially for sensitive electronics, as modified sine wave inverters can cause issues. Exploring the best off-grid solar inverters can help you make an informed decision.
Step-by-Step Wiring Guide for Your 12V System
Alright, let’s get down to the nitty-gritty: the actual wiring. Taking it one step at a time is crucial, and always remember, safety first! Before you start, disconnect any power sources and use appropriate personal protective equipment.
Wiring the Solar Panels to the Charge Controller
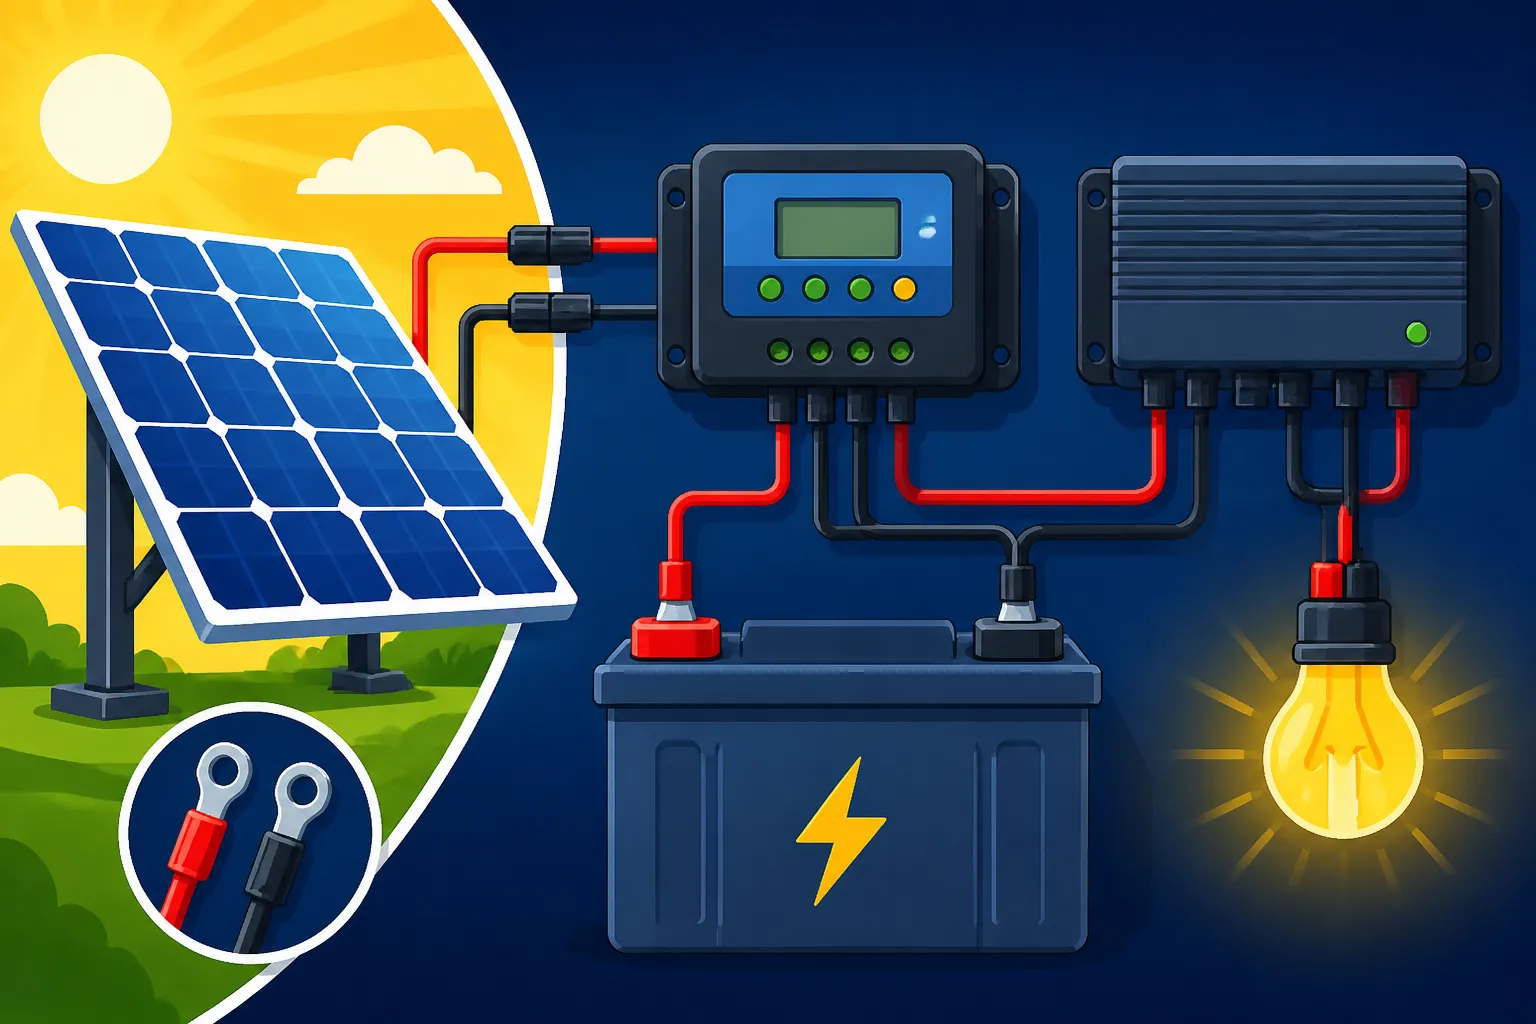
This is where your system begins to breathe life. You’ll typically use MC4 connectors for your solar panel wiring, which are designed for outdoor use and provide a secure, waterproof connection. Most single solar panels come with these pre-attached. Your panels will have positive (+) and negative (-) leads. You’ll connect these leads directly to the “PV Input” or “Solar Input” terminals on your charge controller.
If you have multiple panels, you'll need to decide whether to wire them in series, parallel, or a combination. For a 12V system, especially with smaller panels, parallel wiring is often preferred. This increases your amperage while keeping the voltage close to the 12V nominal output, which is generally safer for 12V battery charging and more compatible with PWM charge controllers. However, if you're using an MPPT controller, you might wire panels in series to increase the voltage, as MPPTs are fantastic at converting higher voltage, lower current input into the appropriate voltage and higher current needed for your 12V battery bank. This can be more efficient over longer wire runs. Always consult your charge controller’s manual for its maximum input voltage and current. You might find our guide on how to wire solar panels in series vs parallel helpful here.
After connecting your panel leads to the charge controller, you should install a circuit breaker or fuse between the solar panels and the charge controller. This acts as essential overcurrent protection, safeguarding your system and preventing damage in case of a short circuit. The size of this breaker or fuse should be rated for at least 125% of your panels' maximum output current (Isc – short circuit current). Always double-check your polarity before making the final connection – positive to positive, negative to negative! A simple mistake here can cause serious damage to your equipment.
Connecting the Charge Controller to the Battery Bank
This is arguably the most critical connection in your 12V system, as your batteries are where all the energy is stored. The charge controller has dedicated “Battery Output” terminals, typically marked with a battery icon or “Batt”. You’ll connect these terminals directly to your 12V battery bank. Just like with the solar panels, ensure you maintain correct polarity: the positive (+) terminal of the charge controller goes to the positive (+) terminal of your battery bank, and the negative (-) terminal of the charge controller goes to the negative (-) terminal of your battery bank.
The wire gauge you use for this connection is incredibly important. Since 12V systems carry higher amperage than higher voltage systems for the same power output, you’ll need thicker wires to minimize voltage drop and prevent overheating. For instance, a 1000W system at 12V will draw approximately 83 amps, whereas at 48V, it's only about 21 amps. Thicker wire (lower gauge number) is required for higher currents. Always use stranded copper wire, as it's more flexible and durable for these applications. You'll also need to install a fuse or circuit breaker very close to the battery's positive terminal, on the line running to the charge controller. This protects the charge controller and the wiring from a short circuit within the charge controller or the wiring itself. This fuse should be rated for 125% of the charge controller's maximum charging current output. For more detailed sizing information, check out how to size wire and cables.
When connecting multiple 12V batteries in parallel to form a larger 12V battery bank, ensure all connections are tight and clean. For an optimal setup, connect your main positive lead to one end of the parallel battery bank and your main negative lead to the opposite end. This helps ensure even charging and discharging across all batteries. Our guide on how to wire a battery bank offers detailed instructions on this.
Hooking Up the Inverter to Your Battery Bank
Your inverter, which converts DC battery power to AC power for your household appliances, needs to be connected directly to your battery bank. This connection is usually made using very thick battery cables, as inverters can draw a significant amount of current, especially during surge loads when appliances first start up. Again, polarity is crucial: positive on the inverter to positive on the battery, and negative to negative.
It's absolutely vital to place a large DC fuse or circuit breaker as close as possible to the battery's positive terminal, on the line running to the inverter. This is often the largest fuse in your entire system, protecting against catastrophic shorts or overloads from the inverter. The fuse size should be determined by the inverter's continuous output wattage divided by your battery voltage, then multiplied by 125%. For example, a 2000W inverter on a 12V system (2000W / 12V = 166.7A) would need a fuse of approximately 200-250 Amps. Trying to run sensitive electronics or high-draw appliances with an undersized inverter can lead to frustration and system shutdowns. If you're looking to run specific high-draw items like a microwave or a well pump, you'll need to factor in their surge wattage. Getting the right inverter size is crucial, and our article on what size inverter to run a refrigerator can provide specific examples.
Once the DC side is connected and fused, you can then connect your AC loads to the output of the inverter. This typically involves wiring a standard AC outlet or connecting the inverter directly into a small sub-panel for your cabin or RV. Always ensure proper AC wiring safety, including grounding and using appropriate circuit breakers on the AC output side, just like in a grid-tied home.
Integrating Your DC Loads
One of the beauties of a 12V system is the ease of running native 12V DC loads directly from your battery bank, often through a DC fuse block. This bypasses the inverter, increasing efficiency since there are no conversion losses. Think of all those items in an RV or boat: LED lights, fans, water pumps, USB chargers, even small 12V refrigerators.
To connect your DC loads safely, you'll want to use a fuse block or distribution panel. This panel takes a main positive and negative feed from your battery bank (with its own inline fuse at the battery) and then provides individual fused circuits for each of your 12V appliances. This makes troubleshooting easier and protects each device from overcurrent. For instance, if you're running a 12V light, you’d run a wire from the fuse block to the light, ensuring it’s appropriately fused for the light's amperage draw. For example, a light drawing 1 amp would typically be on a 2-amp fuse. This setup is much safer than simply splicing wires directly into your battery terminals, which is a major fire hazard. Many quality fuse blocks are available on platforms like Amazon, making it easy to build out your DC power distribution. Remember, wire sizing for these smaller DC loads is also important; while not as demanding as the inverter or main battery cables, you still need to ensure the wire can handle the current and length of the run.
| Component | Typical Connection Point | Essential Protection | Notes |
|---|---|---|---|
| Solar Panels | Charge Controller (PV Input) | DC Breaker/Fuse | Use MC4 connectors. Watch polarity. |
| Charge Controller | Battery Bank (Battery Input) | DC Fuse | Fuse close to battery. Critical wire gauge. |
| Battery Bank | Charge Controller, Inverter, DC Fuse Block | Main DC Fuses | Lithium for efficiency, lead-acid for budget. |
| Inverter | Battery Bank | Large DC Fuse/Breaker | Connects to AC loads. Ensure pure sine wave. |
| DC Fuse Block/Panel | Battery Bank | Individual DC Fuses | For direct 12V DC appliances. Maximize efficiency. |
Important Safety and Best Practices for 12V Wiring
When you’re dealing with electricity, whether it’s grid power or off-grid solar, safety is paramount. Cutting corners here isn’t just risky for your equipment; it can be incredibly dangerous for you and anyone else using the system. Always build safety into your design from the very beginning.
Sizing Wires and Fuses Correctly
Incorrect wire sizing is one of the most common and dangerous mistakes in DIY off-grid solar. Wires that are too thin for the current they carry will overheat, potentially melting insulation, causing shorts, and even starting fires. They also lead to significant voltage drop, which means less power actually reaches your appliances, making your system less efficient and potentially damaging electronics. As a general rule, lower gauge numbers mean thicker wires that can carry more current. For instance, 10 AWG wire is much thicker than 14 AWG wire. When determining wire gauge, you need to consider the current (amps) that will flow through the wire and the length of the wire run. The longer the run, the thicker the wire needs to be to prevent voltage drop.
Fuses and circuit breakers are your system's guardians. They are designed to be the weakest link in a circuit, sacrificing themselves by blowing or tripping before a dangerous overcurrent can damage your expensive equipment or cause a fire. You need to size them appropriately for the wire gauge they are protecting, not just the load. A fuse should always be rated slightly higher than the continuous operating current of the circuit, but lower than the maximum current the wire can safely handle. For example, if your wire is rated for 20 amps, you might use a 15-amp fuse. Never use a fuse with a higher rating than the wire it protects, and never, ever replace a blown fuse with a piece of wire or foil! It's better to understand how to size fuses and breakers properly than to take unnecessary risks.
Proper Grounding and Overcurrent Protection
Grounding is often overlooked in DIY solar setups, but it’s a critical safety measure. Properly grounding your system provides a safe path for fault currents to dissipate, protecting you from electrical shock and safeguarding your equipment from lightning strikes and surges. For a fixed off-grid installation, this typically involves driving a copper-clad steel rod into the earth and connecting it to the metal frames of your solar panels, your inverter chassis, and the common grounding point of your electrical panel using thick copper wire.
Beyond fuses and breakers, consider surge protectors, especially if you live in an area prone to lightning. These devices can absorb sudden spikes in voltage, protecting your inverter and other sensitive electronics. Additionally, always use appropriate disconnect switches for your solar array and battery bank. These allow you to safely de-energize sections of your system for maintenance or in an emergency. Imagine needing to work on your inverter but having no way to completely cut off the power from your batteries – that's a dangerous situation. Having easily accessible, clearly labeled disconnects is a non-negotiable best practice for safe operation and maintenance. For detailed information on this, explore off-grid solar safety and grounding.
Testing Your System Before Going Live
You’ve made all the connections, admired your neat wiring, and now you’re itching to flip the switch. Hold on just a moment! Before you fully commission your system, it’s wise to perform some initial tests to ensure everything is working as it should and that there are no hidden issues. A multimeter is your best friend here. Start by checking voltage at various points: across your solar panels, at the input terminals of your charge controller, at the battery terminals, and at the output of your inverter. These readings should align with what you expect for a 12V system.
Next, check for continuity and proper polarity. If you have a battery monitor, ensure it's displaying accurate voltage and current. Only then should you begin to connect small loads. Start with a simple 12V light bulb or a phone charger connected to the DC fuse block. Verify that they work correctly and that the voltage remains stable. Gradually increase the load, perhaps by plugging in a small AC appliance to the inverter, and monitor its performance. Keep an eye out for any unusual noises, smells, or excessive heat from components. Early detection of a problem can save you a lot of headache and expense down the road. Our guide on how to commission an off-grid system provides a full checklist to help ensure your system is ready for prime time.
Troubleshooting Common 12V Wiring Issues
Even with the best planning and execution, sometimes things don’t go exactly as expected. Don’t get discouraged! Most common issues with 12V off-grid systems can be diagnosed and fixed with a little patience and a systematic approach.
Low Power Output or No Charging
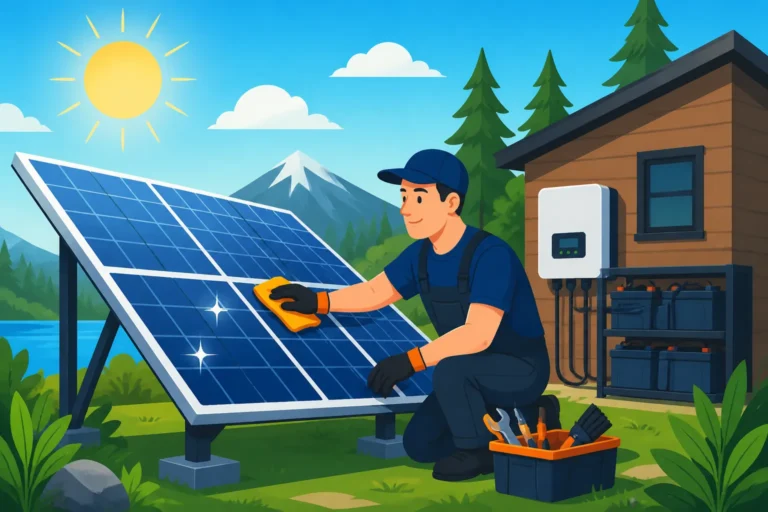
One of the most frustrating things is looking at your battery monitor and seeing that your batteries aren’t charging, or that the solar input is much lower than you expected. First, always check the simplest things: are the solar panels dirty? A layer of dust, pollen, or bird droppings can significantly reduce output. A quick clean can sometimes solve the problem instantly. Next, check all connections. Are the MC4 connectors on your panels fully seated? Are the wires securely tightened into your charge controller terminals? Loose connections are a notorious culprit for intermittent power.
If those seem fine, use your multimeter to trace the voltage. Start at the solar panels themselves. Are they producing voltage? Then check the voltage at the input terminals of your charge controller. Is it similar to the panel output? If there's a significant drop, you might have a bad wire or a faulty fuse/breaker between the panels and the controller. Finally, check the voltage at the battery output terminals of the charge controller. If the input is good but the output is low or non-existent, your charge controller might be in a fault mode, incorrectly programmed, or simply faulty. Many charge controllers have error codes or indicator lights that can help diagnose the issue. Always refer to your specific model’s manual, whether it's a Renogy controller or another brand, as they often have detailed troubleshooting sections.
Inverter Problems and Battery Drain
If your AC appliances aren’t working, or you notice your batteries draining much faster than they should be, the inverter is often the first place to look. First, check the inverter’s display or indicator lights. Many inverters will show error codes for low battery voltage, overload, or overheating. A common issue is low battery voltage: if your batteries are too depleted, the inverter will shut down to protect them. This means your core problem might actually be insufficient solar charging or an undersized battery bank, not the inverter itself. If you notice your battery capacity just isn’t cutting it for your needs, you might need to consider expanding your off-grid system.
Another frequent problem is an overloaded inverter. If you try to run too many high-wattage appliances at once, the inverter will likely trip or shut down. Remember that surge wattage for appliances like microwaves or power tools can be much higher than their running wattage. If the inverter is overheating, ensure it has adequate ventilation and isn't blocked by anything. If all connections seem good and the inverter isn't indicating a fault, but you're still not getting AC power, check the AC output breakers on the inverter itself or on your AC distribution panel. Sometimes, a simple tripped breaker is all it takes. Battery drain, particularly at night, can often be attributed to "phantom loads" – devices that draw a small amount of power even when turned off. Unplugging unused appliances or using power strips with on/off switches can help mitigate this silent drain on your precious stored energy.
Disclaimer
Please remember that working with electricity can be dangerous. Always prioritize safety, disconnect power sources before making connections, and consult with a qualified electrician if you are unsure about any steps or if your system’s design becomes complex. This guide provides general information and best practices, but it is not a substitute for professional advice or local electrical codes.