How to Install Off-Grid Solar on a Greenhouse
Bringing your greenhouse to life with off-grid solar power can feel like a daunting task, especially when you're trying to figure out how to keep those delicate plants thriving without relying on the utility grid. Many of us grapple with the unknowns of electrical systems, worrying about whether we'll have enough power for critical fans, heaters, or lights during a cloudy spell or a cold night. This comprehensive guide is here to walk you through the entire process, demystifying how to install an off-grid solar system specifically tailored for your greenhouse, ensuring your green sanctuary stays powered and productive year-round.
Understanding Your Greenhouse's Unique Power Needs
Before you even think about buying solar panels or batteries, the absolute first step is to understand what your greenhouse truly needs in terms of electricity. It’s not just about turning on a light; greenhouses often have specialized equipment that runs for specific durations, sometimes continuously, and sometimes with significant power spikes. Overlooking this crucial calculation can lead to a system that’s either too weak to support your plants or excessively oversized, wasting your hard-earned money.
Identifying Essential Greenhouse Appliances
Think about all the electrical gadgets and gizmos that make your greenhouse tick. It’s probably more than you initially imagine! We're talking about everything from small ventilation fans that prevent stagnant air and reduce humidity, to powerful grow lights that mimic the sun during shorter winter days. You might also have automated irrigation pumps that deliver water on a schedule, electric heaters to maintain optimal temperatures overnight or in colder months, or even seed-starting mats that keep young plants warm. Don't forget any small conveniences like weather stations, temperature sensors, or even a radio you might enjoy while tending to your plants. Each of these items draws power, and understanding their individual requirements is foundational.
Consider the "must-haves" versus the "nice-to-haves." If your climate requires supplemental heating to prevent frost damage to sensitive plants, that heater becomes a critical load. If you're growing exotic orchids that need constant humidity, your humidifiers and fans are non-negotiable. List them all out, no matter how small they seem. This detailed inventory prevents nasty surprises down the line when your battery bank unexpectedly drains because you forgot to account for that small, but constantly running, recirculation fan.
Calculating Daily Energy Consumption
Once you have your list of appliances, the next step is to calculate their individual power consumption and then add it all up to get your total daily energy usage. This is where most people get a little intimidated, but it's simpler than it sounds. For each item, you need to find its wattage (how much power it draws when running) and estimate how many hours it will run per day. You can often find wattage information directly on the appliance label, in the user manual, or with a quick search online.
Let's take an example: a ventilation fan might draw 50 watts and run for 10 hours a day. That's 50 watts * 10 hours = 500 watt-hours (Wh) per day. A 100-watt LED grow light running for 12 hours consumes 100 watts * 12 hours = 1200 Wh. A small irrigation pump might draw 200 watts but only run for 15 minutes twice a day, which is 0.5 hours total (200 watts * 0.5 hours = 100 Wh). Summing these up gives you your total daily watt-hours. It’s also important to consider peak power draw – what's the highest amount of power your system might need at any given moment if multiple high-wattage appliances kick on simultaneously? This "surge" rating will be vital when choosing your inverter. For a deeper dive, our guide on how to calculate daily energy usage can provide more detailed methodologies.
Here's a handy table to help you estimate common greenhouse appliance consumption:
| Appliance | Typical Wattage (W) | Avg. Daily Run Time (Hours) | Daily Watt-Hours (Wh) | Notes |
|---|---|---|---|---|
| Small Ventilation Fan | 30 – 60 | 8 – 12 | 240 – 720 | Essential for air circulation and humidity control. |
| LED Grow Light (small) | 50 – 150 | 6 – 16 | 300 – 2400 | Varies greatly by size and intensity. |
| Seed Starting Mat | 10 – 40 | 16 – 24 | 160 – 960 | Often runs continuously during germination phase. |
| Small Water Pump | 100 – 300 | 0.25 – 1 | 25 – 300 | For drip irrigation, typically runs for short bursts. |
| Small Electric Heater | 500 – 1500 | 2 – 8 | 1000 – 12000 | Only runs when needed, but can be a huge draw. |
| Thermostat/Controller | 5 – 10 | 24 | 120 – 240 | Low continuous draw, but crucial for automation. |
Note: These are estimates. Always check the specific wattage of your appliances.
Essential Components for Your Greenhouse Off-Grid System
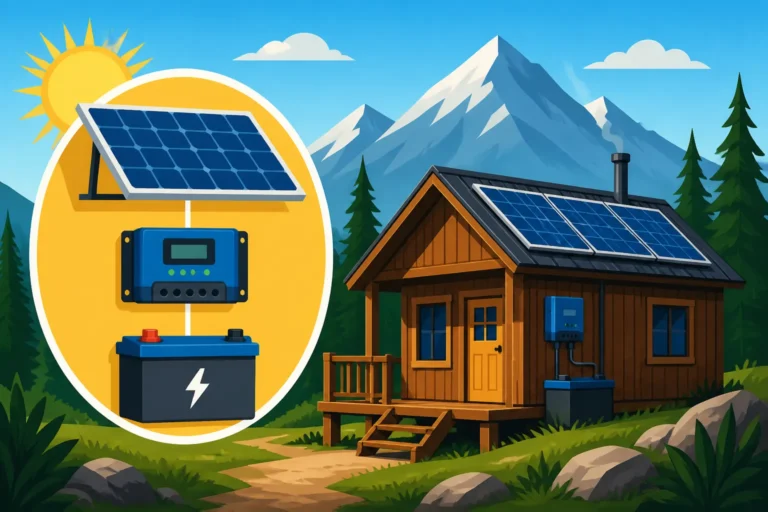
Once you've nailed down your energy needs, it's time to gather the gear. An off-grid solar system isn't just about solar panels; it's a symphony of components working together to capture, store, and deliver power. Choosing the right parts is critical for reliability and efficiency, especially in a demanding environment like a greenhouse. Our in-depth look at off-grid solar system components explained provides a great overview of each part's role.
Solar Panels for Reliable Energy Harvest
Your solar panels are the workhorses of your system, converting sunlight into electricity. For a greenhouse, you'll generally want durable, high-efficiency monocrystalline panels. These perform well even in slightly lower light conditions, which can be a factor if your greenhouse structure casts some shade or if you live in an area with frequent cloudy days. The total wattage of your solar array needs to be large enough to generate all the watt-hours your greenhouse consumes daily, plus a buffer for less-than-ideal weather and energy losses in the system.
When considering placement, you have a few options. Mounting panels directly onto the greenhouse roof might seem logical, but it can reduce the light reaching your plants inside, which defeats the purpose of a greenhouse! A better approach is often a ground mount adjacent to the greenhouse, or on a nearby shed or structure. This allows you to optimize the panel's tilt and orientation for maximum sun exposure without impacting your plants' light. Brands like Renogy offer a wide range of monocrystalline panels suitable for off-grid applications, from smaller 100-watt options to larger 300-watt panels, and they're readily available on platforms like Amazon. Remember to consider how many solar panels for off-grid living you'll need based on your calculated energy consumption and local peak sun hours.
Robust Battery Bank for Stored Power
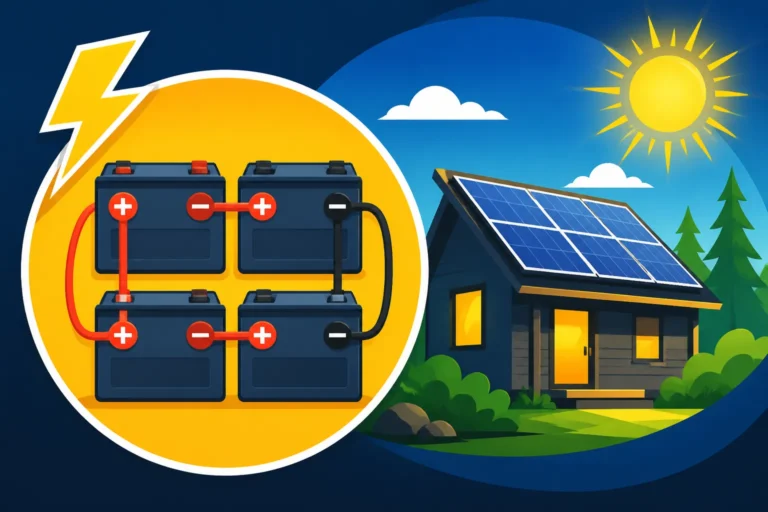
The battery bank is the heart of your off-grid system, storing the energy generated by your solar panels for use when the sun isn't shining – like at night, during cloudy days, or when demanding appliances like heaters kick in. For a greenhouse, you need a reliable battery setup that can withstand temperature fluctuations and provide consistent power. You essentially have two main choices: lead-acid (often AGM or Gel) or lithium iron phosphate (LiFePO4) batteries.
LiFePO4 batteries are typically preferred for off-grid systems due to their deeper discharge capabilities, longer lifespan (often 10+ years), and higher efficiency, though they come with a higher upfront cost. They're also more tolerant of partial states of charge, which is a big plus in systems that don't always get fully charged every day. Lead-acid batteries are a more budget-friendly option initially, but they have a shorter lifespan, require more careful management (like not discharging them below 50%), and are heavier. Protecting your battery bank from extreme temperatures is crucial; a well-insulated, vented enclosure (perhaps in a small shed next to the greenhouse) will extend its life and ensure safe operation. Learn more about the cost of an off-grid solar battery bank to help you budget.
Charge Controller and Inverter Selection
These two components are the brains and muscle of your power delivery system.
The charge controller manages the flow of electricity from your solar panels to your battery bank. Its job is to prevent overcharging and over-discharging, which can damage your batteries and shorten their lifespan. You'll typically choose between a Pulse Width Modulation (PWM) or Maximum Power Point Tracking (MPPT) controller. For any system beyond the most basic, an MPPT charge controller is almost always the superior choice. It's significantly more efficient at converting the panel's output to charge the batteries, especially in varying light conditions, which means more usable power from your solar array. Brands like Victron Energy and Renogy are well-regarded for their reliable MPPT controllers.
The inverter takes the DC (Direct Current) power from your battery bank and converts it into AC (Alternating Current) power, which is what most standard household appliances (like your greenhouse fans, lights, and heaters) use. It's crucial to select a pure sine wave inverter, especially if you're running sensitive electronics or motors (like those in pumps or fans). Modified sine wave inverters are cheaper but can cause humming, reduced efficiency, or even damage to certain appliances. The inverter's wattage rating needs to meet your peak power demand, including any surge capacity needed for motors starting up. Getting this wrong can mean your lights flicker, or your pump simply won't start. For comprehensive guidance on this vital component, check out our article on how to size an off-grid inverter.
Step-by-Step Installation for Your Greenhouse Solar System
Now that you have a firm grasp of your needs and the components, it's time to put it all together. Installing an off-grid solar system for a greenhouse involves careful planning, safe execution, and attention to detail. This isn't a race; take your time, double-check your work, and don't hesitate to consult an electrician if you're unsure about any high-voltage wiring.
Strategic Planning and Site Assessment
Before you break ground, a thorough site assessment is non-negotiable. Walk around your property, observe the sun's path throughout the day and even across different seasons. Shading from trees, other buildings, or even the greenhouse structure itself can drastically reduce your solar panel's output. You want an area that receives direct, unobstructed sunlight for the longest possible duration each day. This might mean clearing some tree branches or choosing a different mounting location than your initial idea.
Consider the physical location for all your components. Where will the battery bank and inverter be housed? They need to be protected from the elements, excessive heat or cold, and potentially curious wildlife. A small, secure shed, a dedicated equipment box, or even a section of your garage (if close enough) would work. Ensure this location is well-ventilated, especially if you choose lead-acid batteries, which can off-gas hydrogen. Also, think about the shortest practical cable runs between components to minimize voltage drop, which translates to wasted energy. Planning this meticulously now will save you headaches and costly re-dos later. Our guide on designing an off-grid solar system step by step can offer even more planning insights.
Mounting Solar Panels Securely
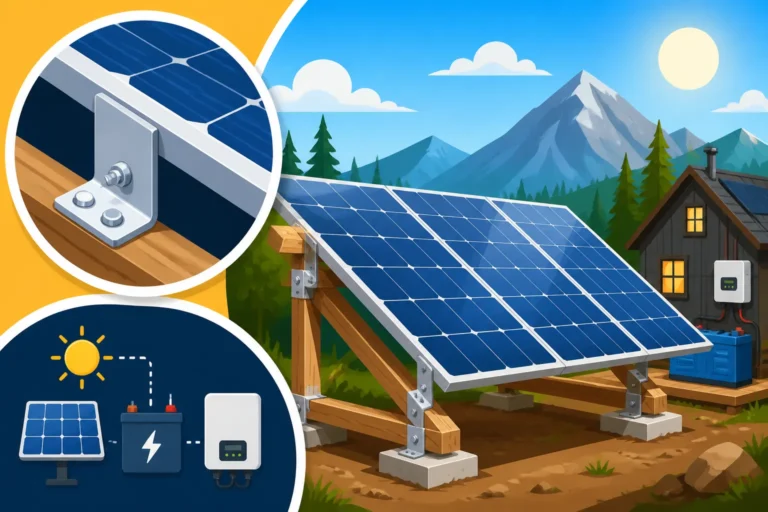
Mounting your solar panels correctly is vital for their longevity and optimal performance. As discussed, a ground mount adjacent to the greenhouse is often ideal. This allows you to set the panels at the optimal tilt angle for your latitude and adjust them seasonally if you're ambitious. For example, in winter, you might want a steeper angle to catch the lower sun, while a shallower angle is better in summer. Many ground mount kits are available on Amazon, some offering adjustable tilt capabilities. If a ground mount isn't feasible, consider a sturdy shed roof or a dedicated pole mount.
Ensure the mounting structure is robust enough to withstand local wind and snow loads. Securely attaching the panels is paramount. You don't want them flying off in a storm! Once mounted, consider cleaning your solar panels regularly, especially in dusty environments or if pollen is prevalent, as buildup can significantly reduce efficiency. A simple rinse with water and a soft brush is usually all it takes.
Wiring the System Safely and Logically
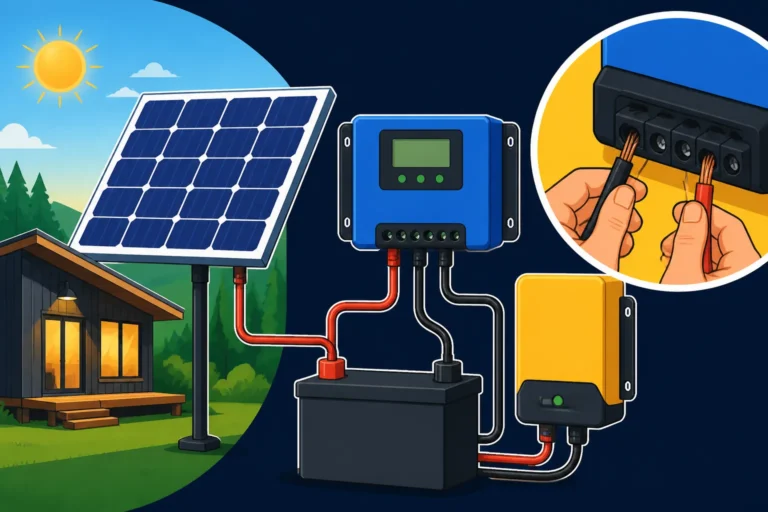
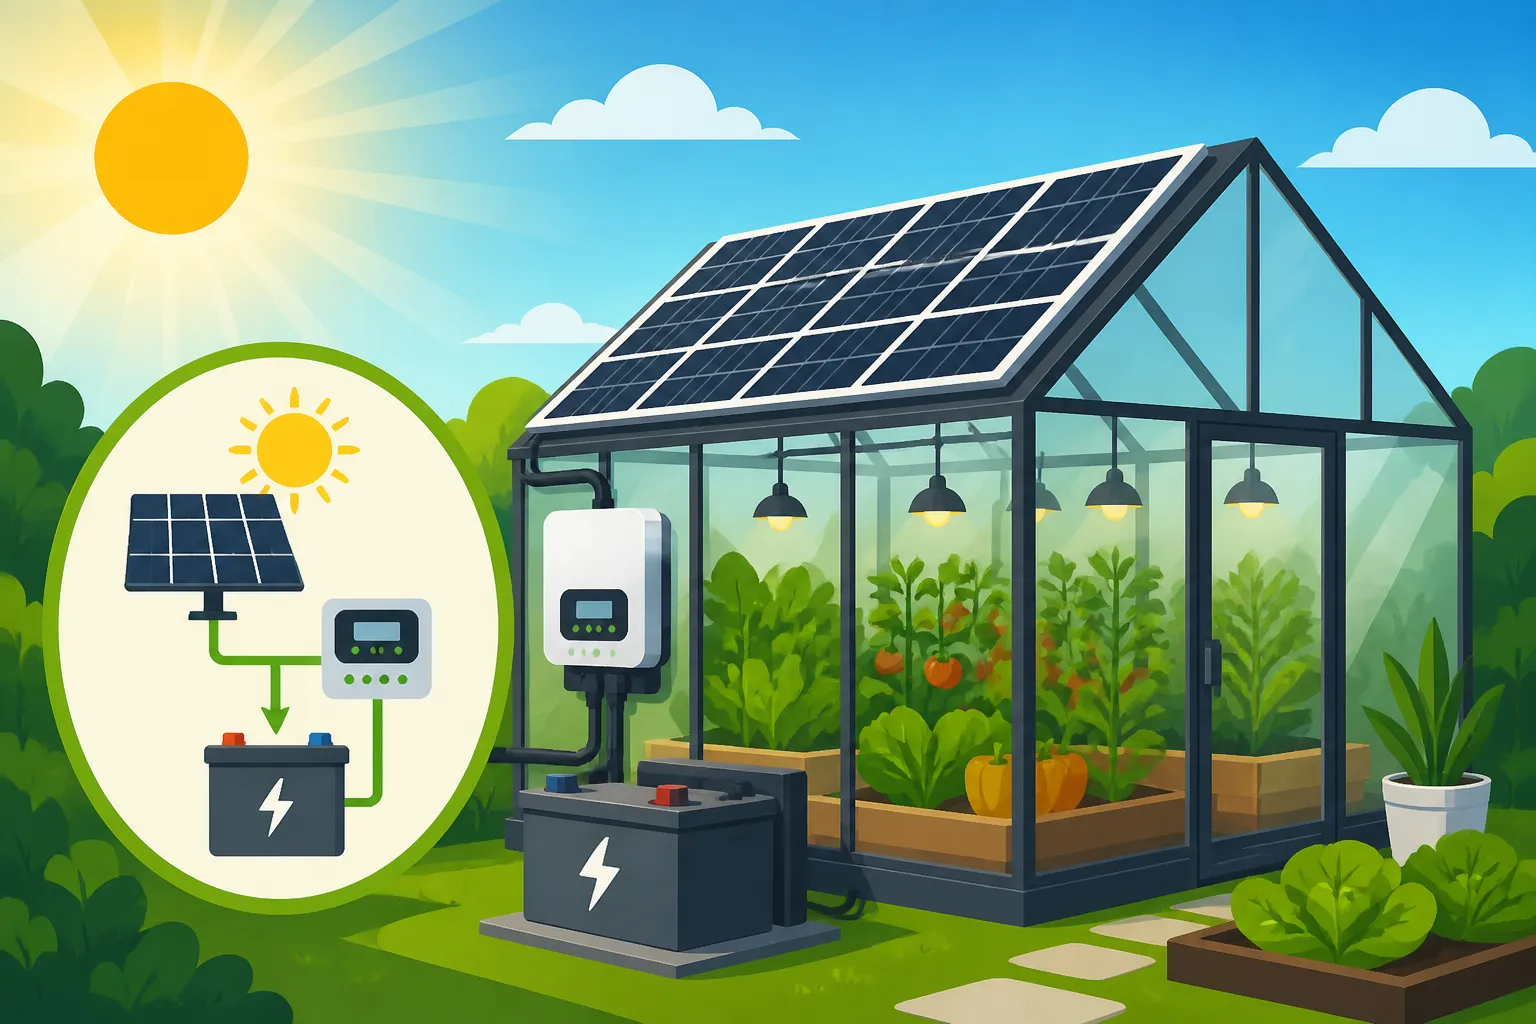
This is where the rubber meets the road, electrically speaking. A typical off-grid solar wiring diagram will show you the basic connections, but let's break it down:
- Panels to Charge Controller: Connect your solar panels to your charge controller. If you have multiple panels, you'll need to wire them in series, parallel, or a combination of both to achieve the desired voltage and current for your charge controller. Always use appropriately sized solar-rated (PV wire) cables and MC4 connectors. Install an inline fuse or breaker on the positive line from your panels to protect against overcurrent.
- Charge Controller to Battery Bank: Connect the charge controller's battery output to your battery bank. Again, use heavy-gauge battery cables, and install a properly rated fuse or circuit breaker between the charge controller and the batteries. This protects the batteries and charge controller from short circuits.
- Battery Bank to Inverter: Connect your inverter directly to your battery bank. This connection needs the thickest cables in your system, as the inverter draws significant current. A large fuse or circuit breaker should be installed on the positive line here as well, very close to the battery terminal.
- Grounding: Crucially, your entire system must be properly grounded to prevent electrical shocks and protect your equipment from lightning strikes. This typically involves connecting a heavy-gauge copper wire from your solar panel frames, charge controller, inverter, and battery enclosure to a dedicated ground rod driven into the earth. If you're unsure about proper grounding, this is one area where hiring a qualified electrician is highly recommended. Our guide on how to wire an off-grid solar system provides detailed instructions and safety tips.
Enclosure, Monitoring, and Commissioning
After all the connections are made, you need to ensure everything is properly enclosed and protected. This means securing all wiring in conduit where exposed, especially outdoors, and ensuring your batteries, charge controller, and inverter are housed in a protected environment. For your battery bank, particularly if it's lead-acid, ensure the enclosure is adequately vented to dissipate any gases.
Once everything is connected and secured, it's time for commissioning. Double-check every single connection. Use a multimeter to verify voltages at various points: across the solar panels (open-circuit voltage), at the charge controller input, and at the battery terminals. When you're confident, connect your loads (your greenhouse appliances) one by one, monitoring the system's performance. Many modern charge controllers and inverters, especially from brands like Victron, come with display screens or Bluetooth connectivity that allow you to monitor power production, battery state of charge, and consumption in real-time. This monitoring is invaluable for understanding your system and troubleshooting any issues. After installation, don't forget about Off-Grid Solar Maintenance Costs to keep your system running smoothly.
Considerations for Long-Term Greenhouse Off-Grid Power
Even after your system is up and running, the journey of off-grid living with a greenhouse is ongoing. There are always ways to optimize and adapt your setup to changing needs or environmental conditions.
Seasonal Adjustments and Energy Management
Greenhouses, by their very nature, have fluctuating energy demands throughout the year. In winter, you'll likely need more heating and artificial light, while summer might see increased demand for ventilation and irrigation. This seasonal shift means your solar system needs to be robust enough to handle the peak demands, or you need to be prepared to manage your energy usage actively. For instance, during prolonged cloudy spells in winter, you might need to temporarily reduce heating or lighting, or have a backup plan.
You might consider adding a small, efficient wood-burning stove or propane heater as a backup for extreme cold snaps, reducing the electrical load on your solar system. Programmable thermostats and timers for grow lights and fans are essential tools for efficient energy management, ensuring appliances only run when truly necessary. For example, programming your grow lights to operate during the sunniest parts of the day, even if for shorter durations, can help your panels keep up with the demand. Remember that a well-designed system will account for How Winter Affects Off-Grid Sizing.
Expansion and Maintenance for Longevity
As your gardening ambitions grow, so might your greenhouse's energy needs. Perhaps you'll add more grow lights, a stronger fan, or a new hydroponic system. Designing an expandable system from the start can save you money and effort down the road. This might mean installing an inverter with extra capacity, using a charge controller that can handle more solar input than your current array, or sizing your battery enclosure to accommodate additional battery modules. Planning for future expansion is a smart move that many off-gridders wish they had considered earlier.
Regular maintenance is key to the longevity and efficiency of your off-grid solar system. This includes:
- Cleaning solar panels: Dust, dirt, pollen, and even bird droppings can accumulate and reduce efficiency.
- Checking battery terminals: Ensure they are clean and free of corrosion.
- Inspecting wiring: Look for any frayed cables, loose connections, or signs of rodent damage.
- Monitoring system performance: Keep an eye on your charge controller and inverter displays for any error codes or unexpected drops in production.
- Battery specific maintenance: If you're using flooded lead-acid batteries, you'll need to check water levels and top them off with distilled water periodically. LiFePO4 batteries are generally lower maintenance but still benefit from regular checks.
Adhering to a consistent maintenance schedule ensures your greenhouse continues to enjoy reliable, sustainable power for many years to come. Our guide on Off-Grid Solar Maintenance Costs can give you a clearer picture of what to expect over the lifespan of your system.
Disclaimer
Please be aware that while this guide provides comprehensive information, installing an off-grid solar system involves working with electricity and carries inherent risks. Always prioritize safety, consult local electrical codes, and consider seeking professional help from a qualified electrician for any parts of the installation that you are not comfortable performing yourself. This content is for informational purposes only and does not constitute professional electrical advice.