How to Install Off-Grid Solar on a Boat
There’s nothing quite like the freedom of the open water, but that feeling can quickly be dampened by the constant worry of draining your boat’s batteries or the drone of a generator marring the peaceful calm. Many boat owners struggle with limited power, having to carefully ration electricity or constantly seek shore power. This comprehensive guide is here to walk you through everything you need to know about installing an off-grid solar system on your boat, ensuring you have reliable, silent power wherever your adventures take you.
Understanding Your Boat's Power Needs for Off-Grid Solar
Before you even think about buying a single solar panel, the very first step in setting up an off-grid solar system on your boat is to figure out exactly how much power you actually need. This isn't a "guesstimate" situation; it's a critical calculation that will dictate the size and cost of your entire system. Many folks dive headfirst into buying a few panels, only to find themselves constantly running out of juice mid-voyage, or worse, they overspend on a system that’s way too big for their actual lifestyle. It's a common frustration, but with a bit of careful planning, you can avoid it entirely.
Calculating Your Daily Energy Consumption
Think about every single electrical device you use on your boat, from the moment you wake up to when you turn in for the night. This includes everything from the smallest LED cabin light to your refrigerator, navigation electronics, autopilot, VHF radio, water pump, and even your phone charger. For each of these items, you need to identify its wattage and how many hours per day you actually use it. This might seem tedious, but it's the bedrock of a successful off-grid system. Look for labels on appliances, check their manuals, or use a kill-a-watt meter if you have one on board.
For instance, your boat's refrigerator might only run for 8 hours a day in total, cycling on and off to maintain temperature. Your navigation lights might be on for 4 hours during a night passage, and your autopilot could be running for 10 hours if you're covering a long distance. Don't forget those intermittent loads like the anchor windlass, which uses a lot of power but only for a few minutes. Convert all power consumption to watt-hours (watts x hours of use) for a clearer daily total. This detailed approach is what will prevent you from underestimating your needs and experiencing frustrating power outages while out at sea. If you're struggling with this step, our guide on How to Size an Off-Grid Solar System offers a deeper dive into load calculations.
Choosing the Right System Voltage
The majority of boats, especially smaller to medium-sized vessels, operate on a 12-volt DC electrical system. This means your existing lights, pumps, and many navigation instruments are designed for 12V. For these boats, a 12V solar system often makes the most sense, as it integrates seamlessly with your current setup. However, as your power needs grow, particularly if you're looking to run larger AC appliances via an inverter, or if your boat is a bigger cruiser or liveaboard, you might find yourself needing a 24V or even 48V system.
Higher voltage systems offer significant advantages, primarily reducing voltage drop over longer wire runs and allowing for thinner, less expensive wiring. This is especially beneficial for large solar arrays and battery banks, as it minimizes energy loss and improves overall system efficiency. For example, a 48V system can transmit the same amount of power with a quarter of the current compared to a 12V system, drastically reducing the strain on your wiring. While upgrading to a higher voltage system might mean replacing some existing 12V components or using DC-DC converters, the long-term efficiency gains and reduced complexity for larger power demands can be well worth the effort. It's a crucial decision that impacts everything from your inverter choice to the gauge of your wiring, so understanding your boat's specific needs and potential for future expansion is key.
Selecting the Best Components for Marine Solar Installation
Once you have a solid grasp of your power requirements, the exciting part begins: choosing the right components! This is where many boaters get overwhelmed by the sheer variety of panels, batteries, and electronics out there. It's not just about what works; it's about what works best in the harsh, corrosive, and often space-constrained marine environment. Skimping on quality here can lead to premature failures, constant headaches, and ultimately, more cost in the long run.
Marine-Grade Solar Panels and Their Placement
When it comes to solar panels for your boat, you're primarily looking at three types: rigid, semi-flexible, and fully flexible. Rigid panels are the most efficient and durable, typically housed in an aluminum frame with a glass front. They're excellent for permanent installations on a radar arch, hardtop, or custom mounting racks. Brands like Renogy offer a wide range of robust rigid panels suitable for marine conditions, though you'll need to consider how to mount them securely and ensure they can withstand salt spray and heavy seas. The downside? They're bulky and can create windage.
Flexible panels, on the other hand, are much lighter and can conform to curved surfaces, making them ideal for mounting directly onto a boat's deck, dodger, or bimini top. This is great for saving space and reducing weight aloft. However, fully flexible panels tend to be less efficient and can degrade faster due to heat buildup, especially if not properly ventilated. Semi-flexible panels offer a good compromise, providing some flexibility while maintaining better efficiency and durability than their fully flexible counterparts. Regardless of type, ensure your panels are marine-grade, meaning they're resistant to saltwater corrosion and UV degradation. For more insights into panel selection, check out our guide on How Many Solar Panels for Off-Grid Living.
Placement is paramount on a boat. You need to identify areas that receive maximum sun exposure throughout the day, minimizing shading from the mast, boom, radar, or other rigging. Shading even a small portion of a panel can drastically reduce the output of the entire array if panels are wired in series. Consider using individual MPPT charge controllers for each panel or string of panels if shading is unavoidable to maximize efficiency. Think about adjustability too; tilt mounts can significantly boost output in different seasons or latitudes, though they add complexity and require more space.
Batteries: The Heart of Your Boat's Off-Grid System
Your battery bank is, without a doubt, the most critical component of your off-grid solar system on a boat. It's where all that precious solar energy is stored for when the sun isn't shining. The choice of battery chemistry will deeply impact your system's performance, longevity, and overall cost. Traditionally, lead-acid batteries (like flooded, AGM, or Gel) have been the go-to for marine applications due to their lower upfront cost. AGM batteries, in particular, are popular for boats because they are sealed, spill-proof, and maintenance-free, offering good vibration resistance which is essential on the water. However, they have a limited number of charge cycles and shouldn't be discharged below 50% of their capacity if you want them to last.
For those serious about long-term cruising and reliable power, Lithium Iron Phosphate (LiFePO4) batteries are rapidly becoming the preferred choice, despite their higher initial price tag. LiFePO4 batteries offer significantly more usable capacity (you can discharge them down to 80-100% without damage), boast an incredibly long cycle life (often 10 times that of lead-acid), are much lighter, and charge far more efficiently. This means you need fewer batteries, saving valuable space and weight on your boat, and they'll likely outlast several sets of lead-acid batteries. Many reputable marine solar providers and even general online retailers like Amazon now offer excellent LiFePO4 options from brands specializing in off-grid power. If you want a deeper dive into battery considerations, our article comparing LiFePO4 vs Lead-Acid Batteries for Off-Grid is a must-read, as is our guide on How Many Batteries for an Off-Grid System.
Regardless of chemistry, ensure your battery bank is adequately sized for your daily energy consumption and provides enough "days of autonomy" to cover periods of low sun or heavy usage. Proper ventilation is also crucial for any battery bank, especially lead-acid, to dissipate heat and prevent the buildup of explosive gases. A robust battery monitoring system (BMS) is indispensable for LiFePO4 batteries to ensure safe operation, balancing cells, and preventing overcharge or over-discharge.
Charge Controllers and Inverters for Boats
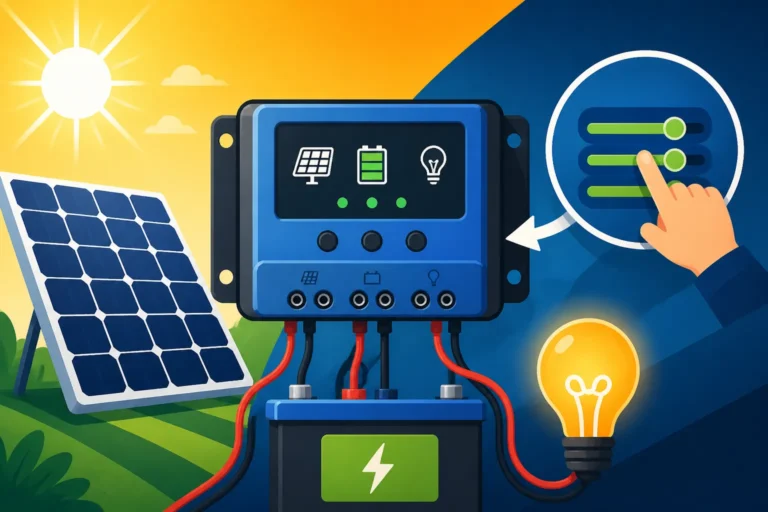
These are the unsung heroes of your solar system. The charge controller is responsible for taking the raw power from your solar panels and regulating it to safely and efficiently charge your battery bank. For marine applications, you absolutely want a Maximum Power Point Tracking (MPPT) charge controller. While Pulse Width Modulation (PWM) controllers are cheaper, MPPT controllers are vastly more efficient, especially in conditions where panel voltage is much higher than battery voltage, or when partial shading occurs. This added efficiency translates directly into more usable power for your boat, which is invaluable. Good quality MPPT controllers can extract up to 30% more power than PWM models, making them a worthwhile investment.
The inverter’s job is to convert the DC power stored in your batteries into usable AC power for your household appliances like microwaves, coffee makers, or even power tools. For sensitive marine electronics and most modern appliances, a pure sine wave inverter is non-negotiable. Modified sine wave inverters are cheaper but can damage delicate electronics, cause motors to run hot, and simply aren't suitable for a reliable off-grid boat setup. Size your inverter to handle the peak surge loads of your largest AC appliances (e.g., the starting current of a refrigerator compressor or a well pump), not just their continuous running wattage. Remember to consider efficiency ratings, as a more efficient inverter will waste less of your precious battery power. For recommendations on these critical components, check out our guide on the Best Off-Grid Solar Inverters.
Here's a quick comparison of popular marine solar panel types:
| Panel Type | Pros | Cons | Ideal Boat Placement |
|---|---|---|---|
| Rigid | High efficiency, very durable, long lifespan, best power output/sq ft. | Heavy, bulky, susceptible to shading issues if not optimized, requires robust mounting structure (e.g., radar arch, custom frame). Can contribute to windage. | Radar arch, hardtop, custom deck mounts, dinghy davits. |
| Semi-Flexible | Lighter than rigid, can curve slightly, better efficiency than fully flexible. | More expensive than rigid/fully flexible, can suffer from heat buildup if not properly ventilated, not as durable as rigid panels over long term if walked on or subject to continuous flexing. | Bimini tops, dodgers, slightly curved decks. |
| Fully Flexible | Very lightweight, can conform to extreme curves, low profile, easy to install. | Lowest efficiency, prone to significant heat degradation (especially if adhered directly to a non-conductive surface), shorter lifespan, typically not walkable, less power output/sq ft. Often glued down, making replacement difficult. | Bimini tops, cabin tops, flexible surfaces where minimal power is needed. |
Step-by-Step Installation: From Panels to Power
Alright, you've done your homework, sized your system, and picked out your components. Now it’s time to get your hands dirty with the actual installation! While a boat installation has its unique quirks compared to a land-based system, the core principles of safety and proper wiring remain the same. This part can feel intimidating, but taking it one step at a time will ensure a robust and reliable system. Remember, if you're ever unsure, especially with high-current DC wiring, consulting a marine electrician is always a wise move.
Mounting Solar Panels Securely on a Boat
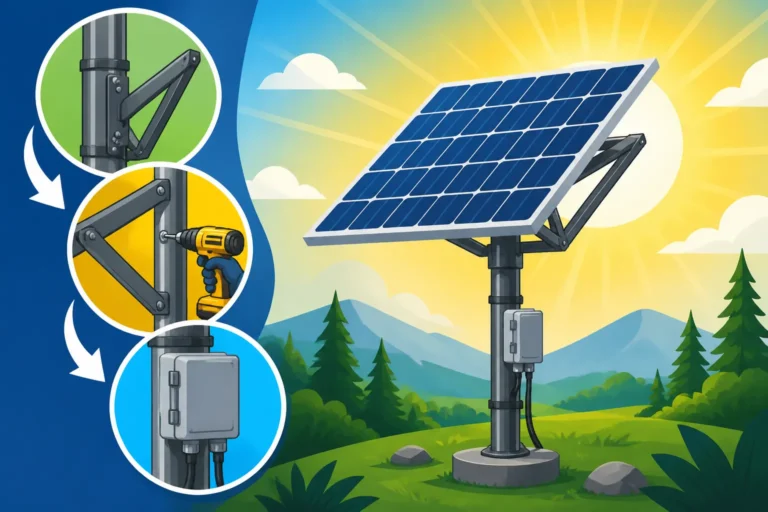
Securing solar panels on a boat is an art form. Unlike a house roof, your boat is constantly moving, vibrating, and exposed to corrosive saltwater and strong winds. Whether you're opting for rigid panels on an arch or flexible panels on your deck, robust and waterproof mounting is non-negotiable. For rigid panels, stainless steel mounts, often custom-fabricated, are commonly used on radar arches or sturdy dodgers. Ensure all bolts are through-bolted, not just screwed into fiberglass, and use marine-grade sealants like 3M 4200 or 5200 to prevent water ingress into your deck or cabin. Pay close attention to the angle of your panels; a slight tilt can significantly improve performance by shedding water and optimizing sun exposure, especially when anchored.
If you're using flexible panels, often they can be adhered directly to a clean, flat surface like a cabin top or bimini. However, direct adhesion can lead to overheating, which severely reduces efficiency and lifespan. It's often better to mount them with a slight air gap underneath, perhaps using industrial-strength marine-grade Velcro or a semi-permanent adhesive that allows for air circulation. For bimini or canvas mounts, special grommets and lacing are typically employed, allowing the panels to be removed if needed. Always consider how the panels will interact with your existing rigging, lines, and potential shading sources. The goal is a secure, durable mount that won't become a hazard in heavy seas or cause damage to your boat's structure. Need more guidance on panel installation? Our guide on How to Install Off-Grid Solar Panels has detailed steps.
Wiring Your Marine Solar System Safely
Wiring on a boat has its own set of rules, largely because of the ever-present moisture and vibration. You absolutely must use marine-grade, tinned copper wire for all connections. Tinned copper resists corrosion much better than untinned wire, preventing voltage drop and potential fire hazards. All connections should be crimped with high-quality, heat-shrink connectors to create waterproof seals, not just electrical tape. Every circuit needs to be properly fused at the source (usually the positive terminal of the battery bank and at the solar panel array combiner box) to protect against shorts and overcurrent.
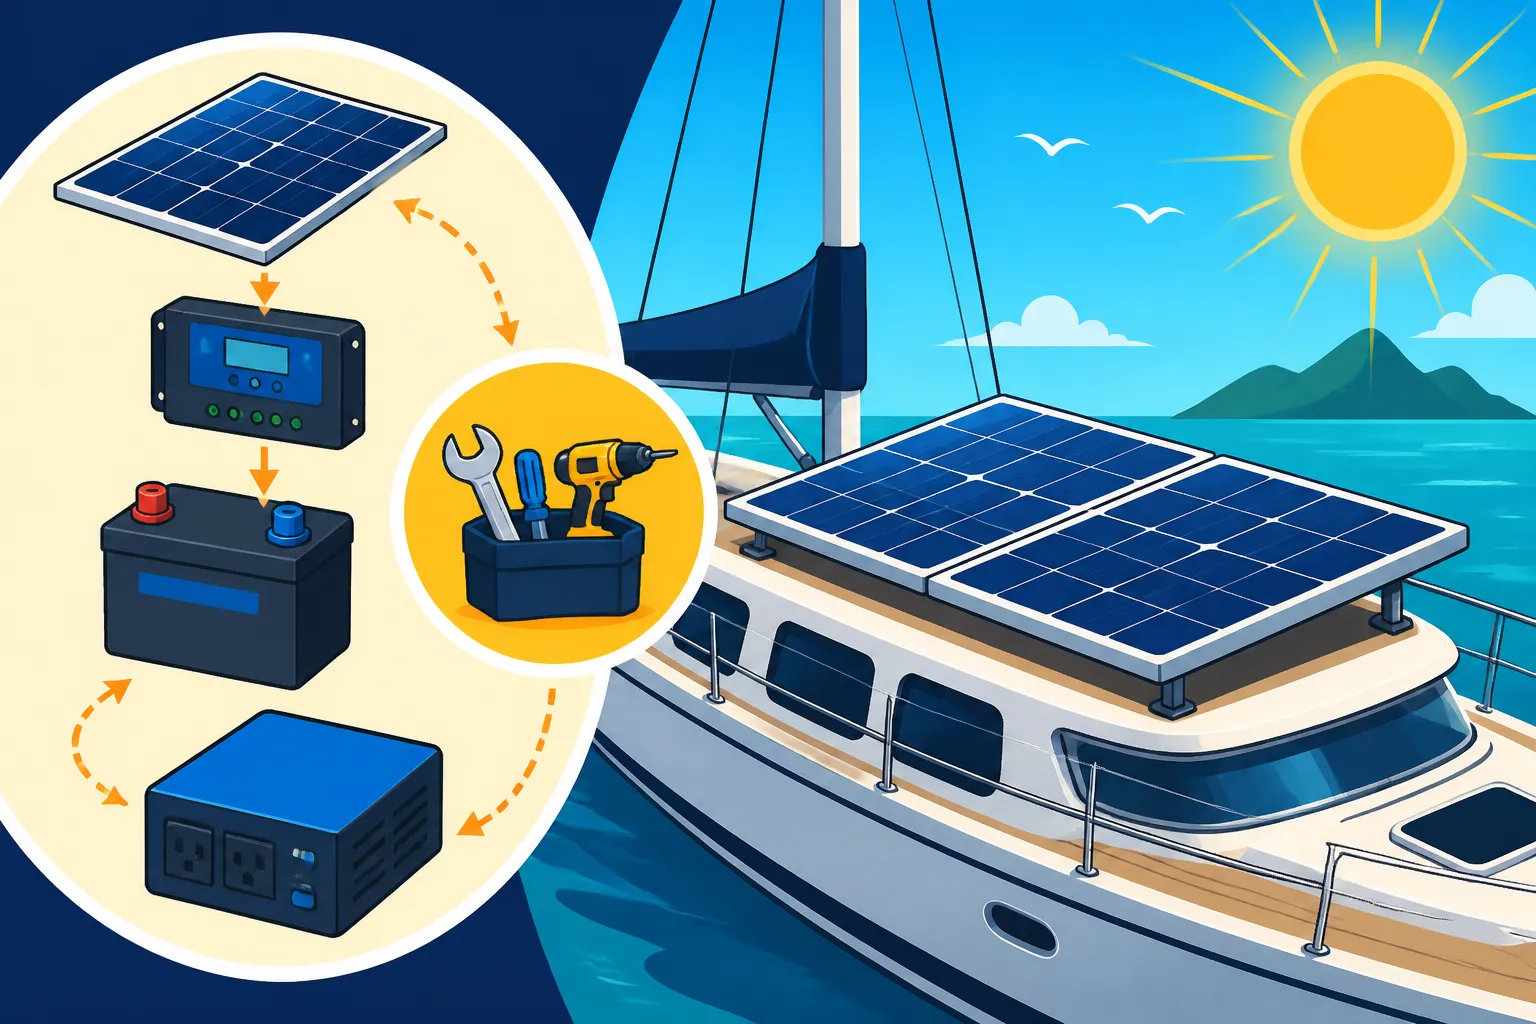
Start by wiring your solar panels. Depending on your system voltage and panel specifications, you'll either wire them in series (for higher voltage, lower current) or parallel (for higher current, same voltage), or a combination of both. Series wiring is often preferred for MPPT controllers as it provides a higher voltage input, but parallel wiring can mitigate the impact of partial shading. From the panels, run your main solar input cables to your MPPT charge controller. Ensure these cables are run through conduit or protected channels to prevent chafing and damage. From the charge controller, connect to your battery bank, again using appropriately sized, fused, and protected wiring. Finally, your inverter connects directly to your battery bank with very heavy gauge cables and a high-current circuit breaker or fuse, usually placed within a few feet of the batteries. For detailed wiring schematics, our Off-Grid Solar Wiring Diagram Explained is a fantastic resource, and you can also refer to How to Wire an Off-Grid Solar System for general best practices.
Integrating with Existing Boat Electrical Systems
Your new solar setup isn't standalone; it needs to integrate seamlessly with your boat's existing DC and AC electrical systems. The solar charge controller will connect directly to your house battery bank, becoming another source of charging alongside your engine alternator and any shore power chargers. It's crucial that all these charging sources are compatible and don't "fight" each other, potentially leading to overcharging or damage. Most modern MPPT charge controllers have built-in protections and intelligent charging algorithms to prevent this, but it's always good to double-check compatibility, especially if you have a sophisticated multi-stage shore power charger.
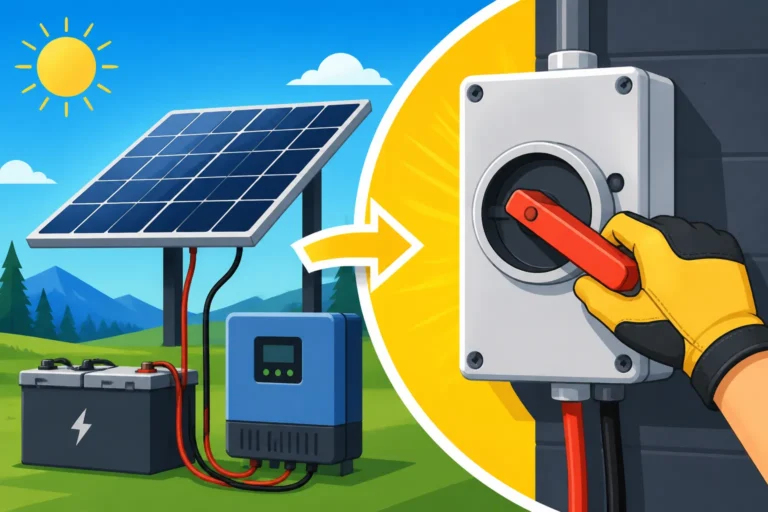
Installing a main battery disconnect switch for your solar array is also a smart safety measure, allowing you to completely isolate the panels from the rest of the system for maintenance or in an emergency. For the AC side, your inverter will typically feed into a dedicated AC breaker panel or a sub-panel, allowing you to power specific outlets or appliances. Some boats opt for an automatic transfer switch if they have both shore power and an inverter, ensuring only one AC source is powering the boat at any given time. This prevents backfeeding into shore power and protects your system. Properly labeling all new wiring and components is essential for future troubleshooting and safety. This integration might seem complex, but thinking of it as an expansion rather than a replacement of your existing electrical system can simplify the process, helping you achieve a truly independent power setup.
Maintenance and Optimizing Your Boat's Solar Performance
You’ve put in all the hard work to design and install your off-grid solar system. Now, to ensure it continues to provide reliable, free energy for years to come, a little ongoing care and attention is necessary. The marine environment is relentlessly harsh, and even the most robust components can succumb to its corrosive influence if neglected. Regular maintenance isn't just about prolonging the life of your equipment; it's about optimizing performance and avoiding unexpected power failures when you're far from shore.
Regular Checks and Cleaning
The most basic, yet often overlooked, maintenance task is cleaning your solar panels. Salt spray, bird droppings, and accumulated dust can significantly reduce panel efficiency. A simple rinse with fresh water, followed by a gentle wipe with a soft cloth or brush (avoiding abrasive materials), can keep your panels performing at their peak. For stubborn salt crusts, a mild, marine-safe detergent might be necessary. This is especially important for flexible panels which can lose efficiency faster when dirty. Aim to clean them weekly or bi-weekly, especially after a rough passage.
Beyond cleaning, routinely inspect all wiring and connections. Look for any signs of corrosion, especially around terminals and fuses. Loose connections can lead to increased resistance, voltage drop, and even fire hazards. A visual inspection should include checking for chafed wire insulation, cracked panel frames (if rigid), or bubbling/peeling on flexible panels. Pay particular attention to areas exposed to direct sunlight or constant movement. A dab of dielectric grease on exposed electrical connections can go a long way in preventing corrosion in the saltwater environment. This proactive approach helps catch minor issues before they escalate into major problems, ensuring your Off-Grid Solar Cost for a Boat truly pays off over time.
Troubleshooting Common Marine Solar Issues
Even with the best planning and installation, sometimes things don't go perfectly. Knowing how to diagnose common issues can save you a lot of headache and potential repair costs. If you notice your batteries aren't charging as expected, or your system isn't producing as much power as it used to, start with the basics.
First, check your solar panels for obvious shading. Even a small shadow from a mast, flag, or dinghy can dramatically reduce output. Next, inspect all fuses and breakers in your system – from the panel combiner box to the charge controller and battery bank. A blown fuse is a quick fix and a very common culprit for system failure. Use a multimeter to check the voltage output directly from your solar panels (at the disconnect switch, if you have one) and then at the input terminals of your charge controller. If the panel output is good but there's no charge, the issue might lie with the charge controller itself or its settings. Ensure your charge controller settings are correct for your battery type (e.g., LiFePO4 vs. AGM) and are configured to the correct system voltage. If your inverter isn't providing AC power, check its fault codes, ensure the battery voltage is within its operating range, and verify its dedicated breaker or fuse is intact. Remember, for a reliable setup, understanding How to Choose an Off-Grid Solar System means understanding its potential points of failure too. Often, simple checks can quickly identify and resolve most problems, getting you back to silent, solar-powered sailing.
Disclaimer
The information provided in this guide is for general informational purposes only and does not constitute professional electrical or marine engineering advice. Off-grid solar system installation on a boat involves working with high voltages and currents, which can be dangerous. Incorrect installation can lead to personal injury, fire, or damage to your vessel. Always consult with a qualified marine electrician or certified solar installer, and adhere to all local codes, regulations, and manufacturer instructions for safe and effective installation.